Add a Custom Namecheap Domain to Heroku in 2 min

Introduction
In this tutorial, I will guide you through the steps to link your custom domain to your Heroku application. This process involves purchasing a domain and configuring it properly in both Namecheap and Heroku.
Step 1: Purchase a Domain
To start, you need to buy a domain. You can choose from various registrars, but I usually use Namecheap. Simply head over to their website and purchase your desired domain.

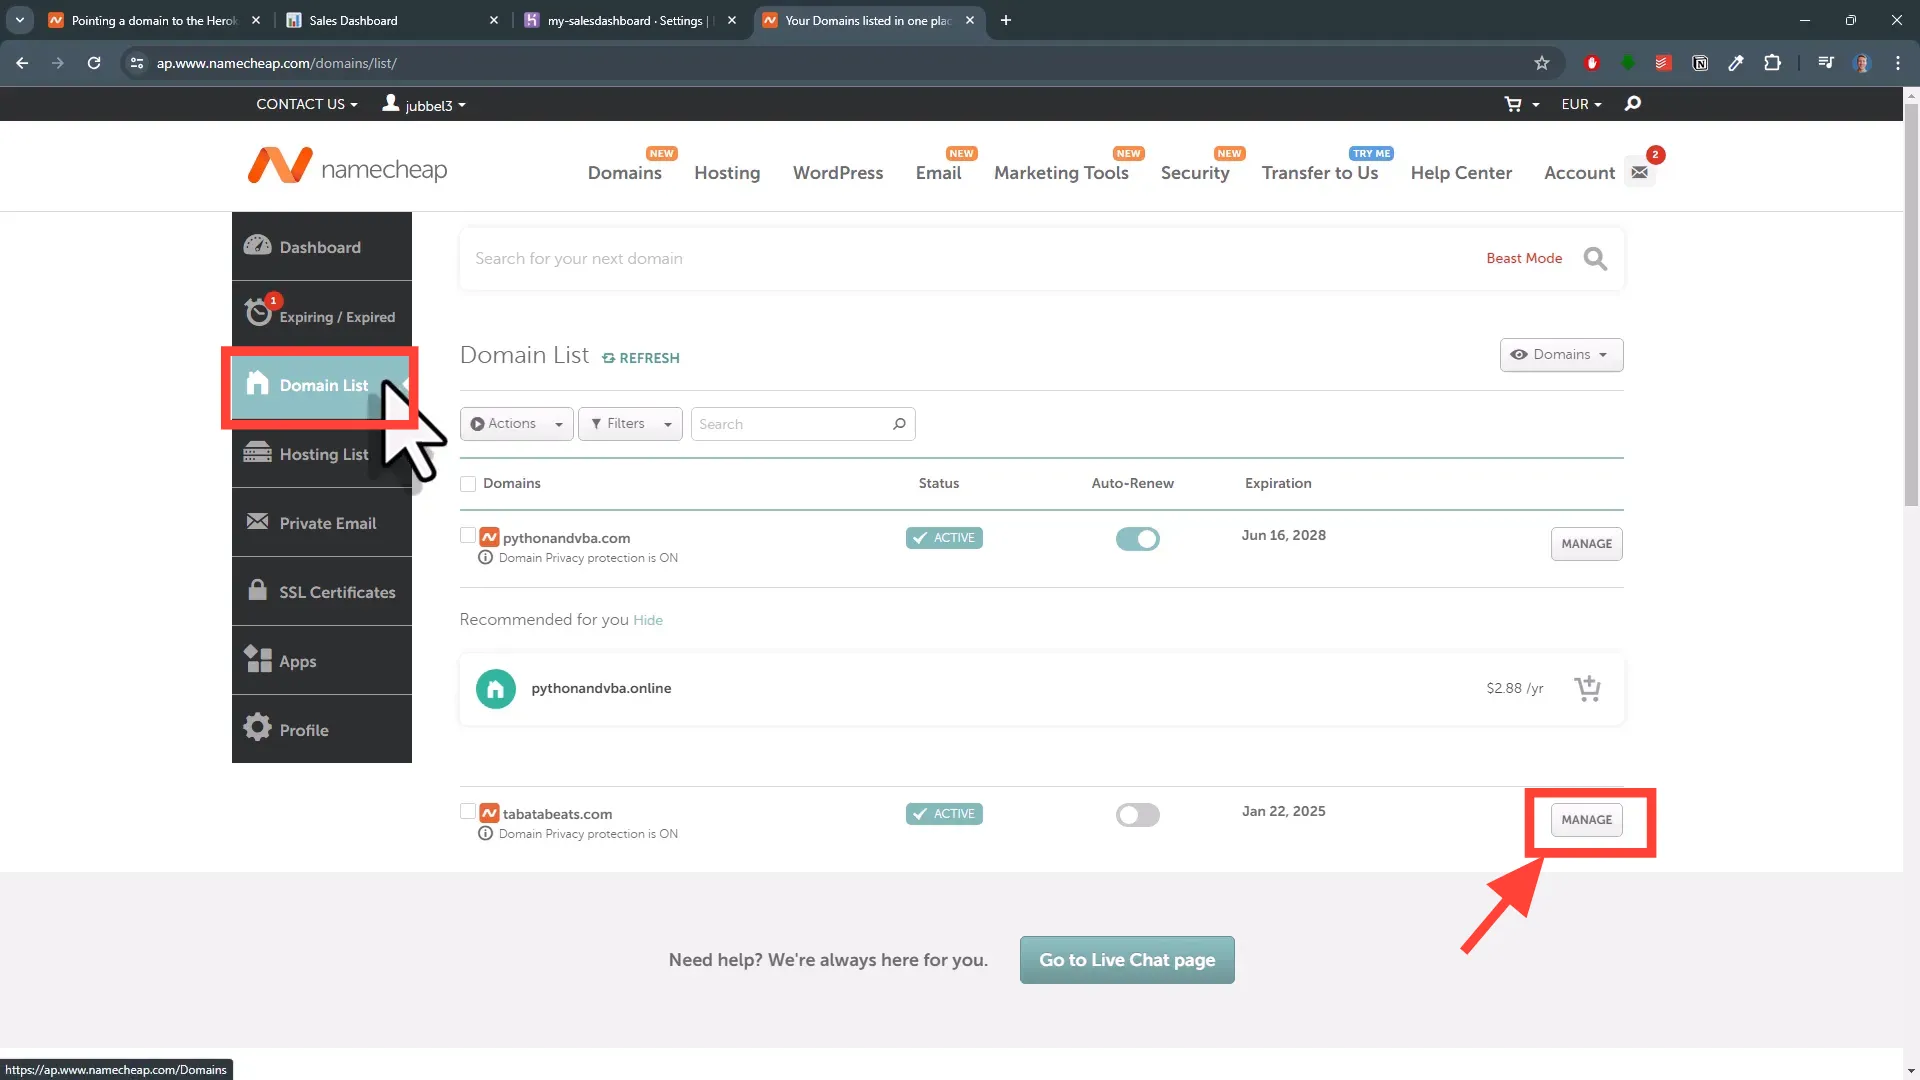
Step 2: Access Your Domain Settings
Once you have your domain, log into your Namecheap account. Under the Domain List, you should see your new domain. Click on Manage next to your domain name, and then navigate to Advanced DNS.
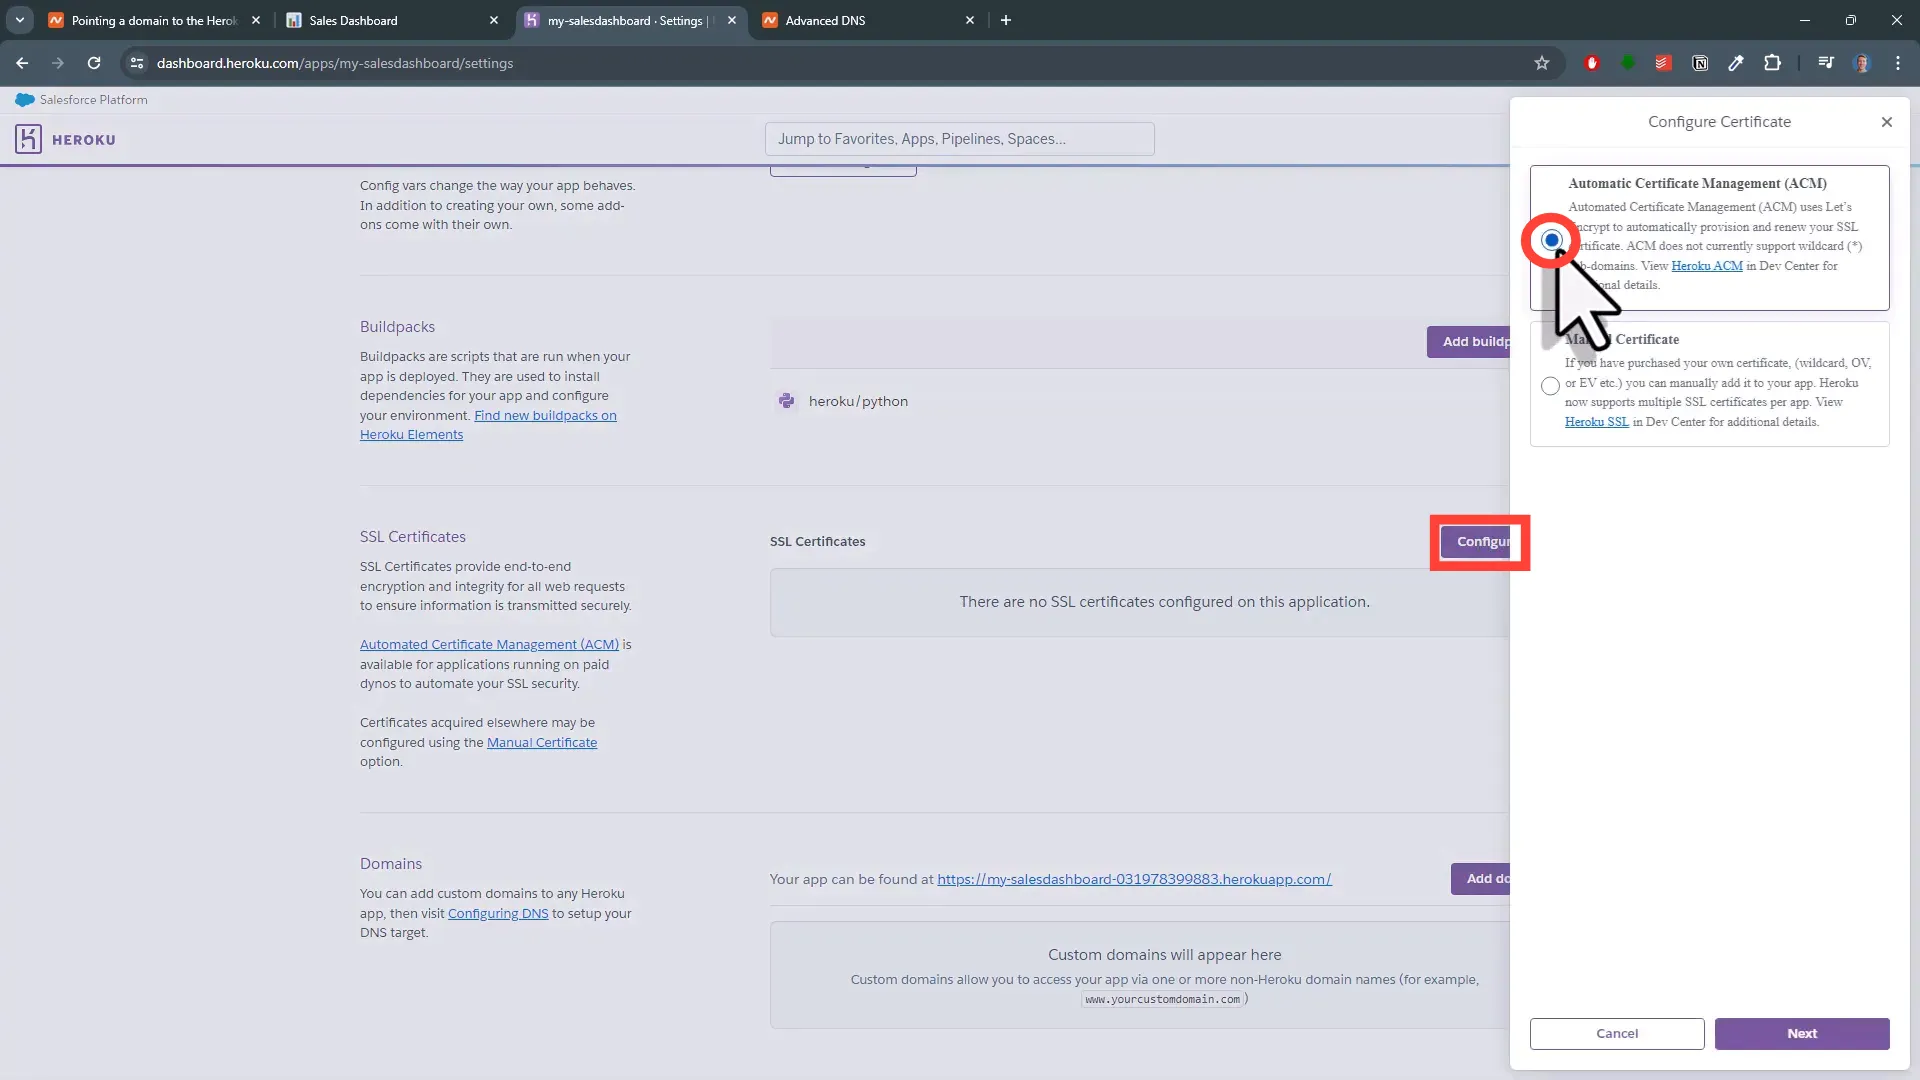
Step 3: Configure SSL in Heroku
Next, head over to your Heroku account. Under the Settings tab of your app, find the Configure SSL button. Click this and select Automatic Certificate Management.
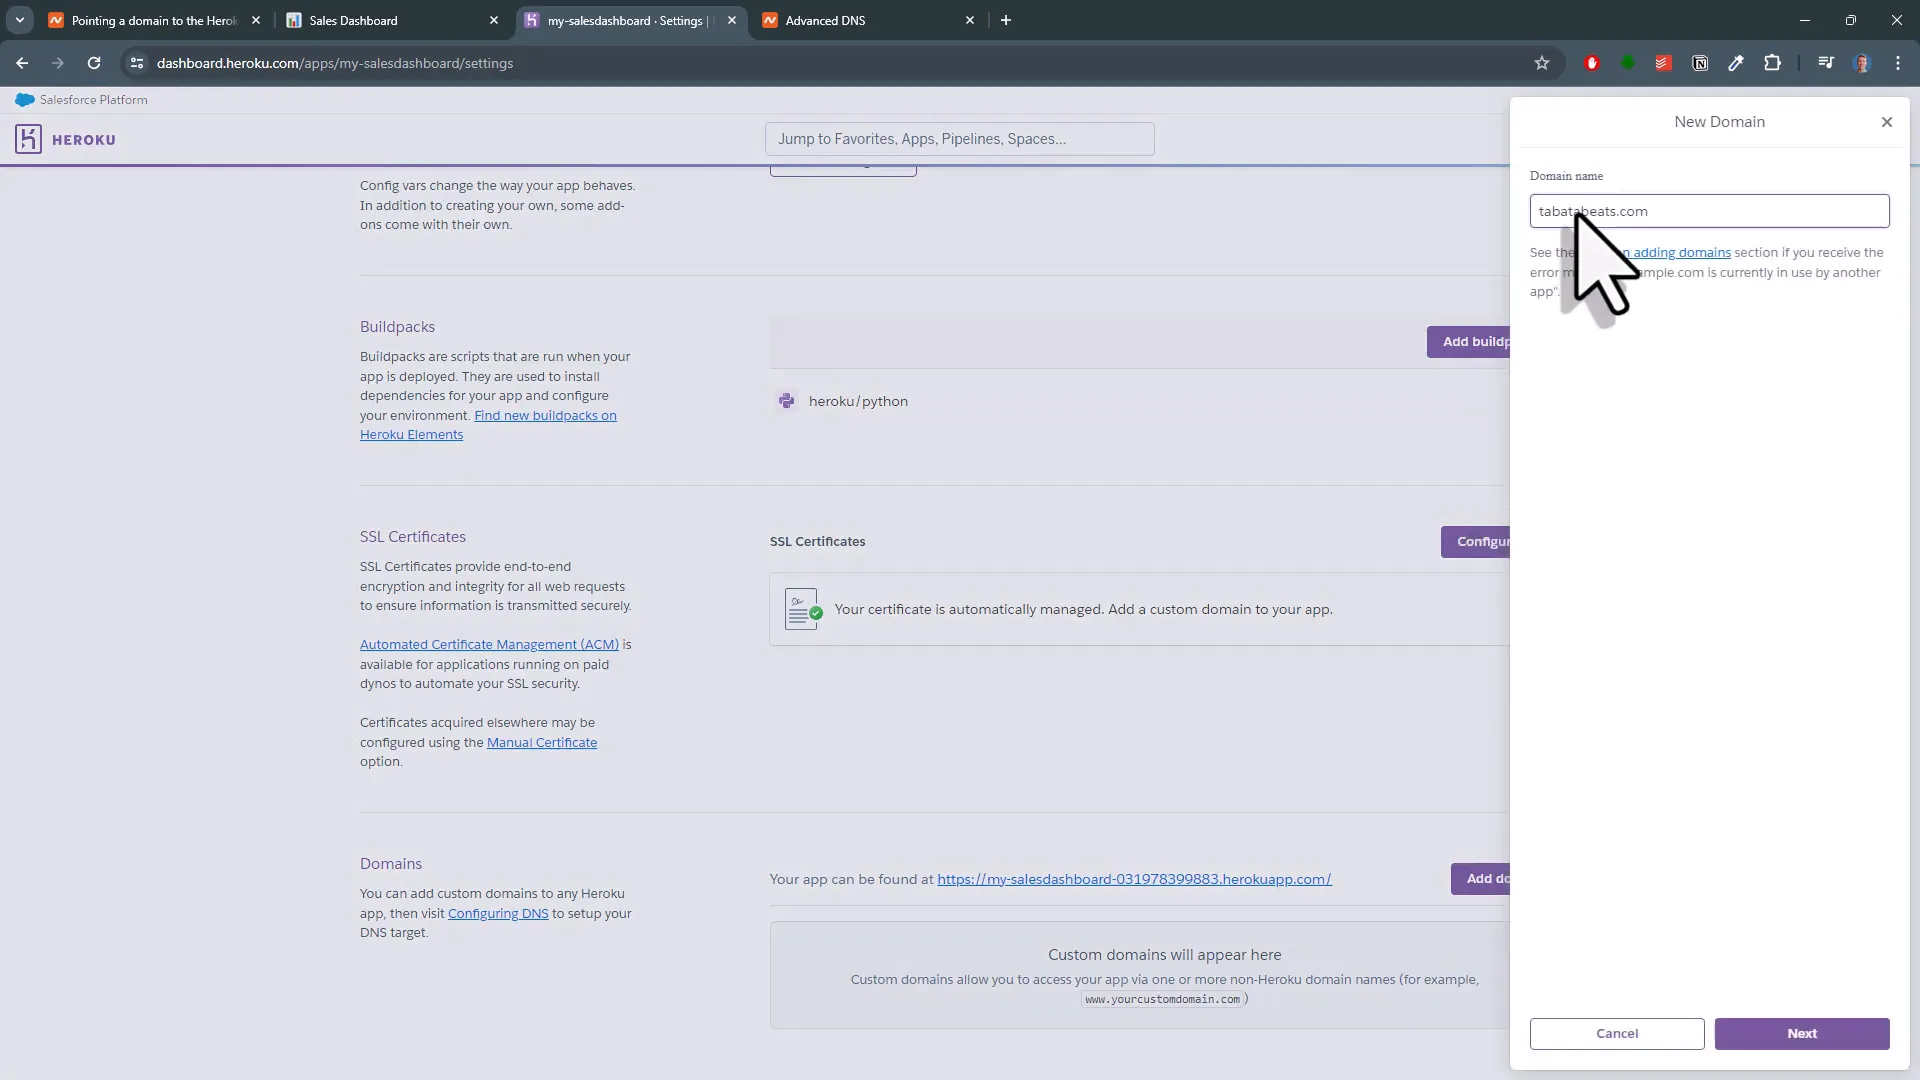
Step 4: Add Your Domain in Heroku
After setting up SSL, hit the Add Domain button. Here, enter your domain name without the leading “www”. Copy the DNS Target address that Heroku provides.
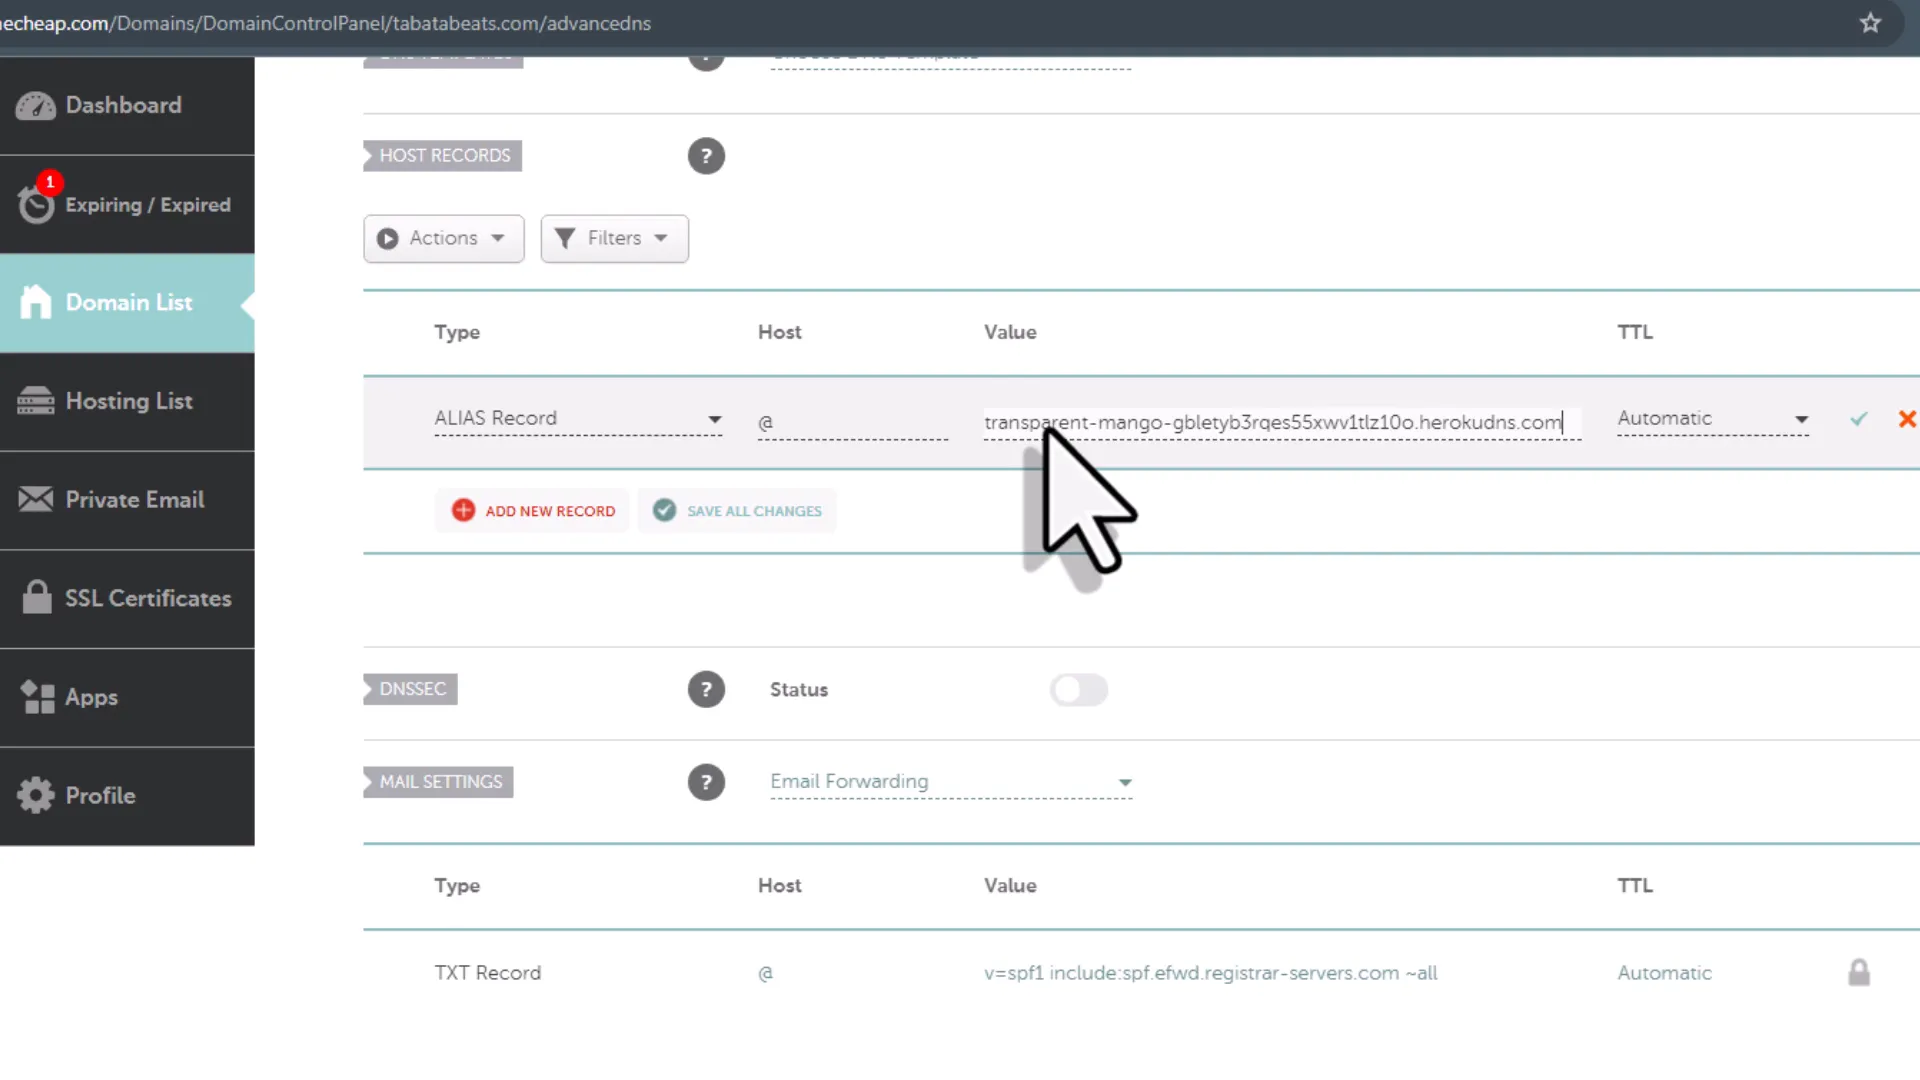
Step 5: Add DNS Records in Namecheap
Return to your Namecheap account, and in the Advanced DNS section, add a new record. From the dropdown list, select ALIAS Record. For the host, enter an @, and in the Target field, paste the DNS Target value you just copied from Heroku. Leave the TTL as Automatic and click the green check mark to confirm.
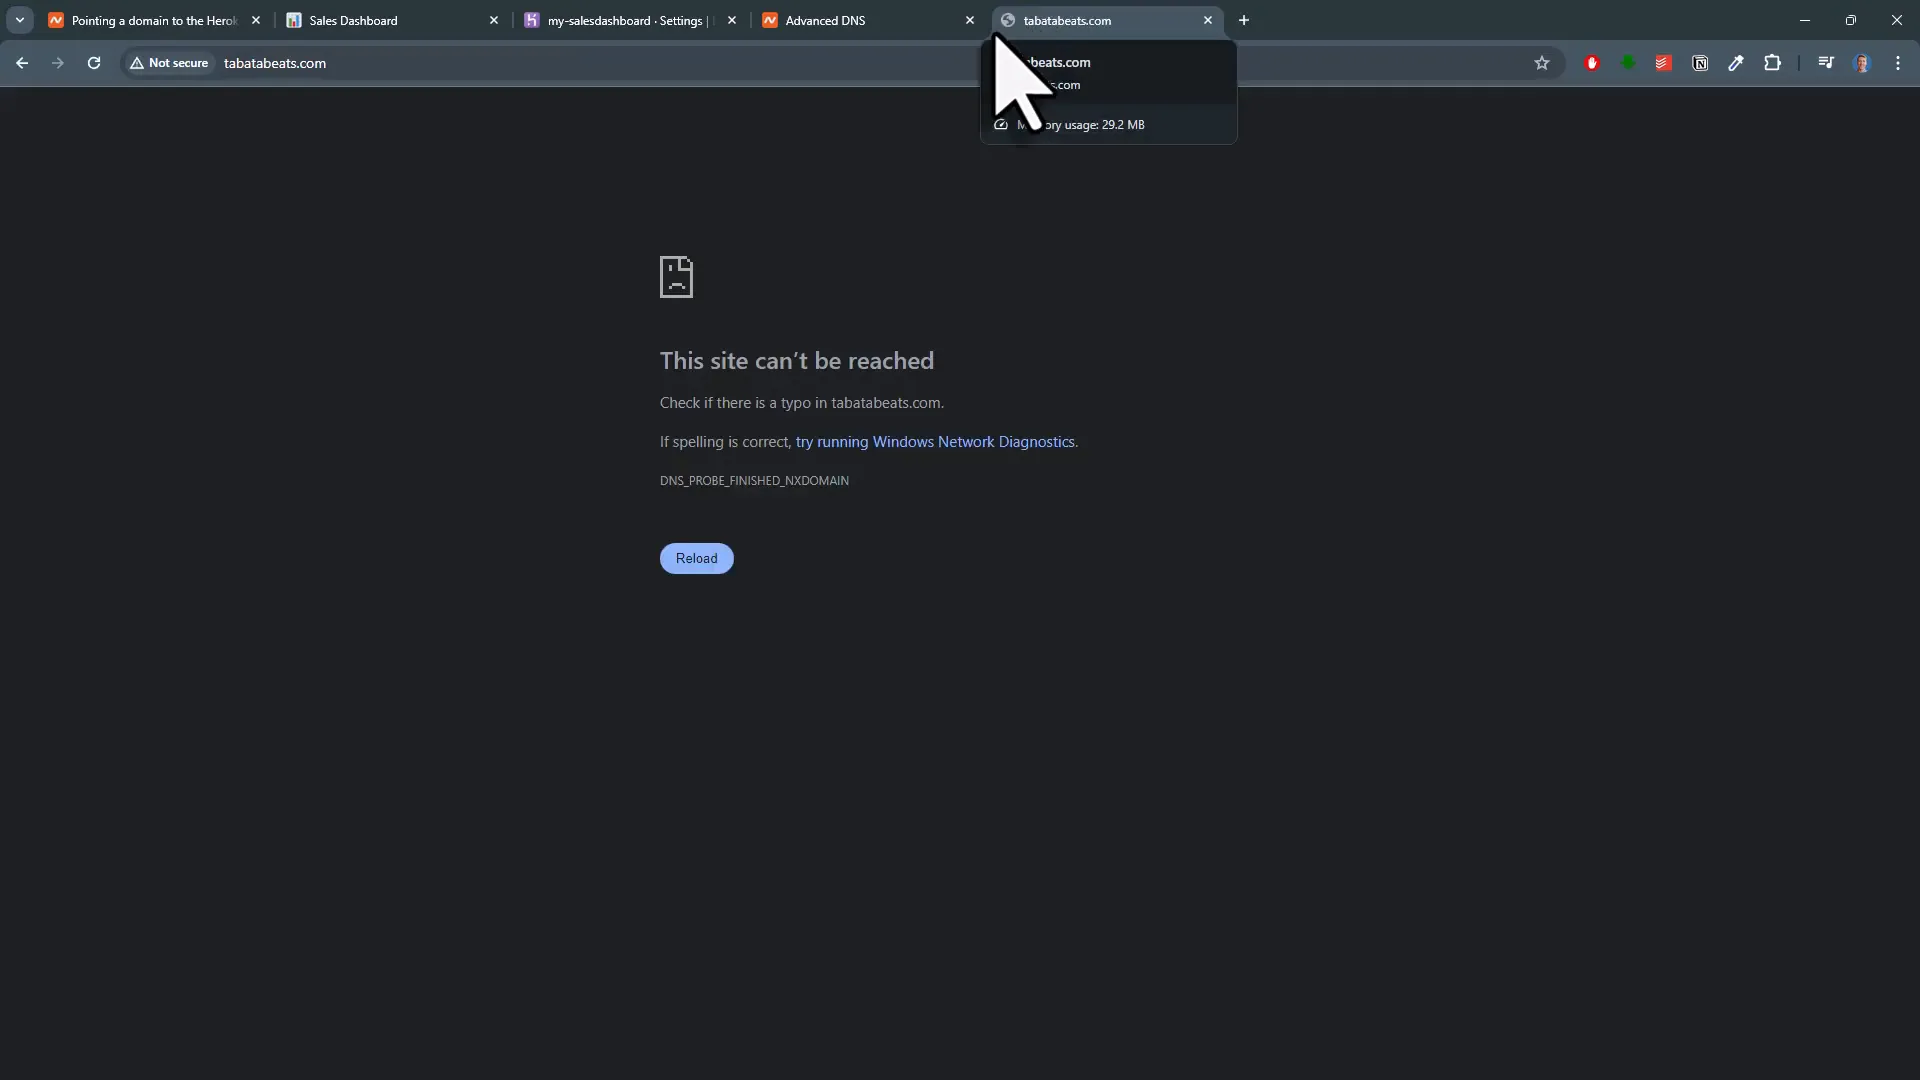
Step 6: Wait for DNS Propagation
Keep in mind that these changes might take some time to propagate. If you try to visit your website immediately, it may not be available yet. You can check the current status in your Heroku settings.
Step 7: Add www Subdomain
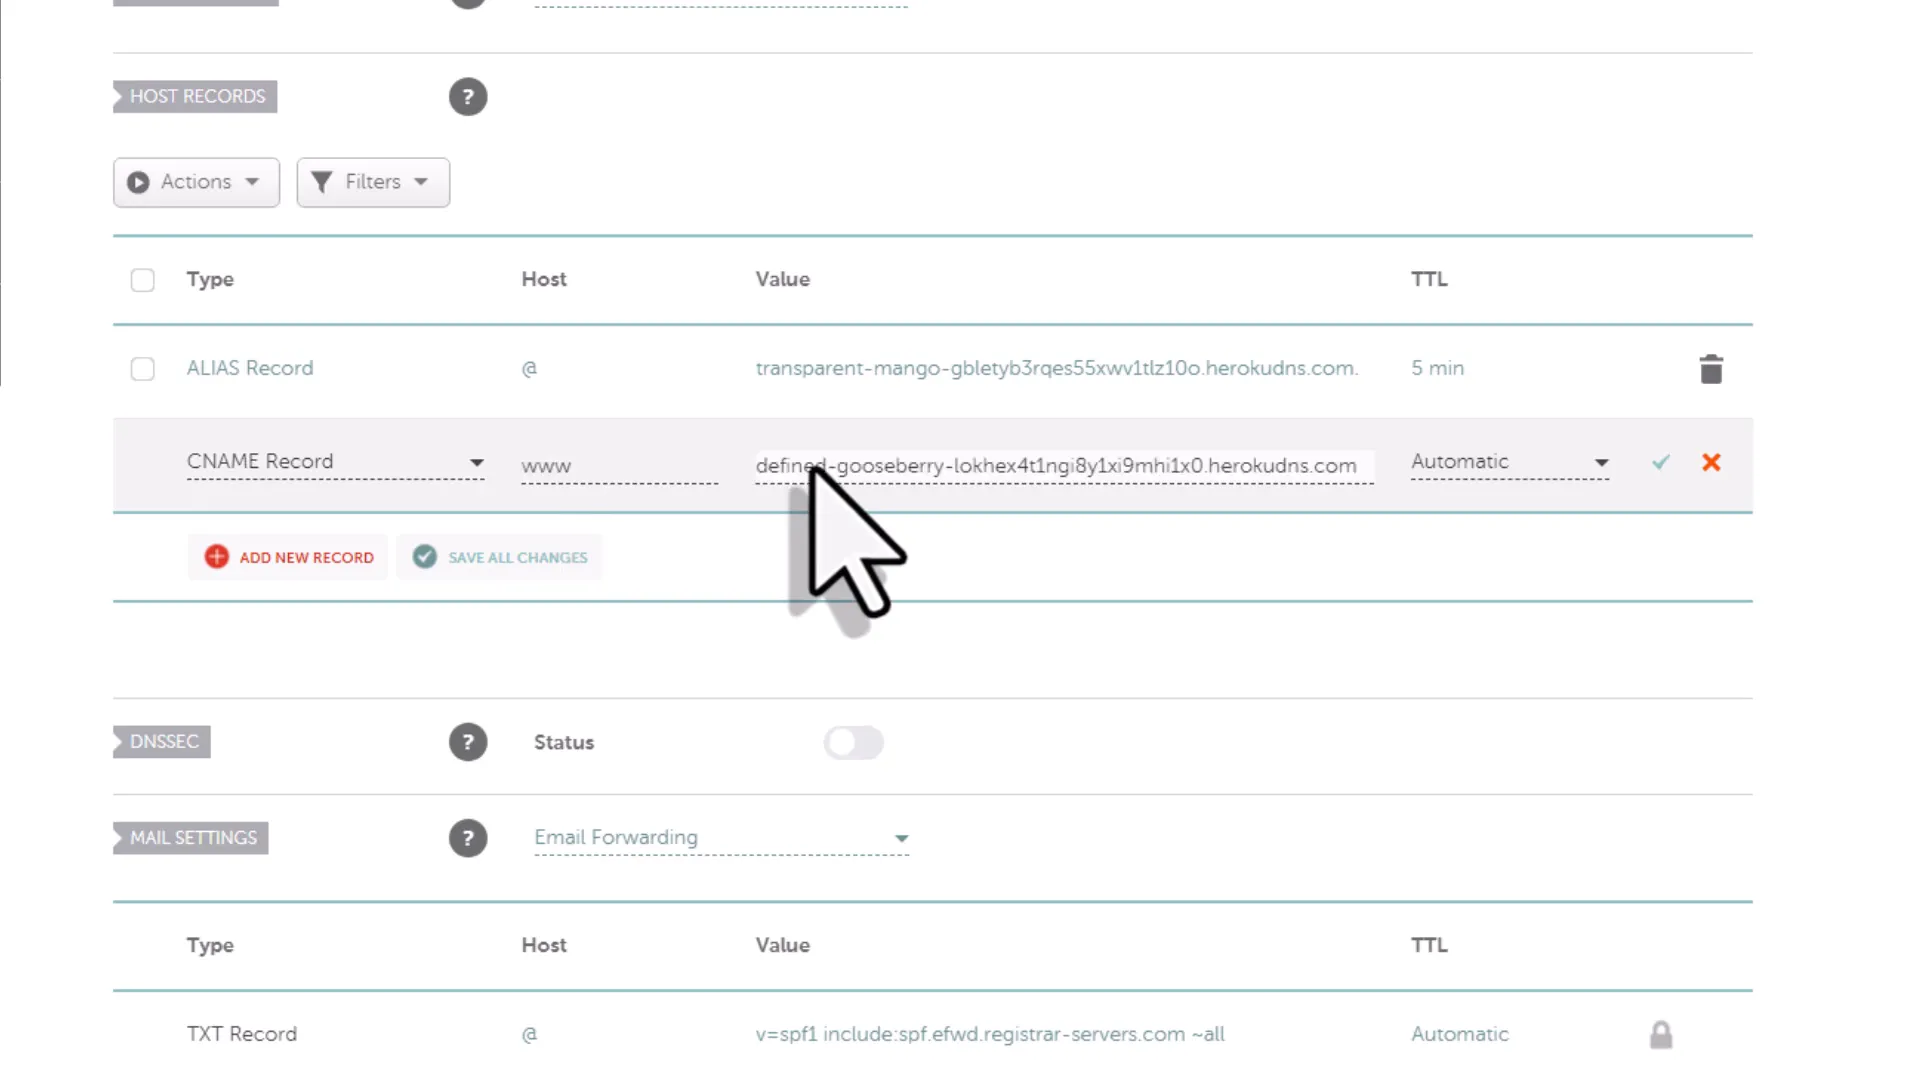
Next, you need to add your domain with the leading “www”. Repeat the process by adding the domain again, this time including “www”. Copy the DNS Target again from Heroku and add a CNAME Record in Namecheap. For the host, enter www, and paste the DNS Target value as before. Again, leave the TTL as Automatic.
Step 8: Final Status Check
Go back to Heroku and refresh your status. After a few minutes, the status should change to “OK”. Once both domains are confirmed, you should be able to access your Heroku app using your new custom domain, both with and without the “www”.

Conclusion
And there you have it! You have successfully linked your custom domain to your Heroku app. Follow these steps, and you’ll be able to reach your app under your new domain in no time. Thanks for reading!