Streamlit Meets No-Code: Automate with Ease using Zapier, Make, Pabbly Connect…
Introduction
No-code tools are incredibly powerful, yet many developers hesitate to use them, thinking they can code solutions themselves. However, I’ve found that using no-code tools can simplify my workflow significantly, especially in managing my YouTube channel and website. In this post, I’ll share how to connect your Streamlit app with no-code tools, allowing you to automate processes such as storing data in Google Sheets, sending confirmation messages via email, or notifying yourself on Slack about new submissions.
Setting Up Your Streamlit App
Let’s say you’ve built an entry form in Streamlit and want to save the results in a Google Sheets document. While I have tutorials on how to code this solution, I will demonstrate how to achieve this using a no-code approach.

In the entry form, you’ll include fields for a name, email, and video idea, along with a submit button. When the button is pressed, the submitted data is stored in a dictionary. This data will then be sent out as a POST request to a webhook URL.
Understanding Webhooks
Before moving forward, it’s important to understand what a webhook is. Think of a webhook as a doorbell for servers. When something important happens on one server, the webhook sends a quick message to another server to notify it of the event. In this case, when someone submits the form, I want to inform another server about it.

You could set up your own server or write a webhook handler in Python, but I recommend using a no-code tool. There are several options available, such as Zapier, Make.com, or Pabbly Connect. I personally use Pabbly Connect, which offers 100 free monthly tasks, ideal for many use cases.
Creating a Workflow in Pabbly Connect
Once logged in to Pabbly Connect, create a new workflow and give it a name. The idea behind these automation tools is to define what will trigger your automation flow. In our case, we will use the webhook as the trigger.
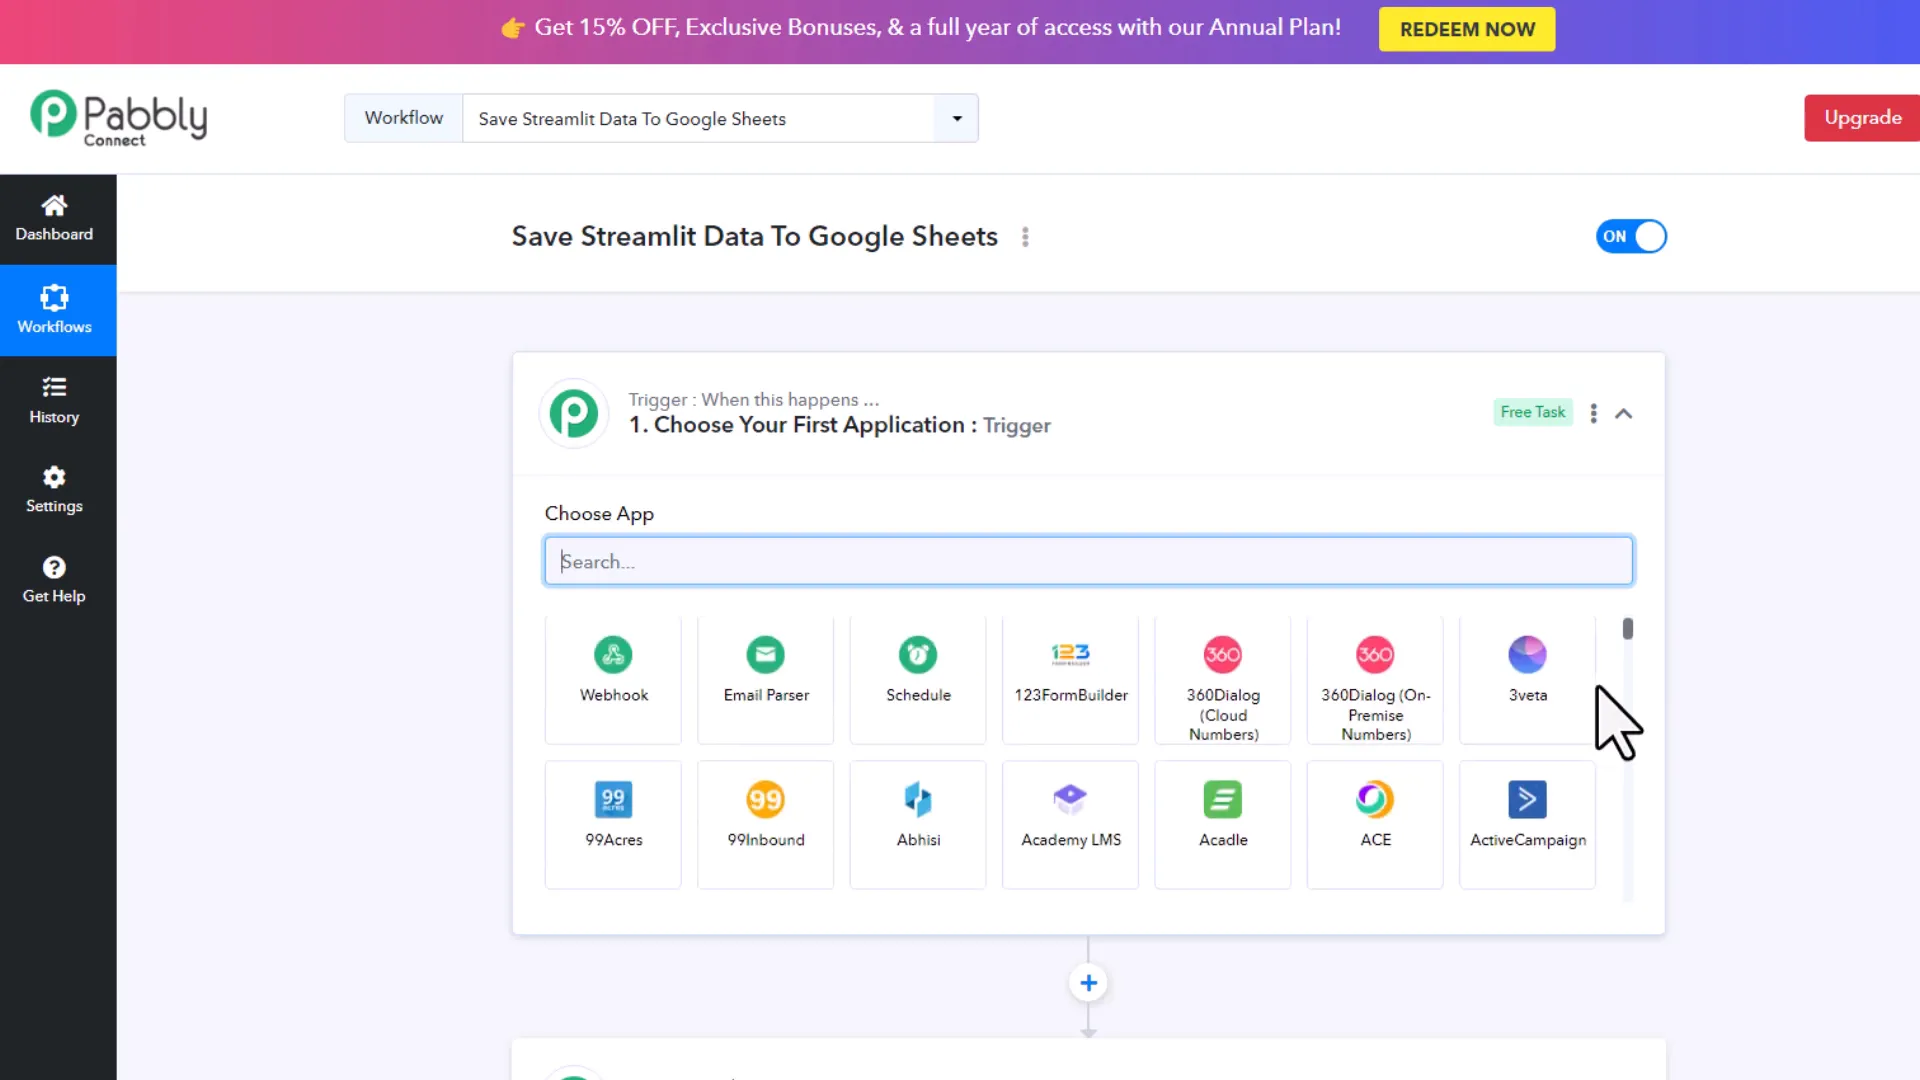
After selecting ‘Webhook’ from the list, Pabbly Connect will generate a webhook URL. Copy this URL and paste it into your Streamlit app.

Now, when you submit the data through your Streamlit form, it will be sent to the webhook. Back in Pabbly Connect, you should see the received data.
Processing the Data
Once you have the data, you can decide what to do with it. For instance, you could save it in Airtable, send a confirmation email, or notify yourself on Slack or Discord. In this example, I will save the entry to Google Sheets.
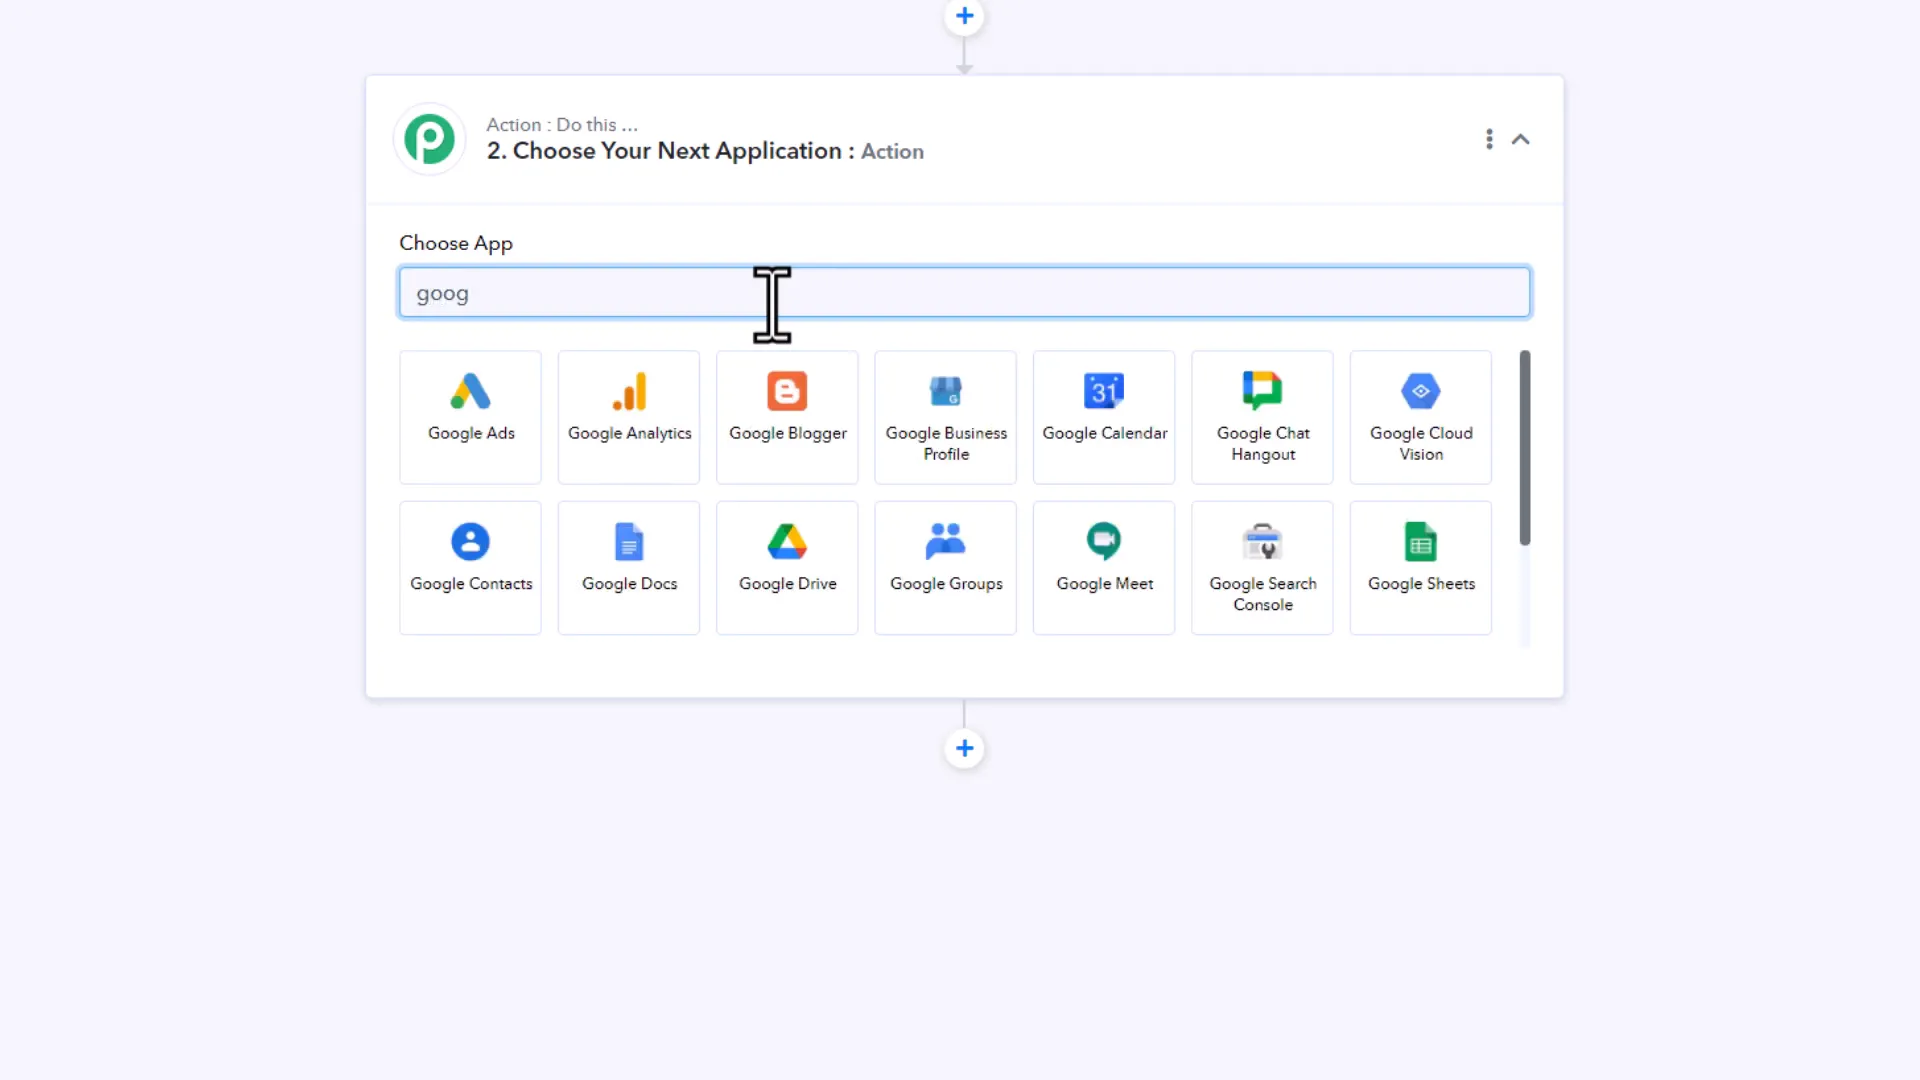
To do this, search for Google Sheets in Pabbly Connect, and select the action to add a new row. If you’re using Pabbly Connect for the first time, you’ll need to set up a connection to your Google account. In my case, I already have a connection established.
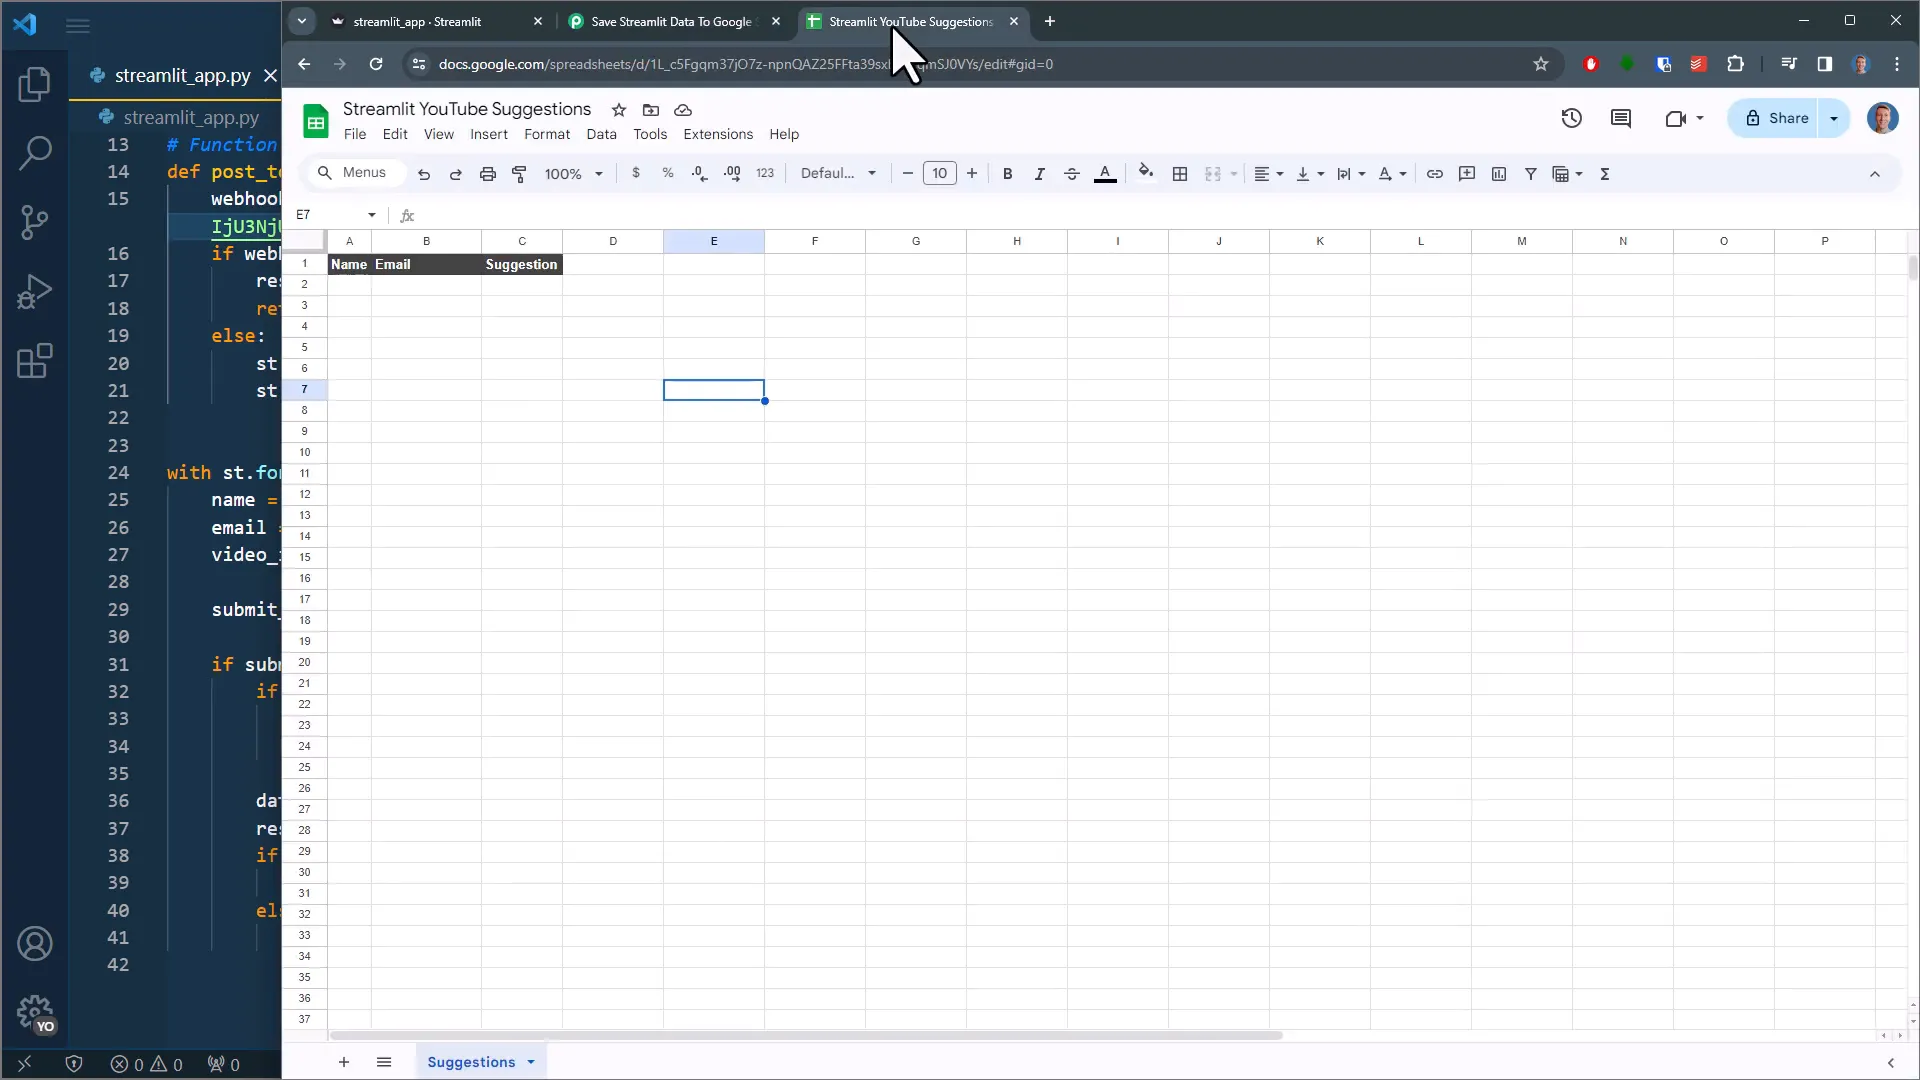
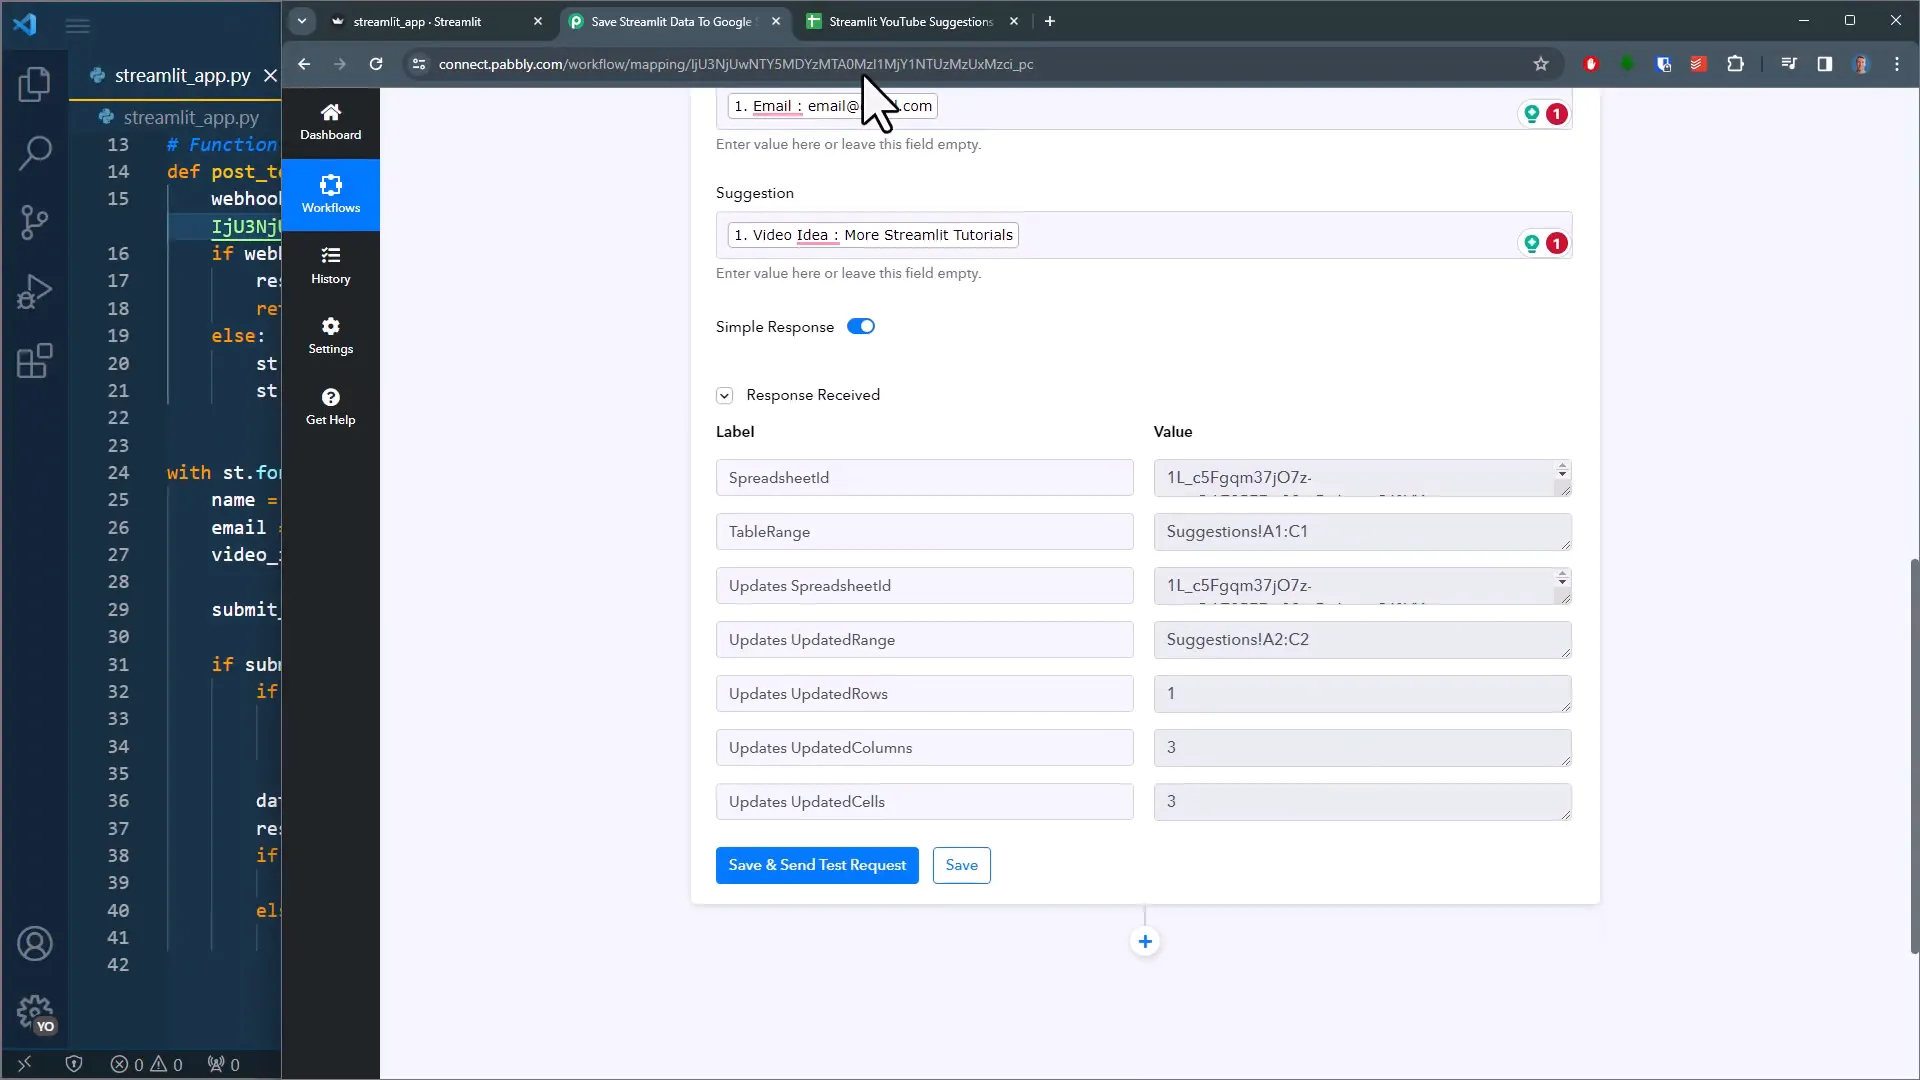
Next, specify the spreadsheet and worksheet name. I’ve prepared a simple spreadsheet with headers. Now, map the data received from the webhook to the corresponding columns in Google Sheets.
Testing the Integration
Once you’ve set everything up, save and send a test request. You can check the result in your Google Sheet to confirm that the data has been successfully stored.
Feel free to expand on this by adding other steps, such as connecting to your Gmail account to send out an email confirmation. However, for simplicity, I’ll keep it straightforward.
To test things one more time, modify the data in your form and submit it again. You should see the new entry appear in your spreadsheet.
Conclusion
This is how easy it is to connect your Streamlit app with no-code automation tools. The flexibility and power of no-code solutions can significantly enhance your development process, allowing you to focus more on creating rather than coding each solution from scratch. Don’t forget to use this website to send me your ideas for future video topics, and check the link to the live website in the description below.