Build a SaaS with Streamlit

Introduction
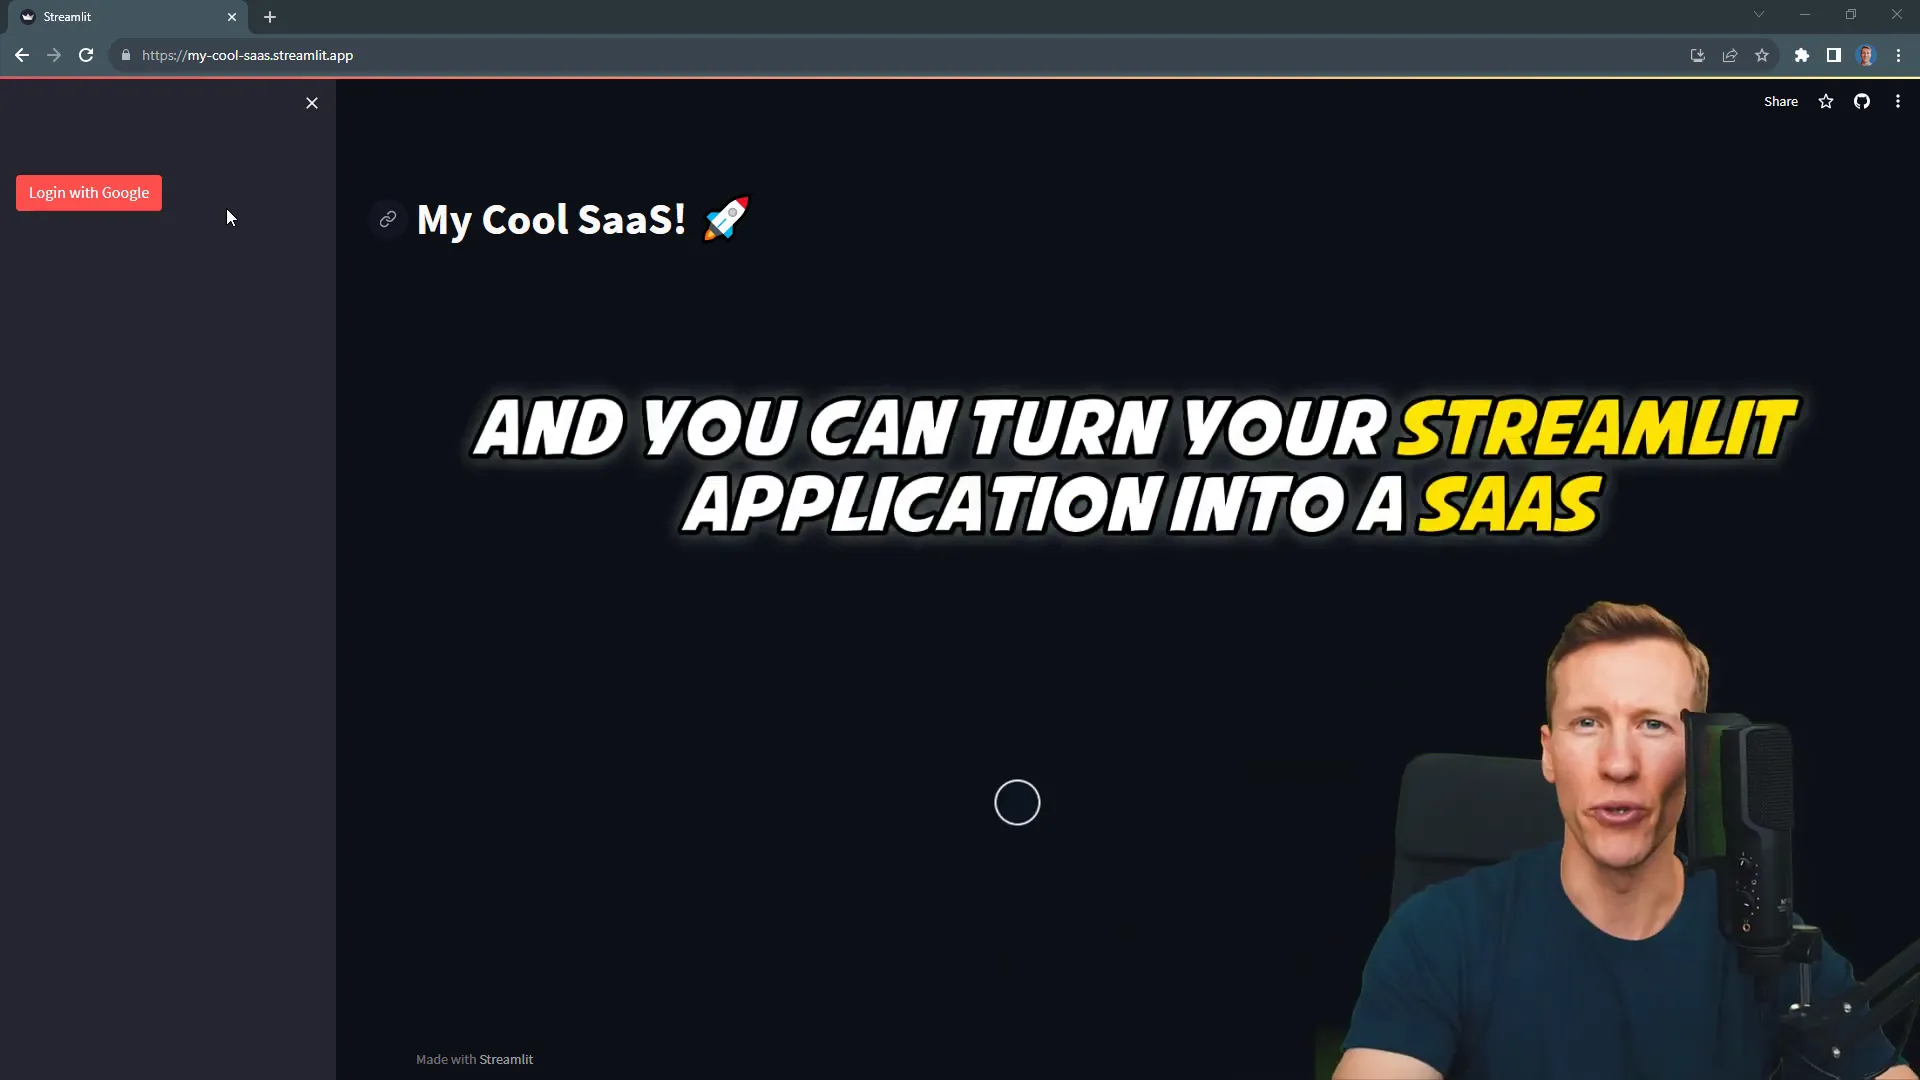
With just one line of code, I can turn my Streamlit application into a SaaS. This means only authenticated users with a valid subscription can use the application, thanks to a new package called st-paywall. After setting it up, I only need to add one more line of code for Google authentication and payment processing. In this post, I will guide you through the step-by-step process to set everything up.
Setting Up the Project & Installation
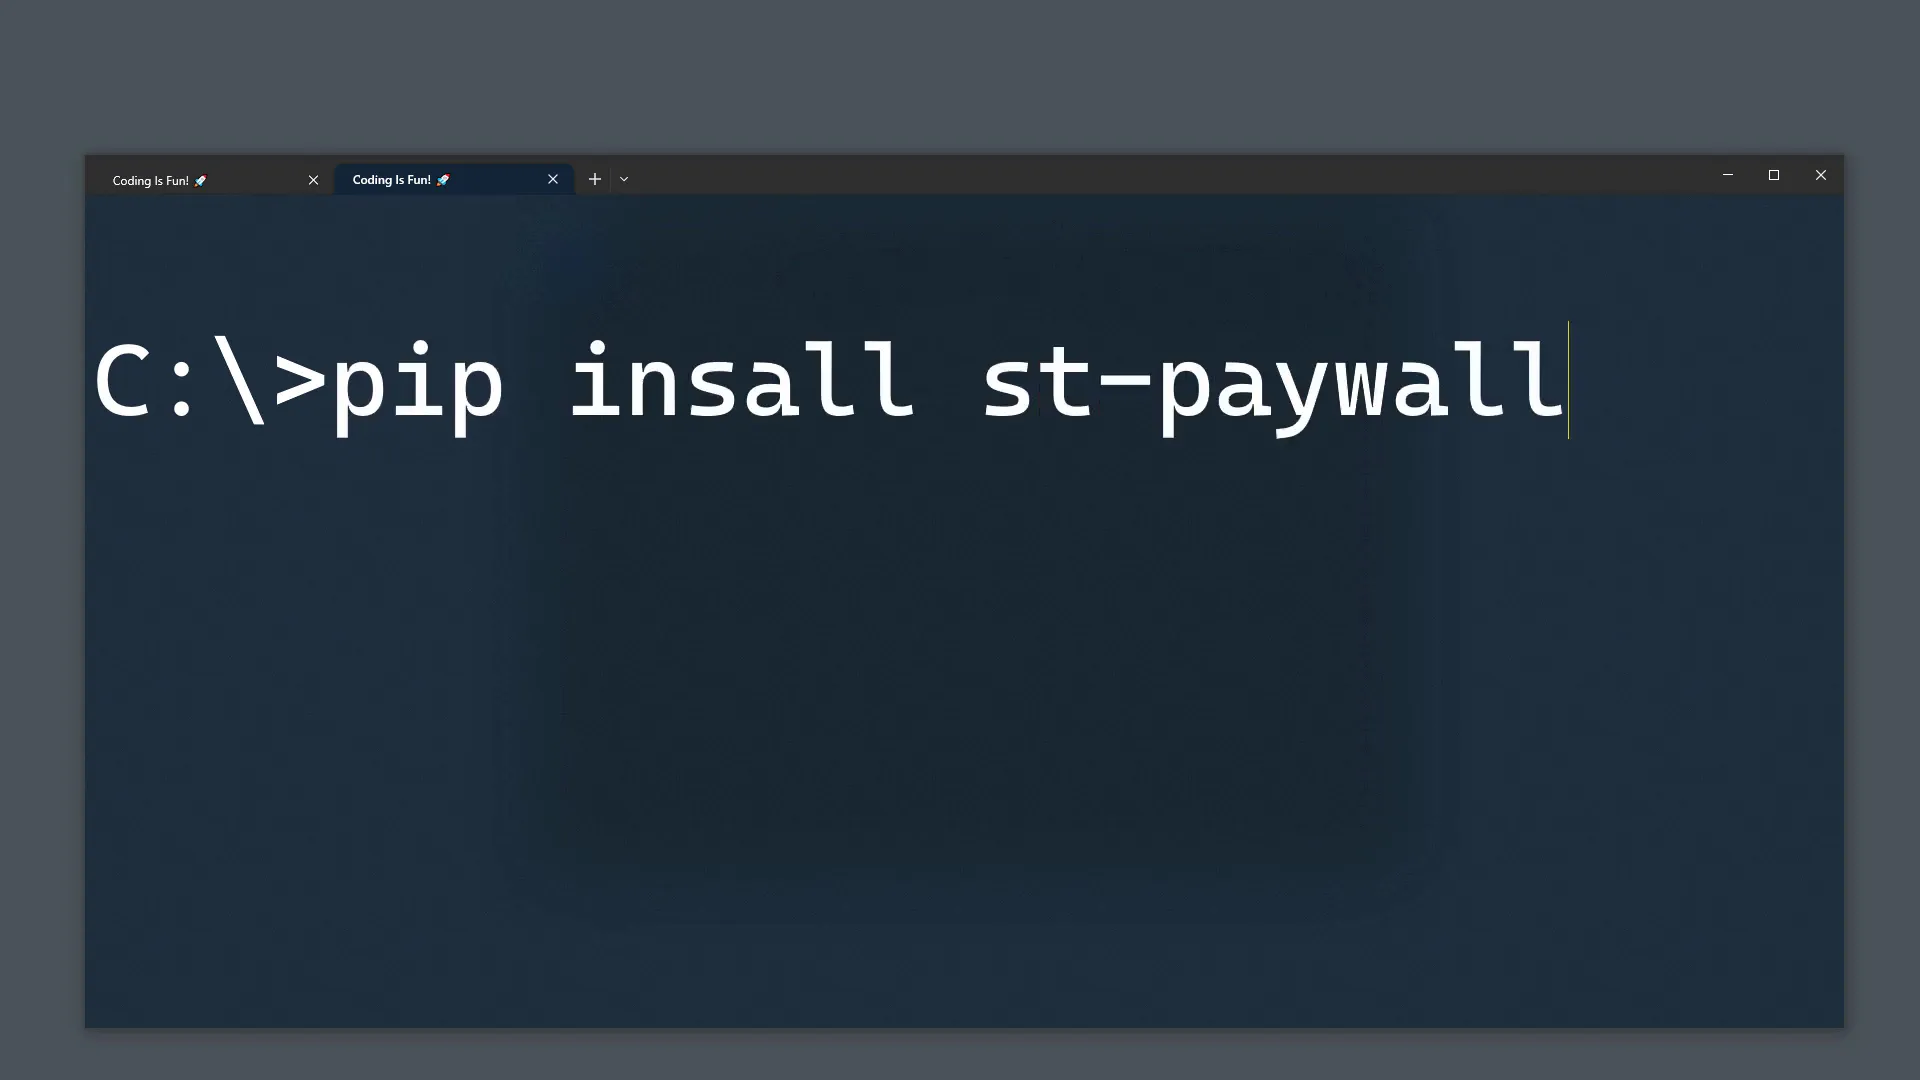
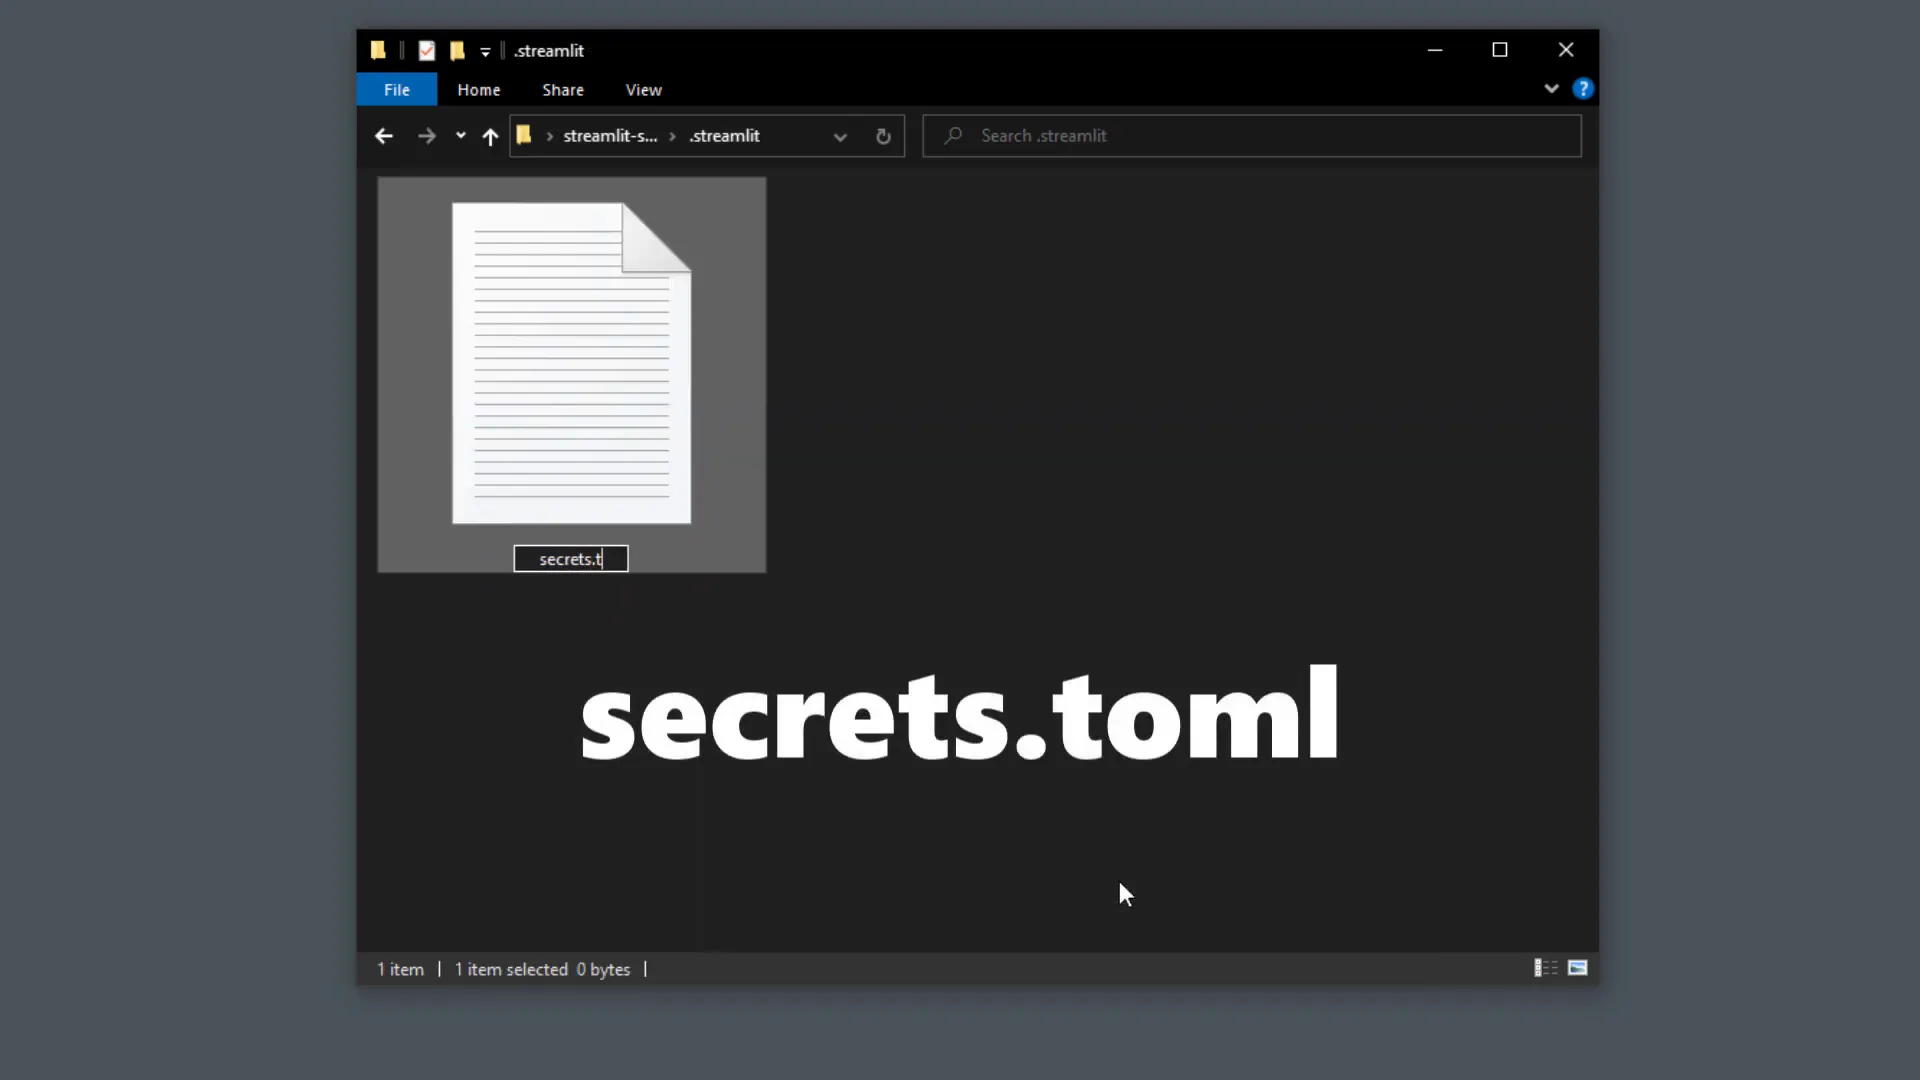
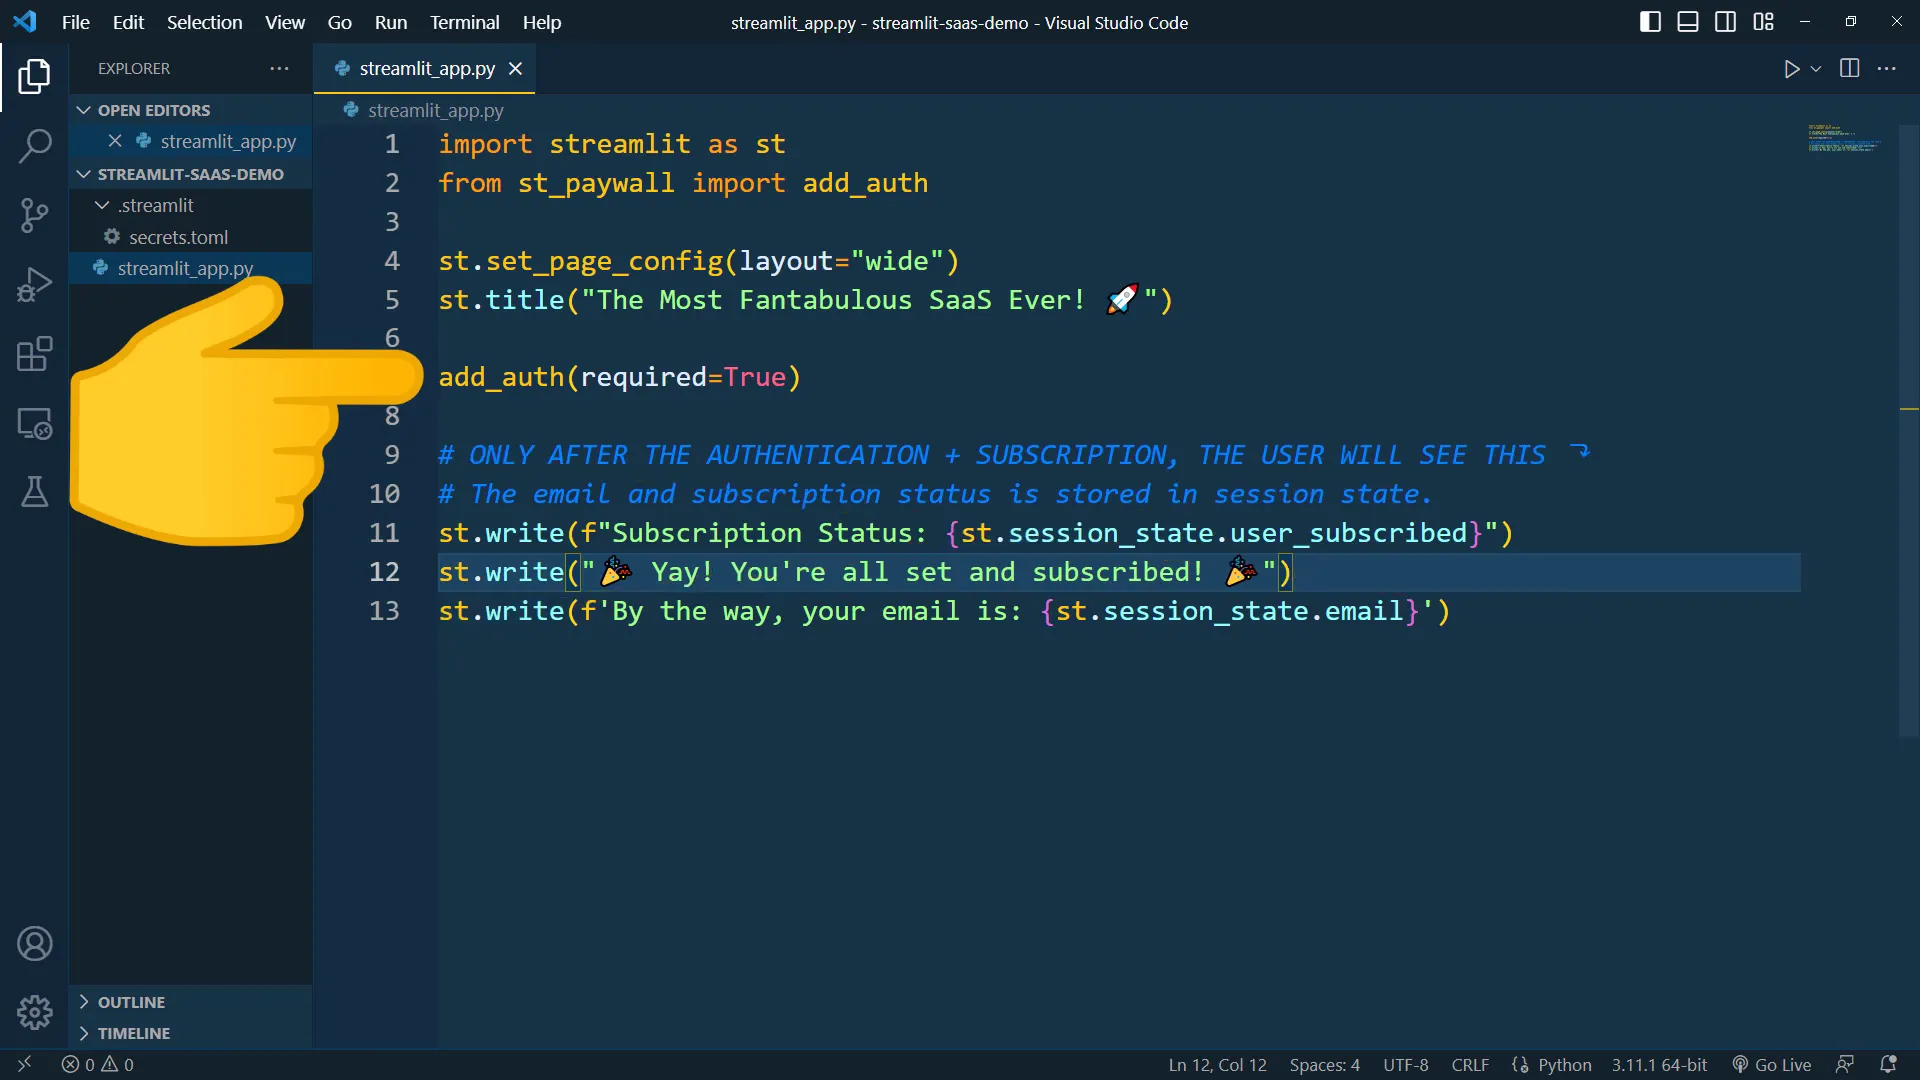
To kick things off, I open my terminal or command prompt and type pip install st-paywall to install the package. Next, I need to sort out the file and folder structure for this project. I create a main script named streamlit_app.py and set up a folder called .streamlit. Inside this folder, I create a secrets.toml file, which is essential for using the paywall package.
Integrating Google Authentication
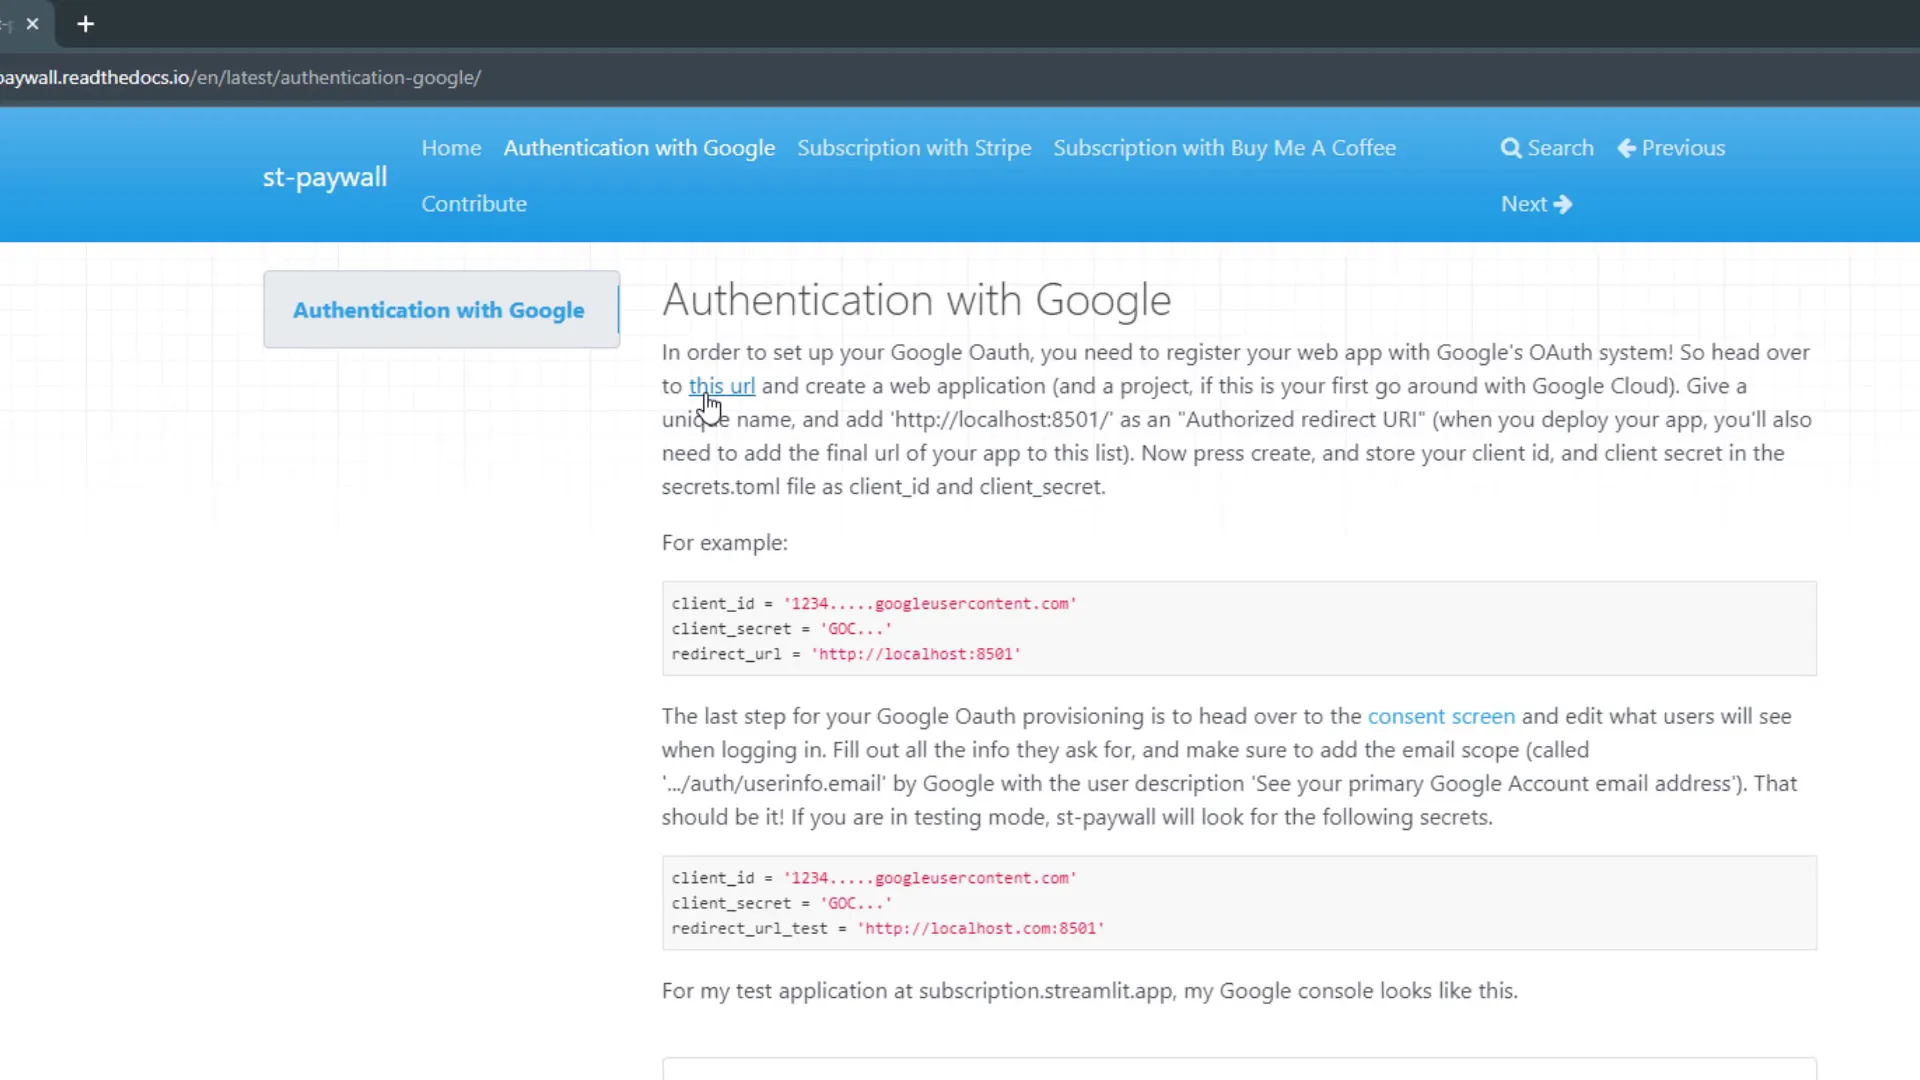
Now, let’s fill out the secrets.toml file. I head over to the official st-paywall documentation and copy the necessary lines into my secrets file. This file stores credentials and API keys, including details for Google authentication and spaces for different payment providers. Currently, the package supports two payment providers: Stripe and Buy Me a Coffee.
Next, I set up Google authentication by creating a new project in the Google Cloud Console. I name the project and set up the consent screen, which users will see when they log into the Streamlit app. After filling in the required details, I proceed to create credentials for this project, selecting OAuth client ID and configuring it for a web application.
Building the Streamlit App
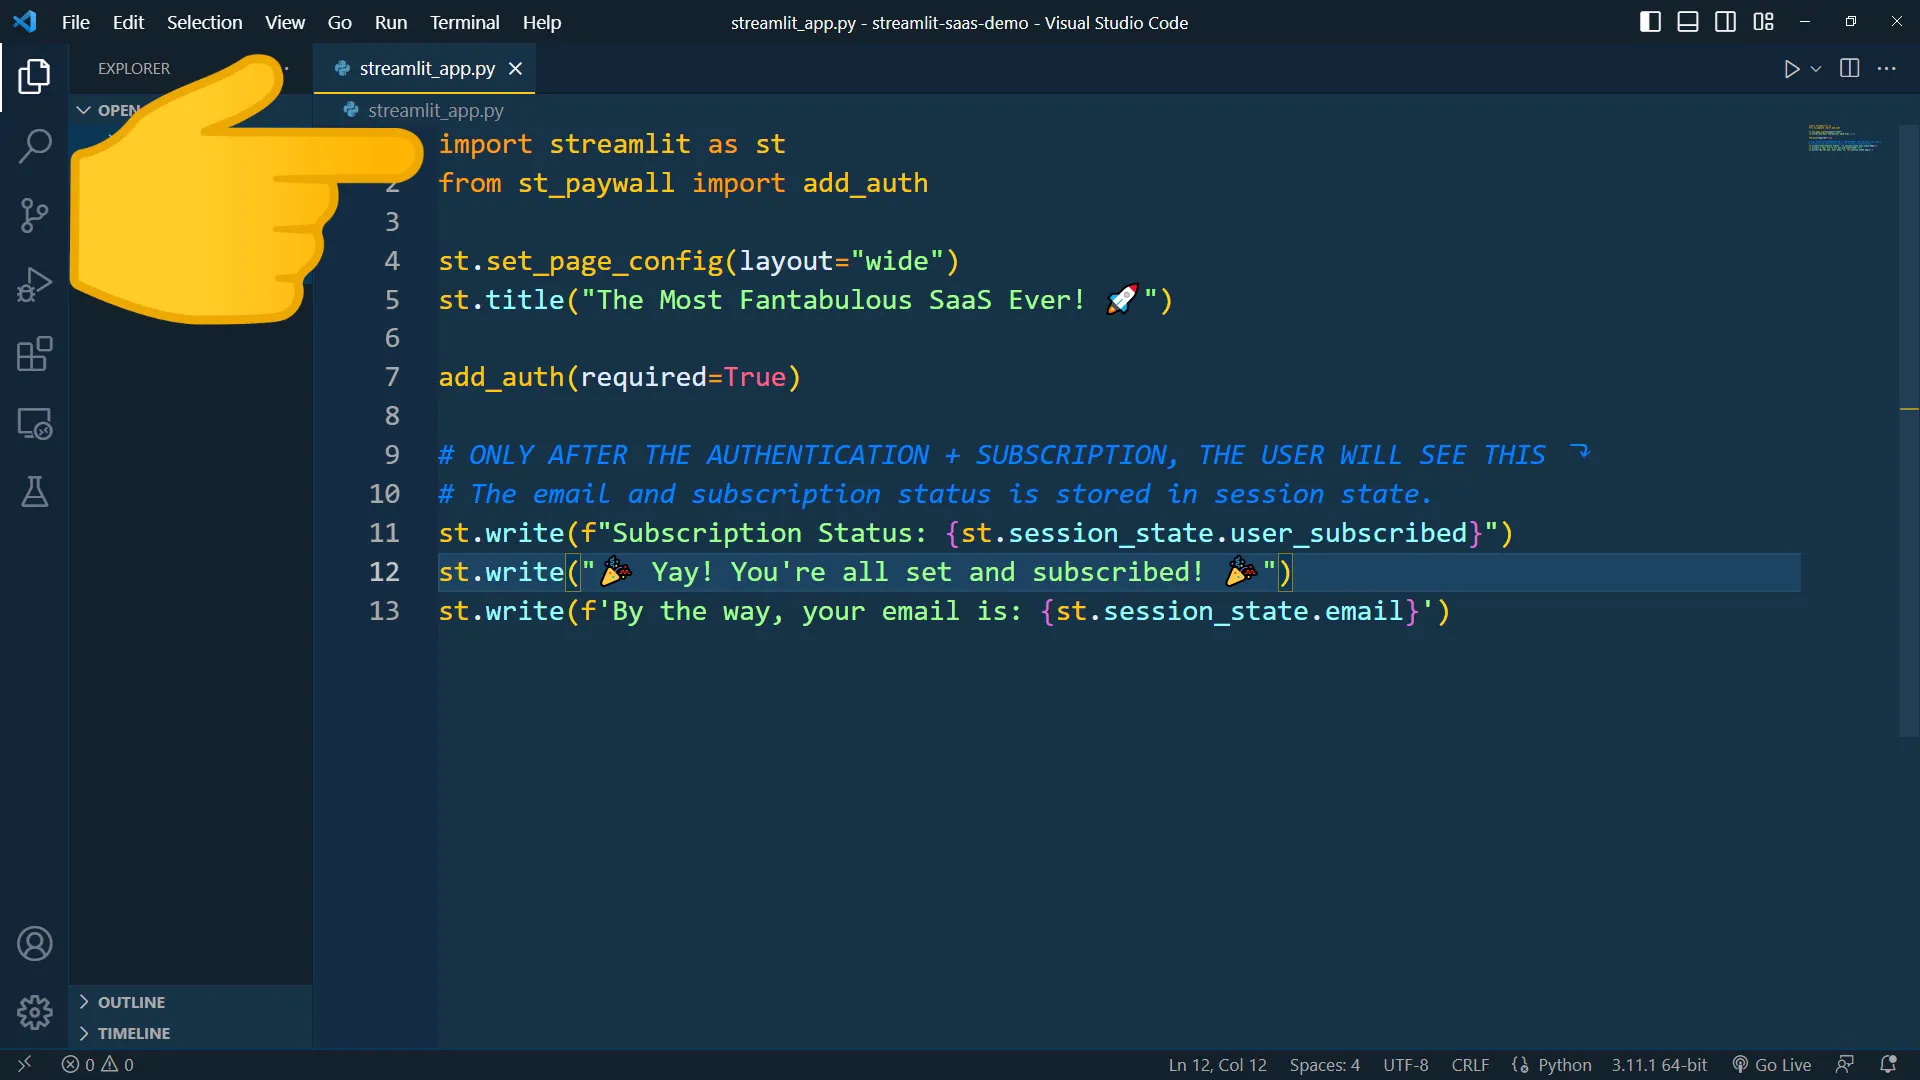
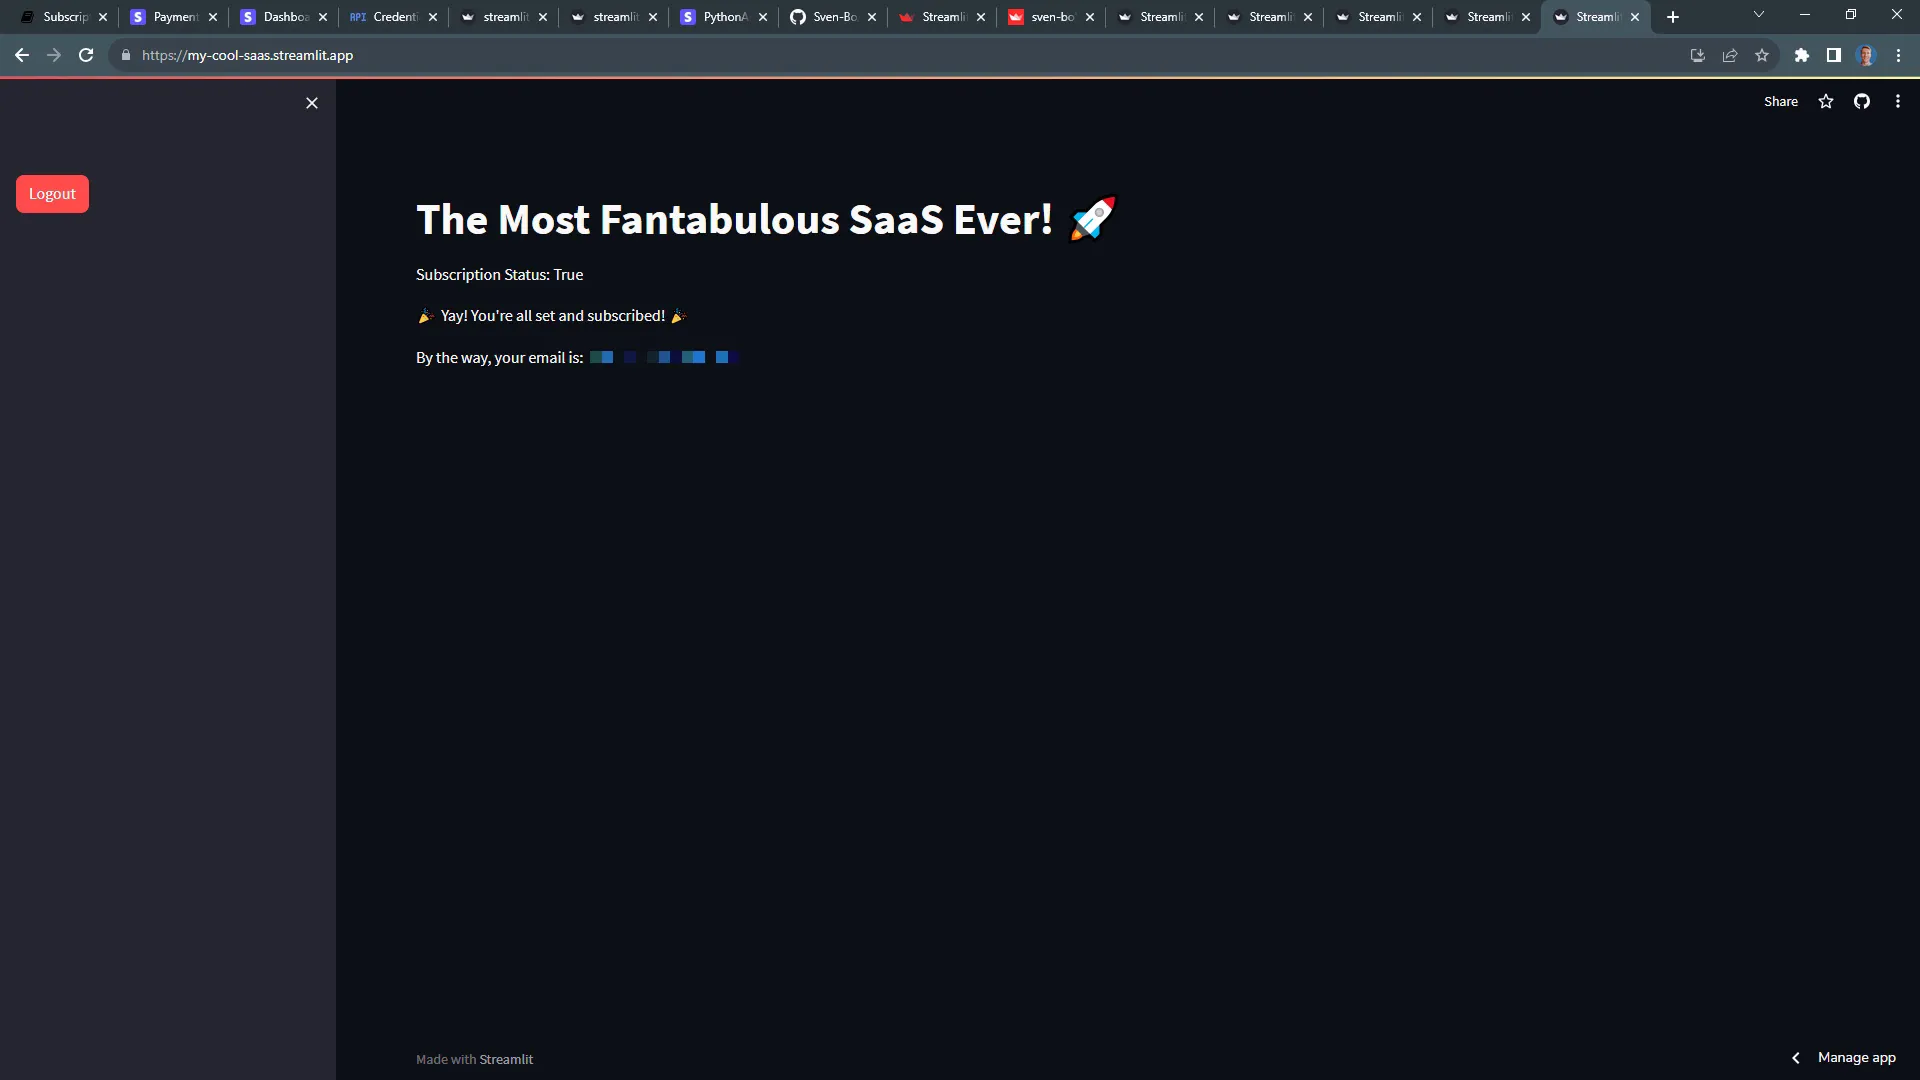
With the Google authentication set up, I move on to creating the Streamlit app itself. I import the necessary libraries, set some basic configurations, and add a title. The next step is adding the authentication line, ensuring only authenticated users with a valid subscription can access specific parts of the app.
After running the app, I see a login button in the sidebar menu, automatically added by the st-paywall package. By clicking it, I log in using my Google account and get redirected to my app. However, I encounter an error message because I haven’t set up the required payment method yet.
Integrating Stripe for Payments
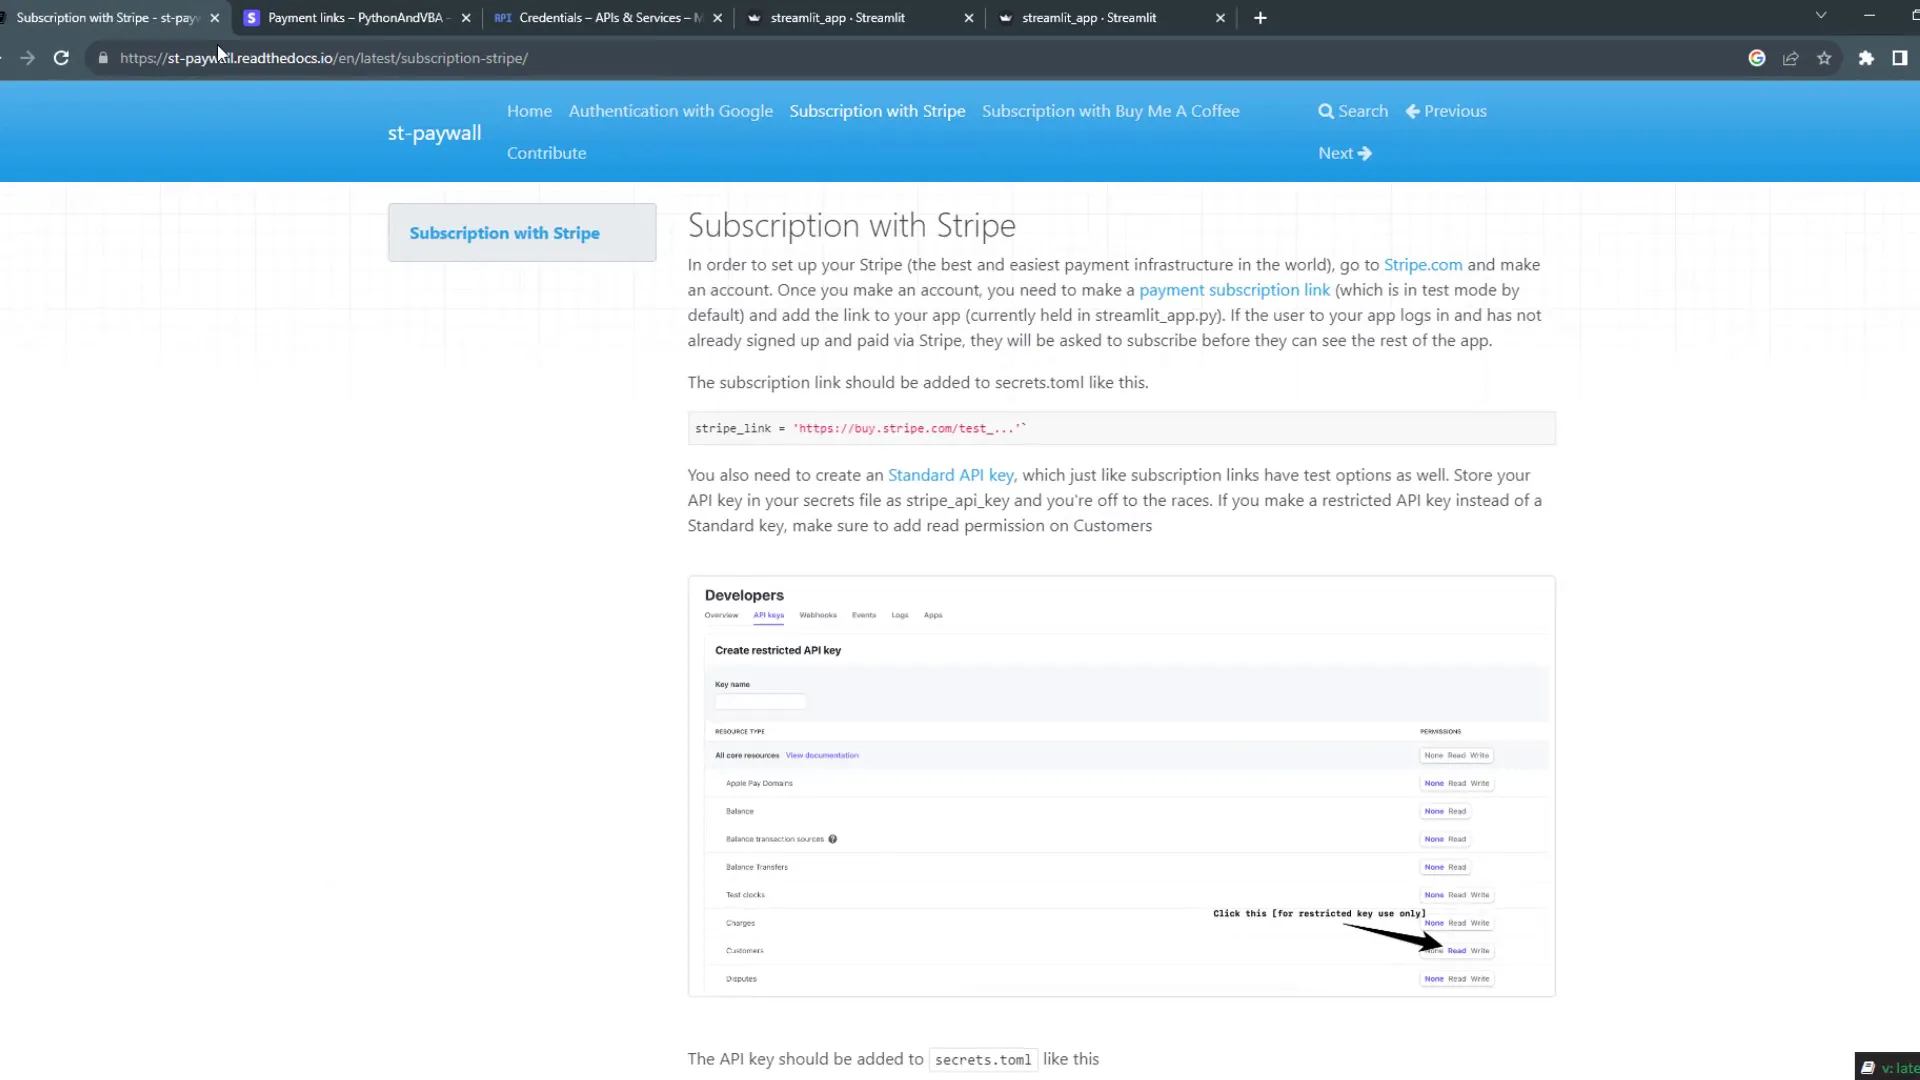
For payment processing, I choose Stripe as my provider. I first need to set up a Stripe account and create a payment link. In test mode, I create a product named My Cool Service, input a price, and set the payment option to recurring. This is crucial, as it won’t work with a one-time payment.
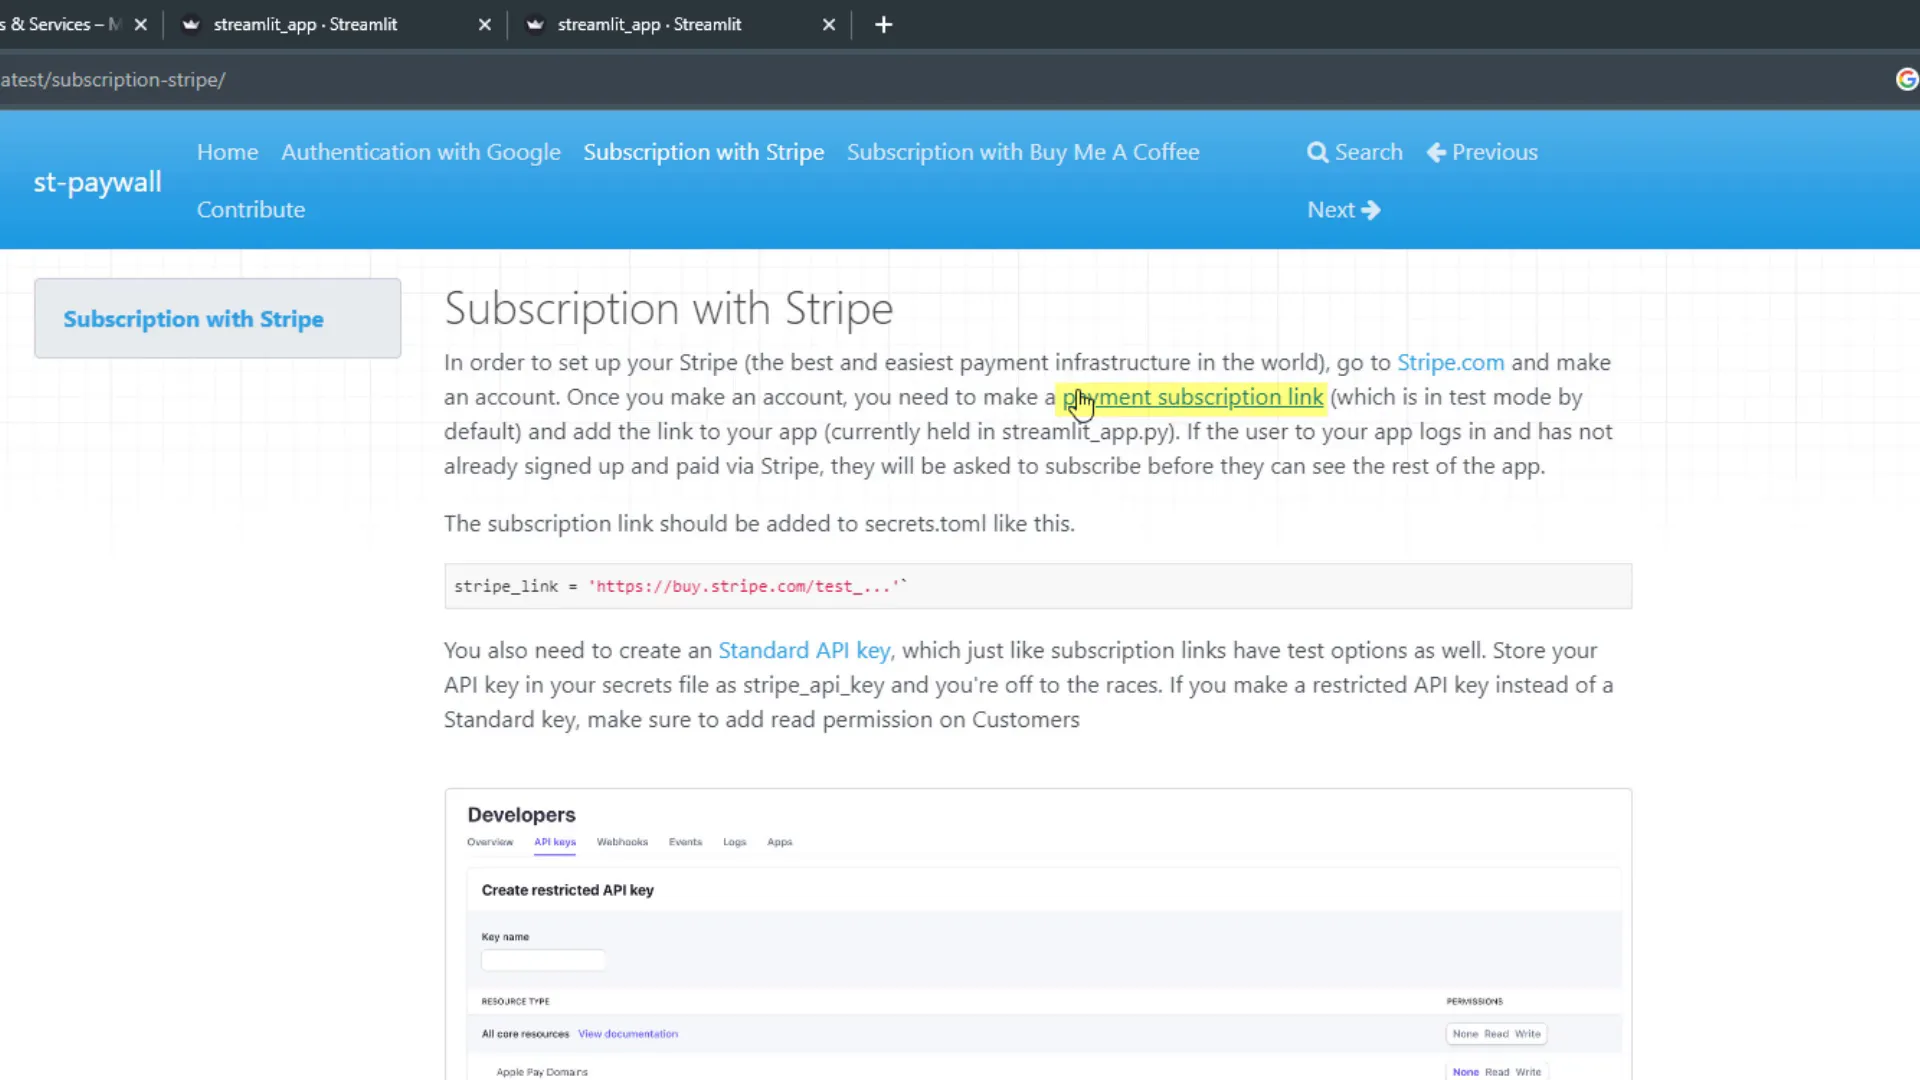
Once the product is created, I copy the payment link into the secrets.toml file. I also need a Stripe API key, which I generate in the documentation, ensuring I grant customers read access. After replacing the API test key in the secrets file, I set the redirection URL for my app to ensure it functions correctly.
Deploying on Streamlit Community Cloud
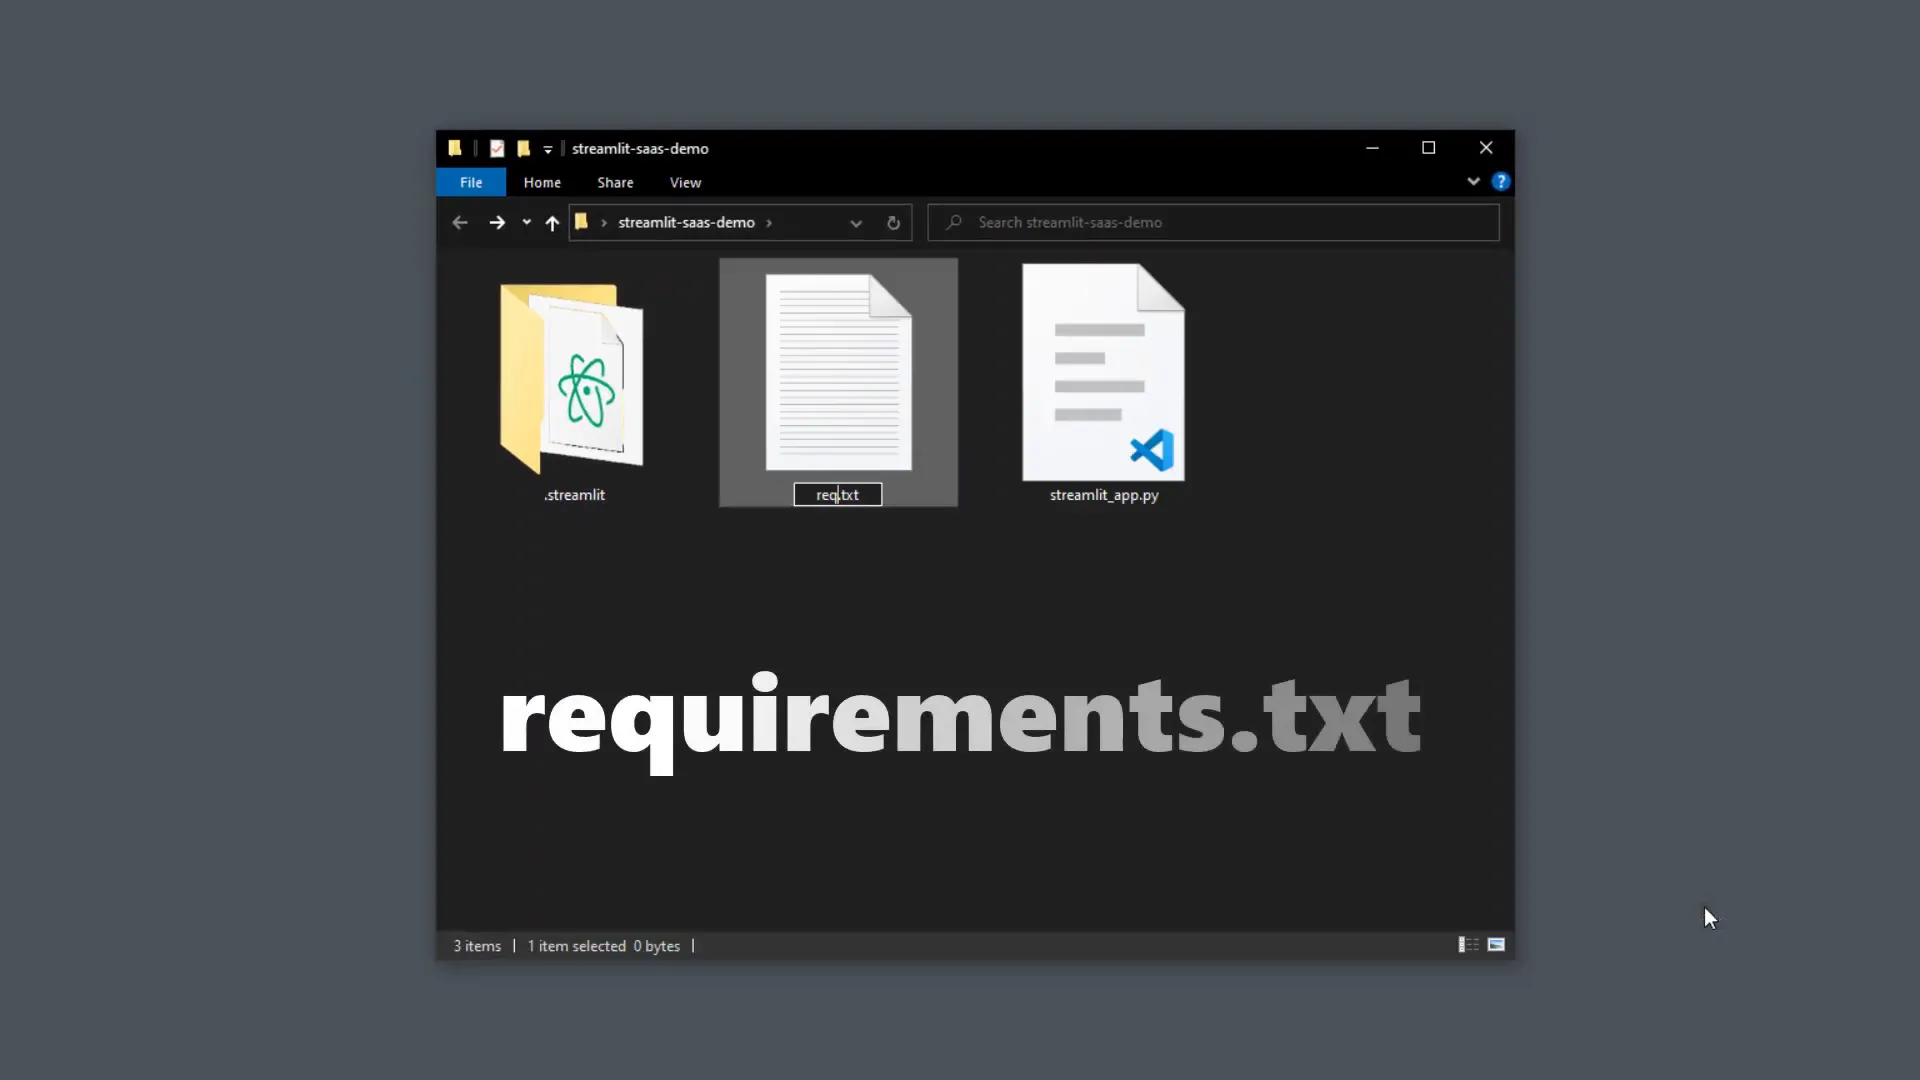
Now, it’s time to deploy the app. I will be deploying it on the Streamlit Community Cloud. I need to create a requirements.txt file listing all dependencies, which include Streamlit and st-paywall. Additionally, I create a .gitignore file to prevent uploading my secrets file to the online repository.
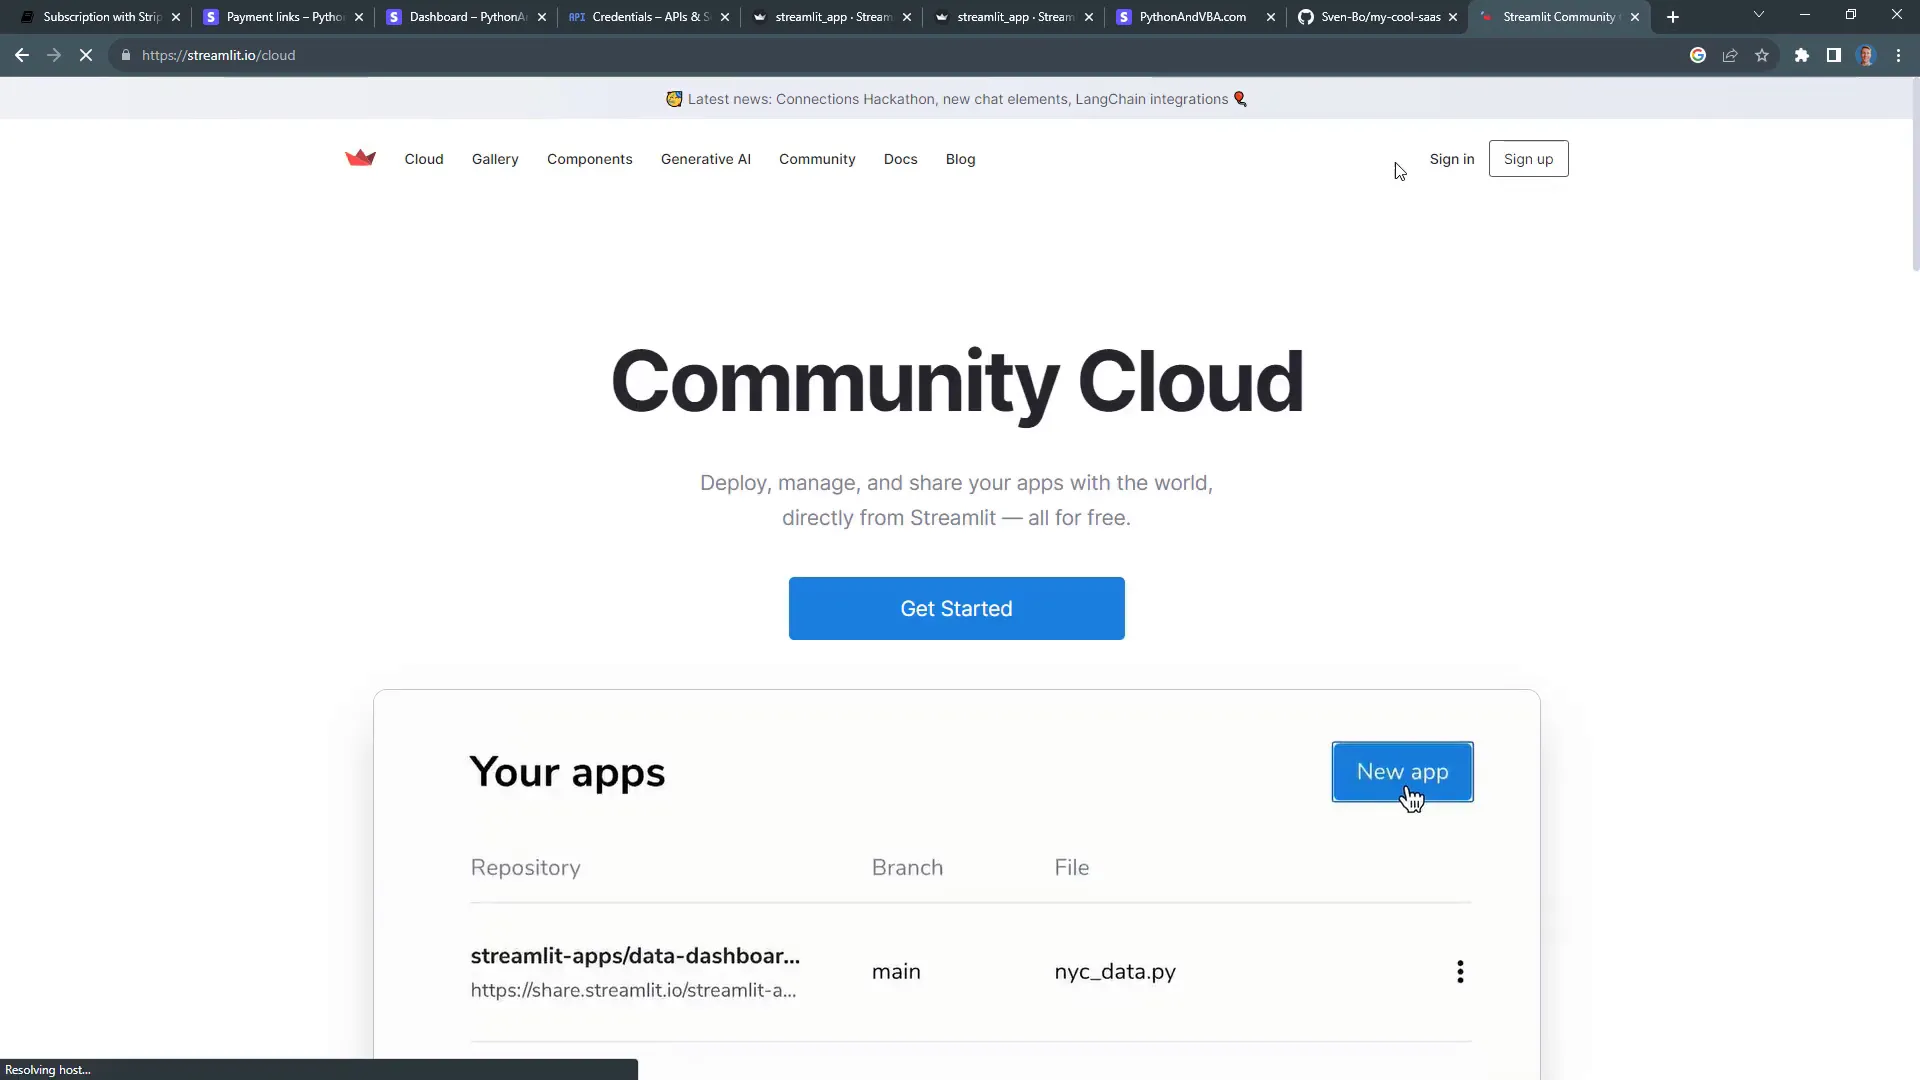
After uploading the files to my GitHub repository, I log in to the Streamlit Community Cloud and create a new app, selecting the repository I just created and specifying the app URL. Once deployed, I need to enter the secrets information into my app settings, ensuring the testing mode is set correctly.
Updating After Deployment
If I need to modify my app after deployment, the process is straightforward. I simply make the necessary changes, commit, and push them to my GitHub repository. The Streamlit app will update automatically.
Other Payment Providers
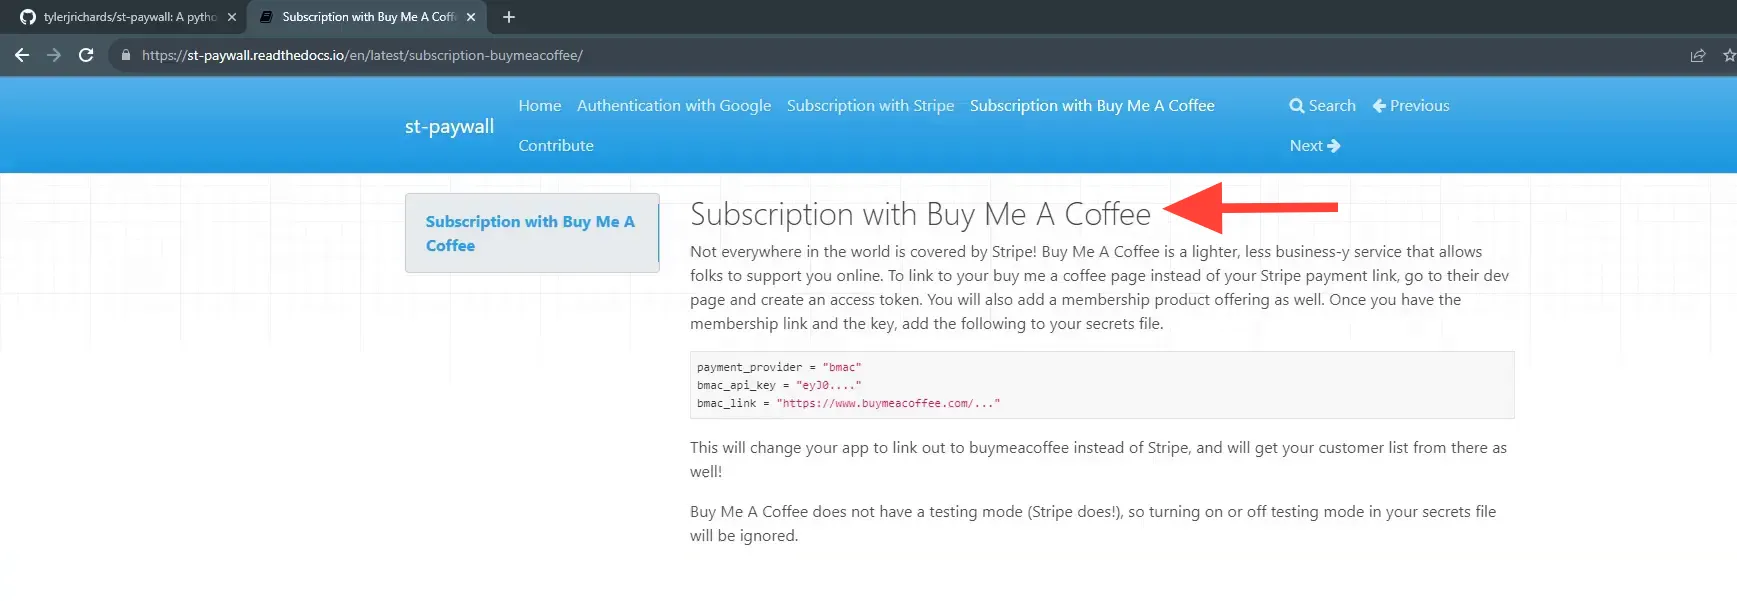
Currently, the st-paywall package supports payments through Stripe and Buy Me a Coffee. Setting up Buy Me a Coffee subscriptions is even simpler. Regularly checking the st-paywall GitHub repository will keep me updated on more payment options that may be added in the future.
Outro
And that’s how to transform a Streamlit app into a SaaS business! I wish you the best of luck with your SaaS application!