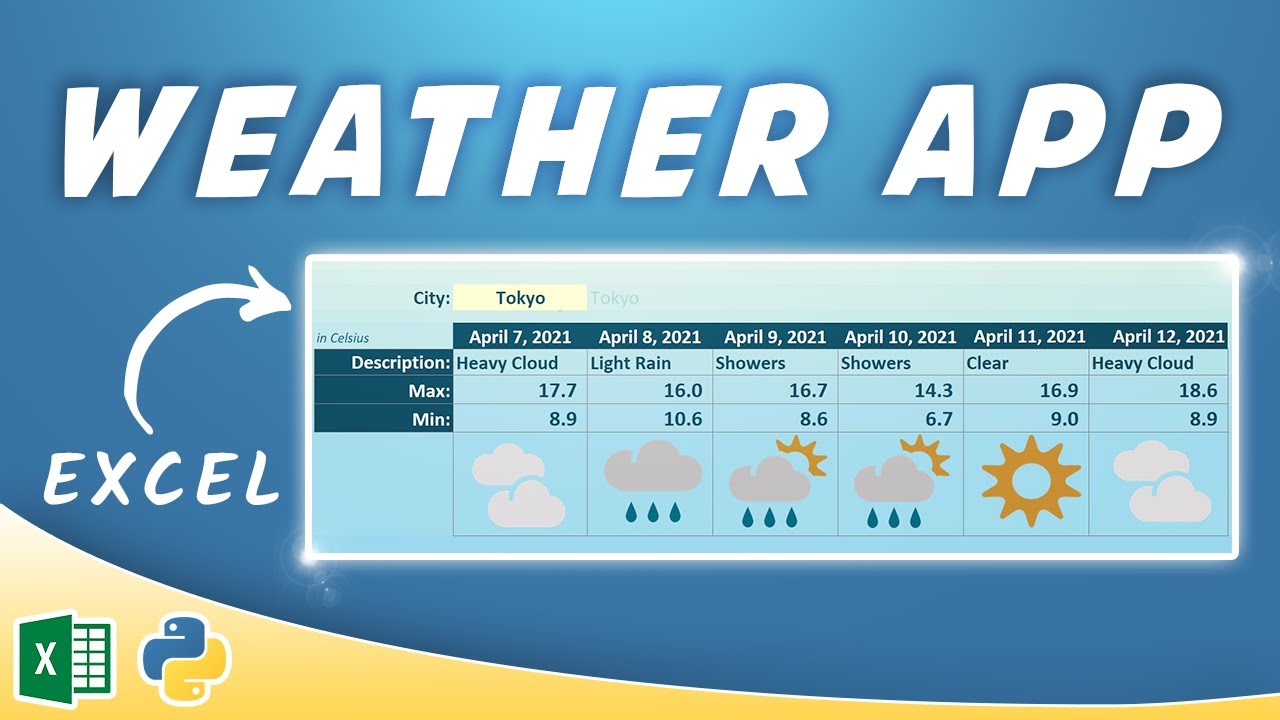
Build a Weather App in Excel by using Python
Introduction
In this tutorial, I’ll walk you through the steps to create a weather app using Excel and Python. By simply inputting a city name and clicking a button, you’ll receive an updated weather report. Here’s how it works: the Excel button triggers a Python script that reads the city name from Excel, fetches the weather forecast using an API, and returns the result back to Excel.
Getting Started
Before diving in, ensure that you have Python installed on your machine. If you haven’t installed Python yet, check out my quick start guide for installation instructions.

Installing Required Libraries
The first step involves installing the necessary libraries for our project. Open your command prompt or terminal and type the following commands:
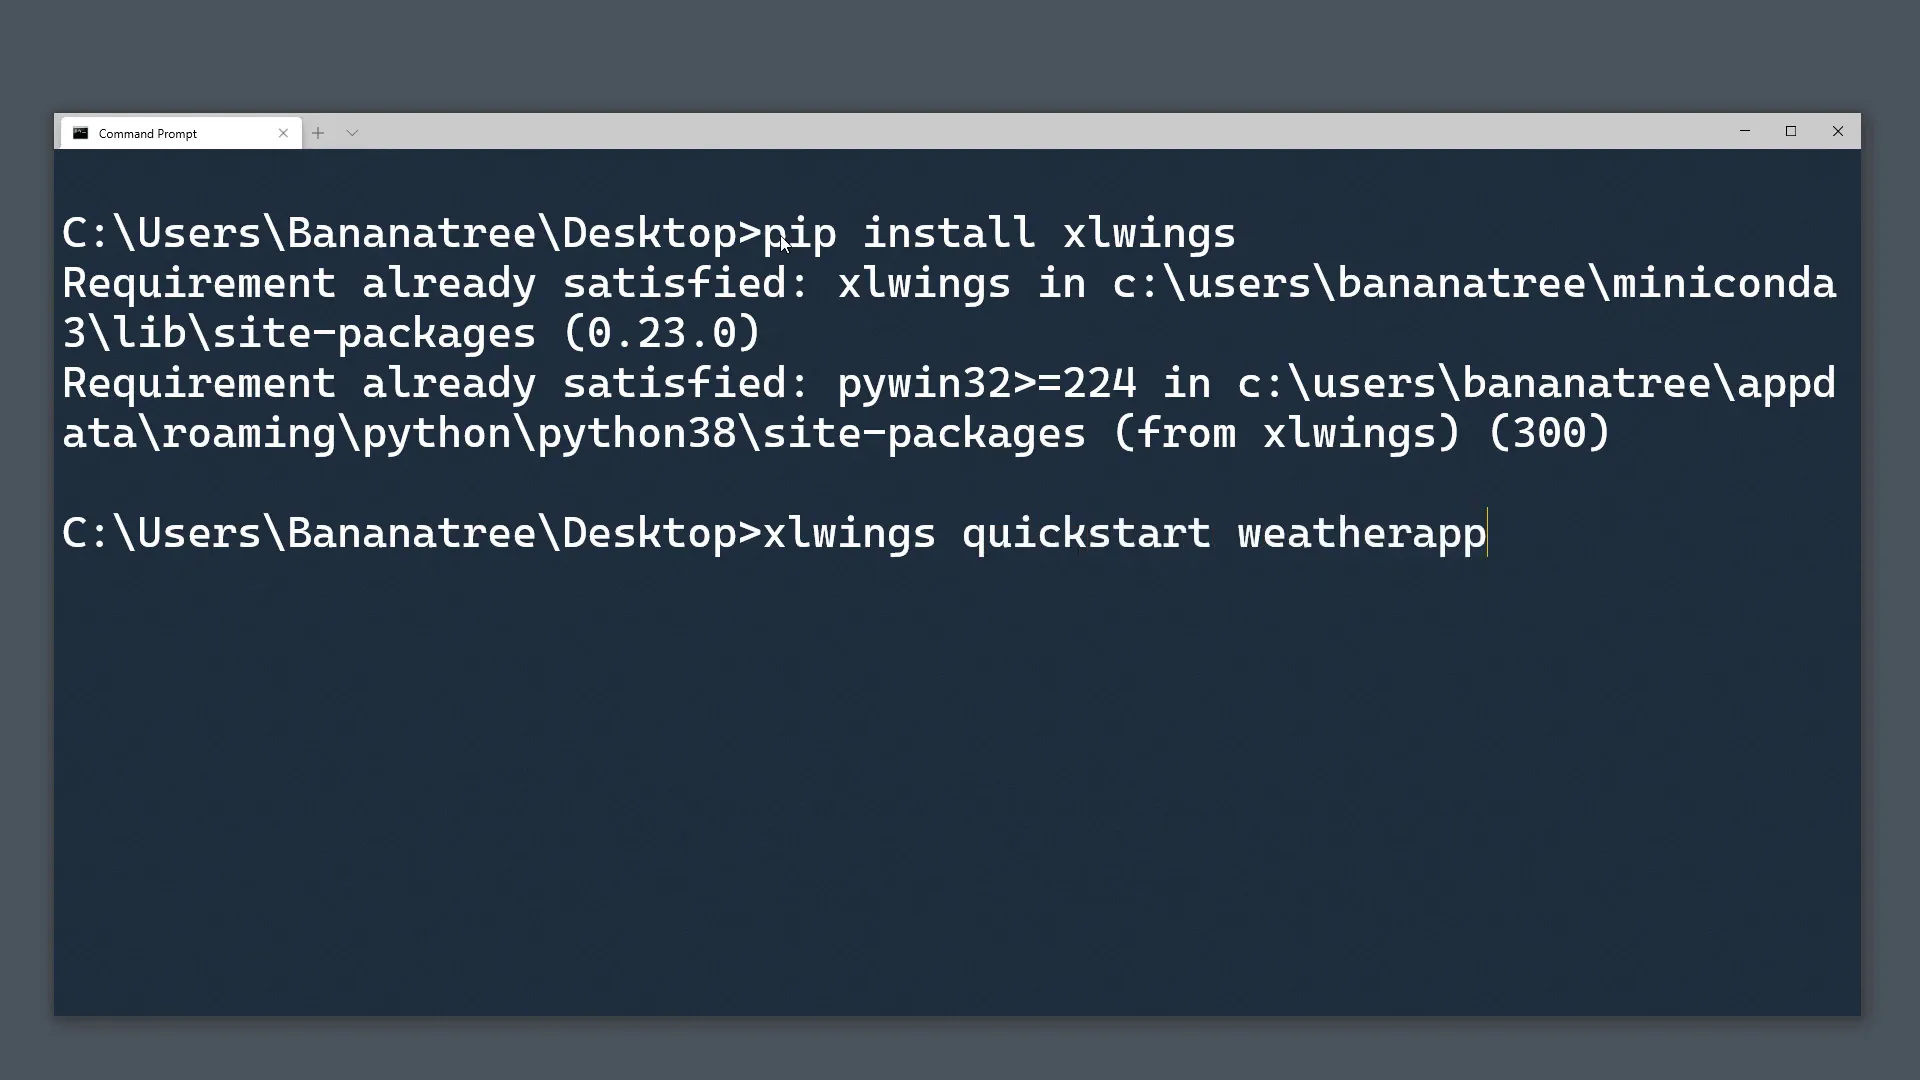
pip install requestspip install xlwings
Once installed, type xlwings quickstart followed by your project name (e.g., xlwings quickstart weather_app) and add the argument standalone. This command will create a new folder in the directory from where you run it, which will contain both an Excel file and a Python file.
Setting Up the Excel Workbook
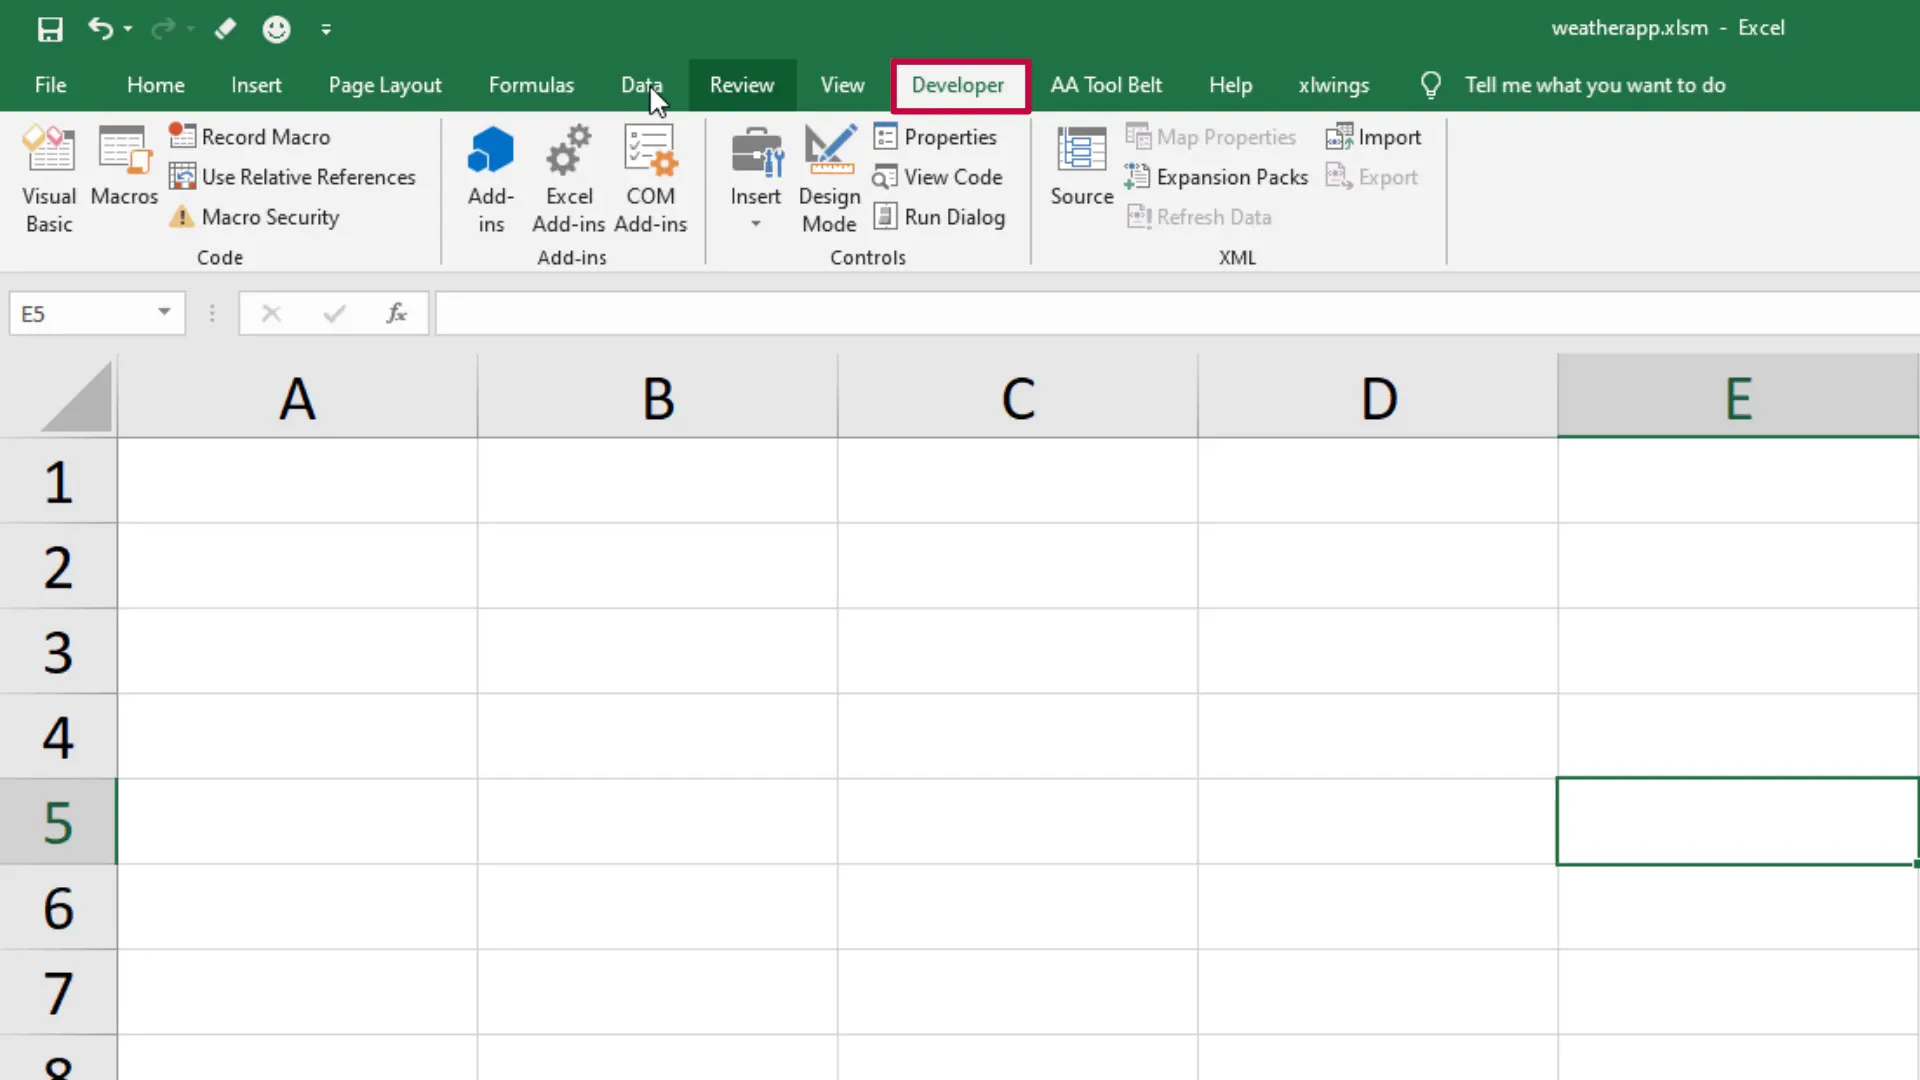
Open the Excel file and navigate to the Developer tab. If you don’t see the Developer tab, enable it by going to File > Options > Customize Ribbon and checking the box next to Developer.
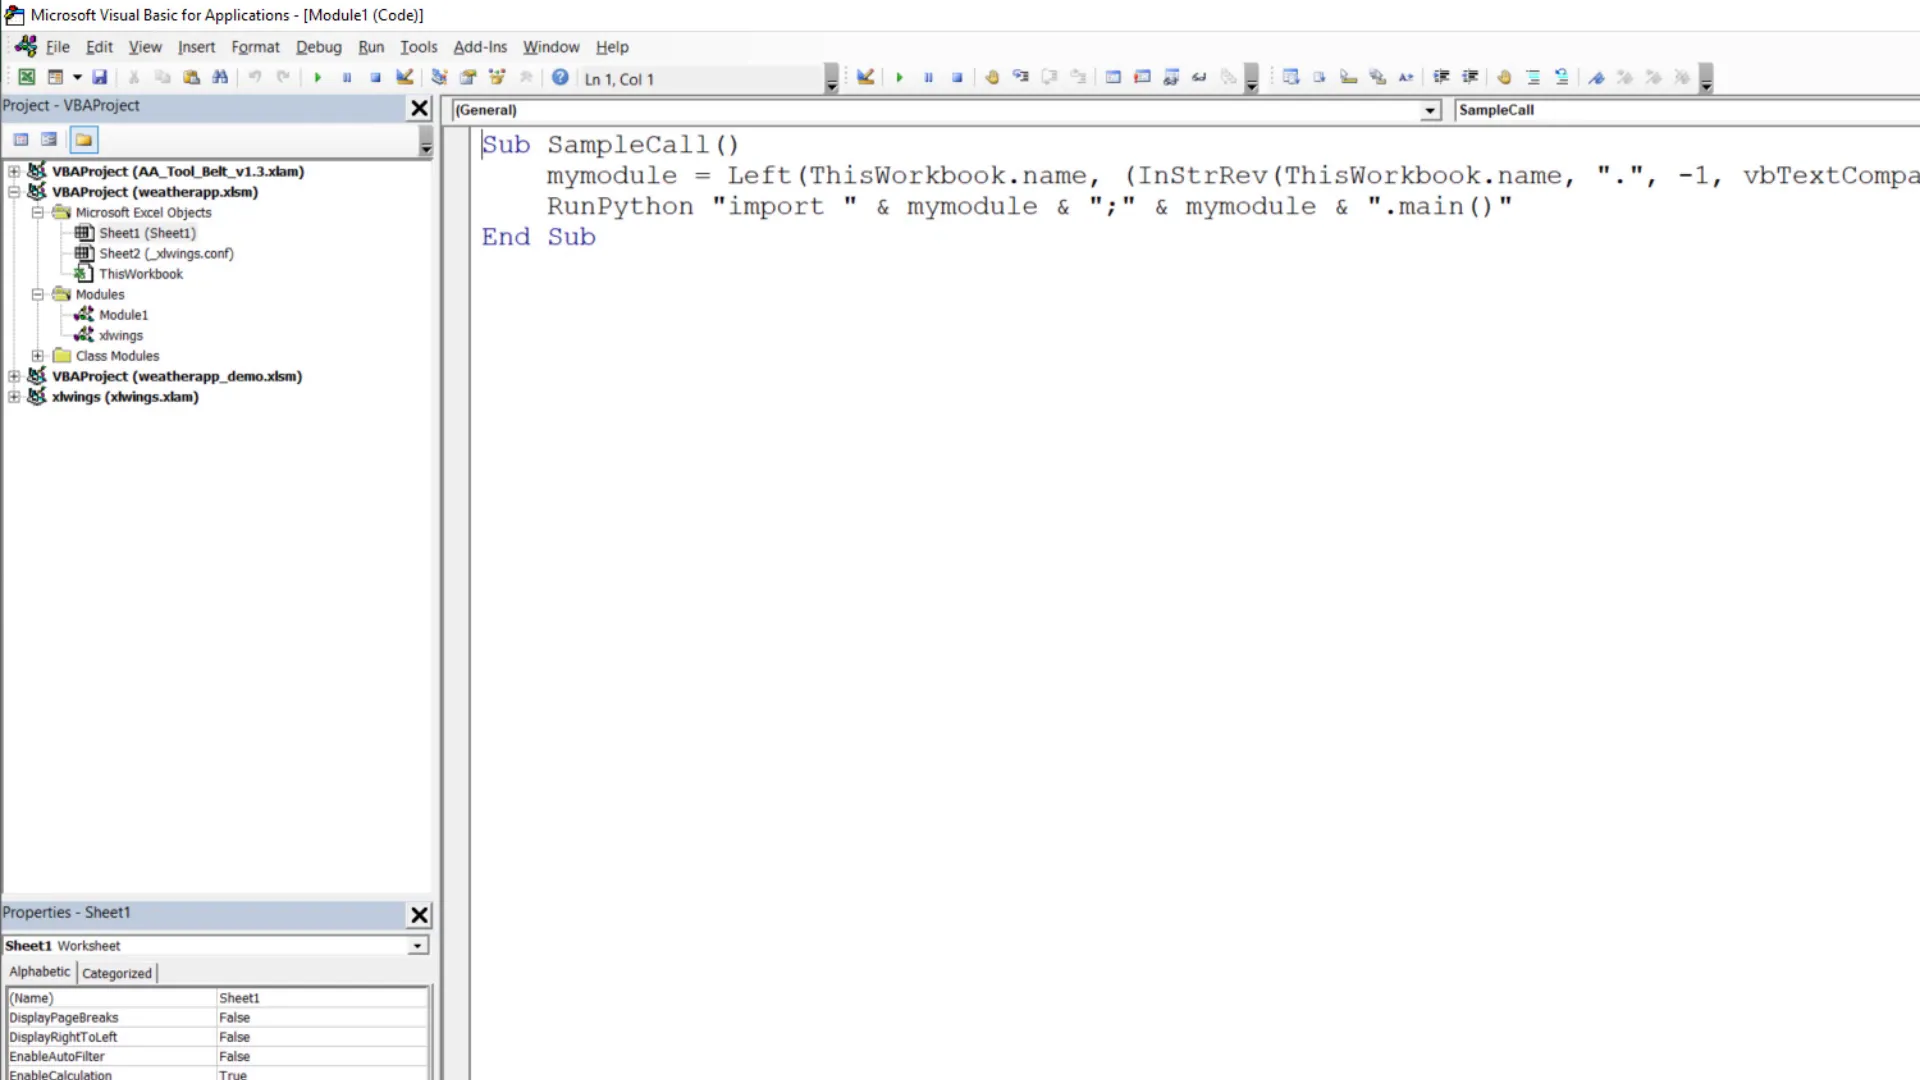
Next, open the Visual Basic Editor. You’ll notice that the quickstart command has added a macro called Sample. This macro runs the main function from the Python file located in the same directory.
Testing the Setup
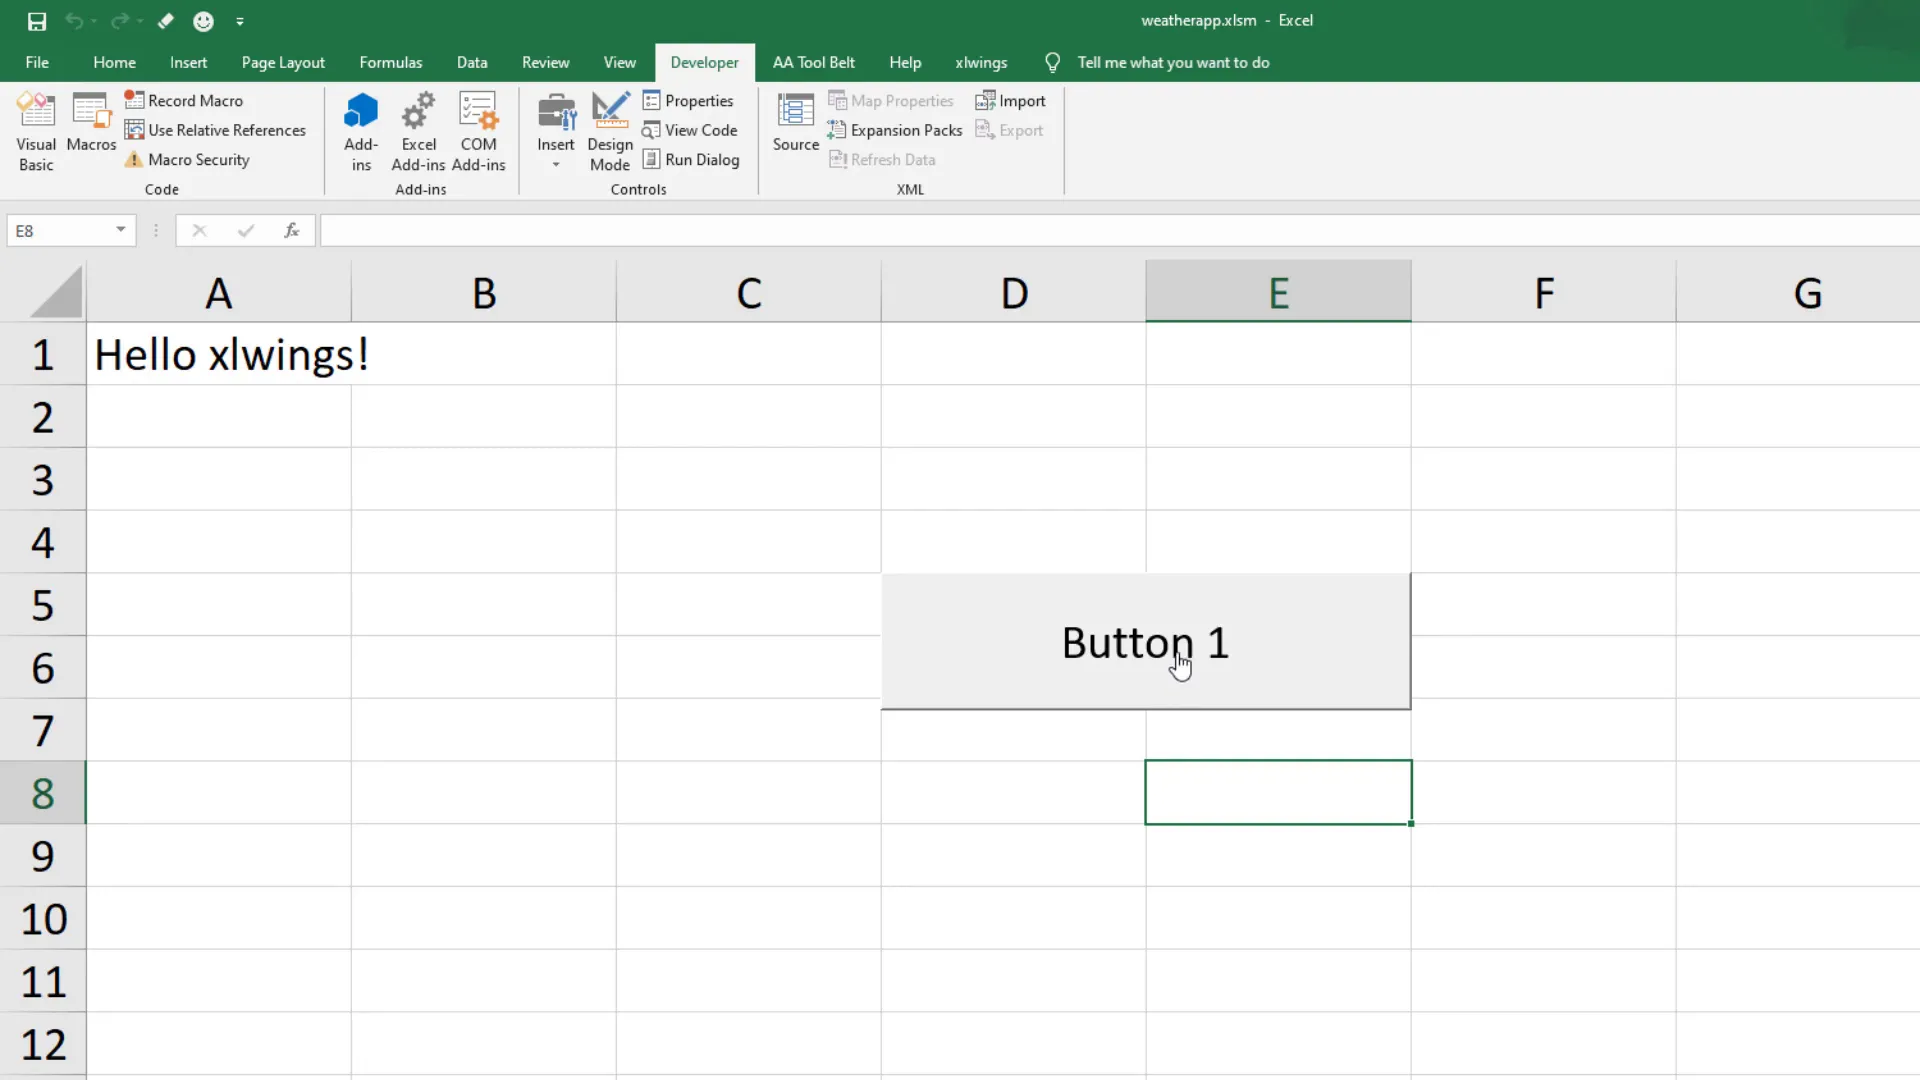
To ensure everything is working, add a button to your worksheet and assign it to the Sample macro. Clicking this button should display “Hello xlwings” in cell A1, confirming that the setup is functional.
Preparing the Workbook for Weather Data
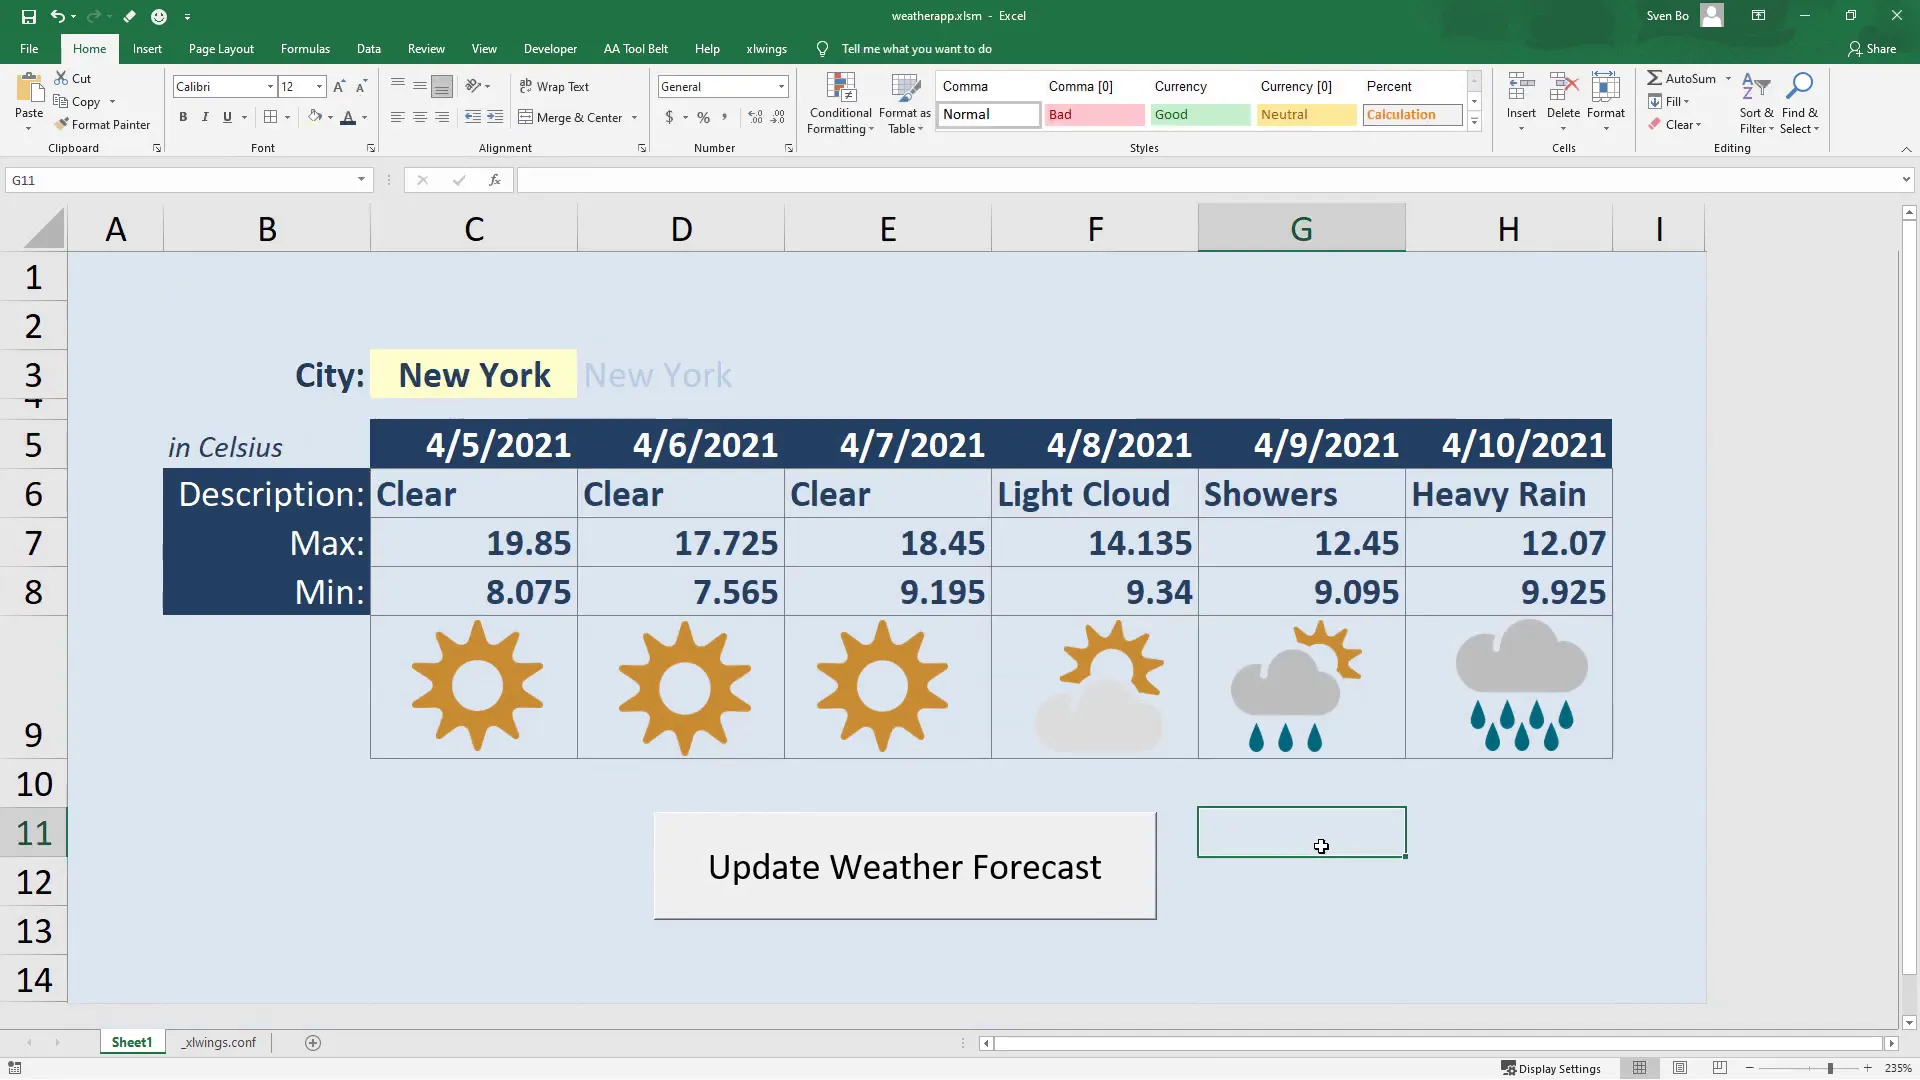
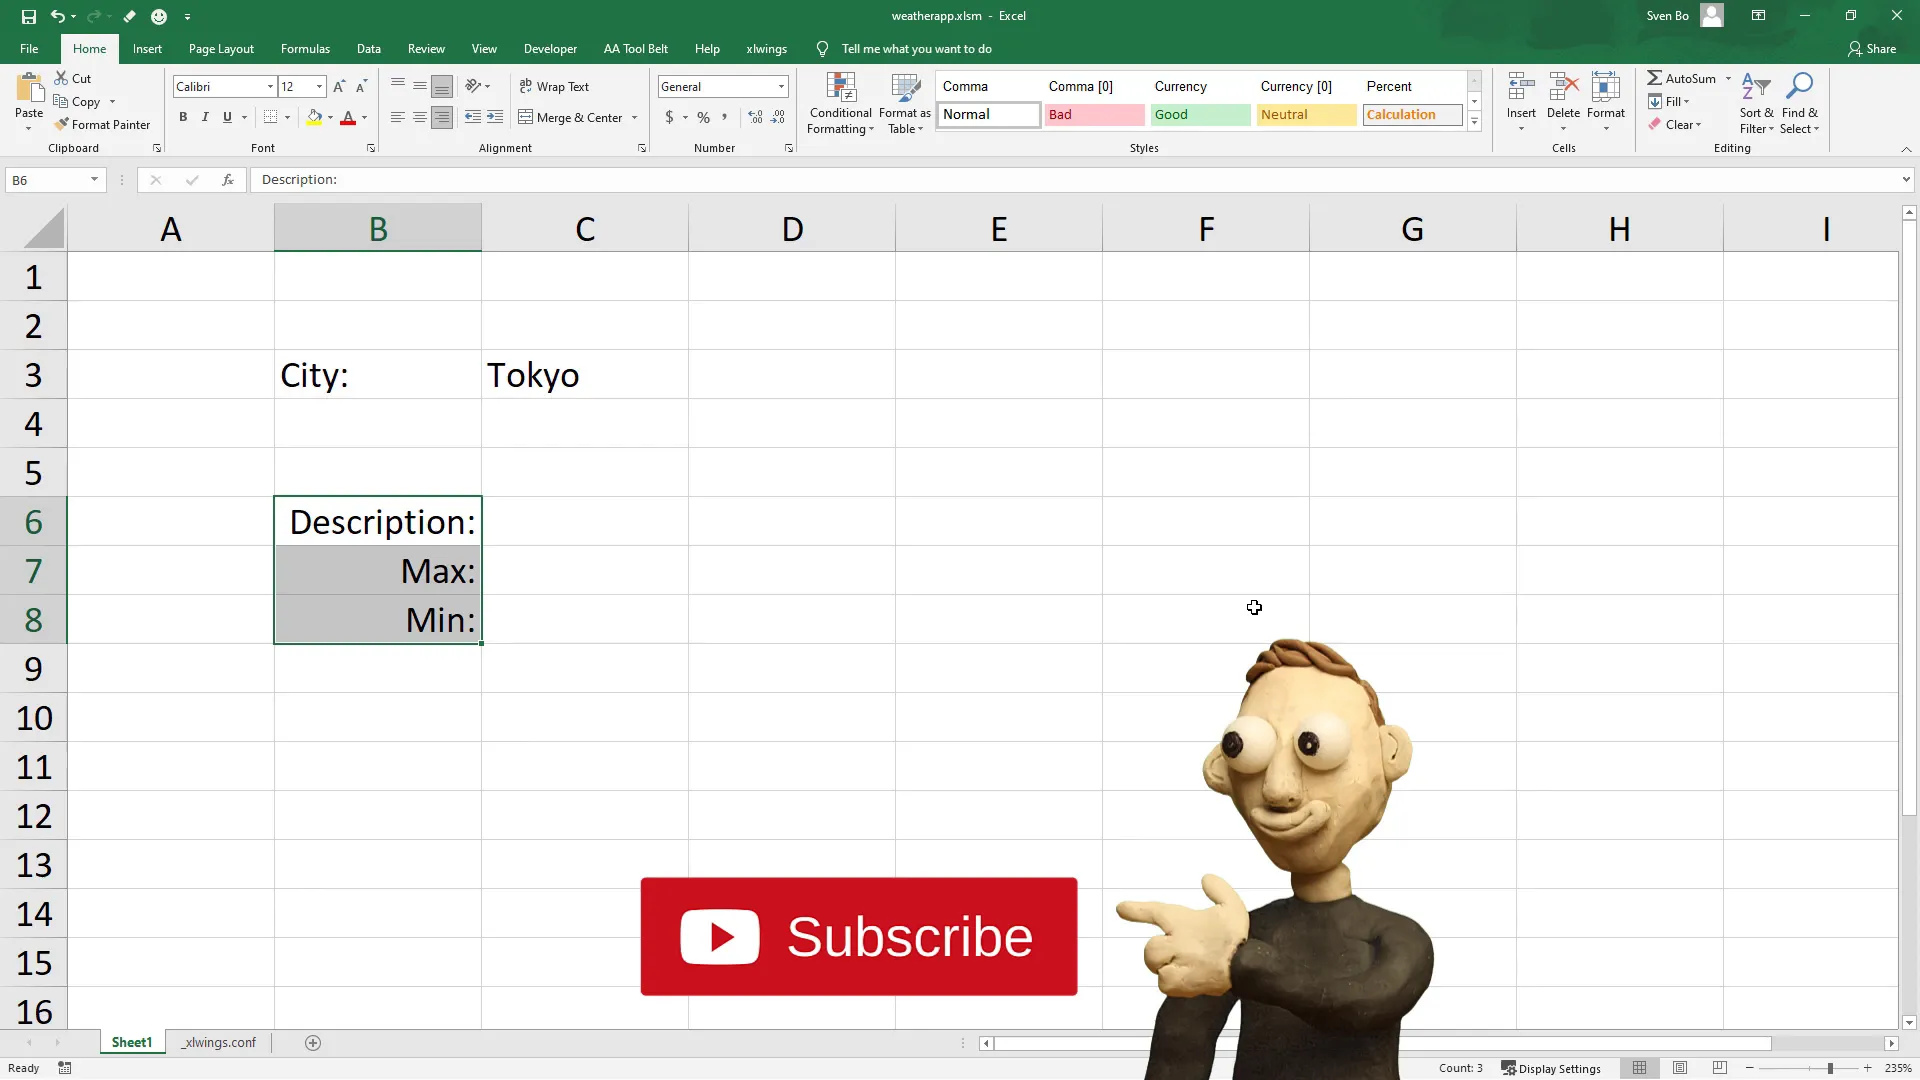
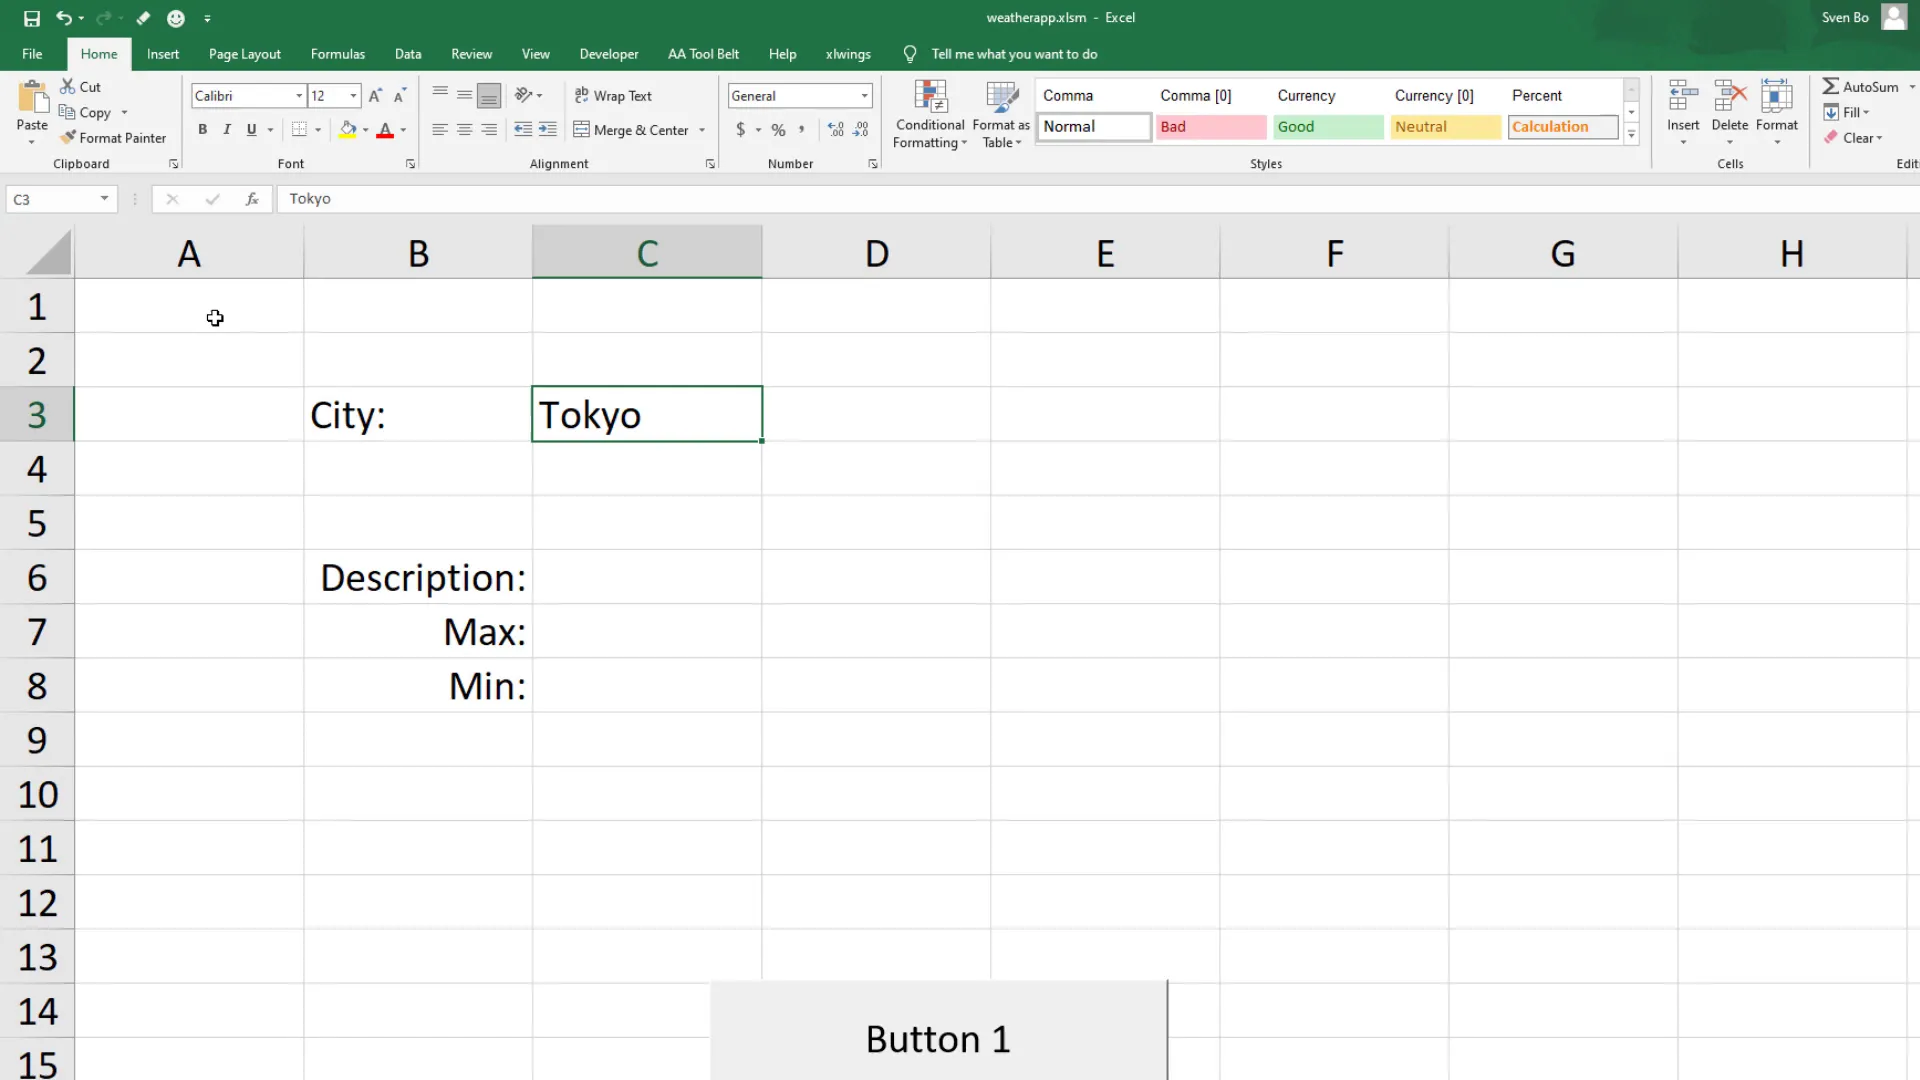
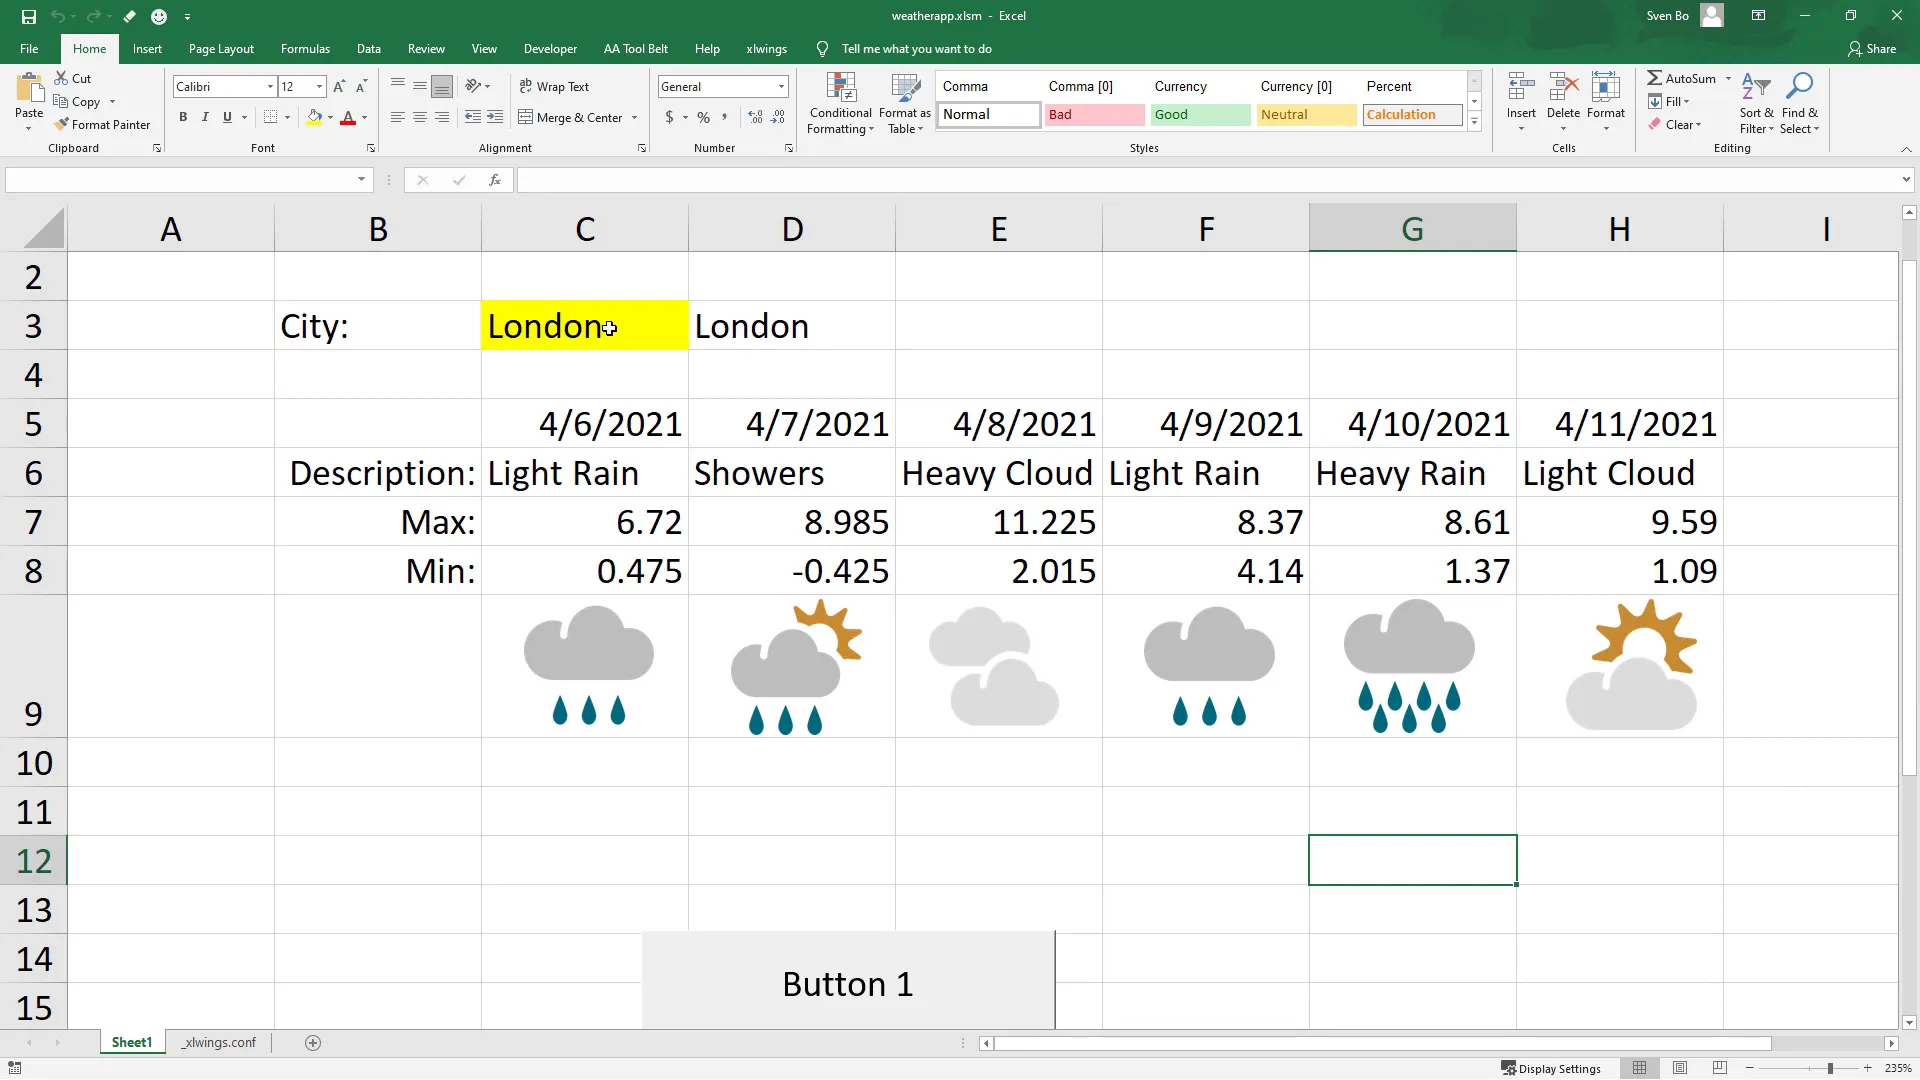
Before we jump into the Python code, let’s prepare the workbook to return the weather description, minimum temperature, and maximum temperature for the city specified in cell C3.
Building the Python Script
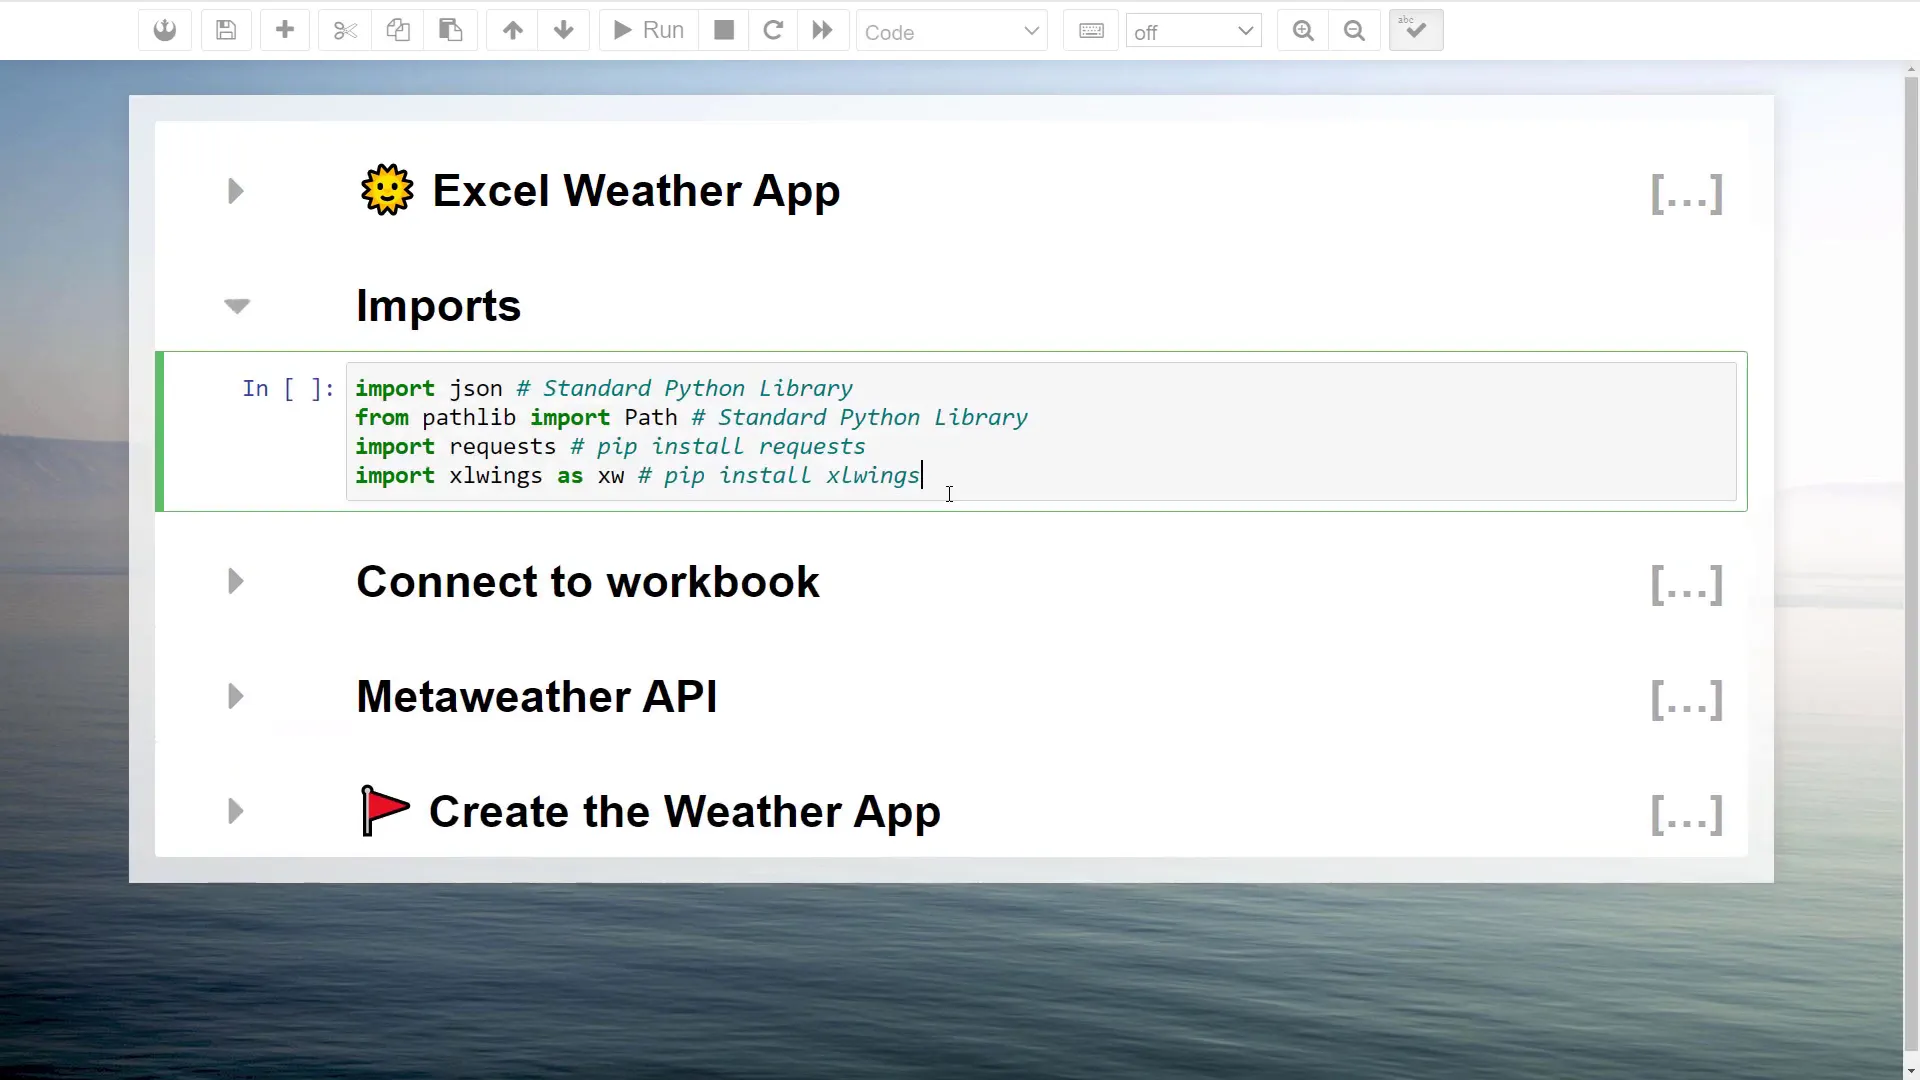
Now, let’s switch to the Jupyter Notebook where I’ve prepared the initial code. First, we’ll import the libraries we installed earlier, along with the standard Python libraries json and pandas, which don’t require installation.
Next, establish a connection to our workbook using xlwings, specifying the workbook name (e.g., weatherapp.xlsm) and the first worksheet.
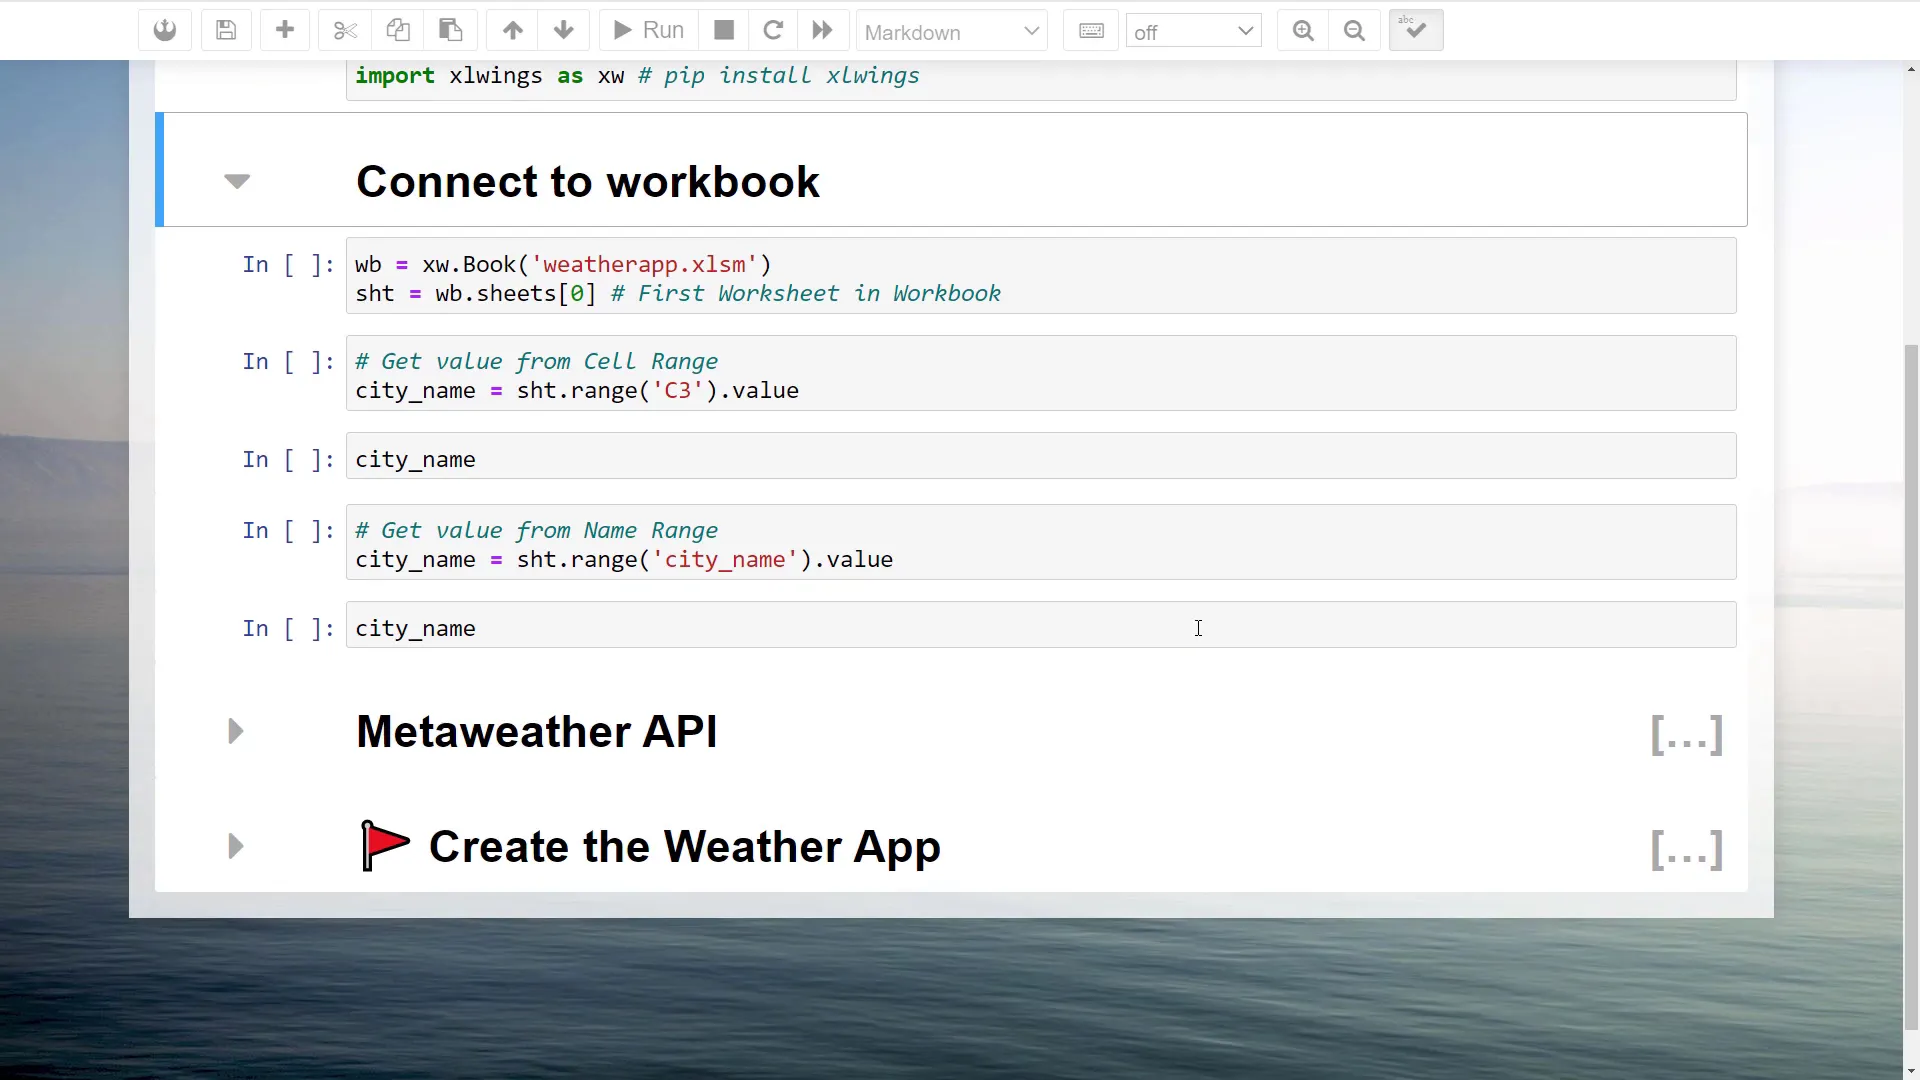
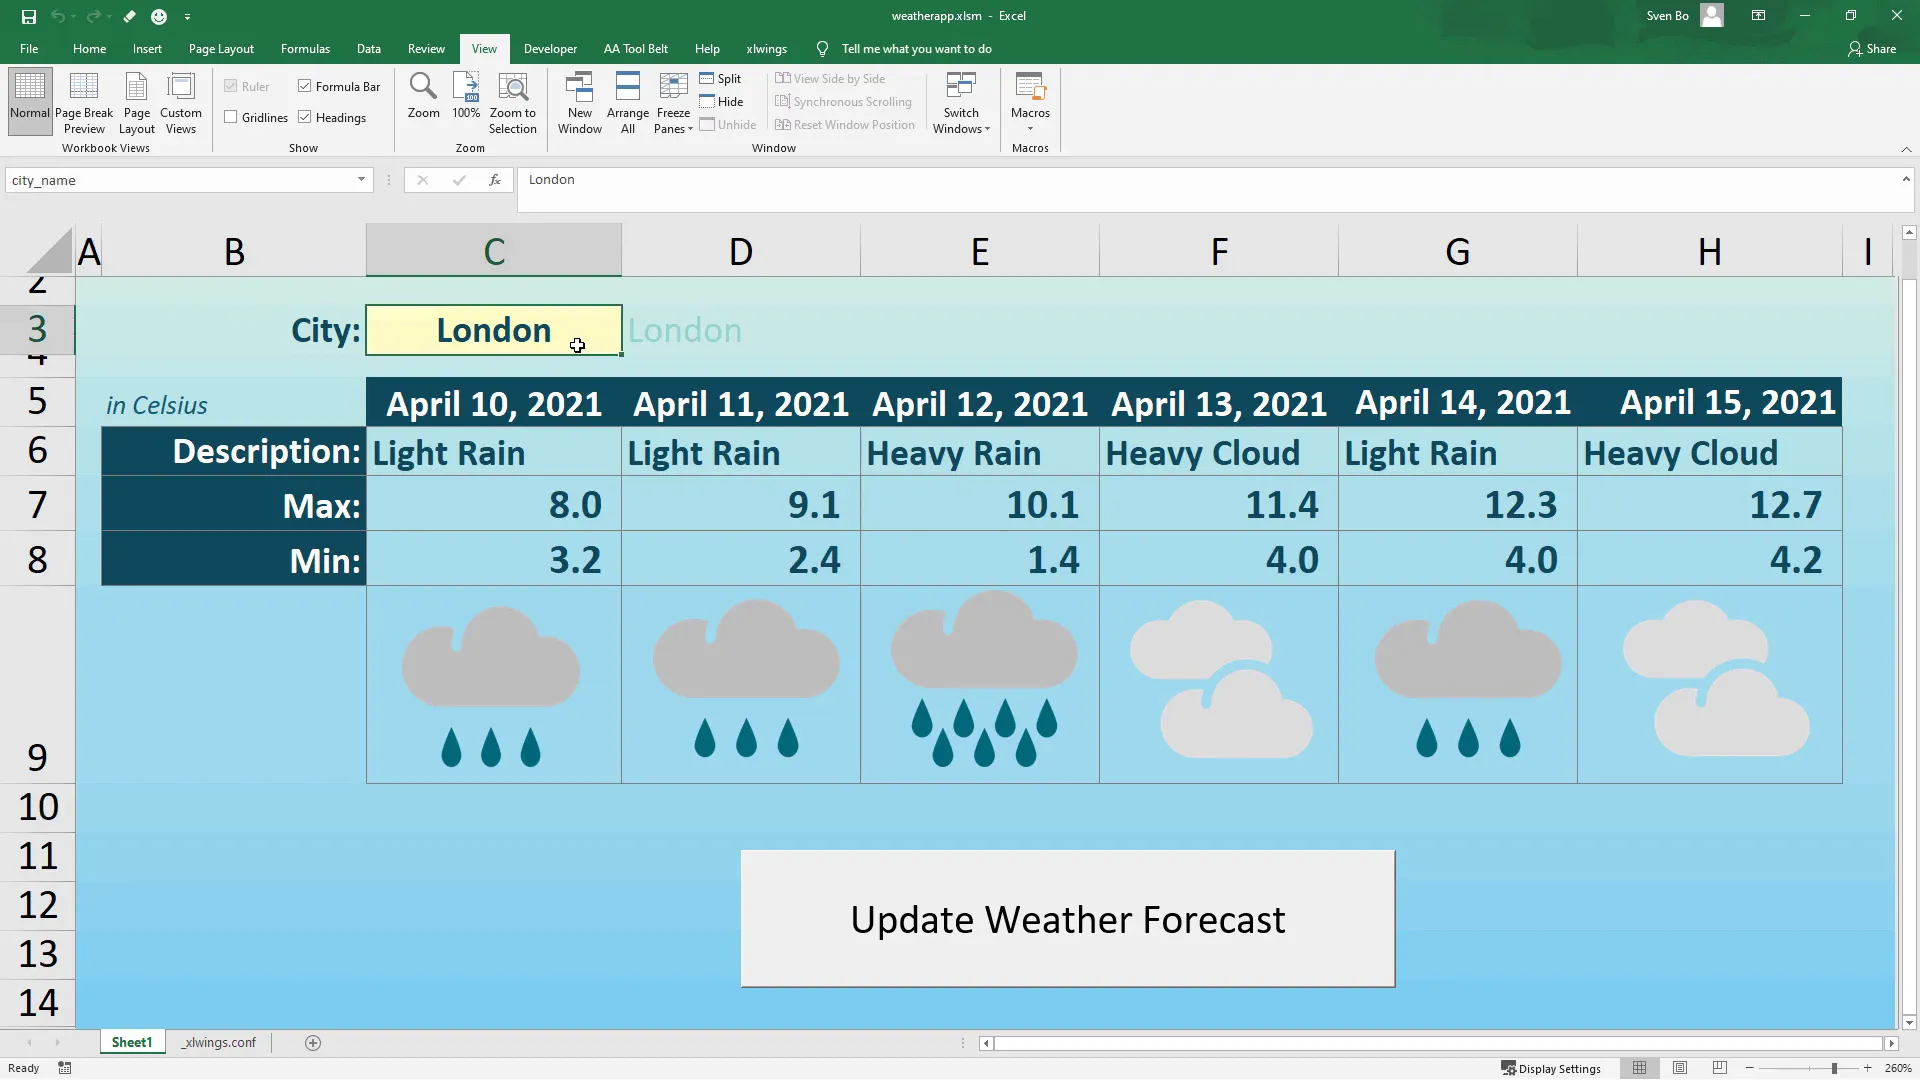
Now, let’s read the city name from cell C3. Instead of using the cell range directly, you could name the cell for more flexibility. For example, name cell C3 as city_name. This way, even if you move the cell, your code remains functional.
Fetching Weather Data
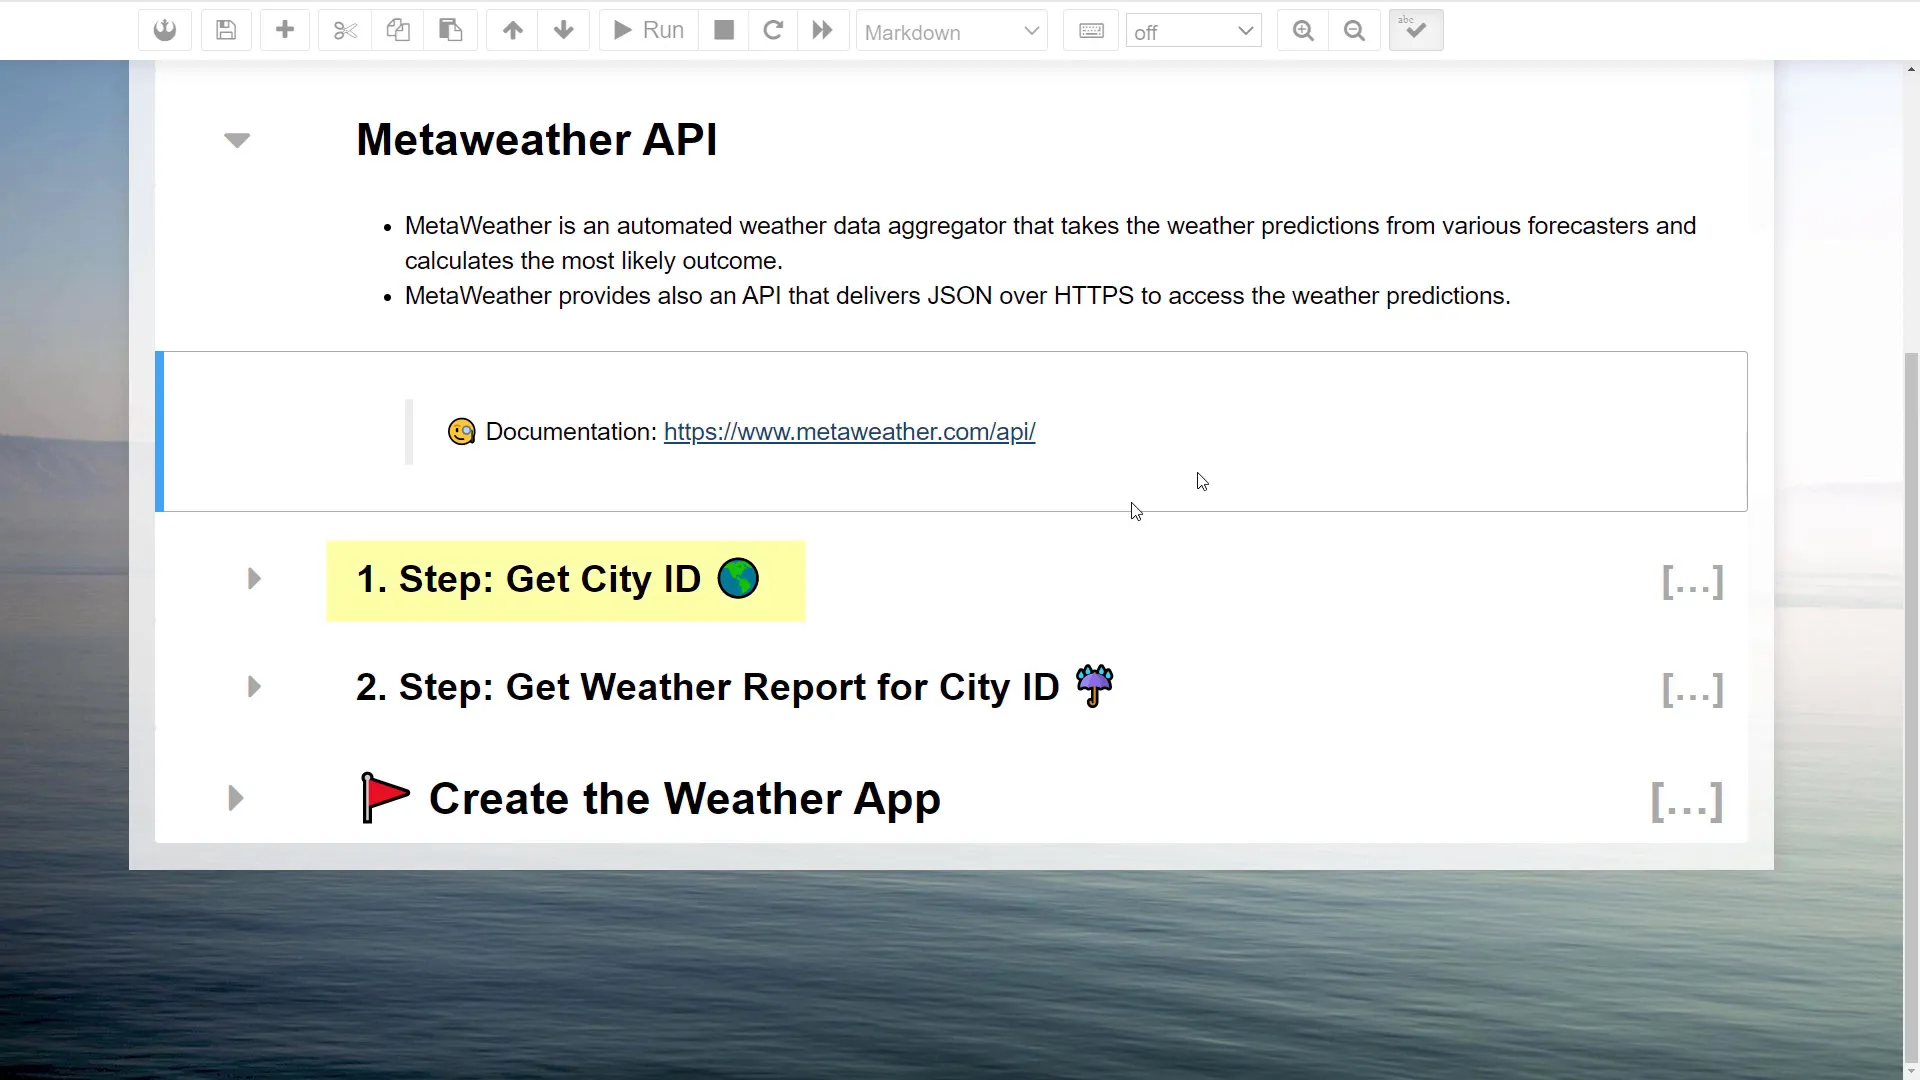
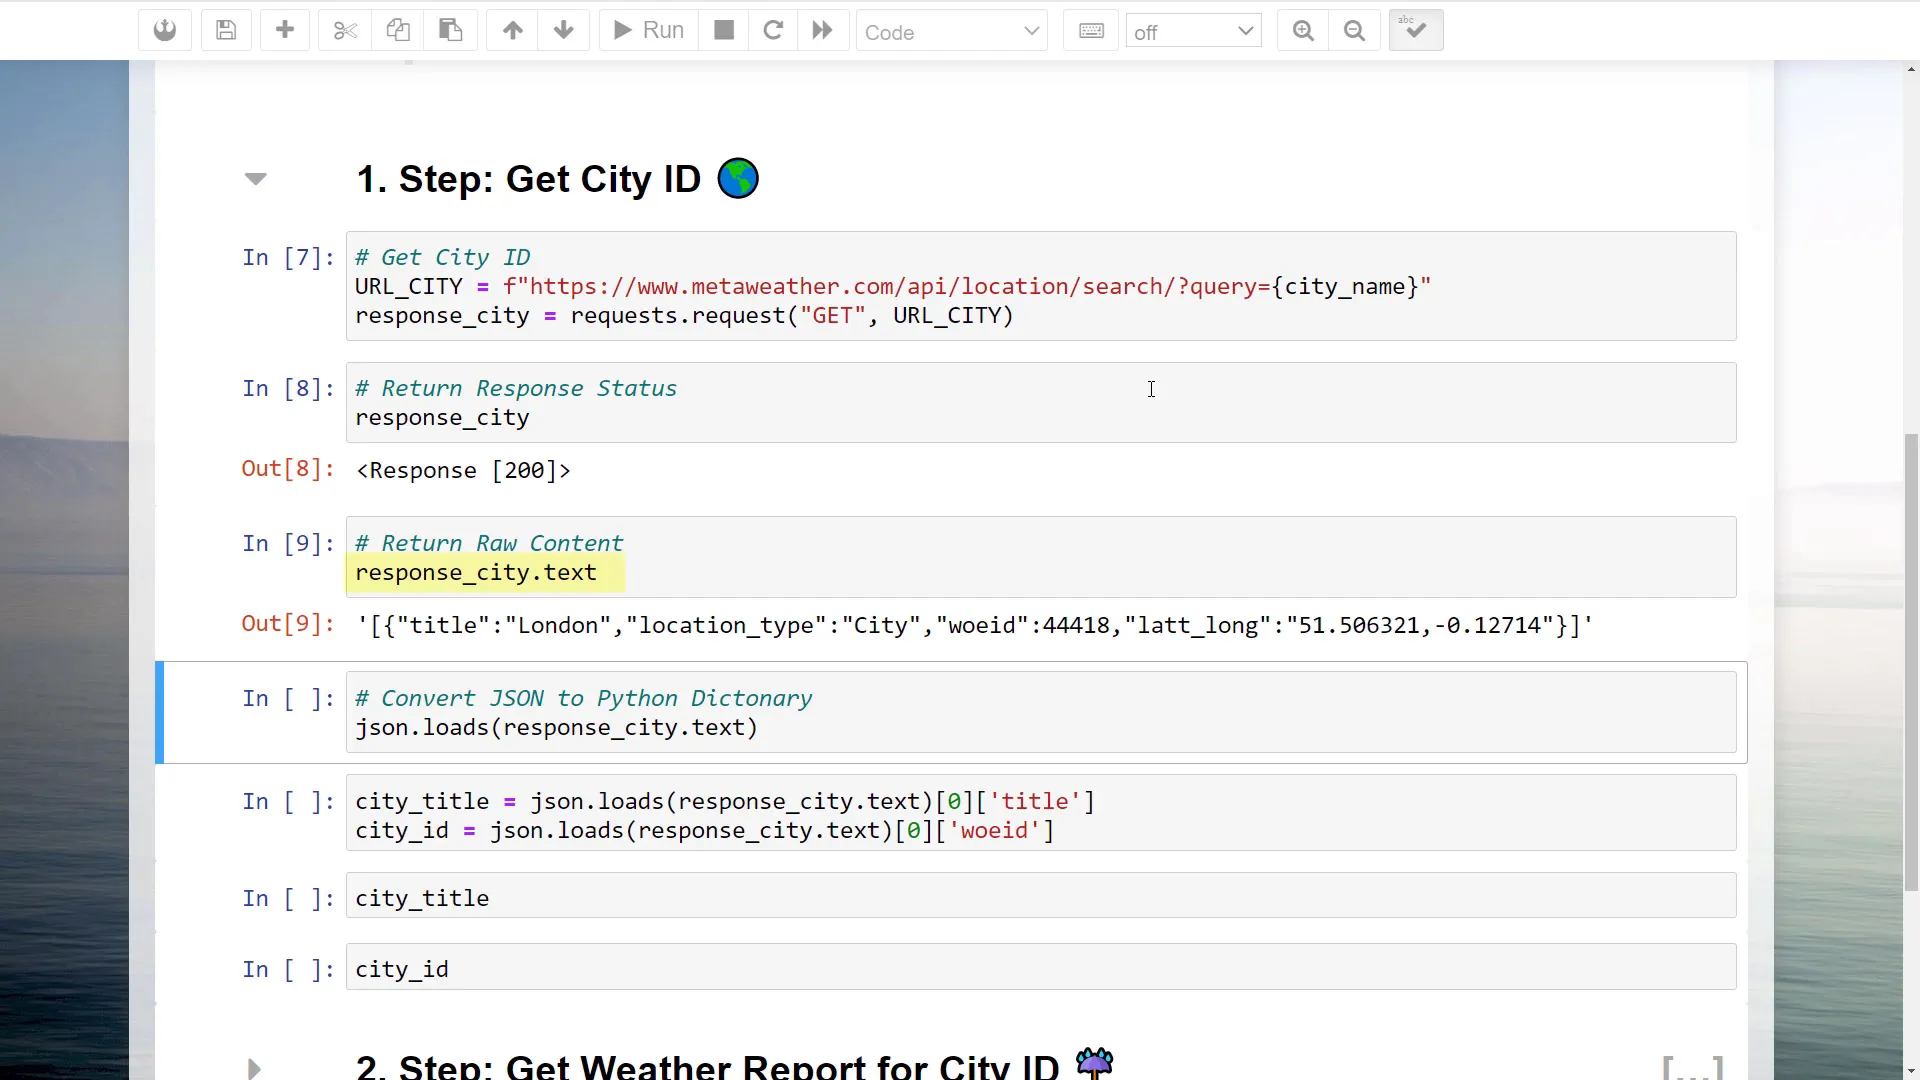
Next, we’ll use the MetaWeather API to retrieve the weather forecast. An API (Application Programming Interface) allows different software systems to communicate. To get started, we’ll convert the city name to its corresponding city ID using a GET request to the MetaWeather API.
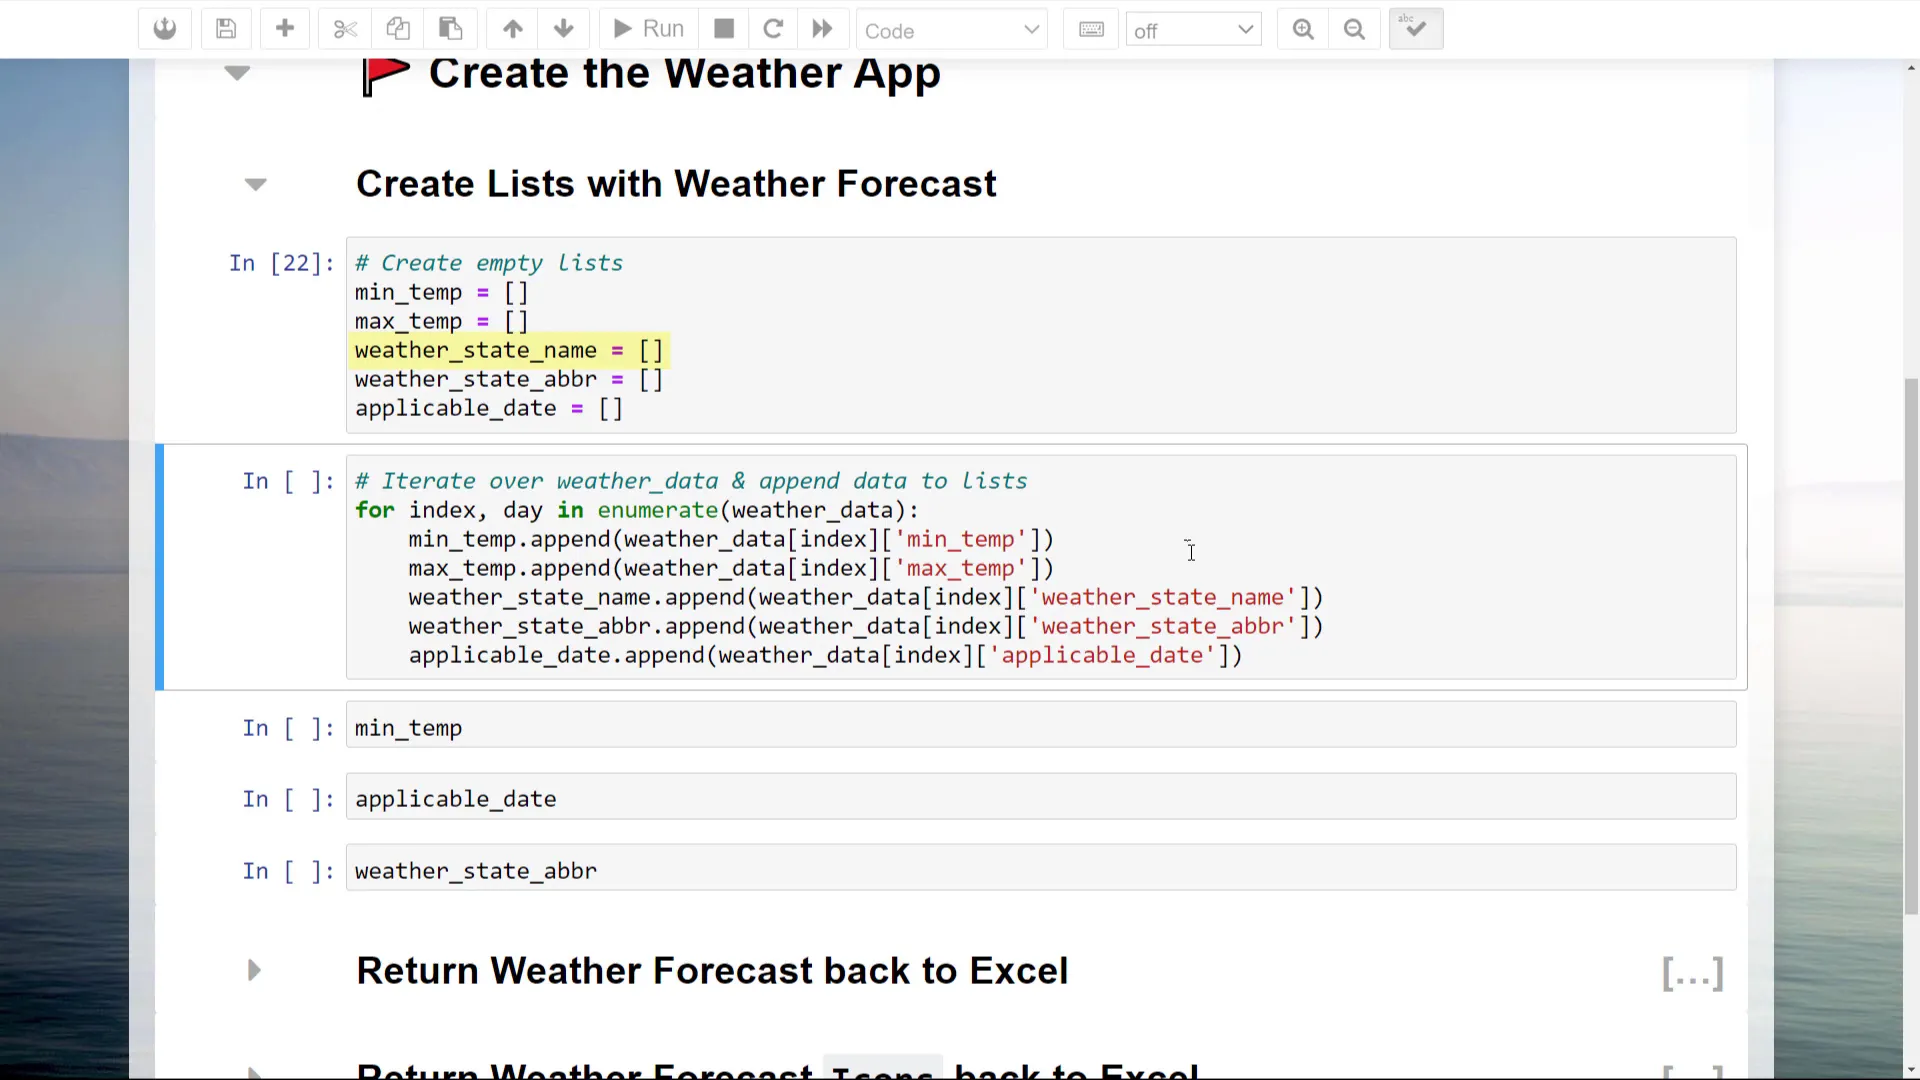
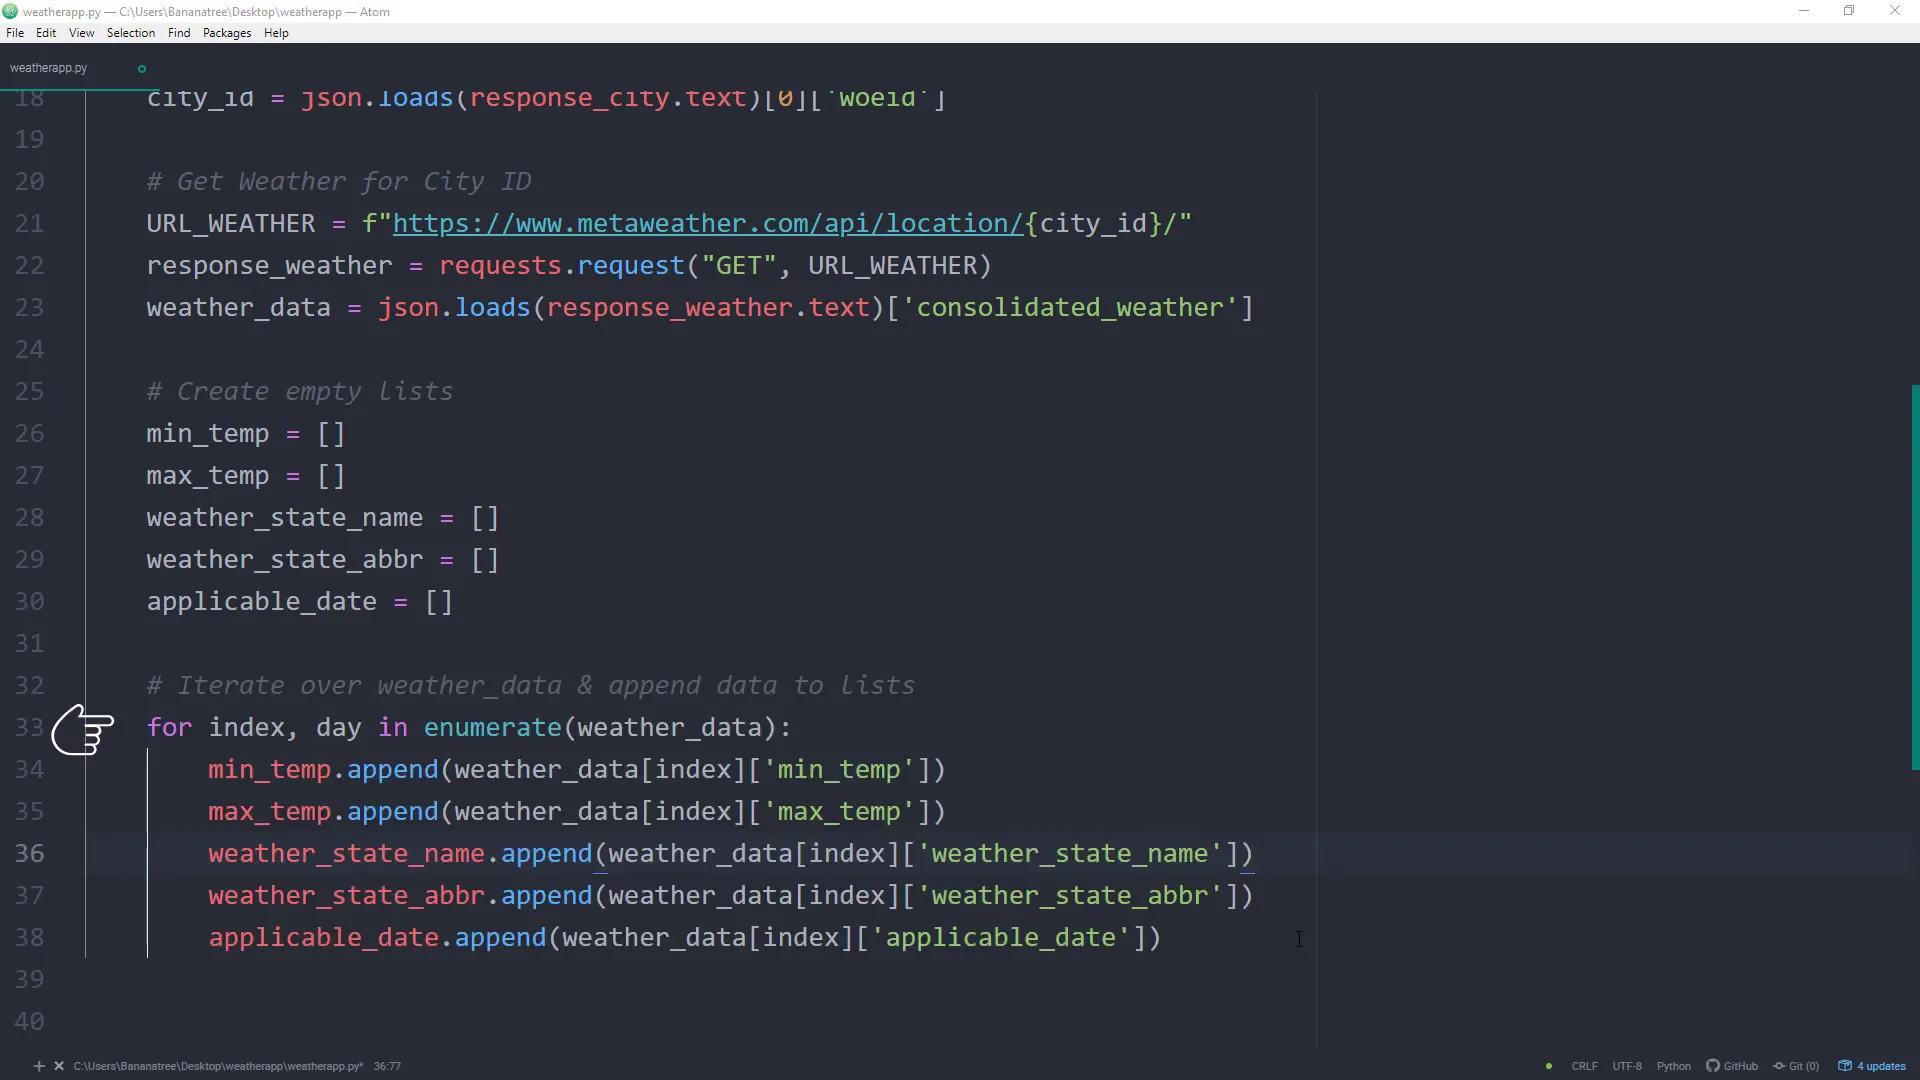
Once we have the city ID, we can request the weather forecast. The response will be in JSON format, which we can convert to a Python dictionary for easier data manipulation.
Each day’s forecast will be stored in a list. For our application, we’re interested in the minimum and maximum temperatures, a short weather description, and the corresponding weather icon name for each applicable date.
Returning Data to Excel
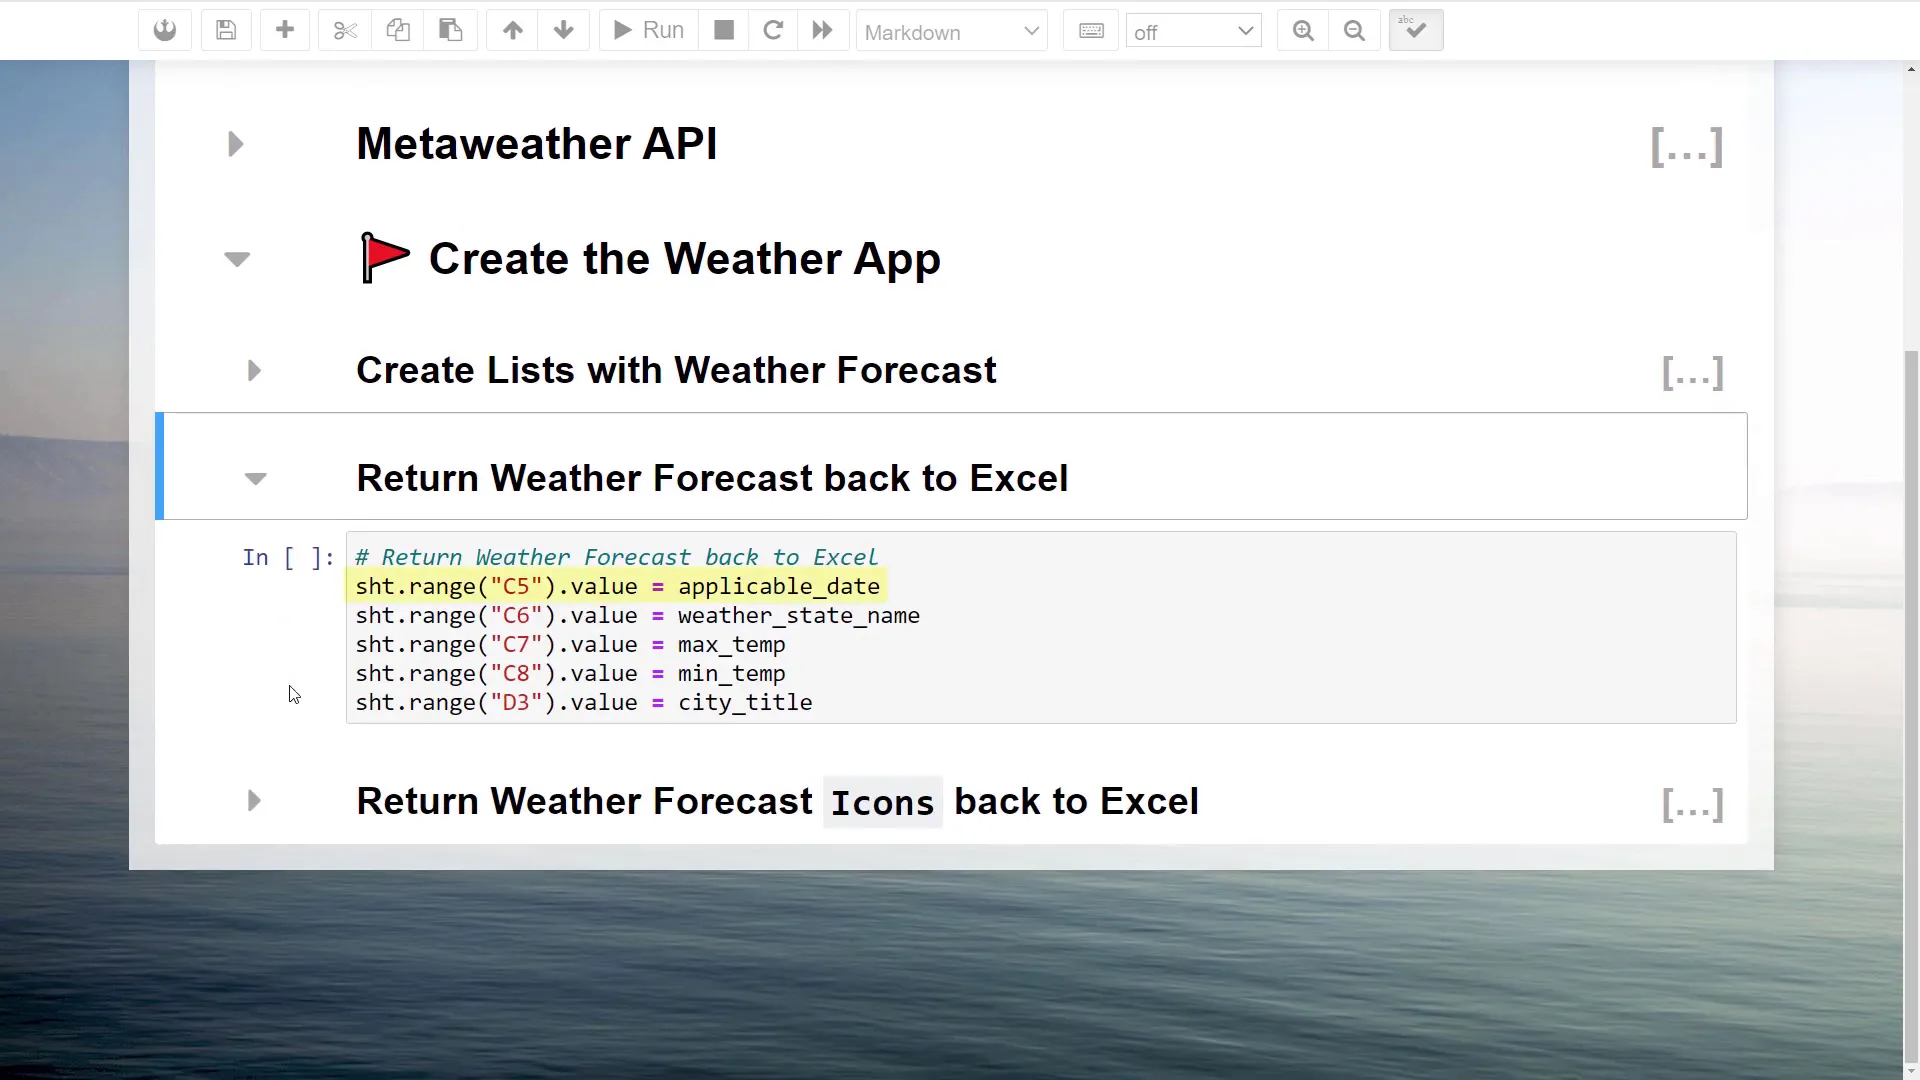
We can now return the forecast data to Excel starting from cell C5. Additionally, I’ll return the city title to cell D3 to ensure that the displayed forecast corresponds to the city entered in C3.
Updating Weather Icons
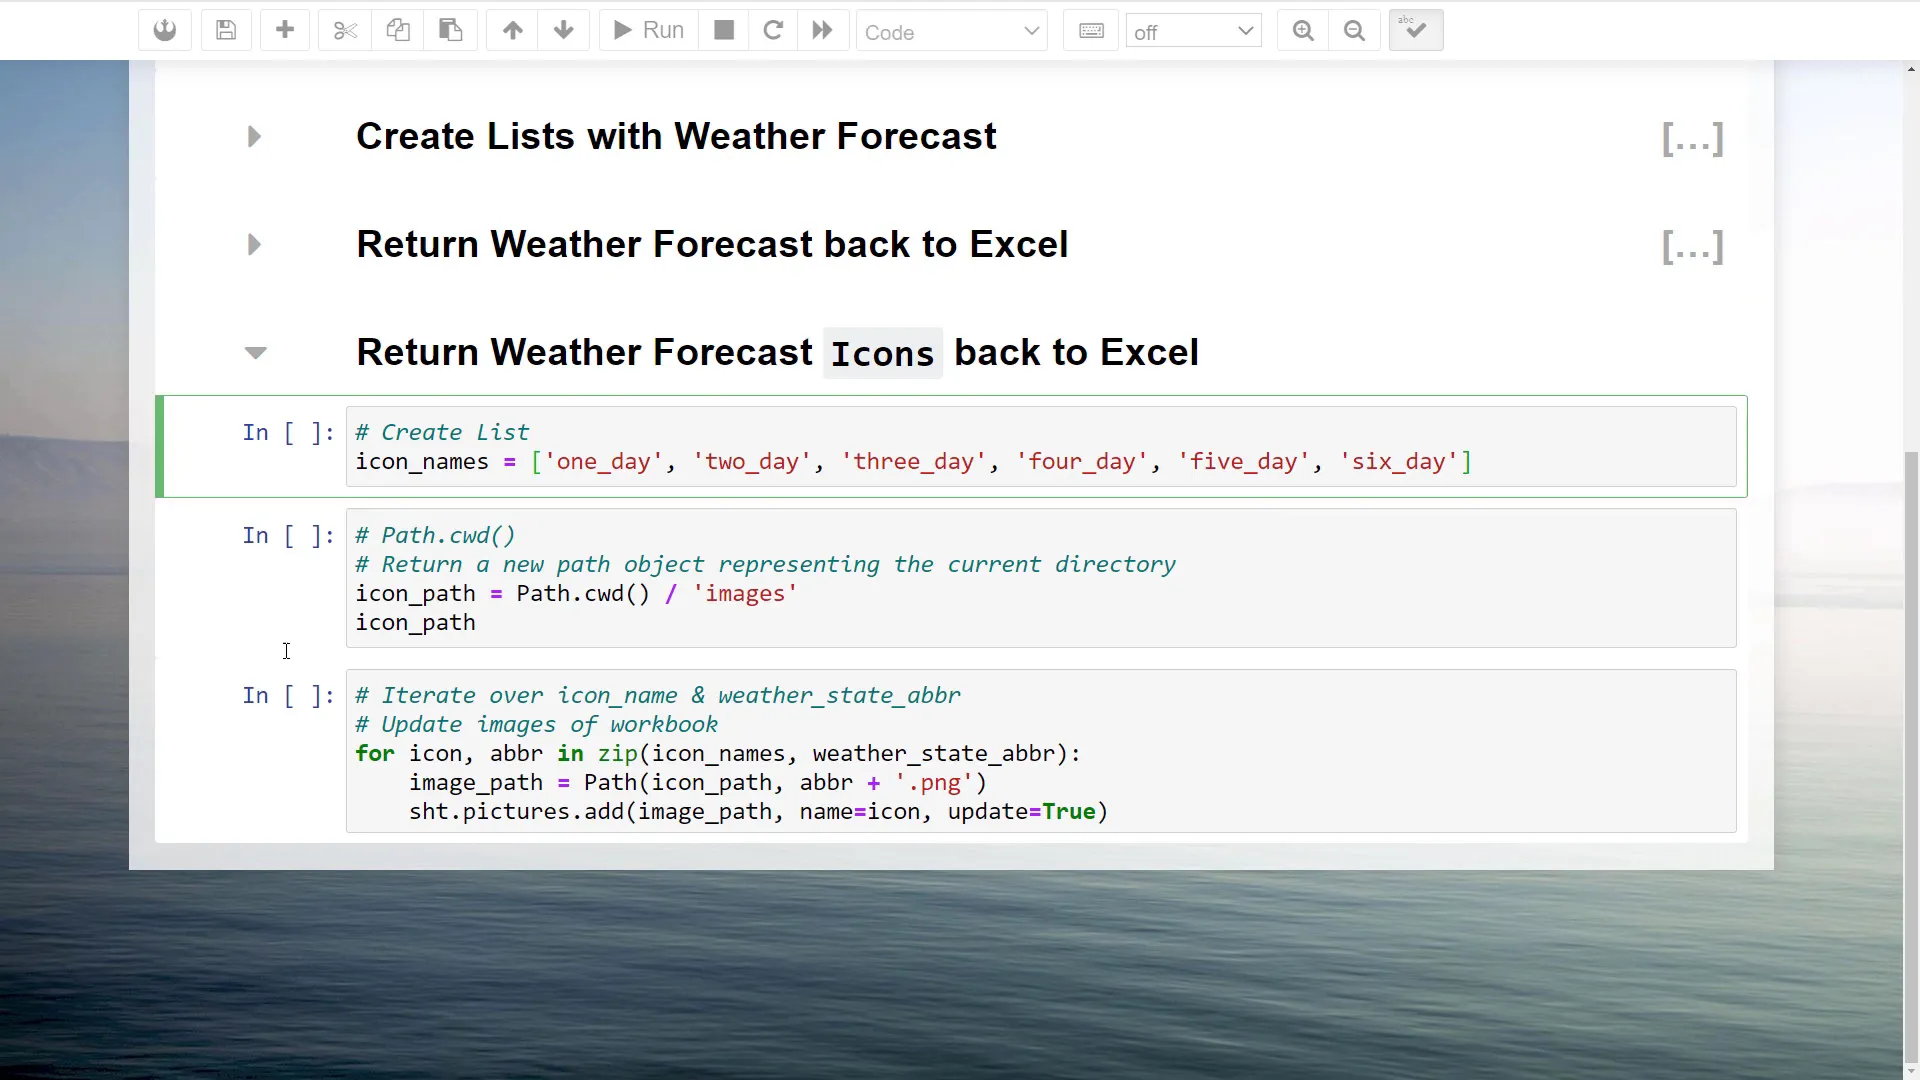
For each of the six days of the forecast, we also want to display an icon representing the weather. I’ll create a list of icon names that correspond to the weather conditions. Each icon will be inserted as a placeholder for each day, and I’ll rename the pictures according to our Python list.
Testing the Application
Now that everything is set up, let’s test our application. Instead of London, I’ll fetch the weather data for Tokyo. After restarting my Jupyter kernel and rerunning all cells, I should see the updated forecast for Tokyo.
Finalizing the Python Script
To finalize the application, I’ll copy the code from the Jupyter Notebook into the Python script. This includes fetching the city name from Excel, sending the GET request, and returning the corresponding weather data and icons back to Excel.
Conclusion
And there you have it! You’ve successfully created a weather app in Excel using Python. You can now apply additional styling to your worksheet to make it visually appealing. If you have any questions or need further support, feel free to leave a comment below. Thanks for following along!