Deploy Your Streamlit Web App on Heroku For Free (fast & easy)
Introduction
In this tutorial, I will guide you through the process of deploying your Streamlit application on Heroku for free. I assume that you have already developed an application with Streamlit. If not, you can check out my previous tutorial where we transformed an Excel file into a web application. This application is currently running on my local machine.
Prerequisites
To deploy your Streamlit application, you’ll need the following:
- A requirements file
- A setup shell file
- A Procfile
- Git installed on your machine
- A free Heroku account
There’s a well-written article by Gilbert Tanner that explains each step in detail. I will leave the link to his blog post in the description box below.
Creating the Requirements File
The requirements file is essential, as it tells the Heroku server what libraries it needs to download to run your code. To create this file, I will use a Python library that auto-generates the requirements for us. Open your command prompt or terminal and type:
pip install pipreqsOnce the library is installed, navigate to the folder of your Streamlit application. In my case, I stored the files on my desktop in a folder called “Excel Web App”. To create the requirements file, type:
pipreqs .After pressing enter, you should see the generated requirements file. However, there’s one minor issue: optional dependencies that you might need for your projects are not included in this file. For instance, the Pandas library relies on xlrd or openpyxl to read Excel files, but we will address this later.

Creating the Setup and Proc Files
Next, we need to create the setup and Proc files. These files are required to tell Heroku the commands needed to start the application.
Setup File
Create a normal text file and name it setup.txt. Go to Gilbert Tanner’s blog, copy the following lines, and paste them into your setup file:
mkdir -p ~/.streamlit/
echo "[general]
email = "your-email@domain.com"" > ~/.streamlit/credentials.toml
echo "[server]
headless = true
enableCORS=false
port = $PORT" > ~/.streamlit/config.toml
Once done, save the text file with the extension .sh.
Proc File
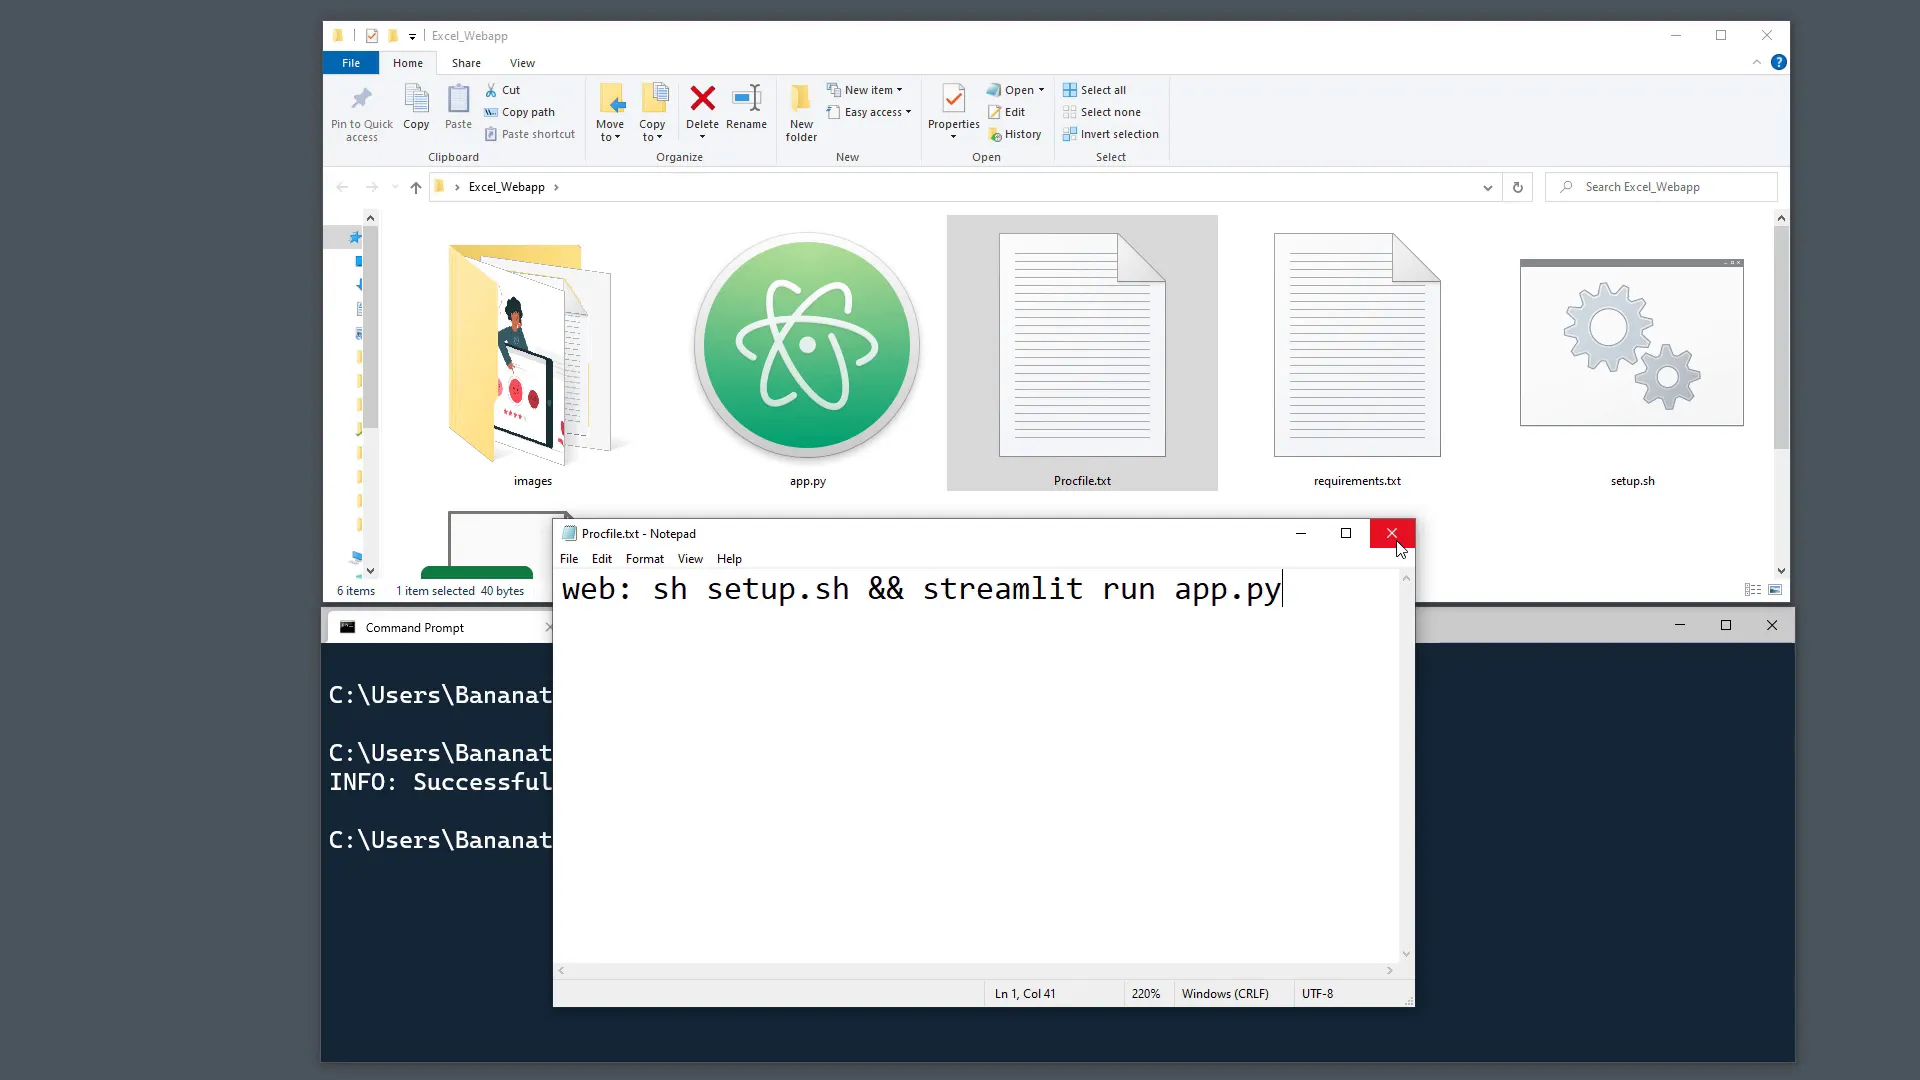
Similarly, create a new text file and call it Procfile.txt. Copy the following line and paste it into your text file:
web: sh setup.sh && streamlit run app.pyEnsure that the name of your Python file matches what you have in the Procfile. In my case, I named my Streamlit application app.py. Remove the .txt extension to finalize the Procfile.
Setting Up Git
Now that we have our requirements, setup, and Proc files, we can create a new Git repository. Git is a version control system that helps track changes to files. If you haven’t used Git before, don’t worry; I’ll show you a few simple commands.
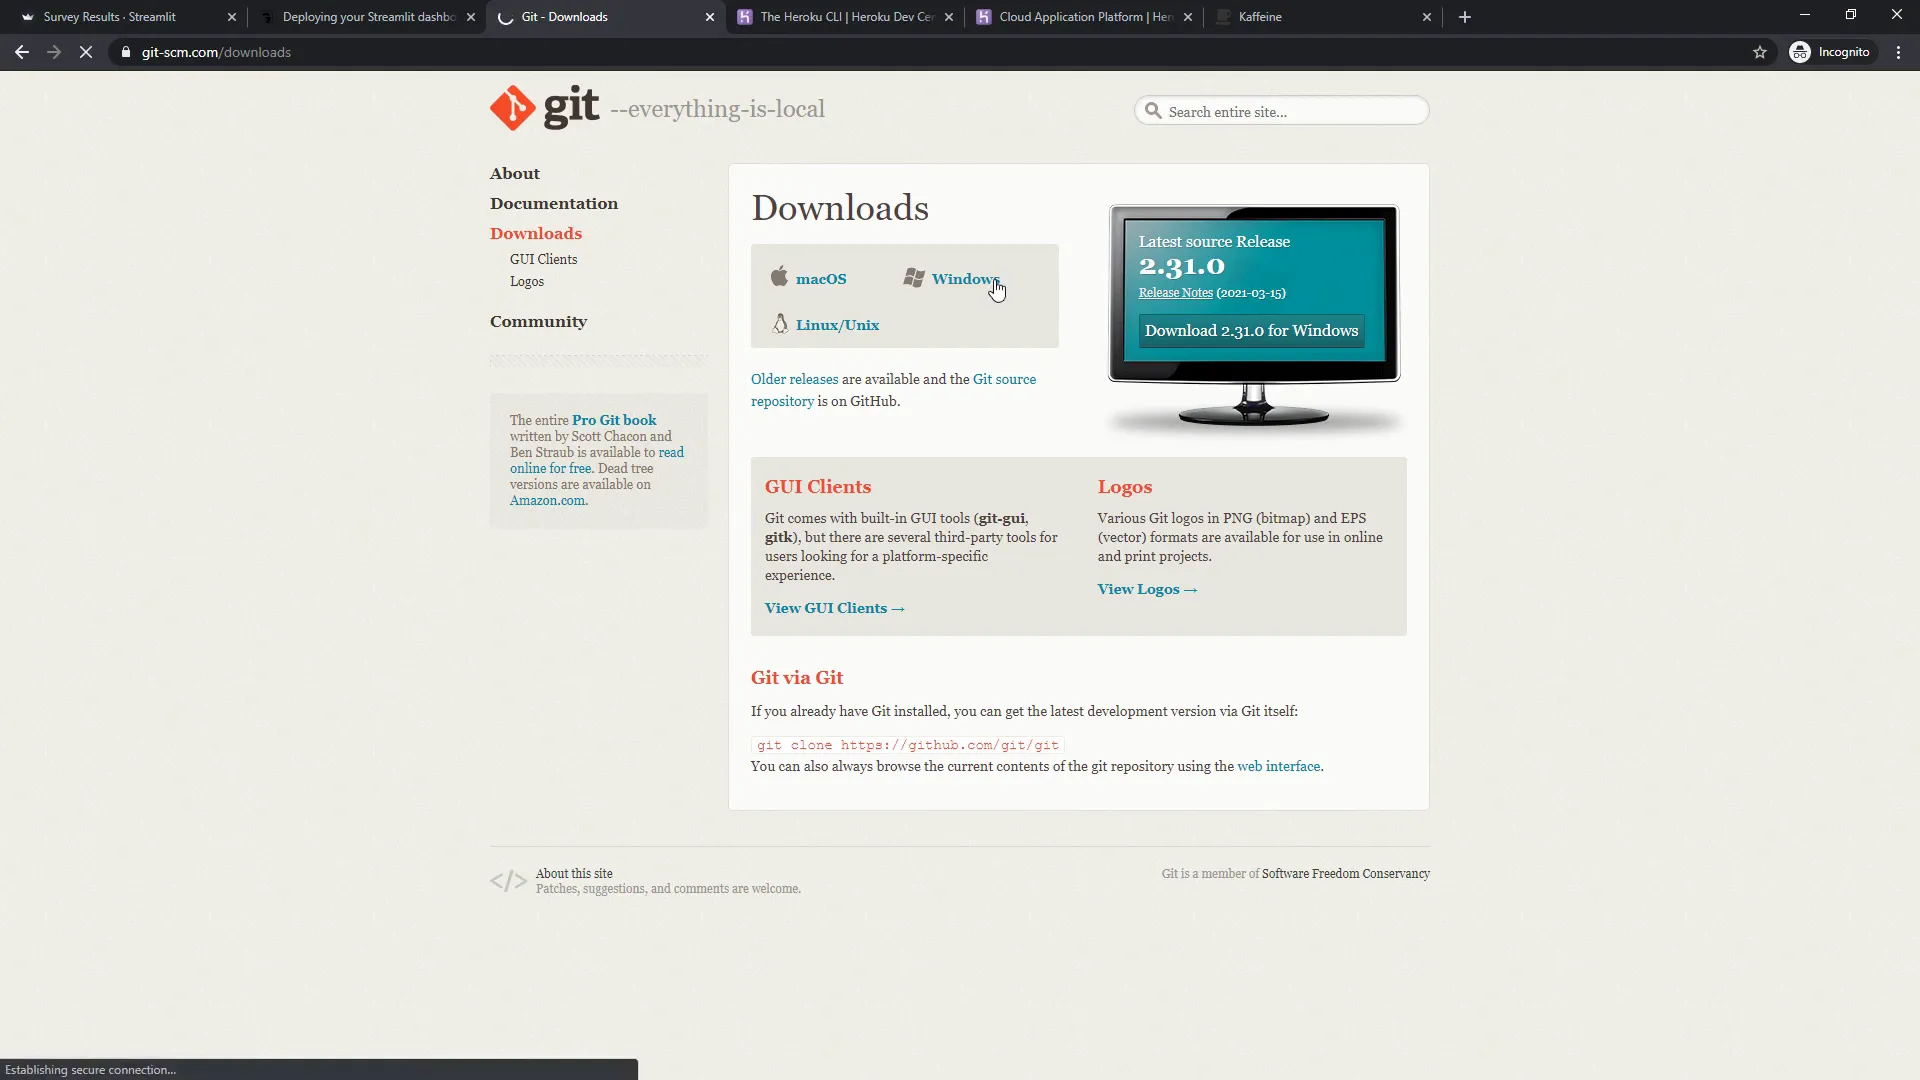
Navigating to the Git website, download and install the Git client for your operating system. I will also leave the link in the description box below.
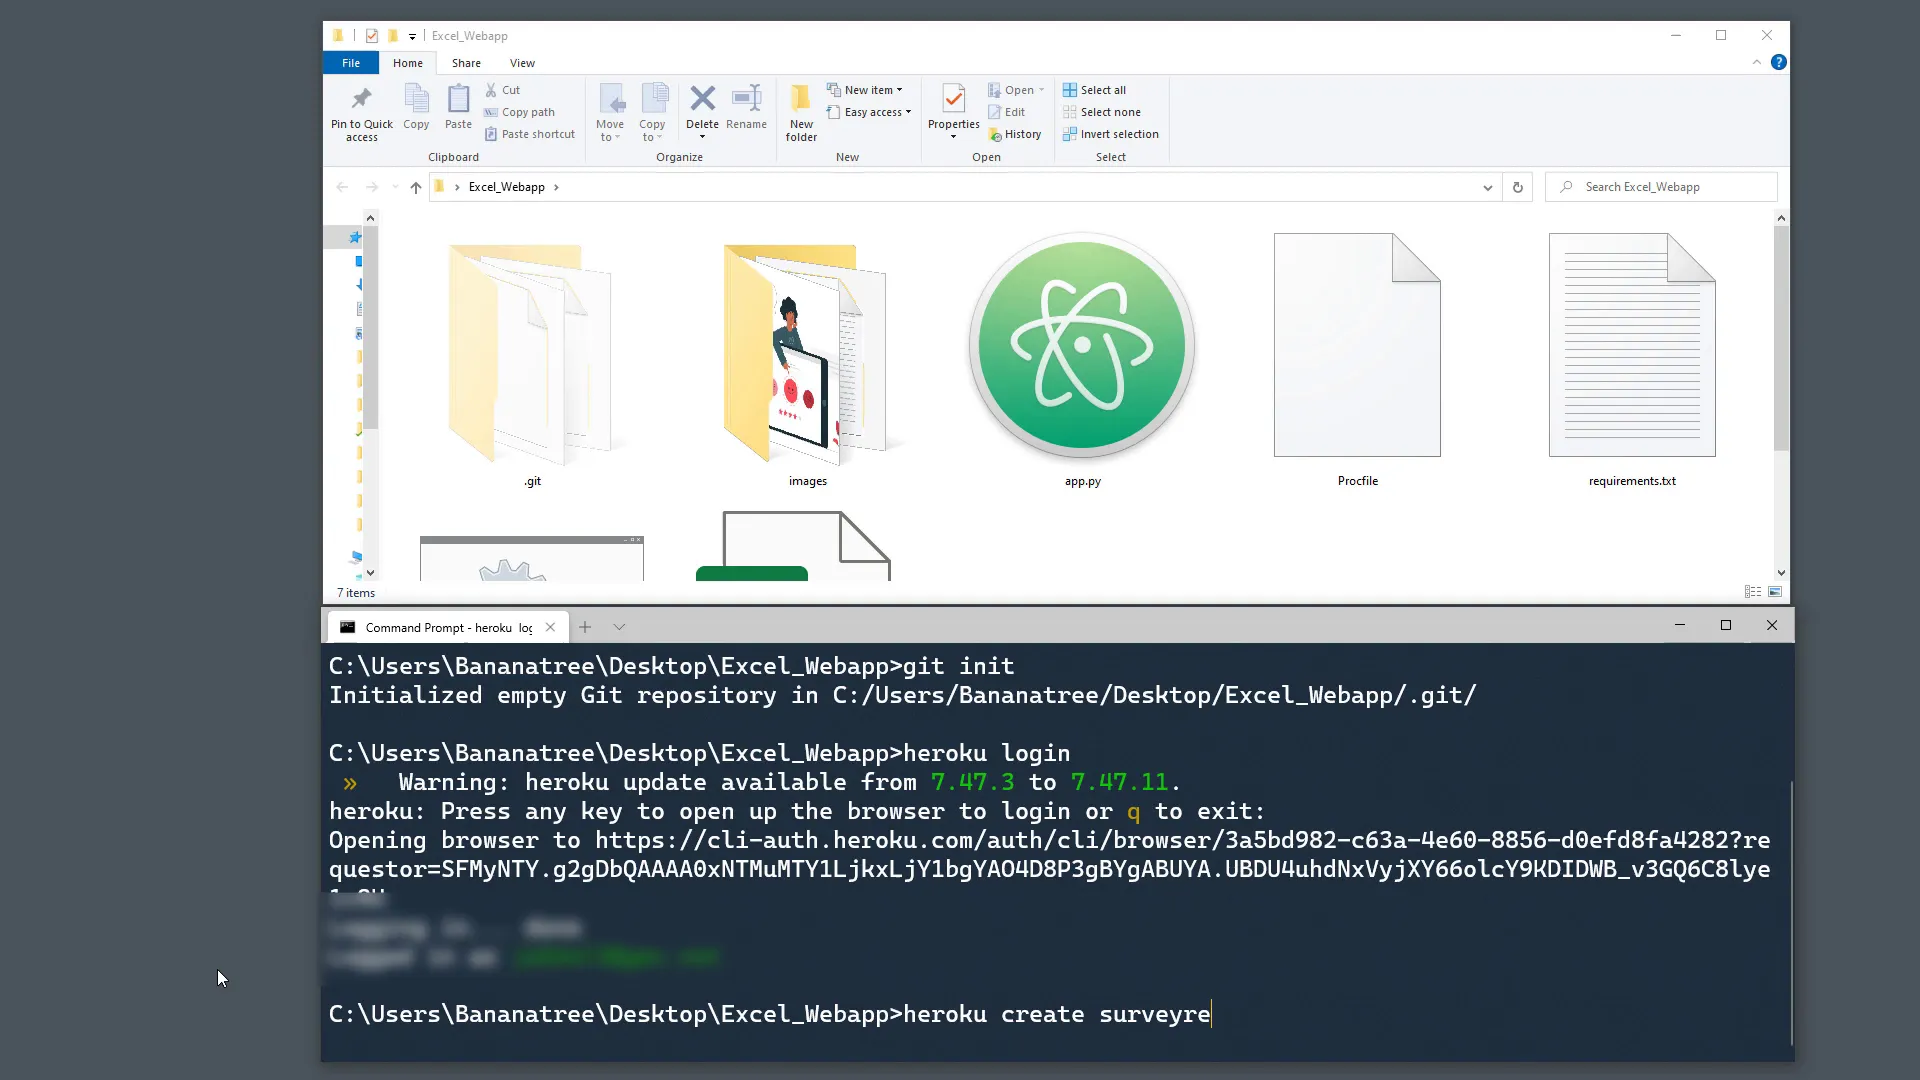
Once installed, initialize a new Git repository by typing:
git initMake sure you are still in the same folder as your Streamlit application.
Logging into Heroku
Before deploying our app, we need to log in to Heroku. If you’ve installed the Heroku command line interface (CLI), type:
heroku loginA new browser window will pop up asking you to log in. Once logged in, you can close this window.
Creating Your Heroku App
To create your Heroku app, type:
heroku create your-desired-domain-nameFor example, if I want my application to be called survey-results, the final URL will be https://survey-results.herokuapp.com. If that name is already taken, try another name.
Pushing Code to Heroku
Now we can push our code to Heroku using the following commands:
git add .
git commit -m "Initial commit"
git push heroku master
After pressing enter, you might encounter an error. I intentionally included errors in this tutorial to reflect real-life scenarios where things don’t always go as planned.
For example, if the error says that the exact version of Pandas cannot be found, you can specify any available version lower than the one specified by using the less than symbol (<).
After fixing the version issue, repeat the push commands:
git add .
git commit -m "Fixed requirements"
git push heroku master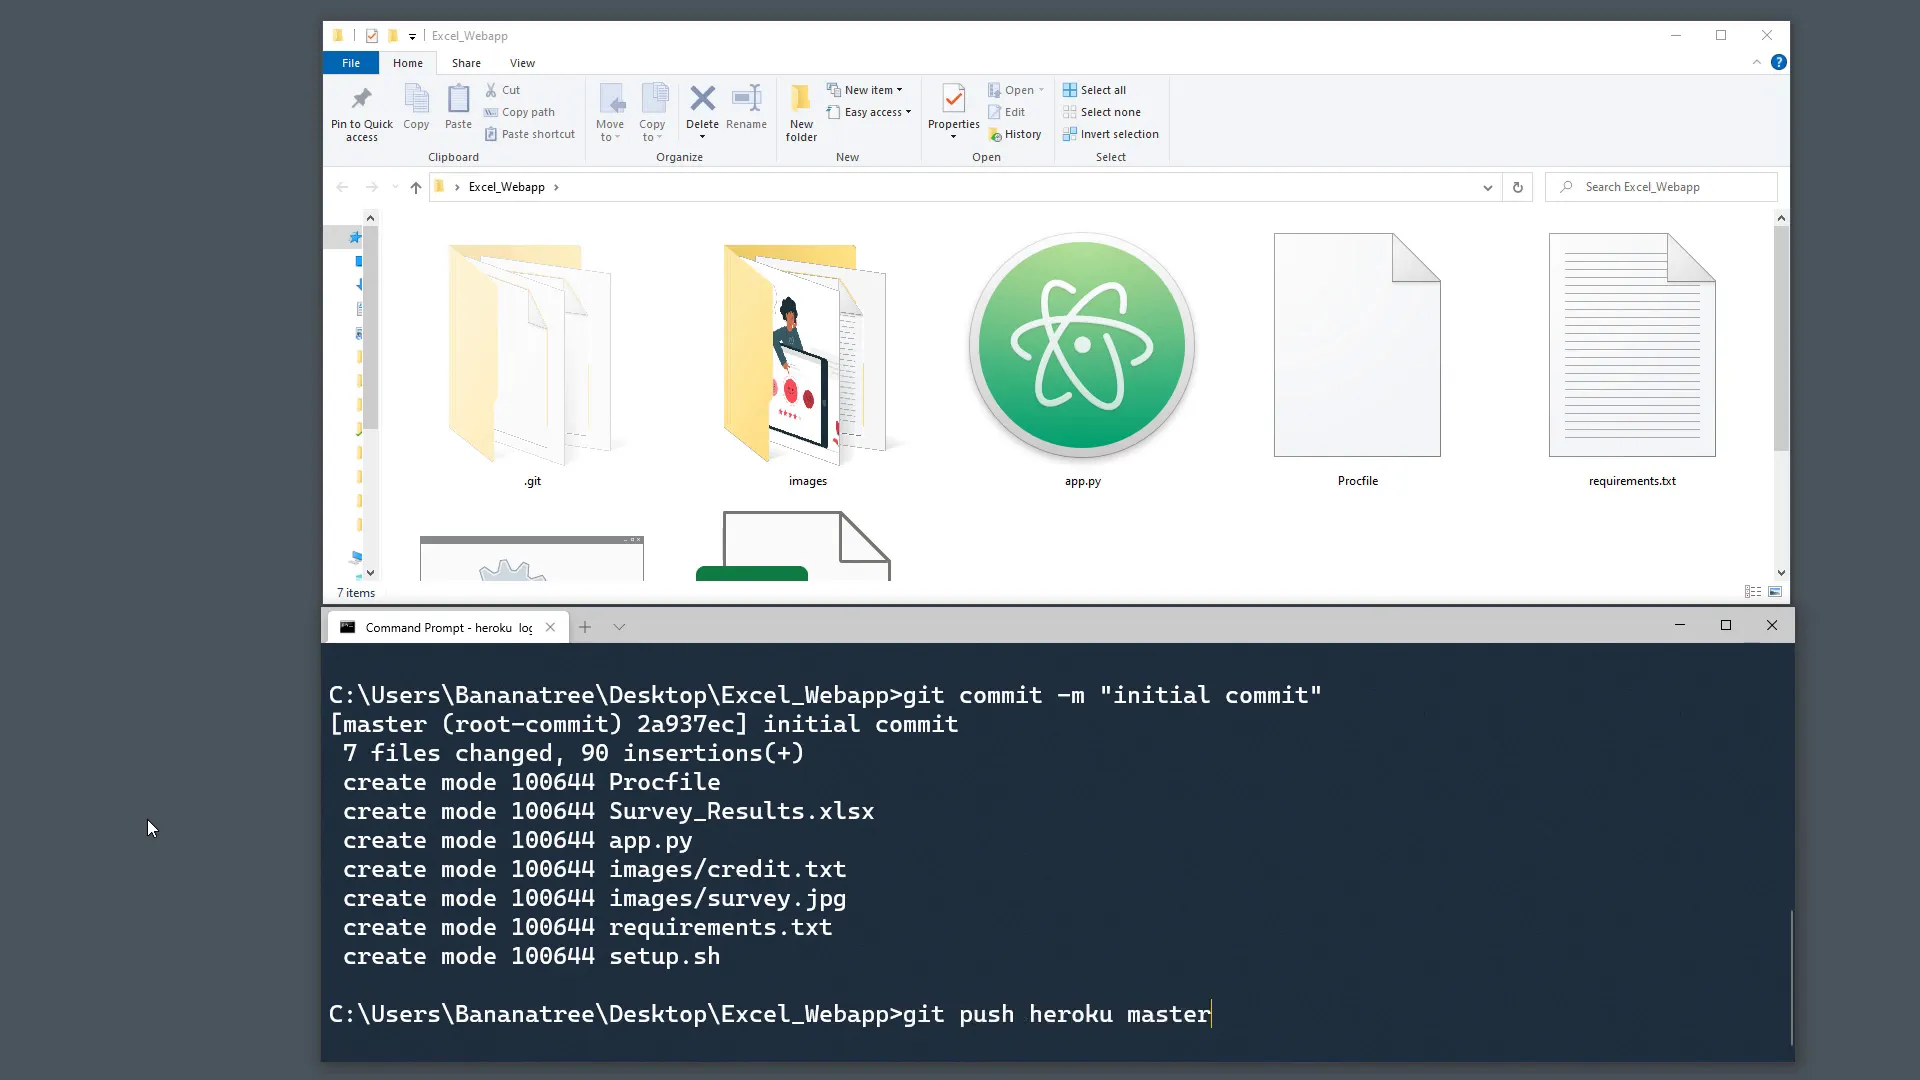
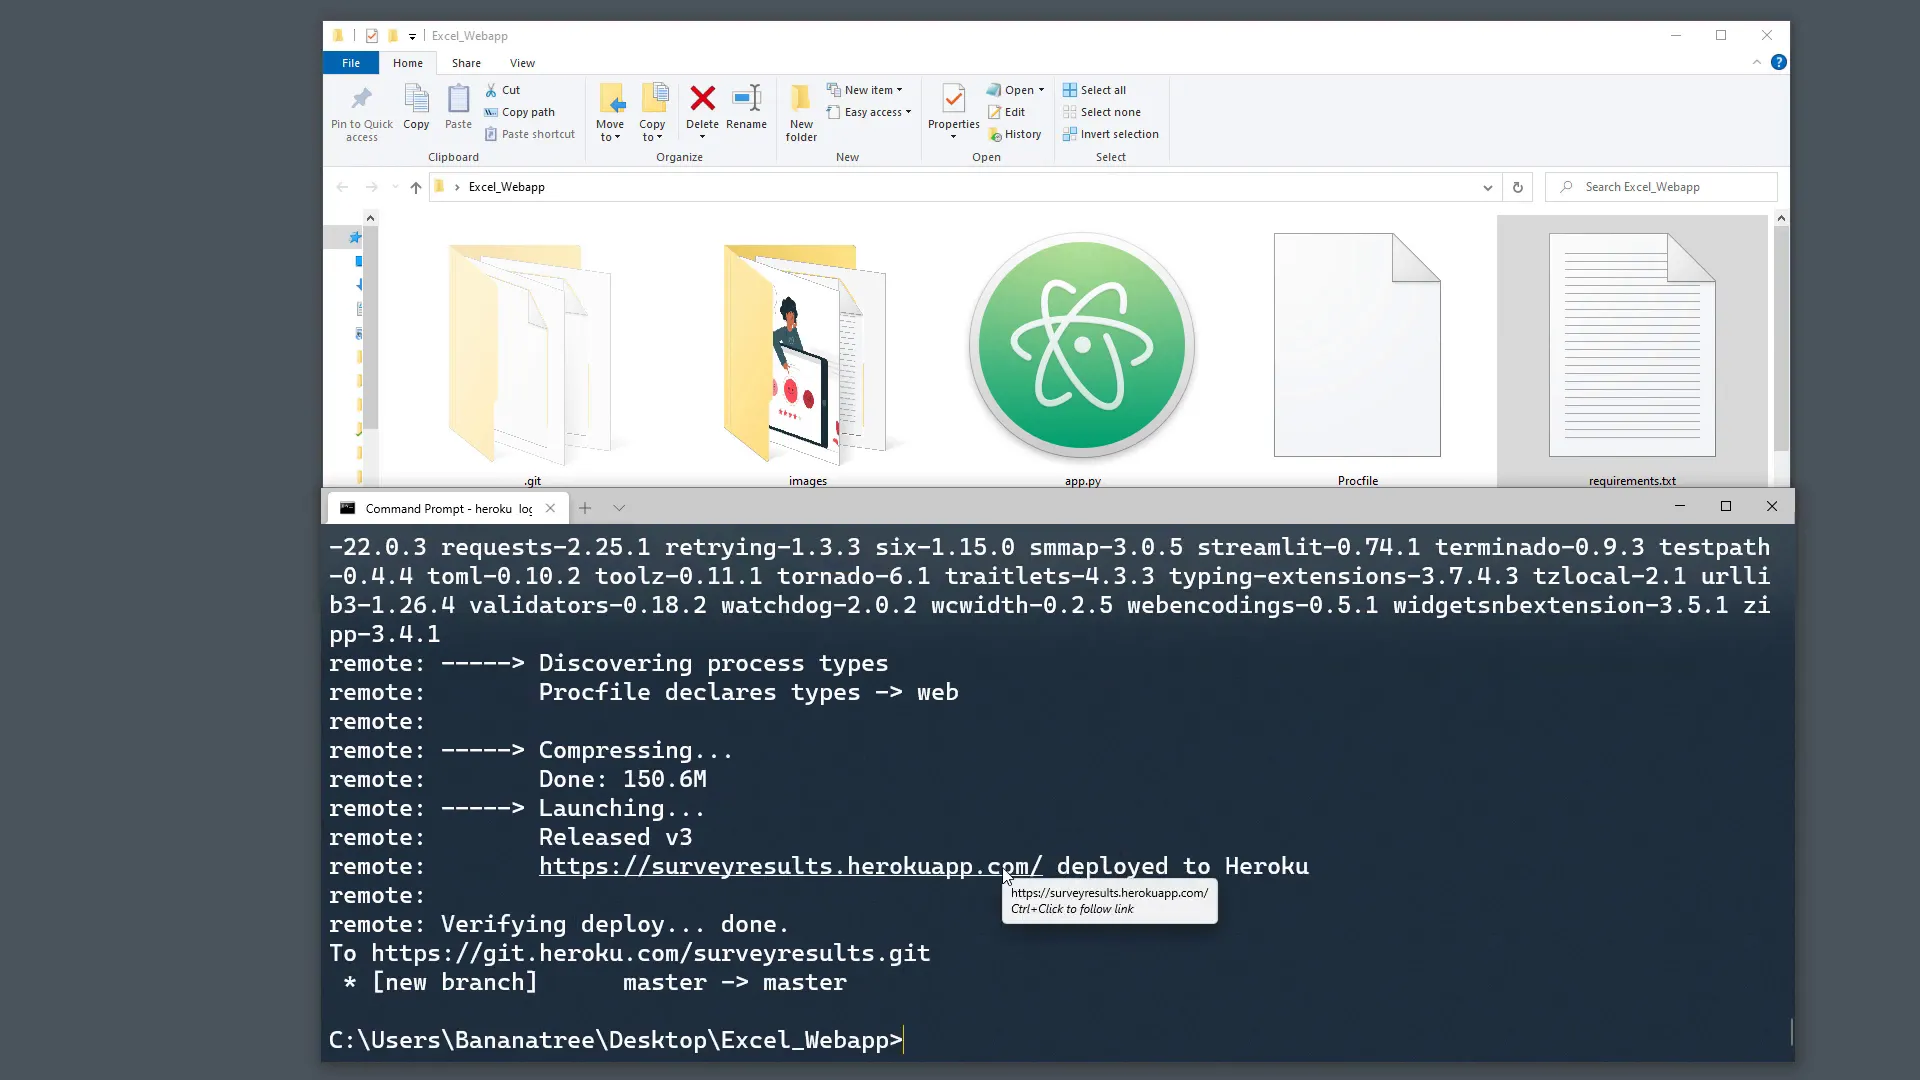
Verifying Deployment
Once the deployment is successful, you should see a message indicating that your app has been deployed. You can access your web application via the provided link.
Handling Optional Dependencies
However, we might still have an issue. When we created the requirements file, we didn’t specify optional dependencies. If you’re reading data from an Excel file, Pandas requires the xlrd library. Only versions before 2.0 of xlrd support xlsx files.
To resolve this, add xlrd to the requirements file, commit the changes, and push to Heroku again:
git add .
git commit -m "Added xlrd dependency"
git push heroku master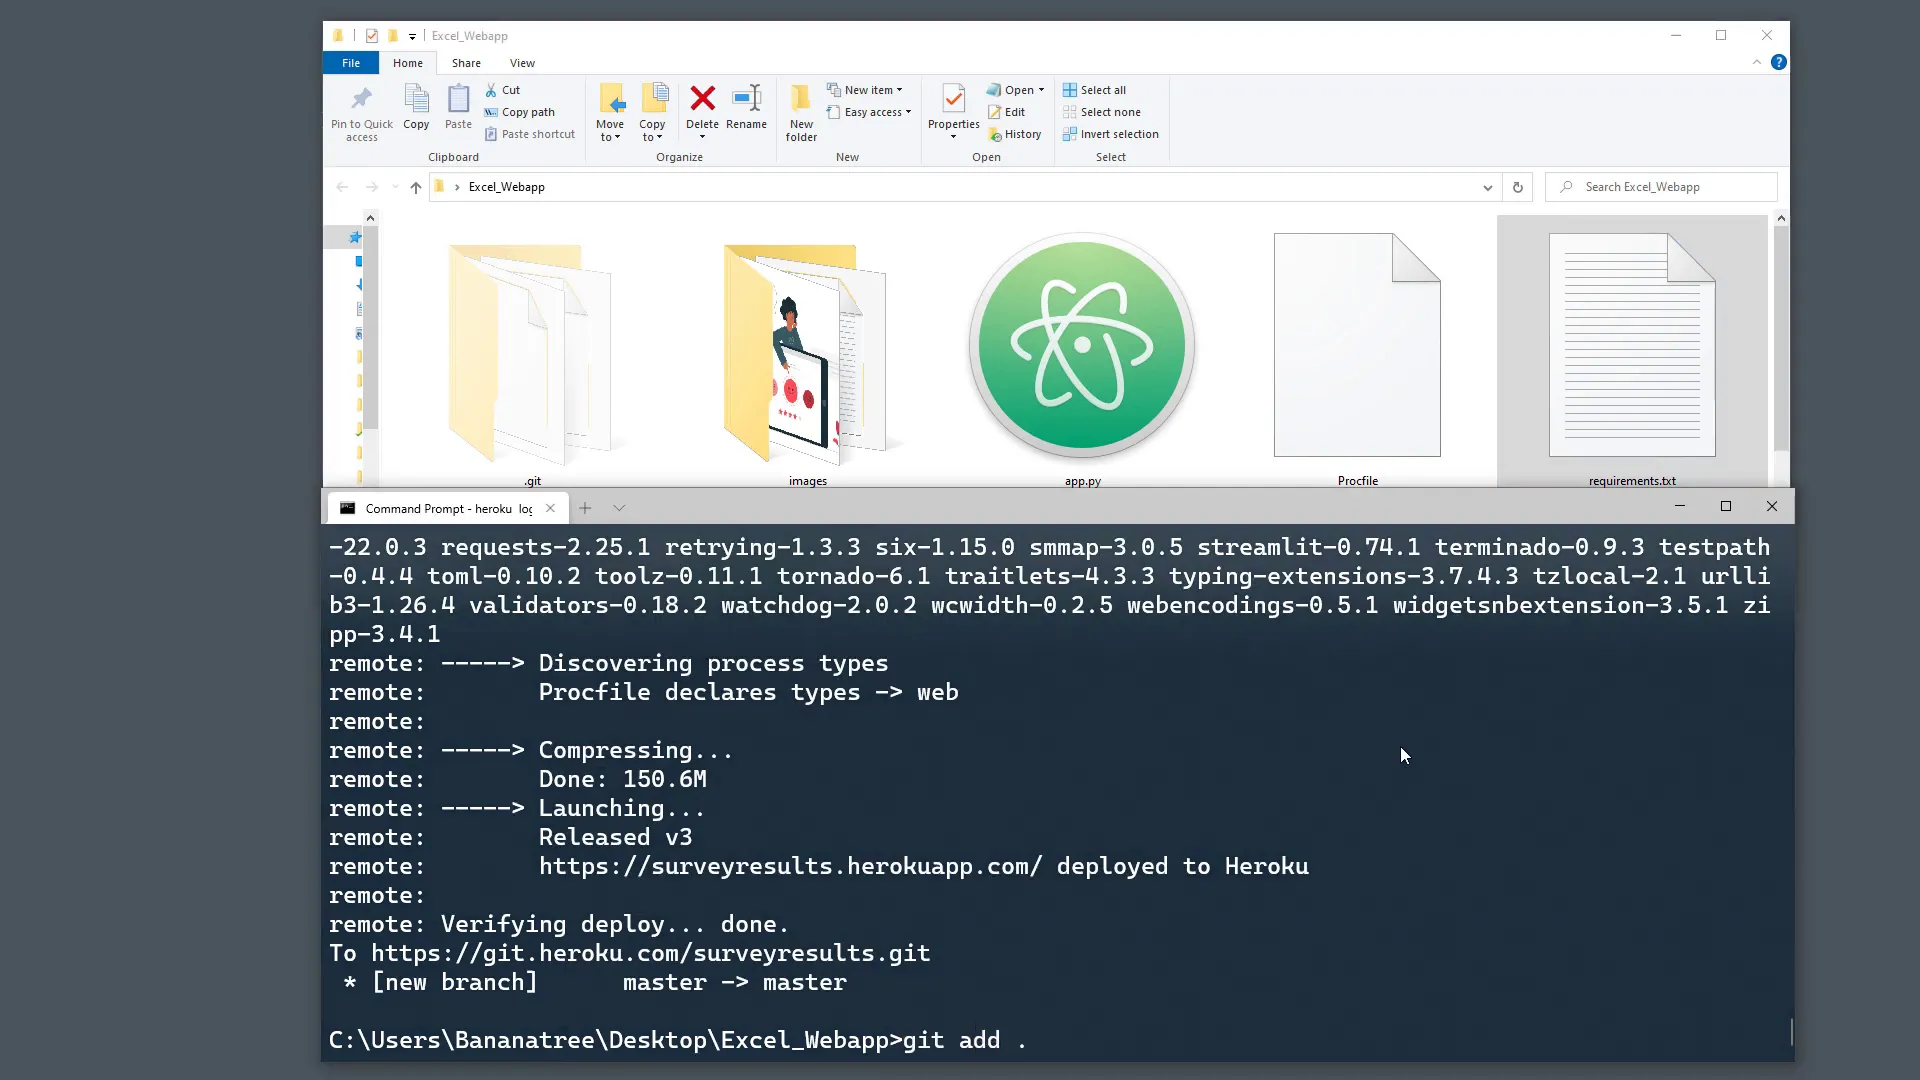
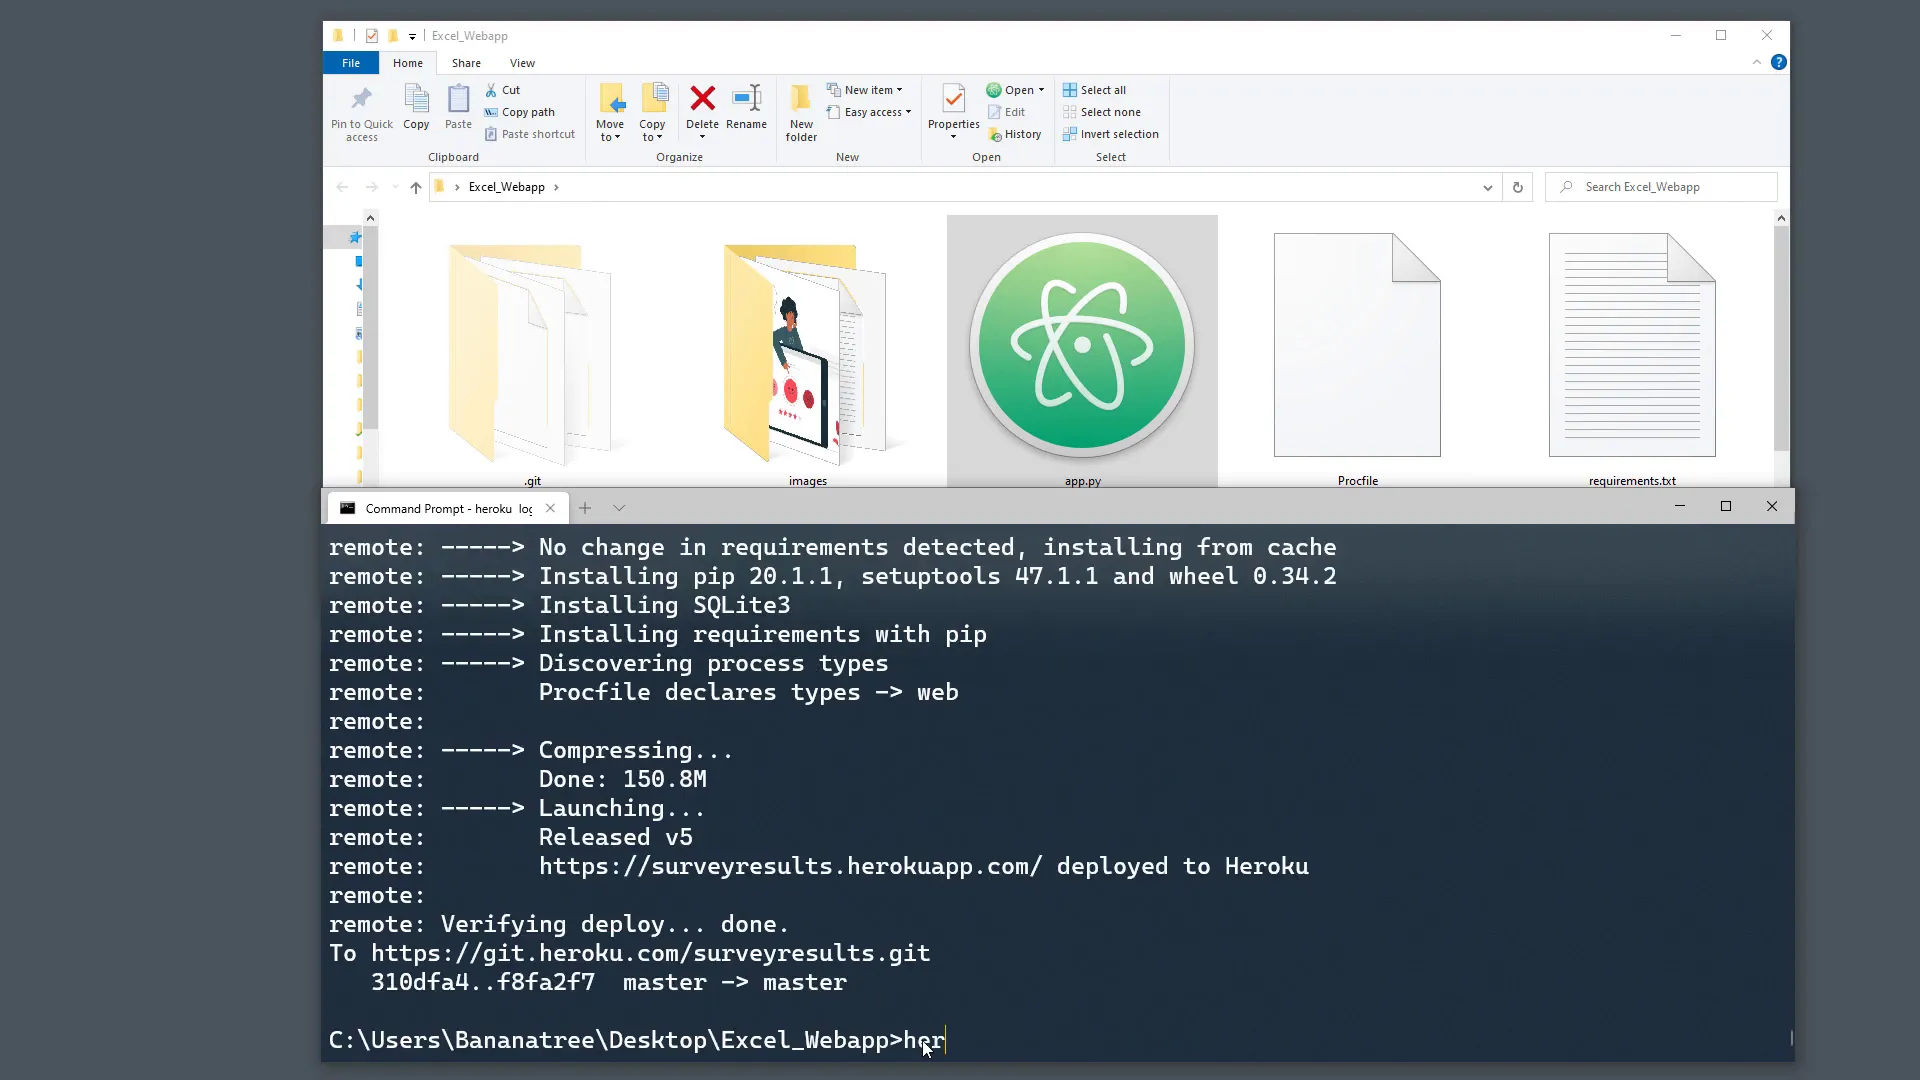
Scaling Your Application
Whenever you deploy your app on Heroku, it starts up on a server, known as a dyno. To keep your application free, you can type:
heroku ps:scale web=1If you want to update your web application in the future, just run the Git commands again to add your changes and push them to Heroku.
Bonus Tip: Keeping Your App Awake
As you are using the free tier of Heroku, your application will enter a sleeping mode after 30 minutes of inactivity. To avoid this, you can ping your application every 30 minutes to keep it awake.

Conclusion
This tutorial covered the steps to deploy your Streamlit application on Heroku. You learned about creating the necessary files, setting up Git, logging into Heroku, and pushing your code. Thank you for reading!