How to Create a Custom Excel Add-in (Step-by-Step Guide)

Introduction
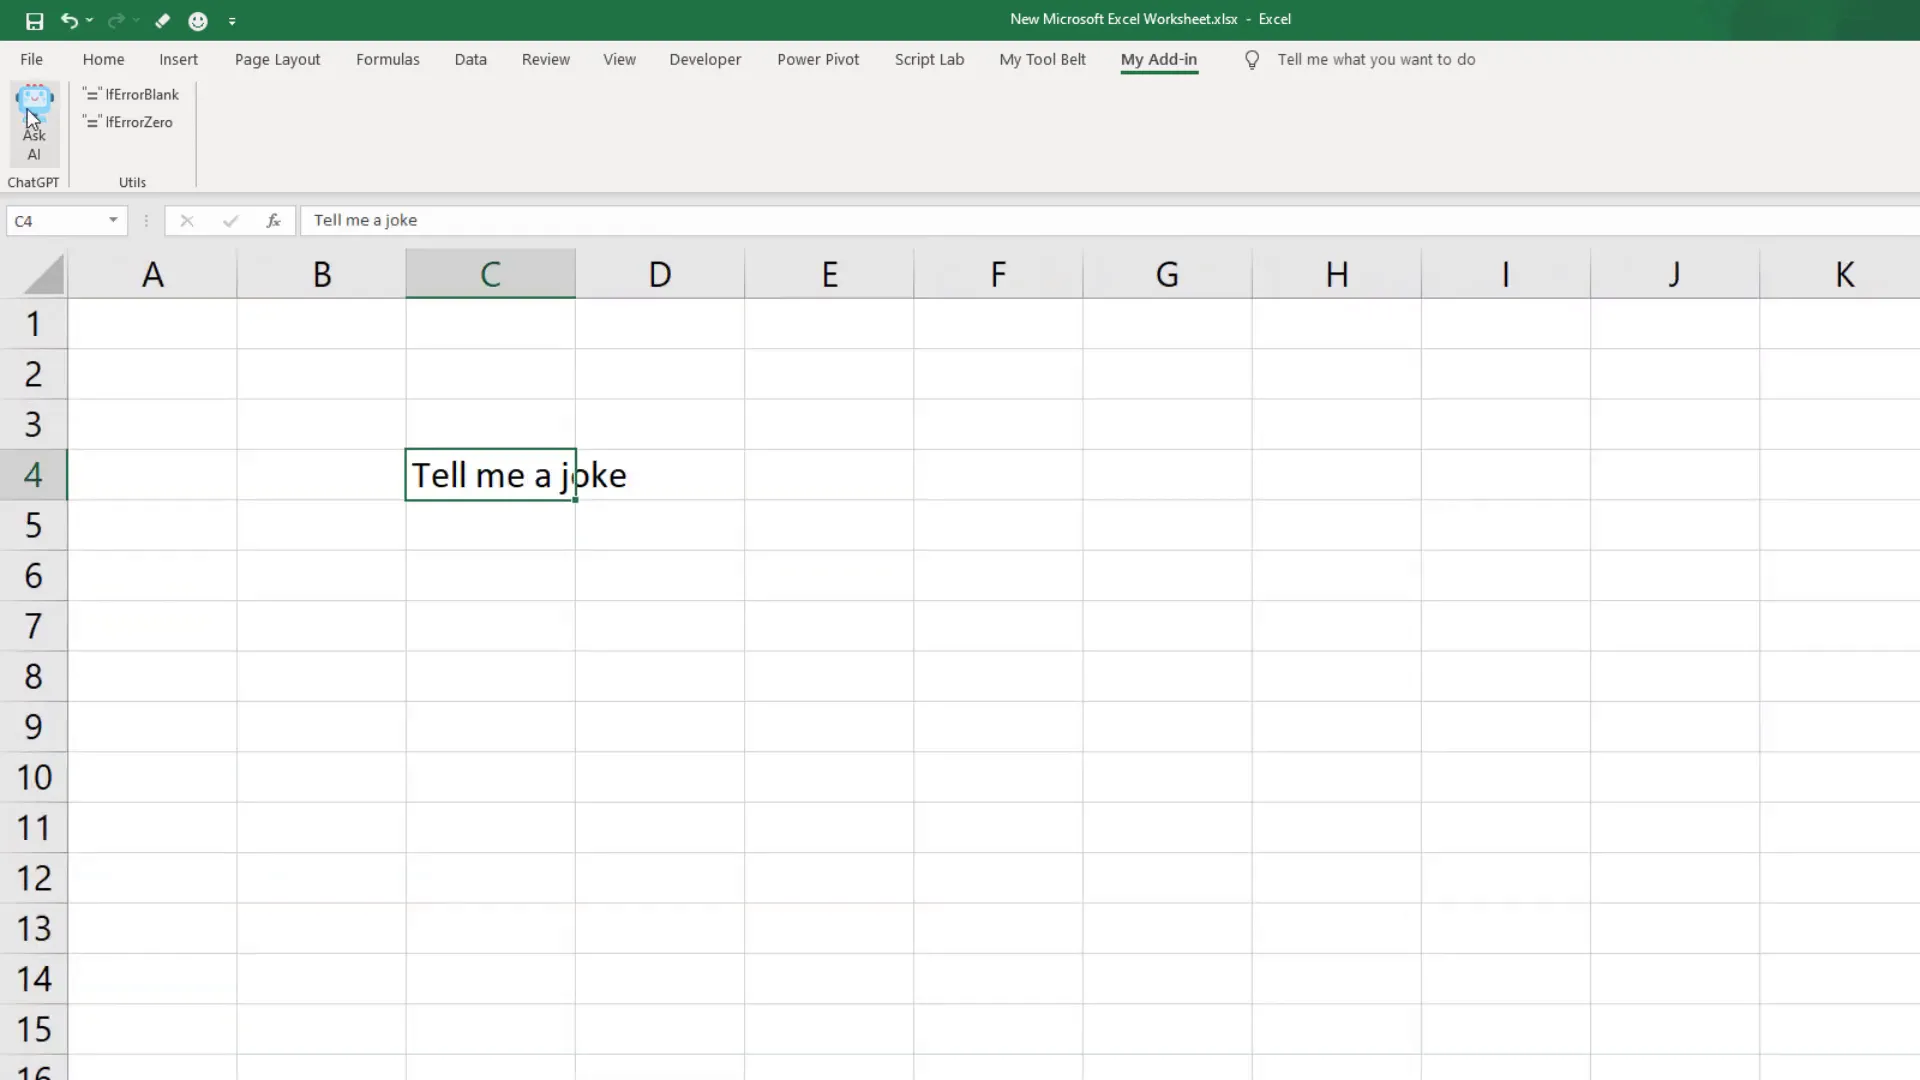
In today’s guide, I’m going to walk you through creating your very own Excel add-in. With a custom add-in, you can enhance Excel’s capabilities, automate tasks, and even integrate with external tools and services. Plus, you’ll have the ability to share your add-in with colleagues or even sell it. By the end of this tutorial, you’ll have a custom ribbon that lets you run any macro you want. As an example, I will show you how to integrate ChatGPT right into Excel. With just one click, you’ll be able to get the ChatGPT response in a new worksheet. Let’s dive in!
Creating an XLSM File
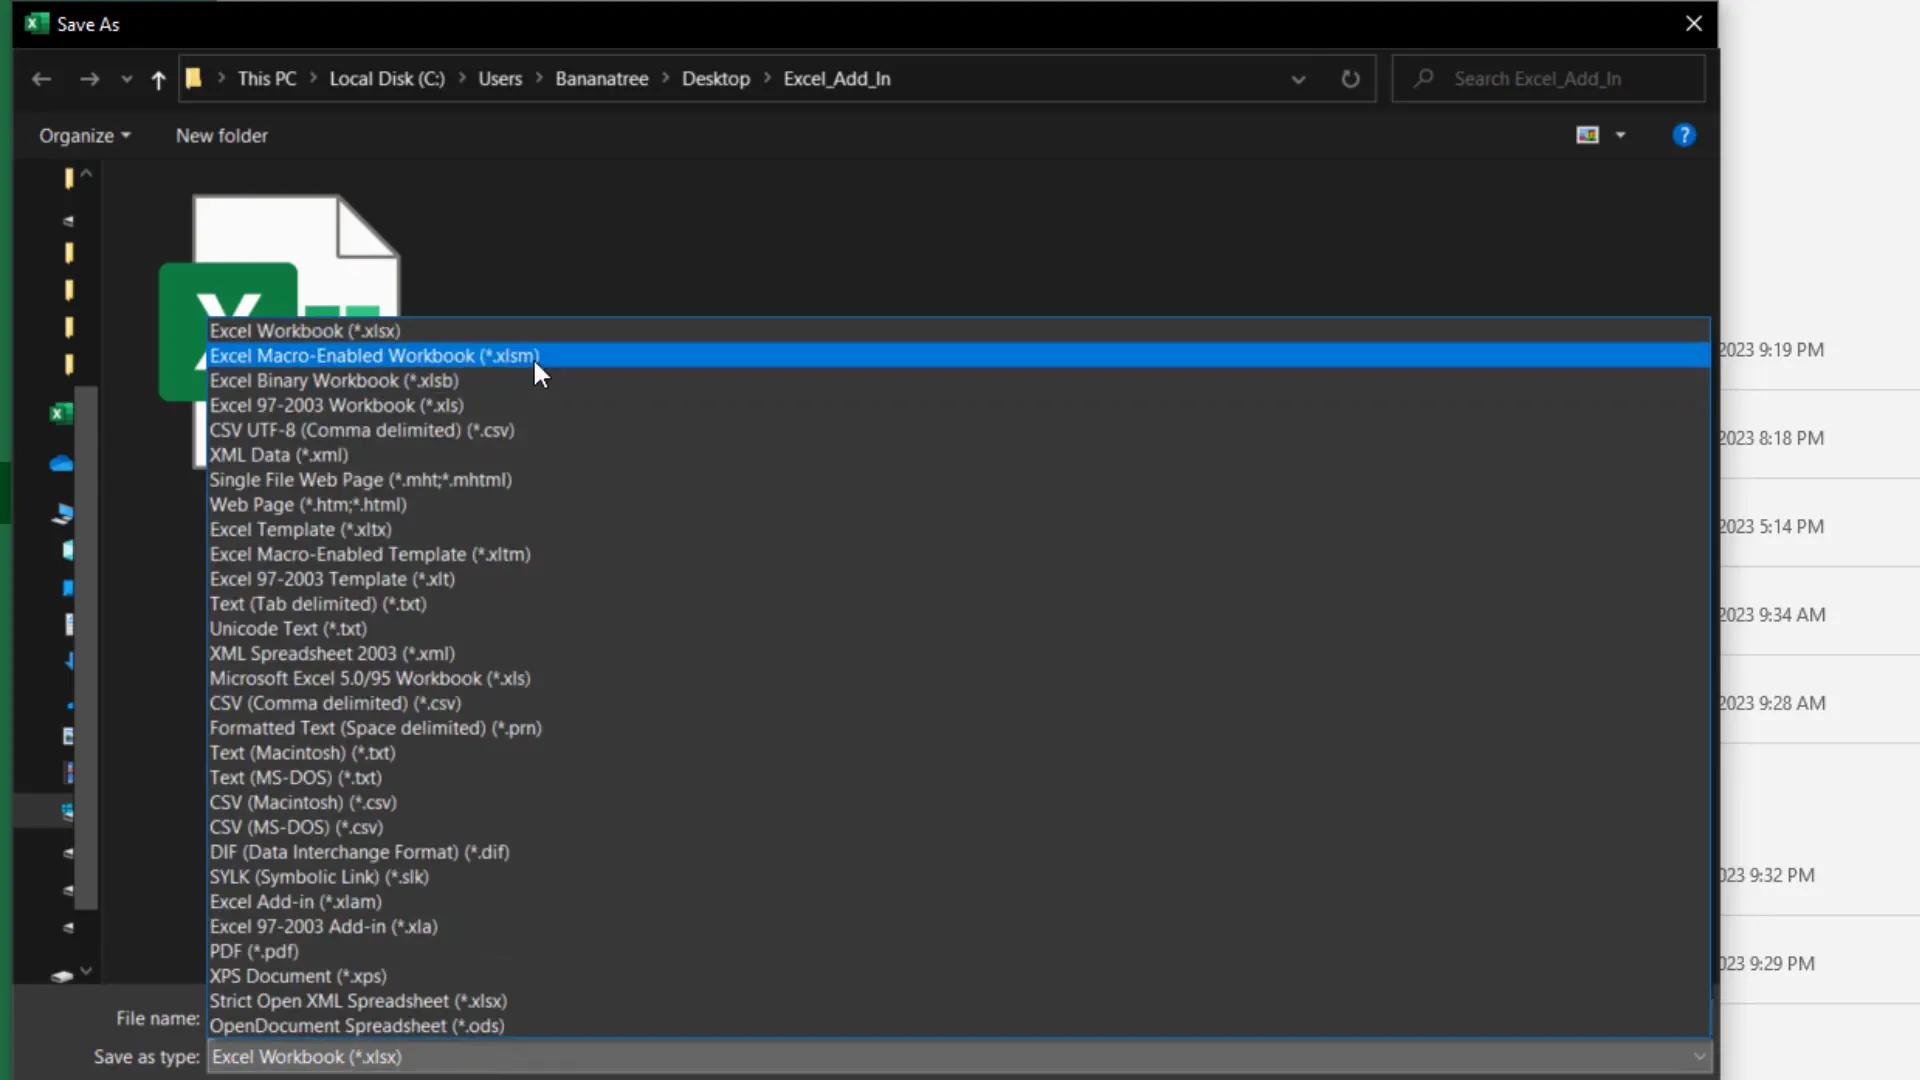
To kick things off, open a standard Excel file. It’s totally fine if the file is empty. Our main goal here is to save it as a macro-enabled workbook. To do this, head over to File > Save As and select Excel Macro-Enabled Workbook. Once saved, you can delete the original .xlsx file, as we won’t need it anymore.
Customizing the Excel Ribbon
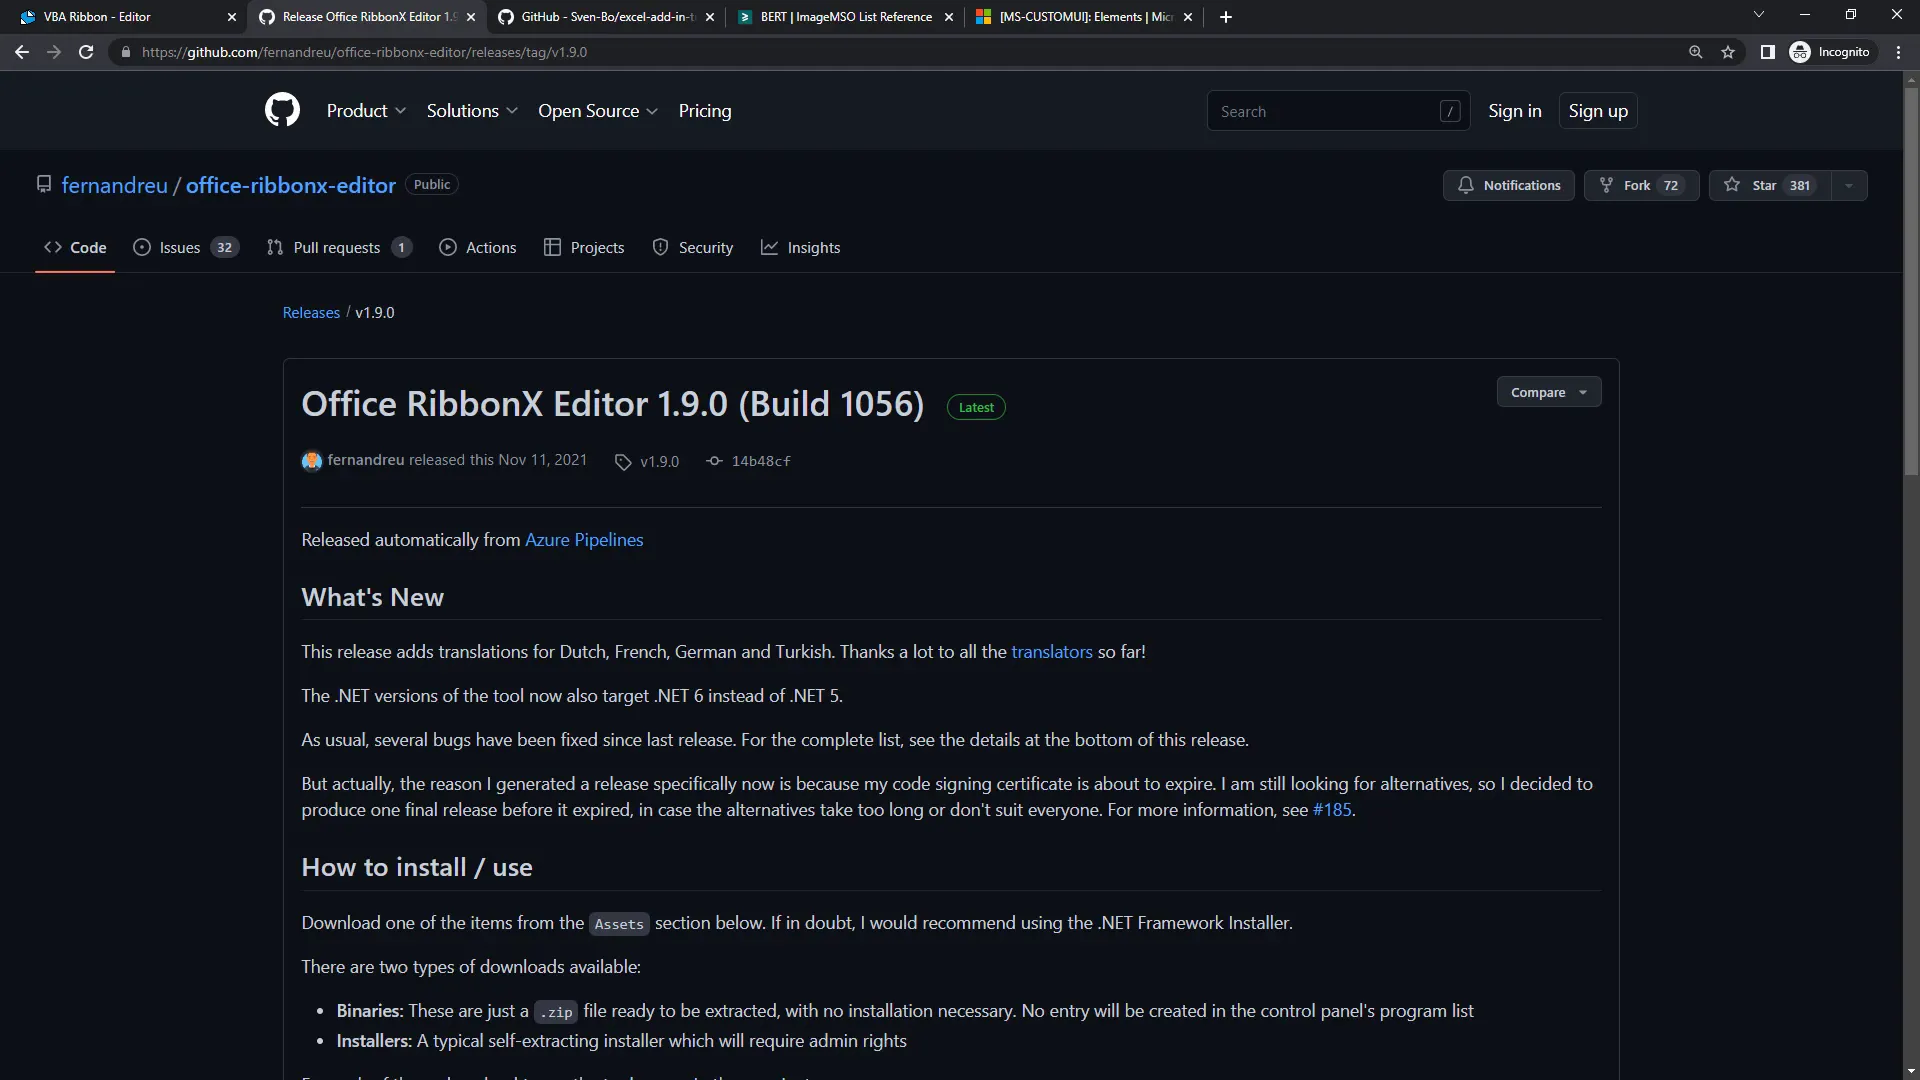
To create our add-in, we’ll utilize a free software called Office RibbonX. You can easily download it from GitHub. I’ll include the links in the description box of this guide. On the GitHub page, scroll down to the assets section to find the download link. Since this tool also requires the “.NET 6” framework, I recommend downloading the installer as well.
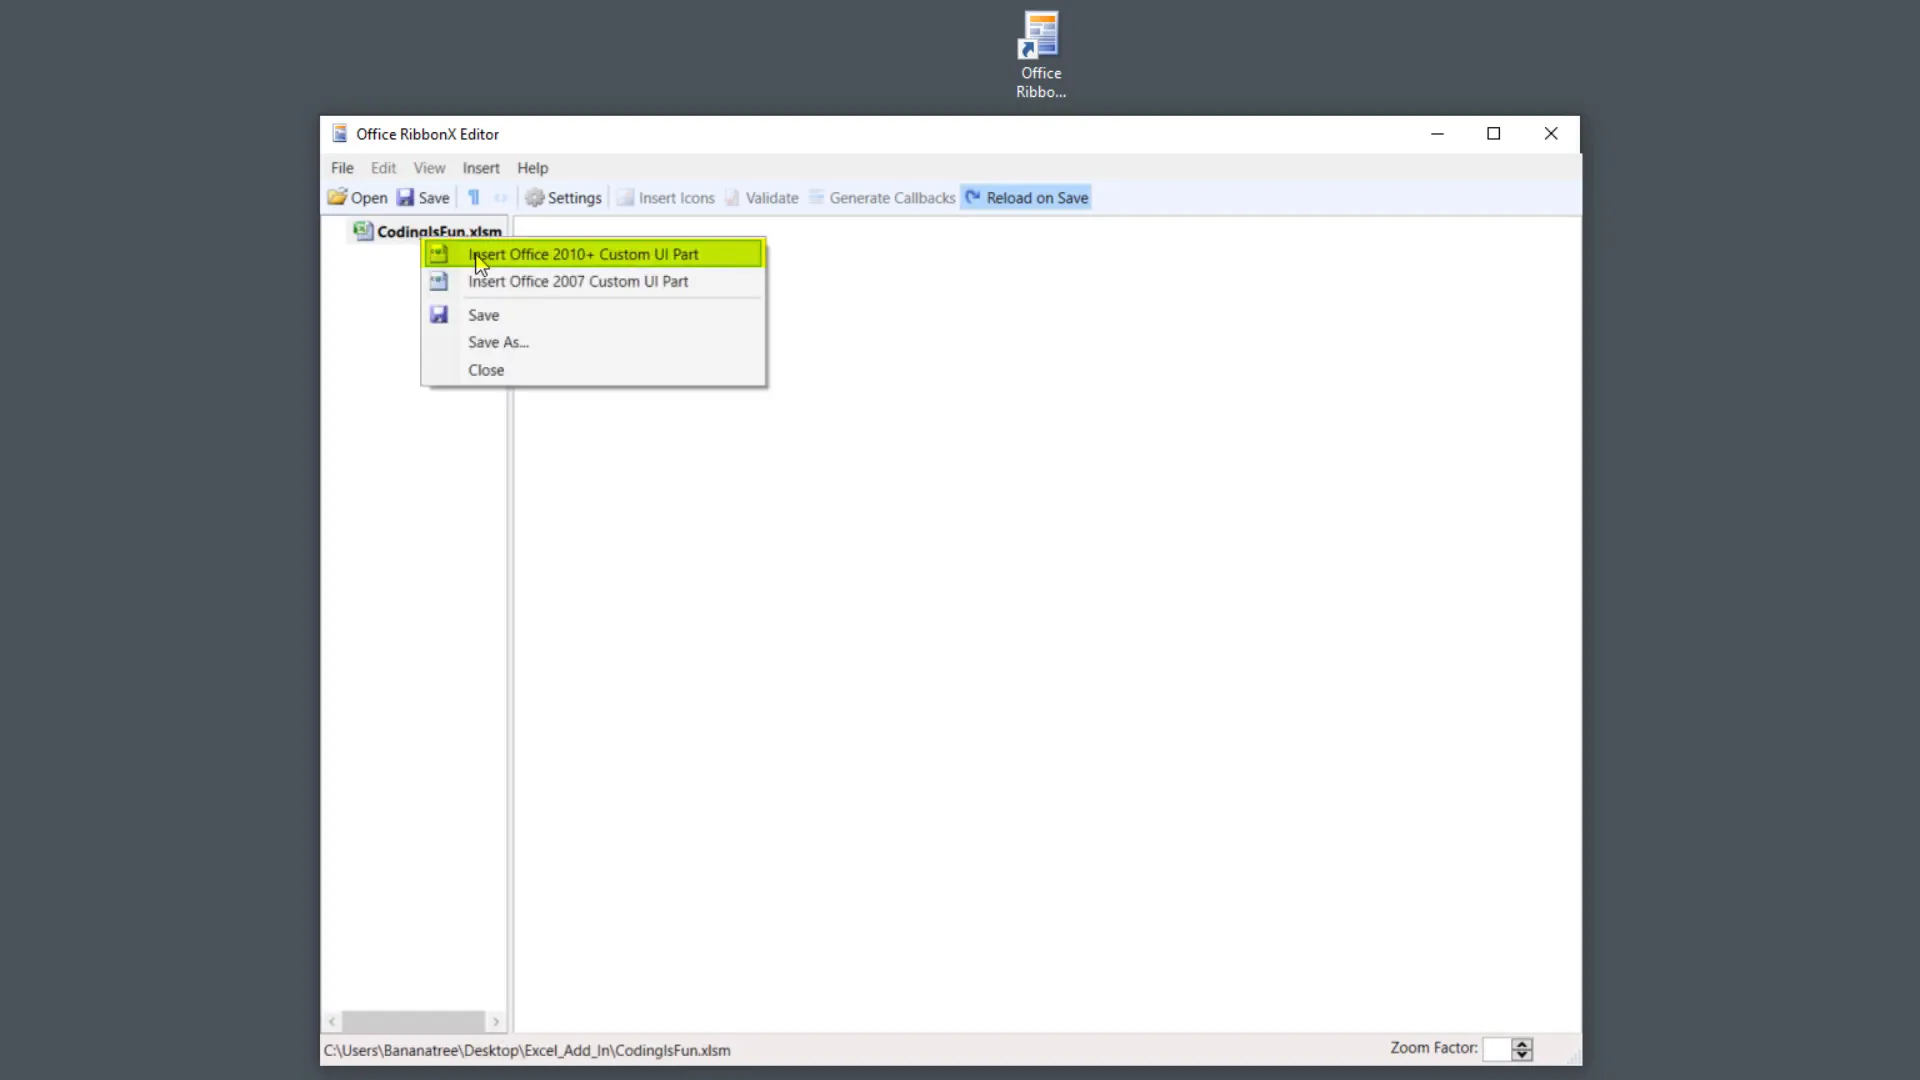
Once the download is complete, open the installer and stick with the default settings. You can also create a desktop shortcut for easy access. Now, open the Office RibbonX tool and select the macro-enabled workbook you created earlier. Right-click on the file and choose Insert Office 2010+ Custom UI part.
Next, double-click on the XML file and your editor window should look like mine. Here, we’ll insert the XML code. I found a helpful blog post that explains the steps I just demonstrated. On this site, you’ll also discover some sample XML code to get started. Let me copy these XML tags and paste them into the editor.
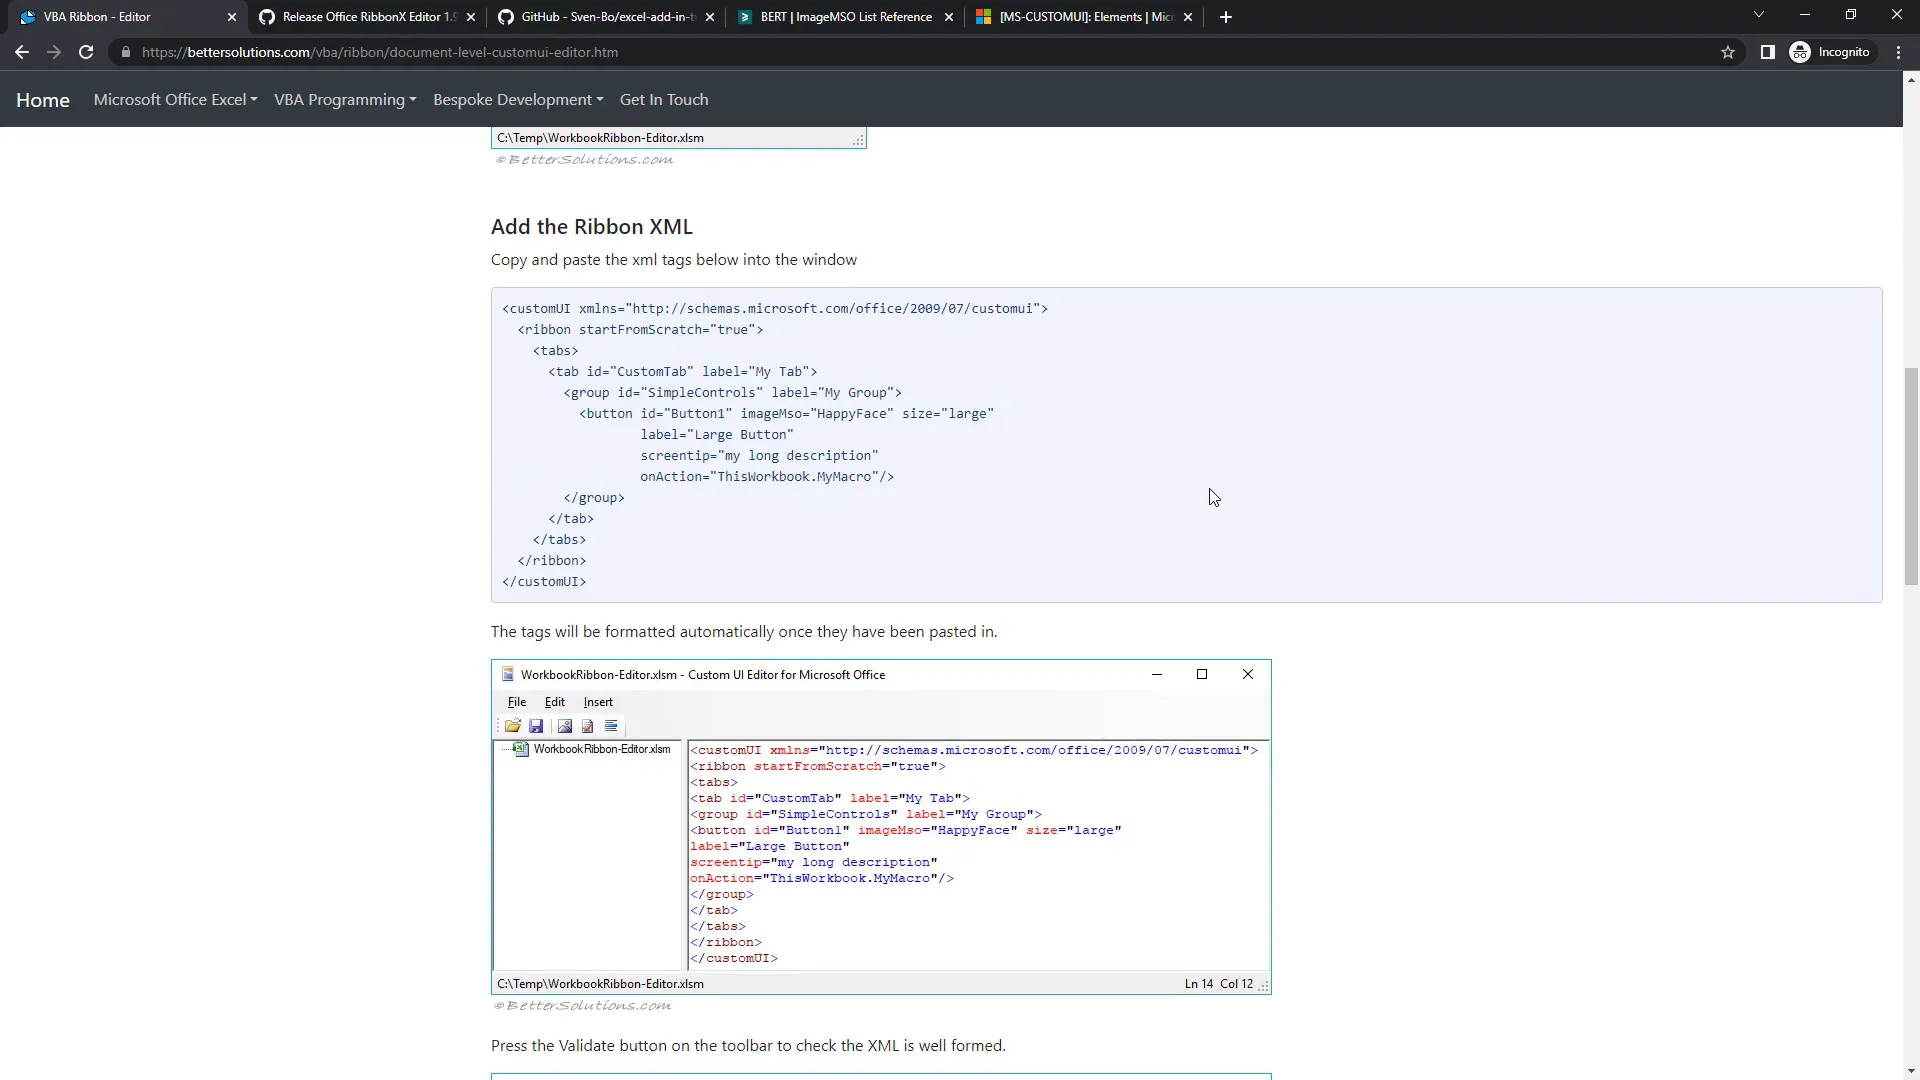
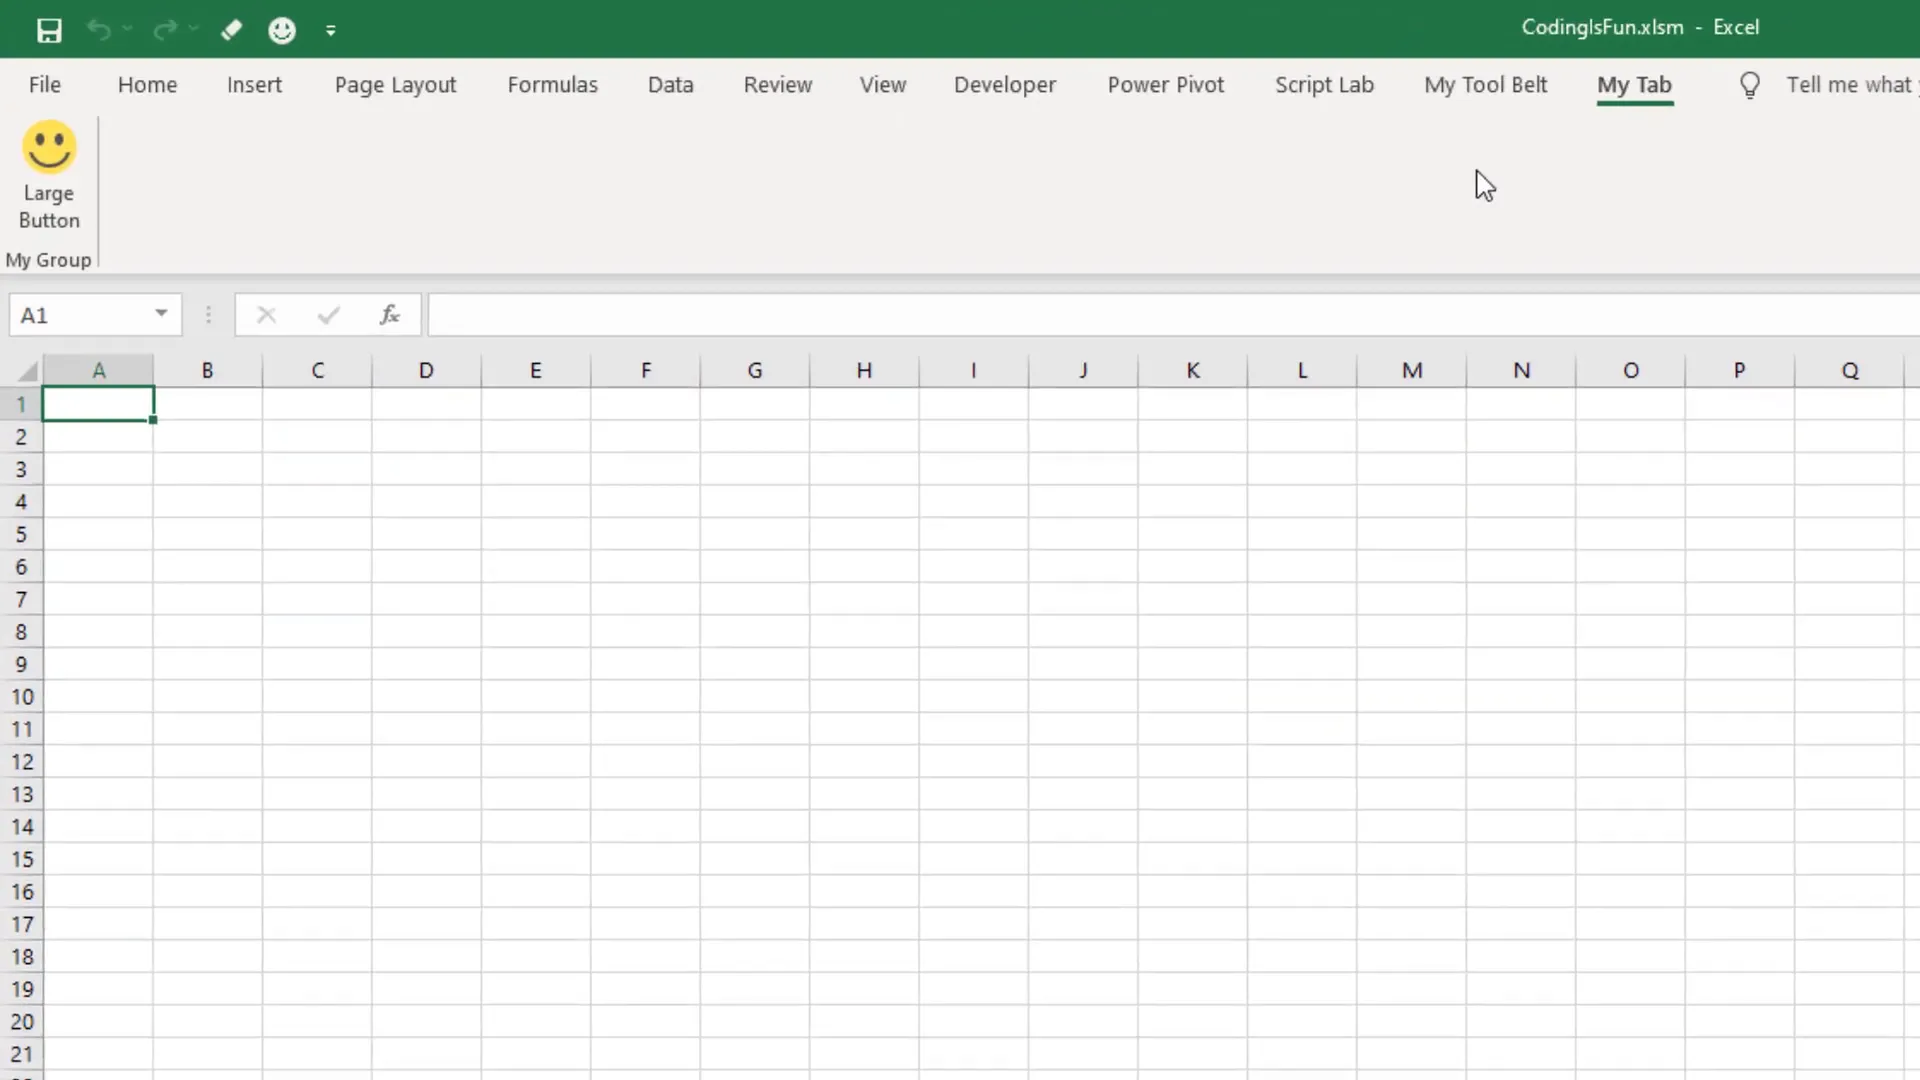
Before moving on, I’ll make two minor adjustments: set startFromScratch to false and remove ThisWorkbook from the onAction parameter. After that, validate the syntax and save the file. By doing this, we’re injecting these XML tags into our Excel workbook. To verify, reopen the spreadsheet and you’ll notice a new ribbon called MyTab with a large button inside.
Integrating ChatGPT
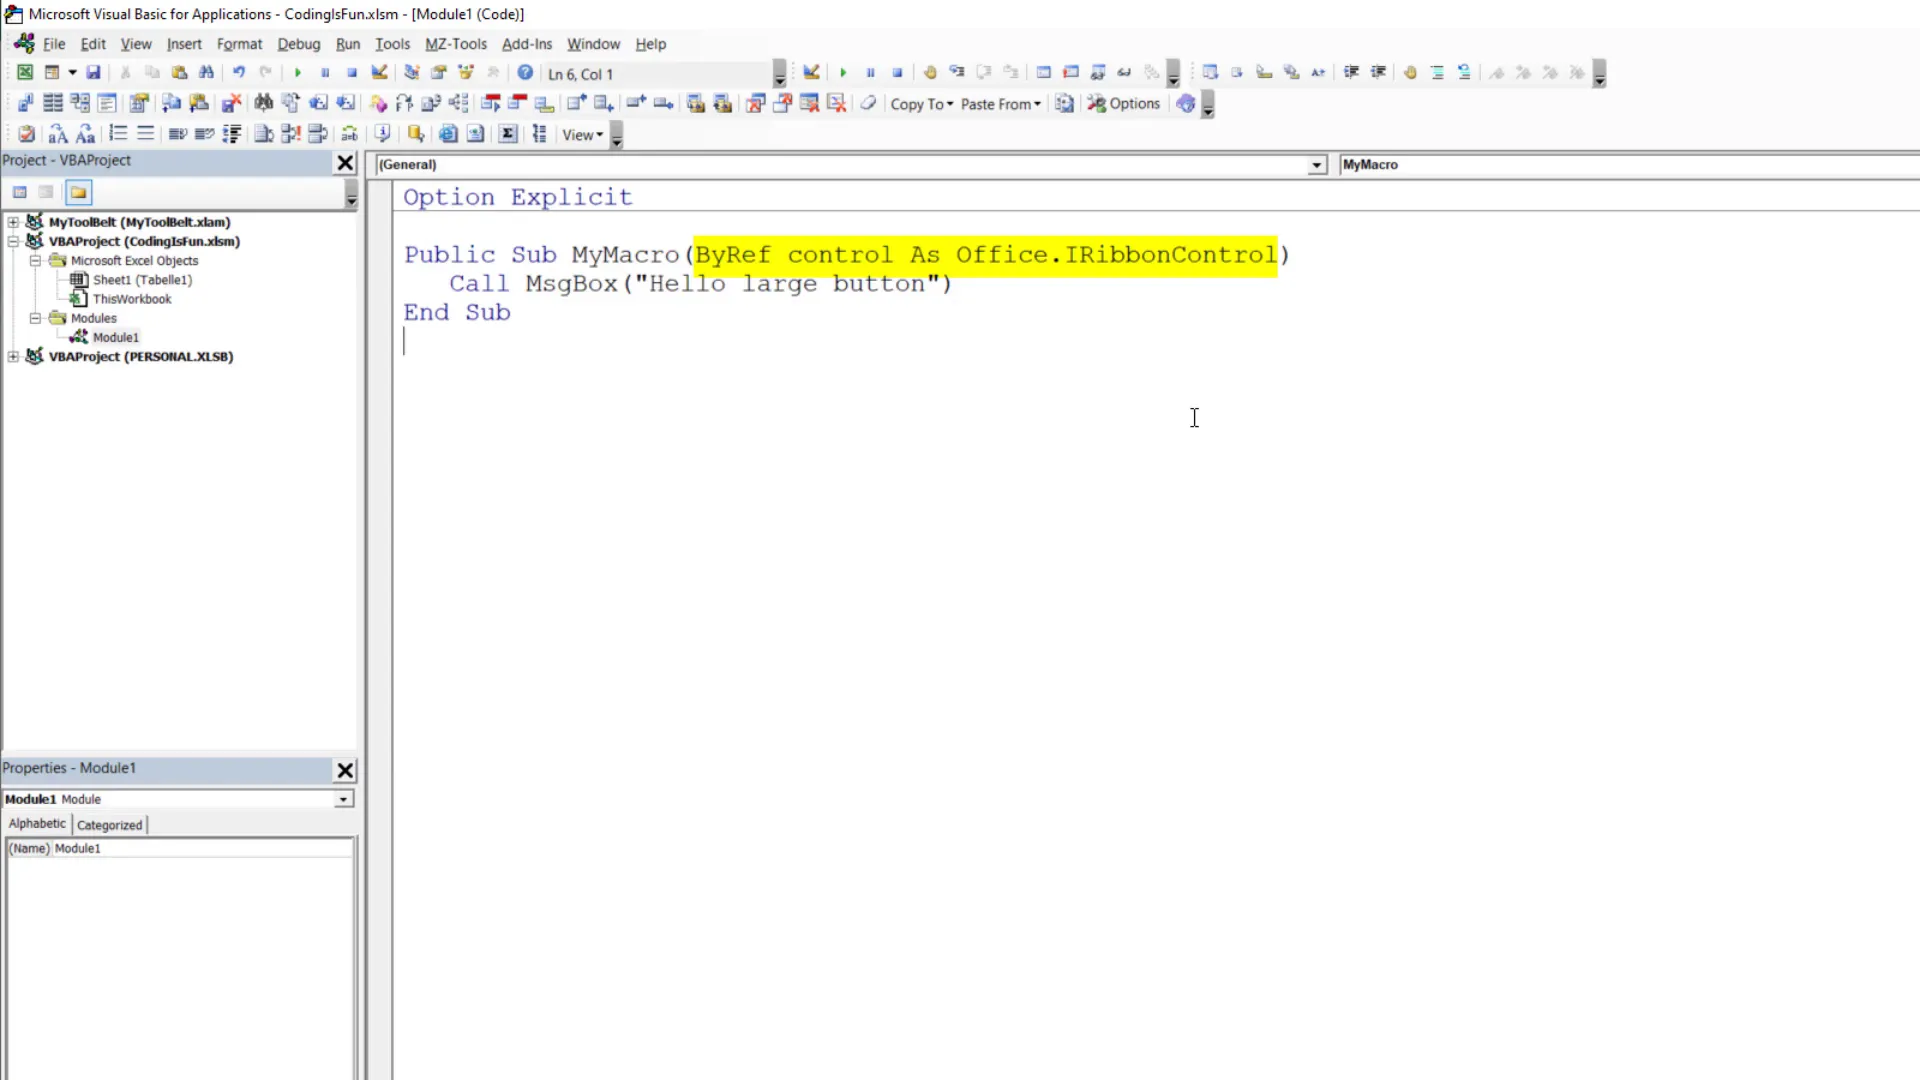
The button has additional arguments, such as image, size, label, screenTip, and onAction. The crucial part for us is the onAction parameter, where we define which macro to execute when the button is clicked. Currently, it’s set to MyMacro, but we don’t have a macro with this name yet. Let’s create a subroutine called MyMacro.
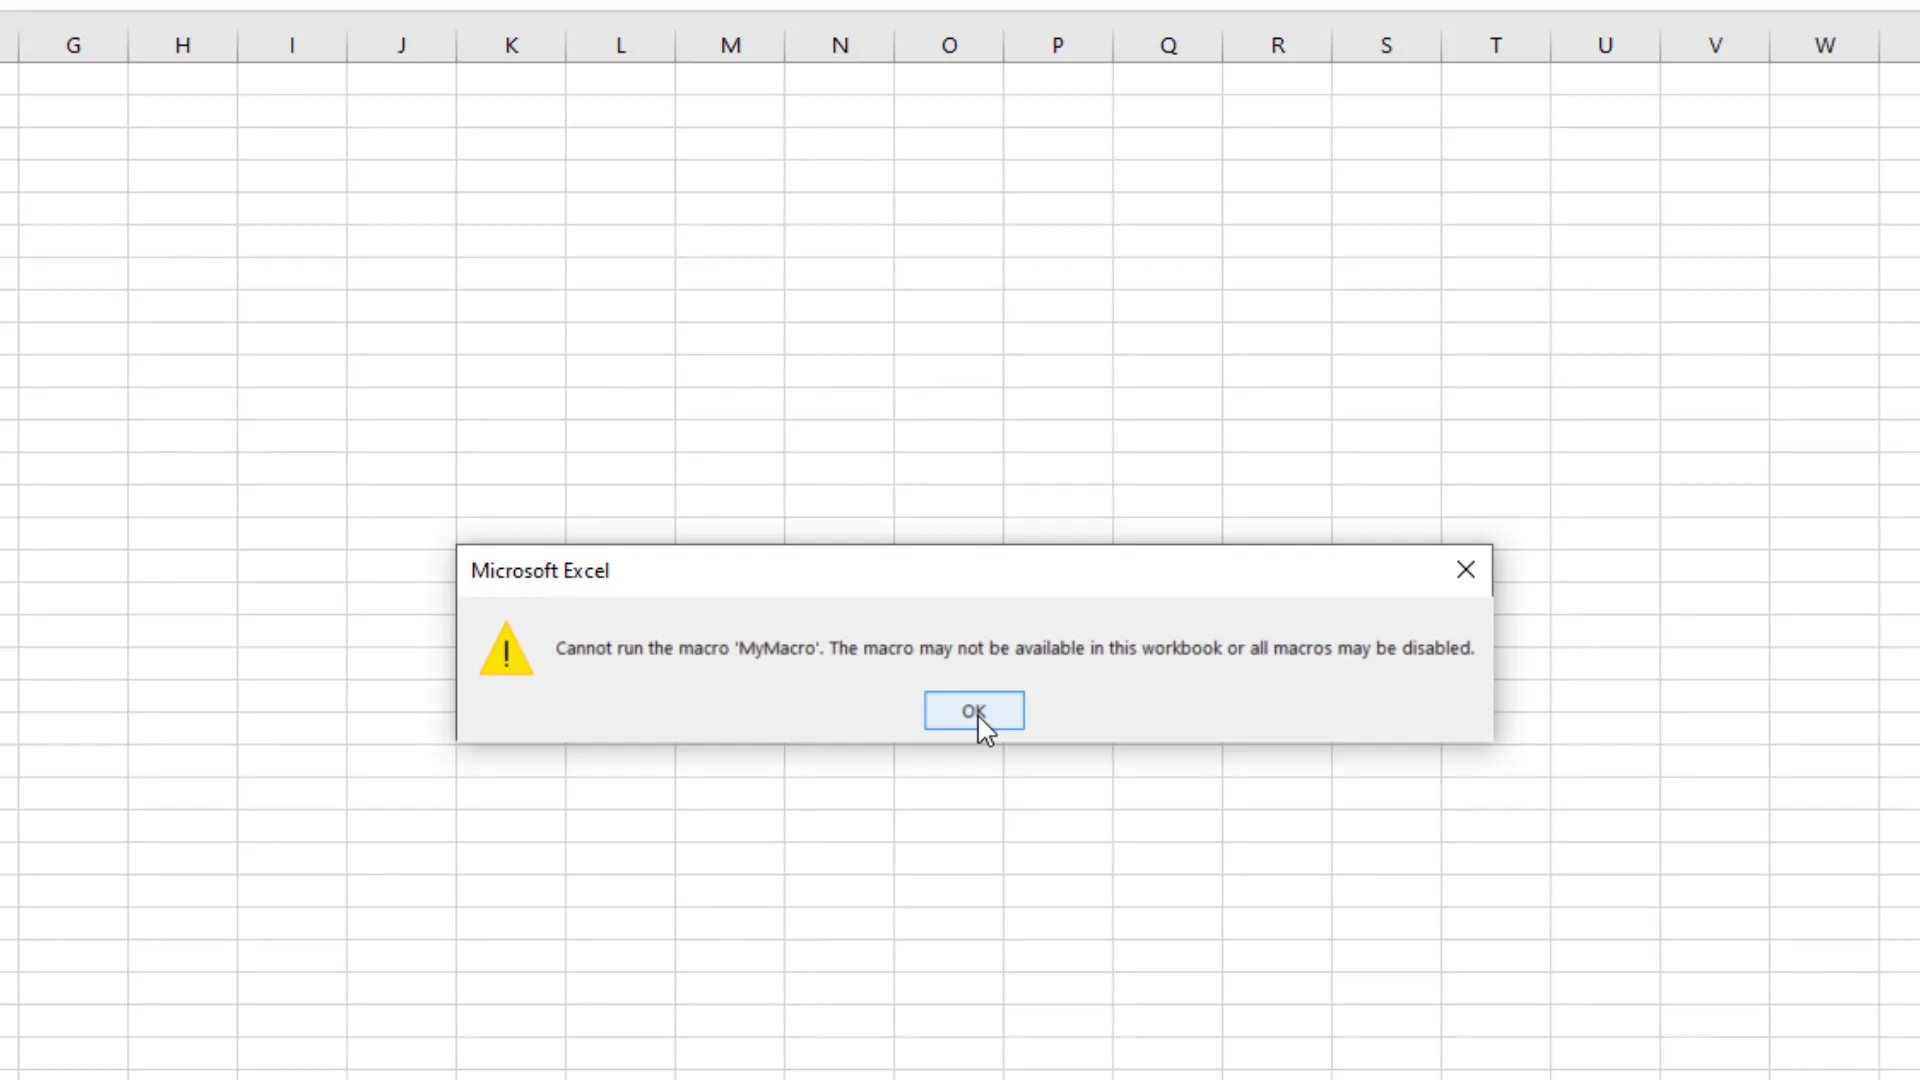
To do this, navigate to the Developer tab. If it’s not visible, right-click on the ribbon, select Customize the Ribbon, check the box next to Developer, and click OK. Open the Visual Basic editor, insert a new module, and use the code provided in the blog post. Ensure the subroutine name matches the name specified in your XML code. Now, when you click the button, the macro will execute.
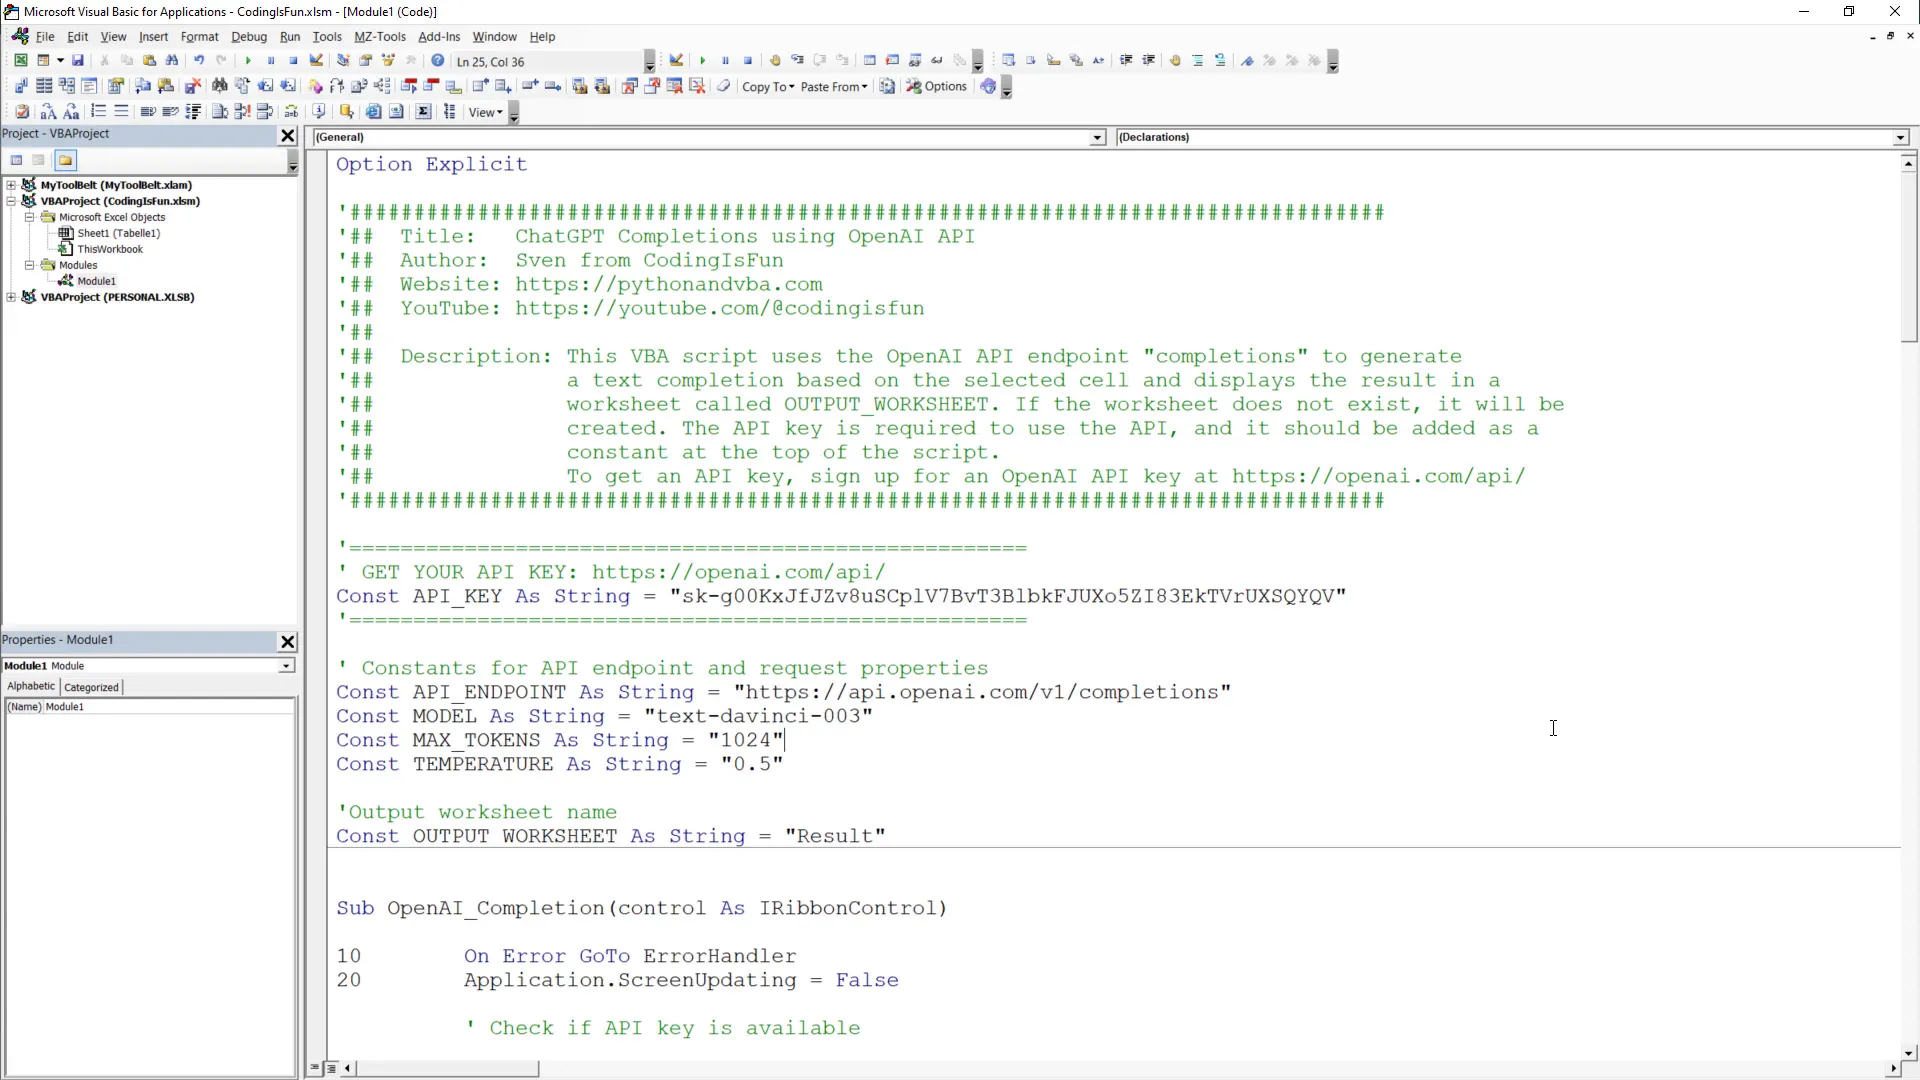
Next, let’s bring ChatGPT into Excel. Copy the VBA code from my GitHub page and replace the current code in the module. You’ll need an OpenAI API key to use this macro. In a following guide, I’ll show you how to get one. Once you have the API key, paste it into the code.
Adding More Buttons to the Add-in
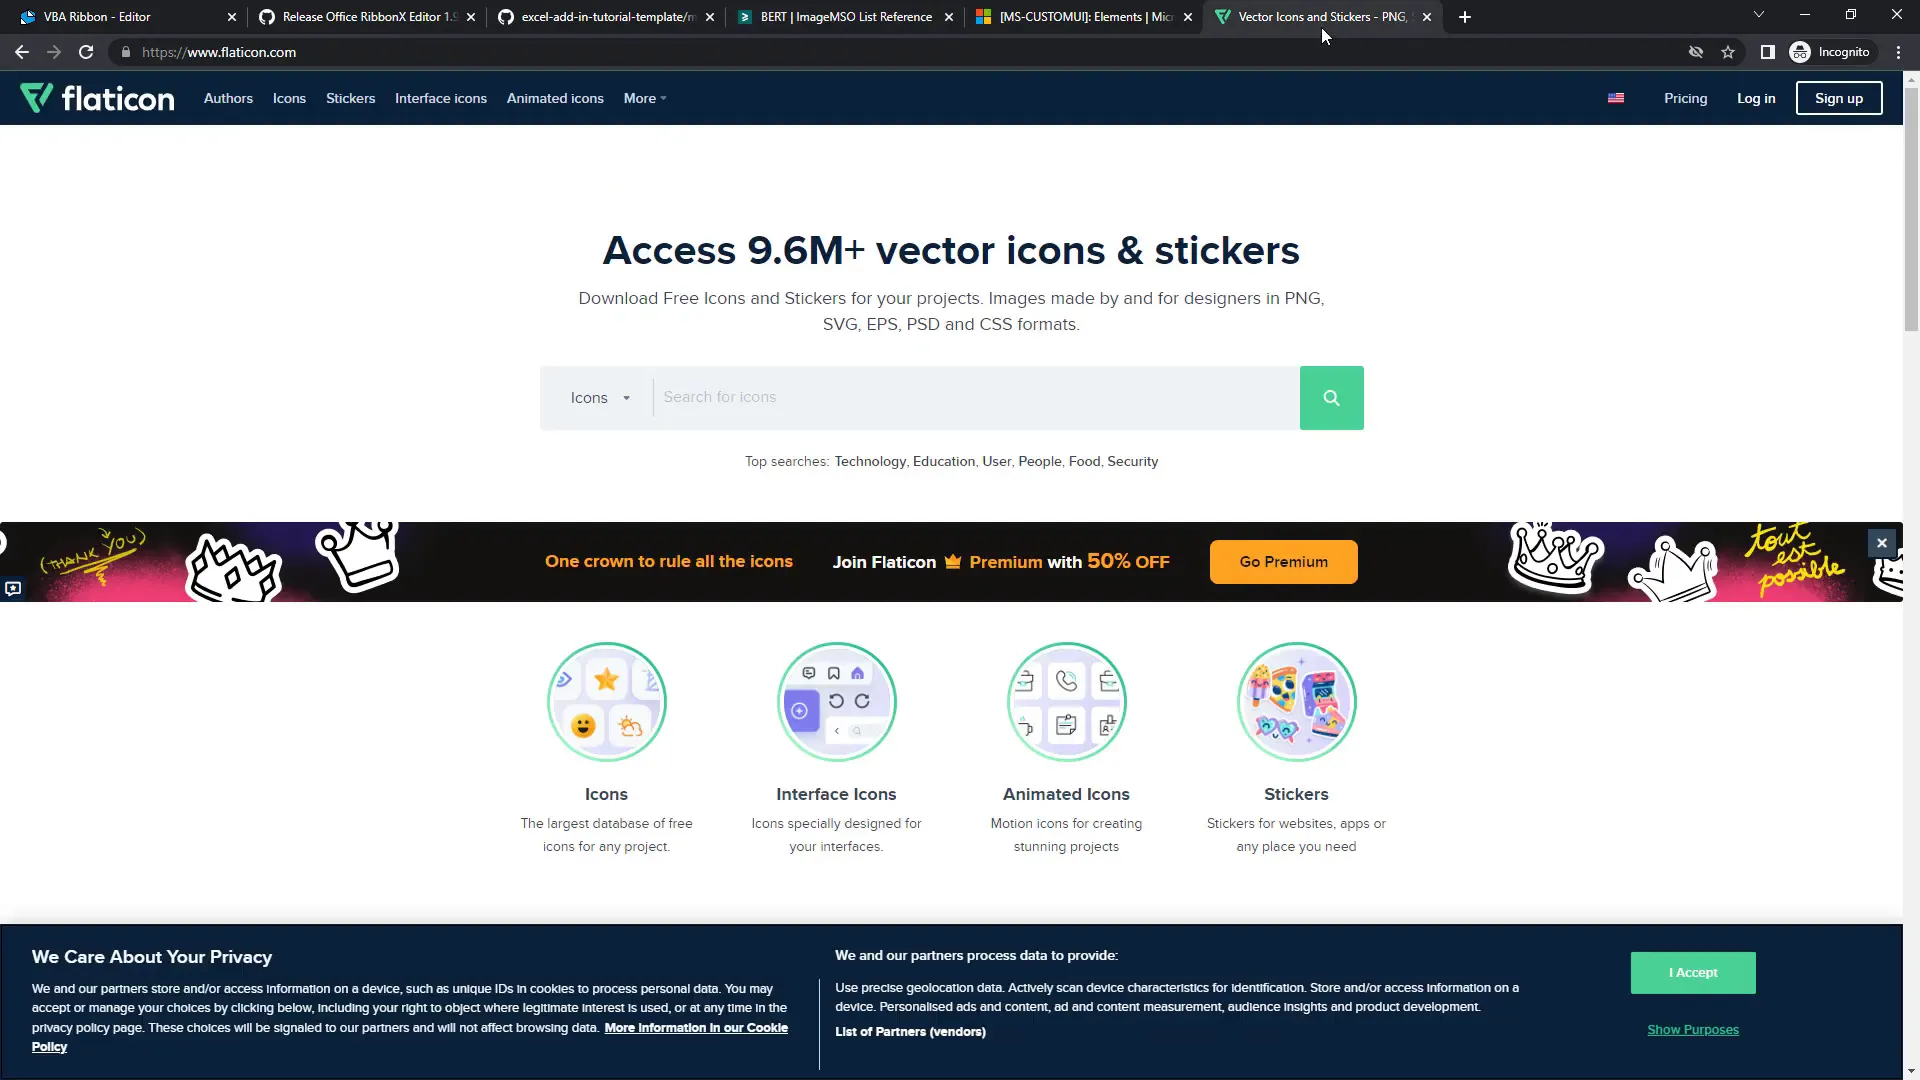
Now, let’s modify the XML. Change My Tab to My Add-in and the group label to ChatGPT. You can use built-in images from Microsoft for the button. I recommend using 32×32 pixels for any custom images you might want to use. Download an AI-related icon from a website like Flaticon and insert it into your project files.
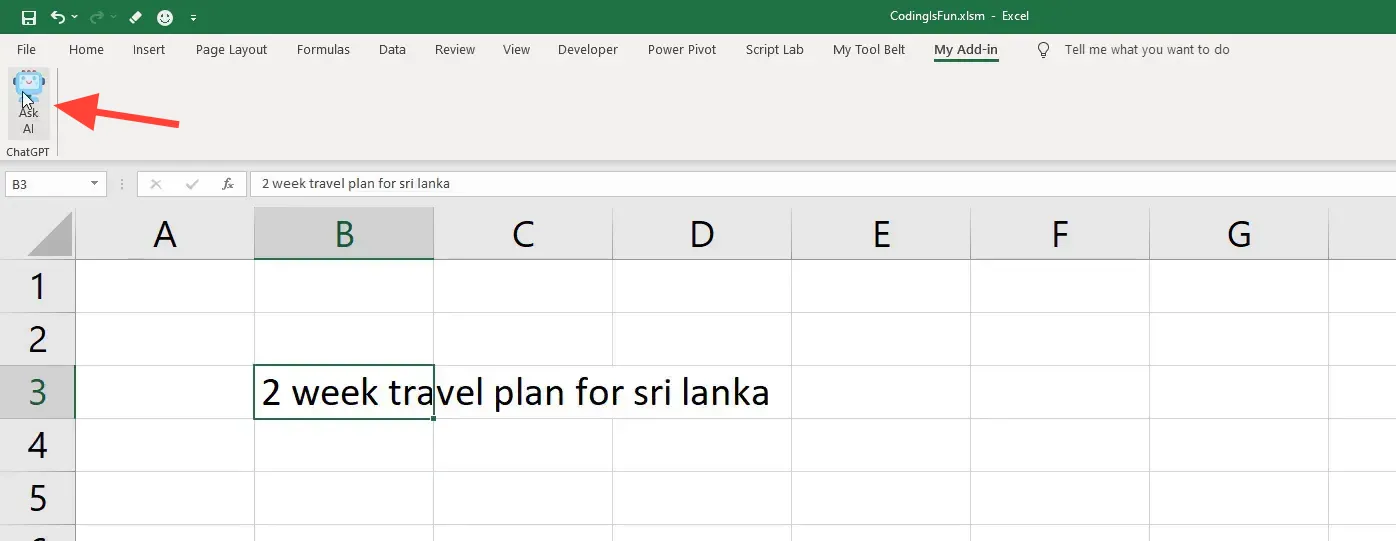
To use the new image, adjust the XML accordingly and validate the format. Now, we can see that the tab name has changed, and we have our new button. Test it out by generating a travel plan for Sri Lanka. When you select the cell and click the button, the macro will execute, generating the response from ChatGPT in a new worksheet.
Exploring Other Custom UI Elements
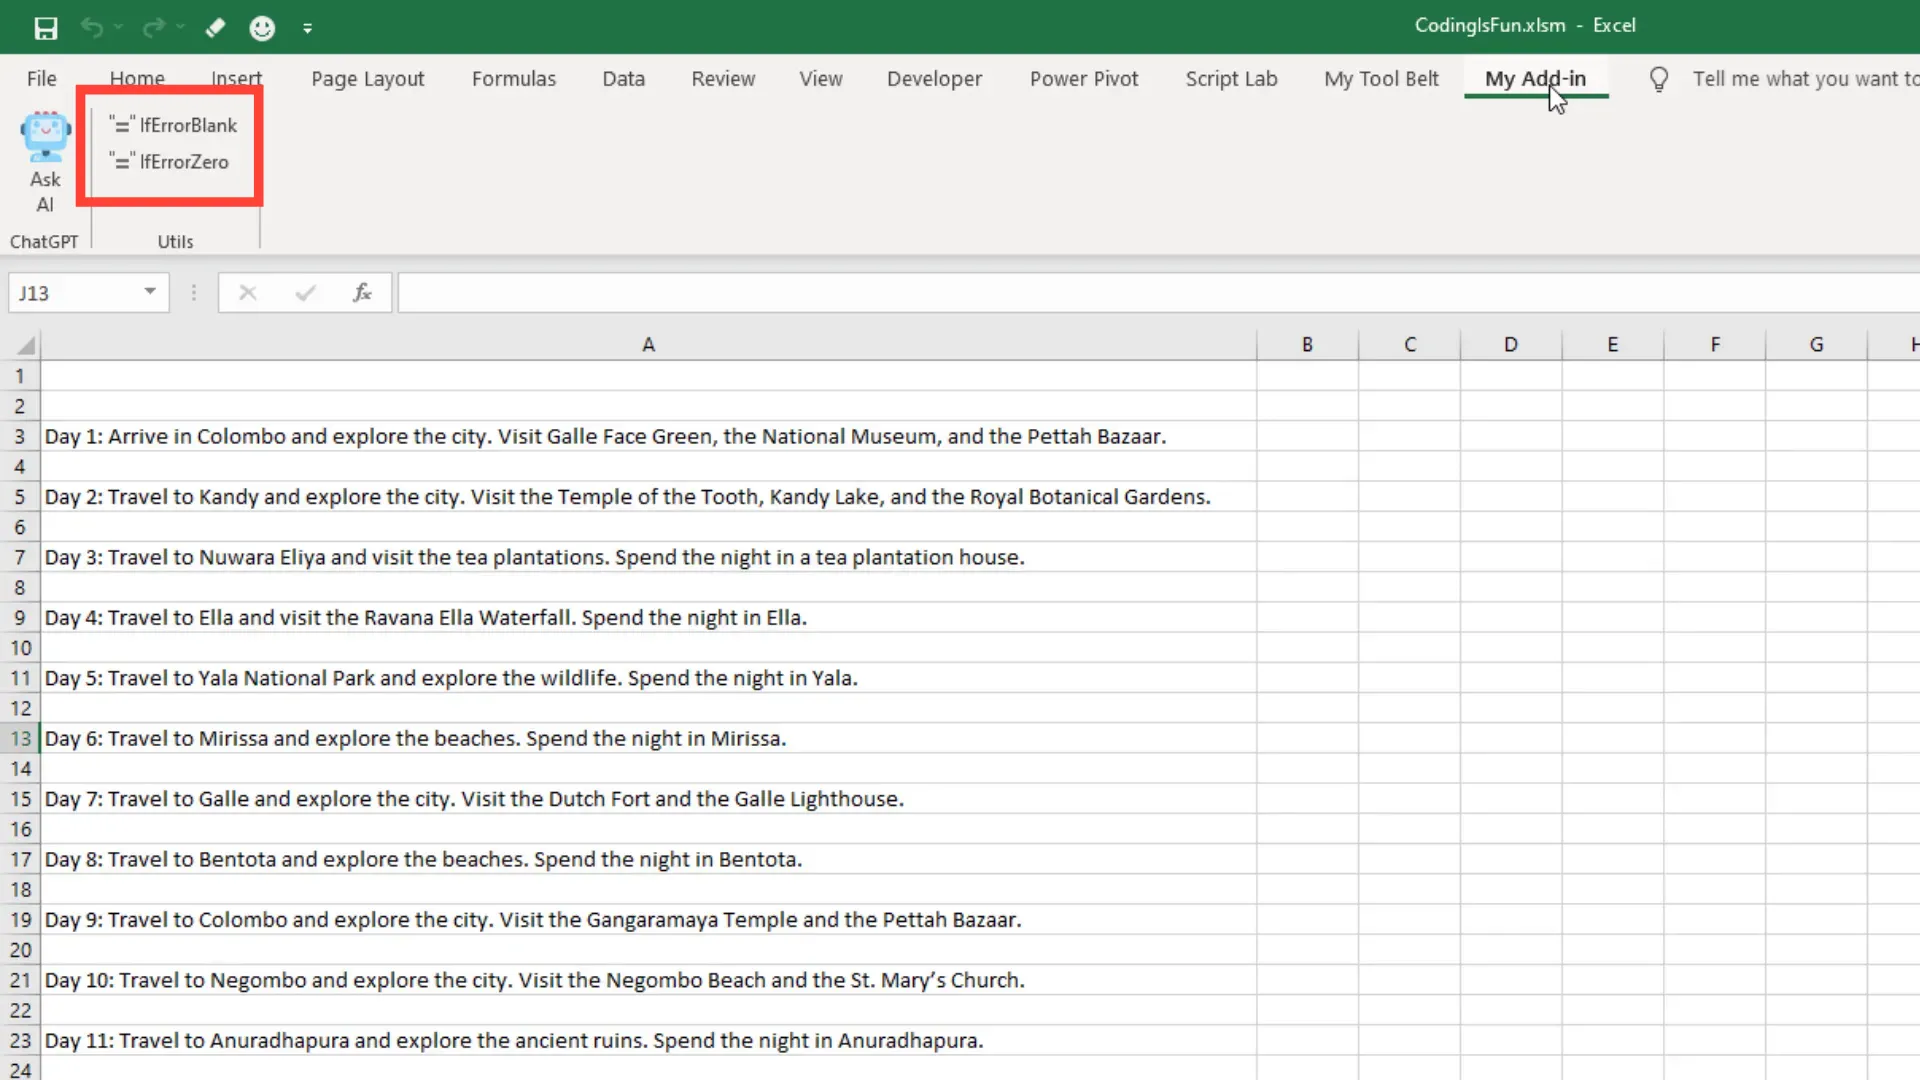
Let’s add a few more buttons to our ribbon. First, insert a new module to keep things organized. Copy the additional macro code from my GitHub repository and paste it into the new module. You will have two more subroutines: IfErrorBlank and IfErrorZero.
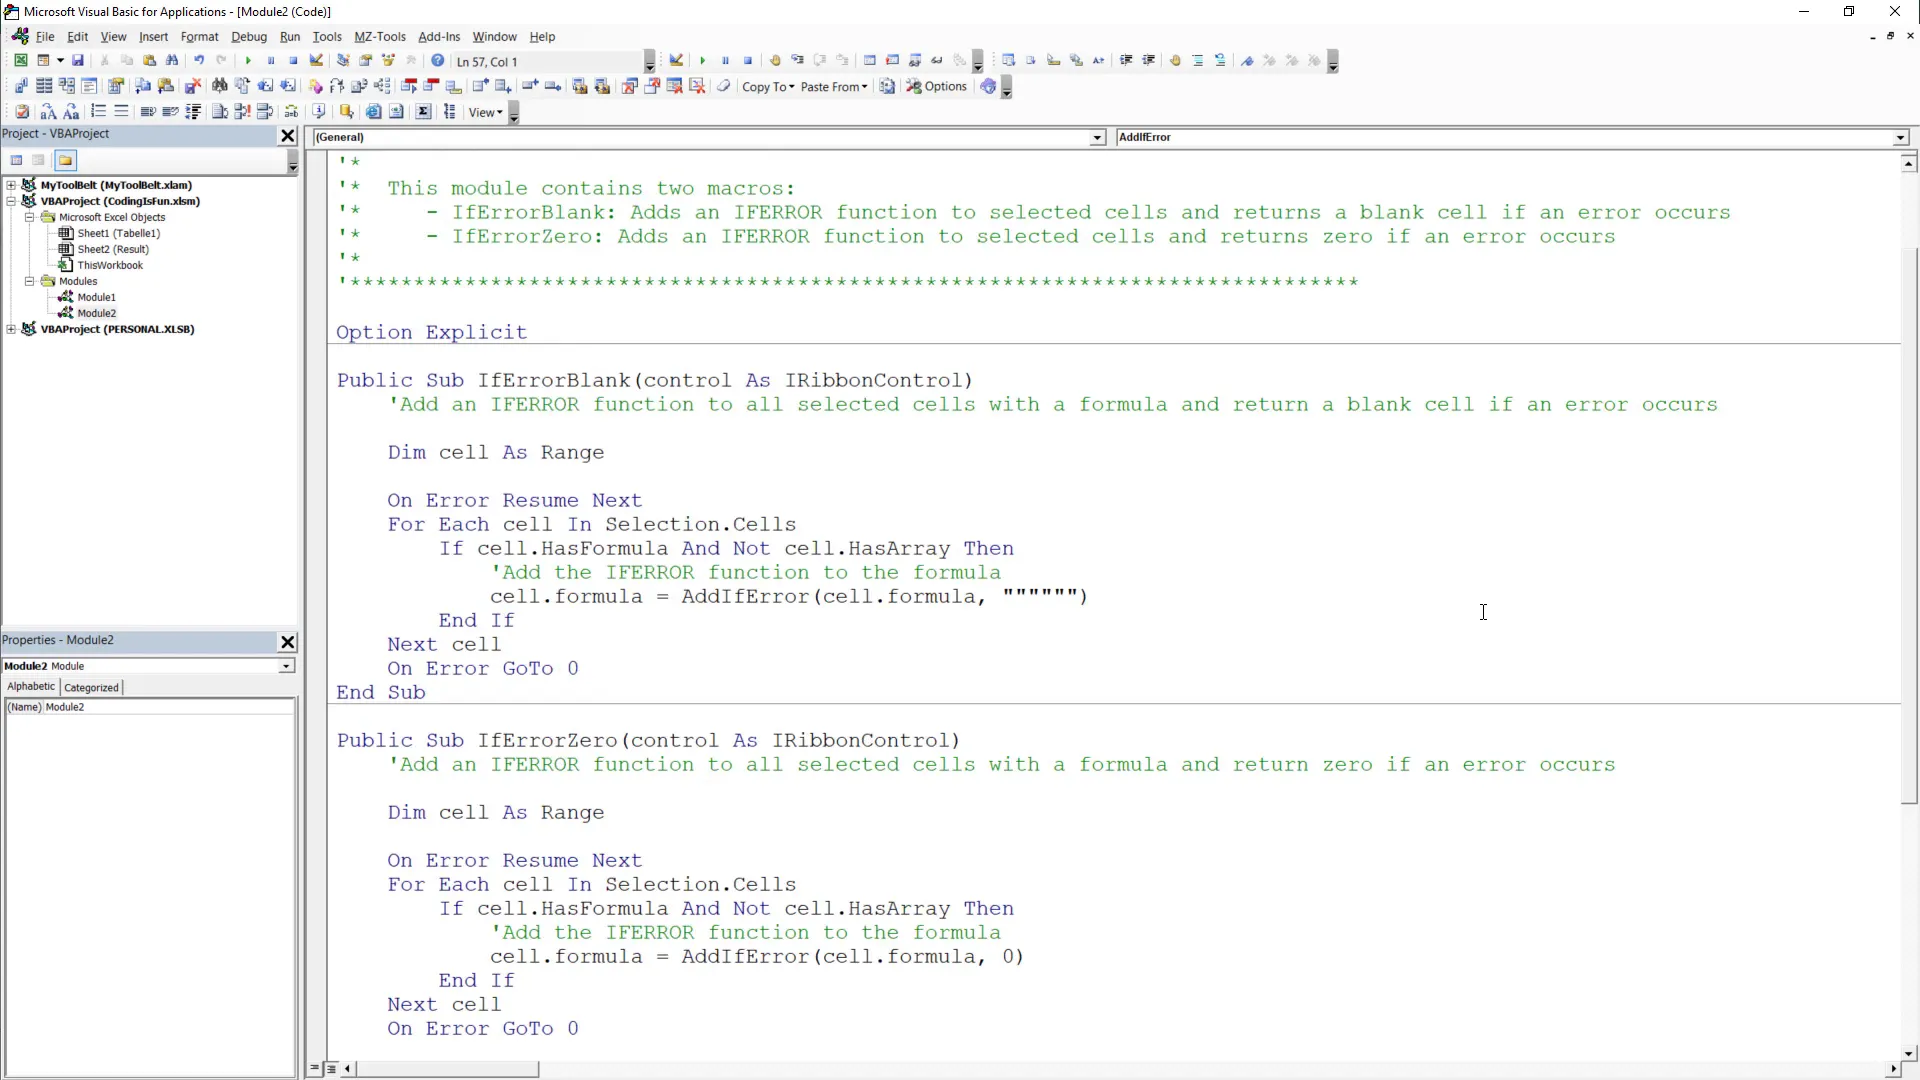
To call these subroutines from your add-in, ensure you pass in control as iRibbonControl. Back in the Ribbon Editor, copy and paste the group XML tag, changing the ID and label appropriately. Validate the changes and reopen the spreadsheet to see the new Utils group with two new buttons.
Distributing Your Add-in
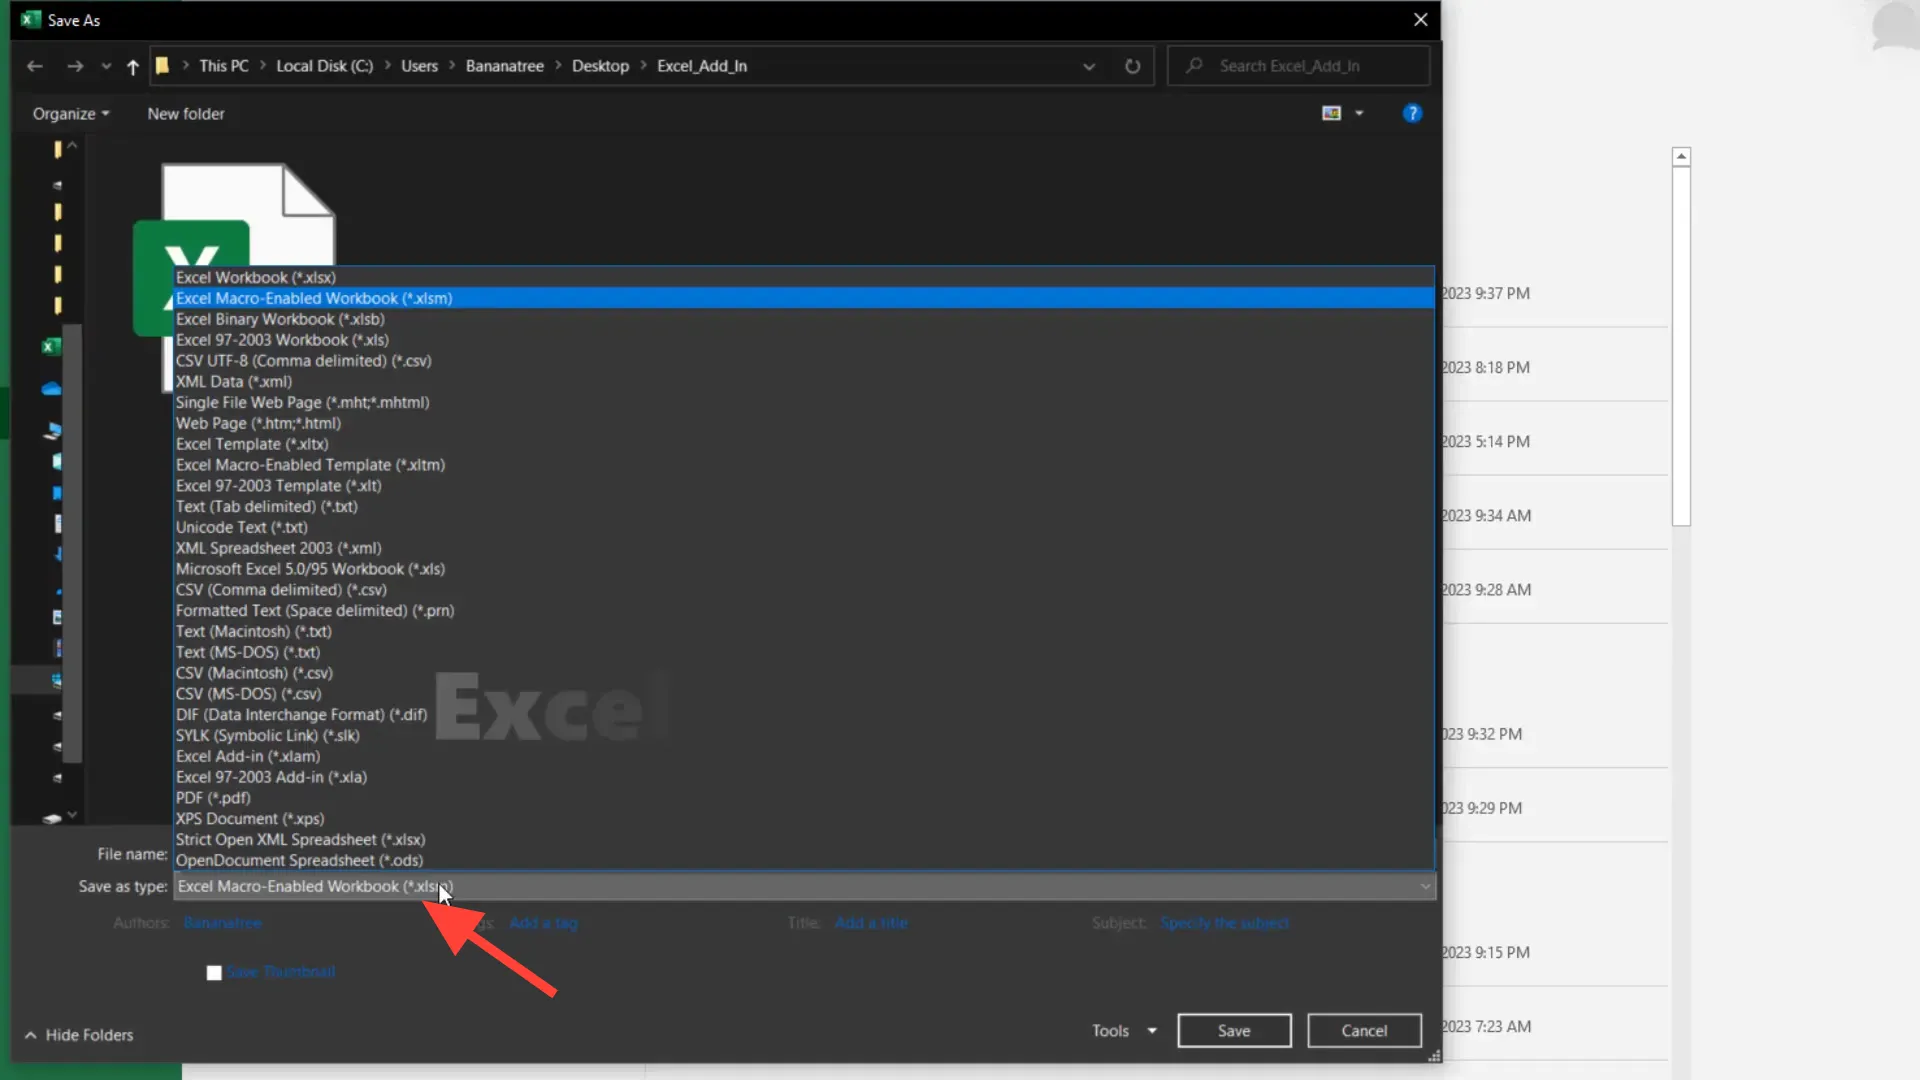
The last step is to create the actual add-in file. Clean up your workbook by removing any additional sheets and clearing the first sheet. Save the file as an Excel add-in with the extension .xlam. Once done, close Excel.
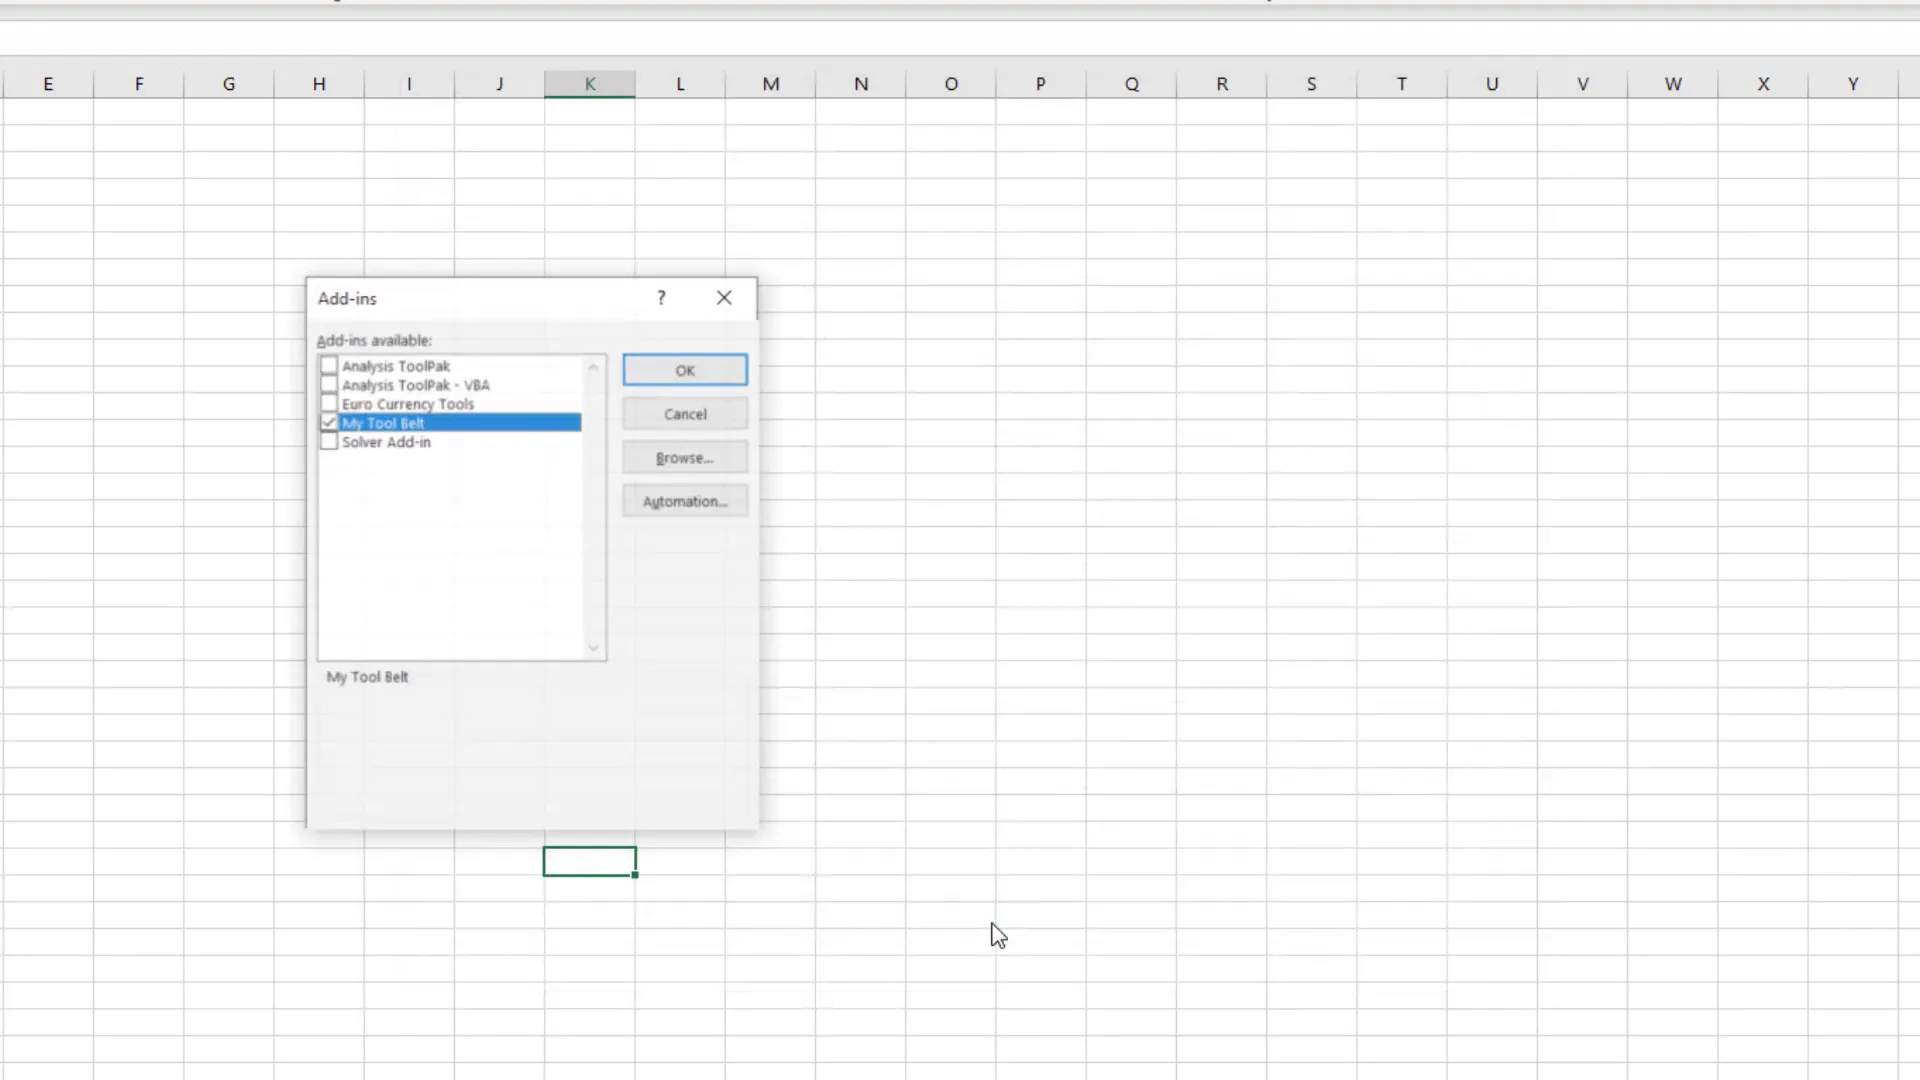
To share your add-in, you need to send users this file. To install the add-in, create a new spreadsheet, navigate to File, Options, Add-ins, and click on Go. In the new window, click on Browse and paste your add-in into the default add-in location folder. Make sure your add-in is checked before clicking OK to finish the installation.
Outro
That’s it! You now have a new add-in that will be visible every time you open a spreadsheet. To test it, ask ChatGPT for a joke or any other query. Good luck with your own add-in!