How to Create an Excel Data Entry Form in 10 Minutes Using Python (No VBA) | Easy & Simple
Introduction
In this tutorial, I will guide you through building a Data Entry Form from scratch using Python. This form will allow users to input data, which will then be saved directly to an Excel file. No VBA is required! At the end of the tutorial, I will also show you how to convert the Python script into a standalone program, enabling you to share it with colleagues and friends without requiring them to install Python.
Getting Started
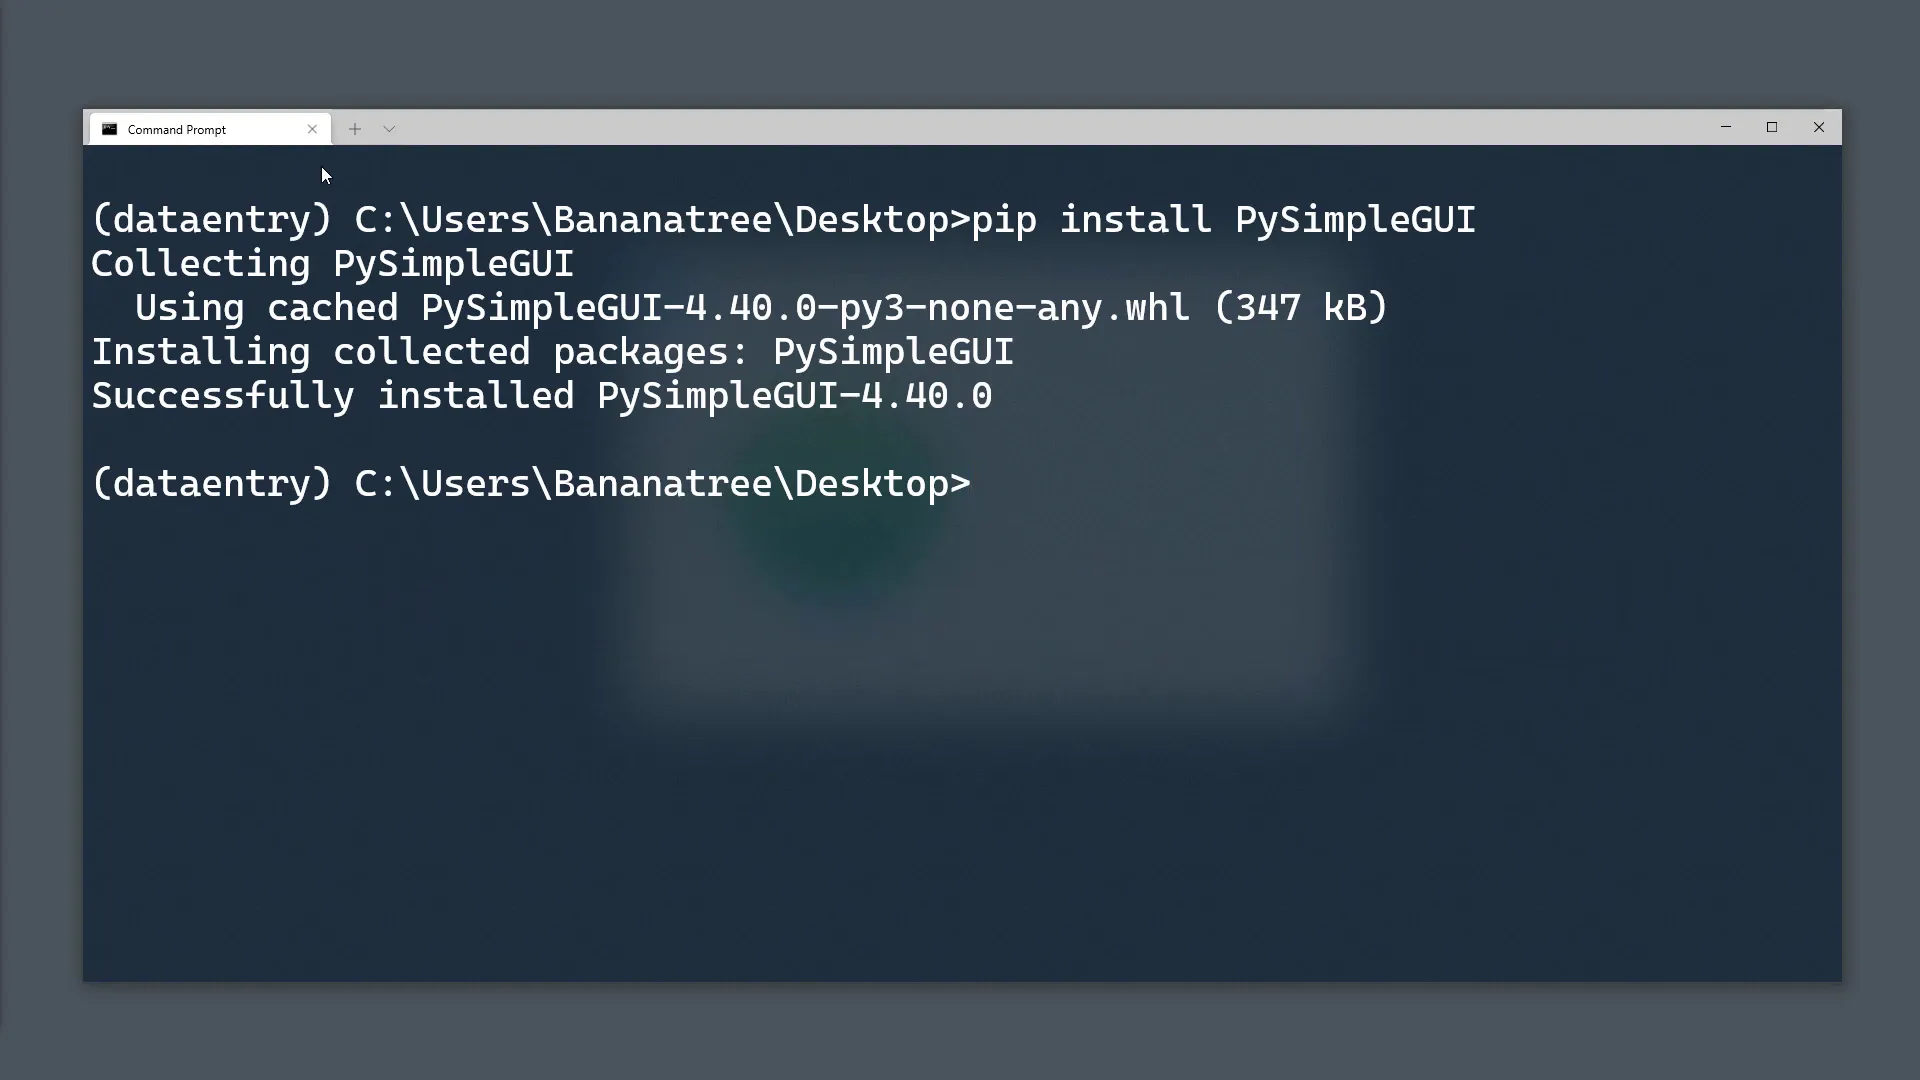
To create the Graphical User Interface (GUI), I will use the PySimpleGUI library. To install it, open your command prompt or terminal and run:
pip install PySimpleGUI
Additionally, I will use the pandas and openpyxl libraries to interact with Excel. If you haven’t installed these libraries yet, you can do so by running:
pip install pandas
pip install openpyxl
Building the GUI Layout
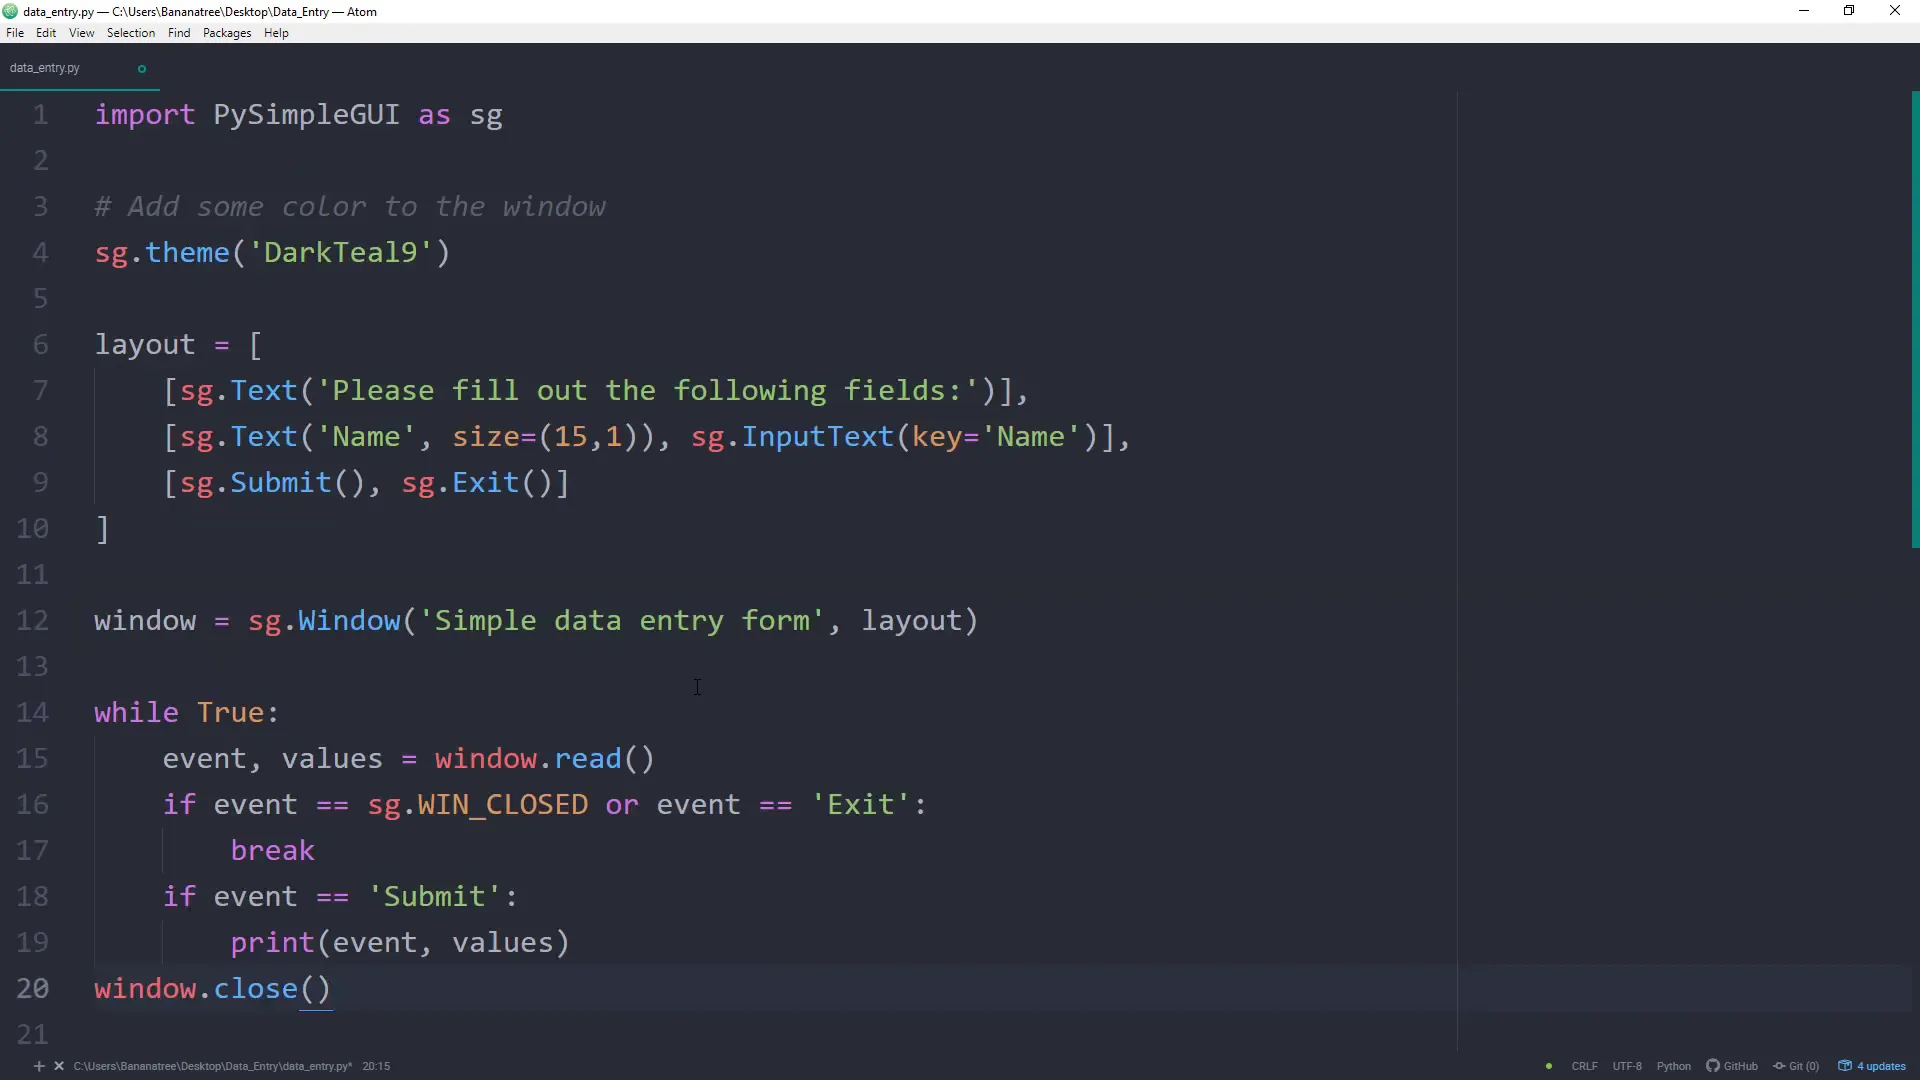
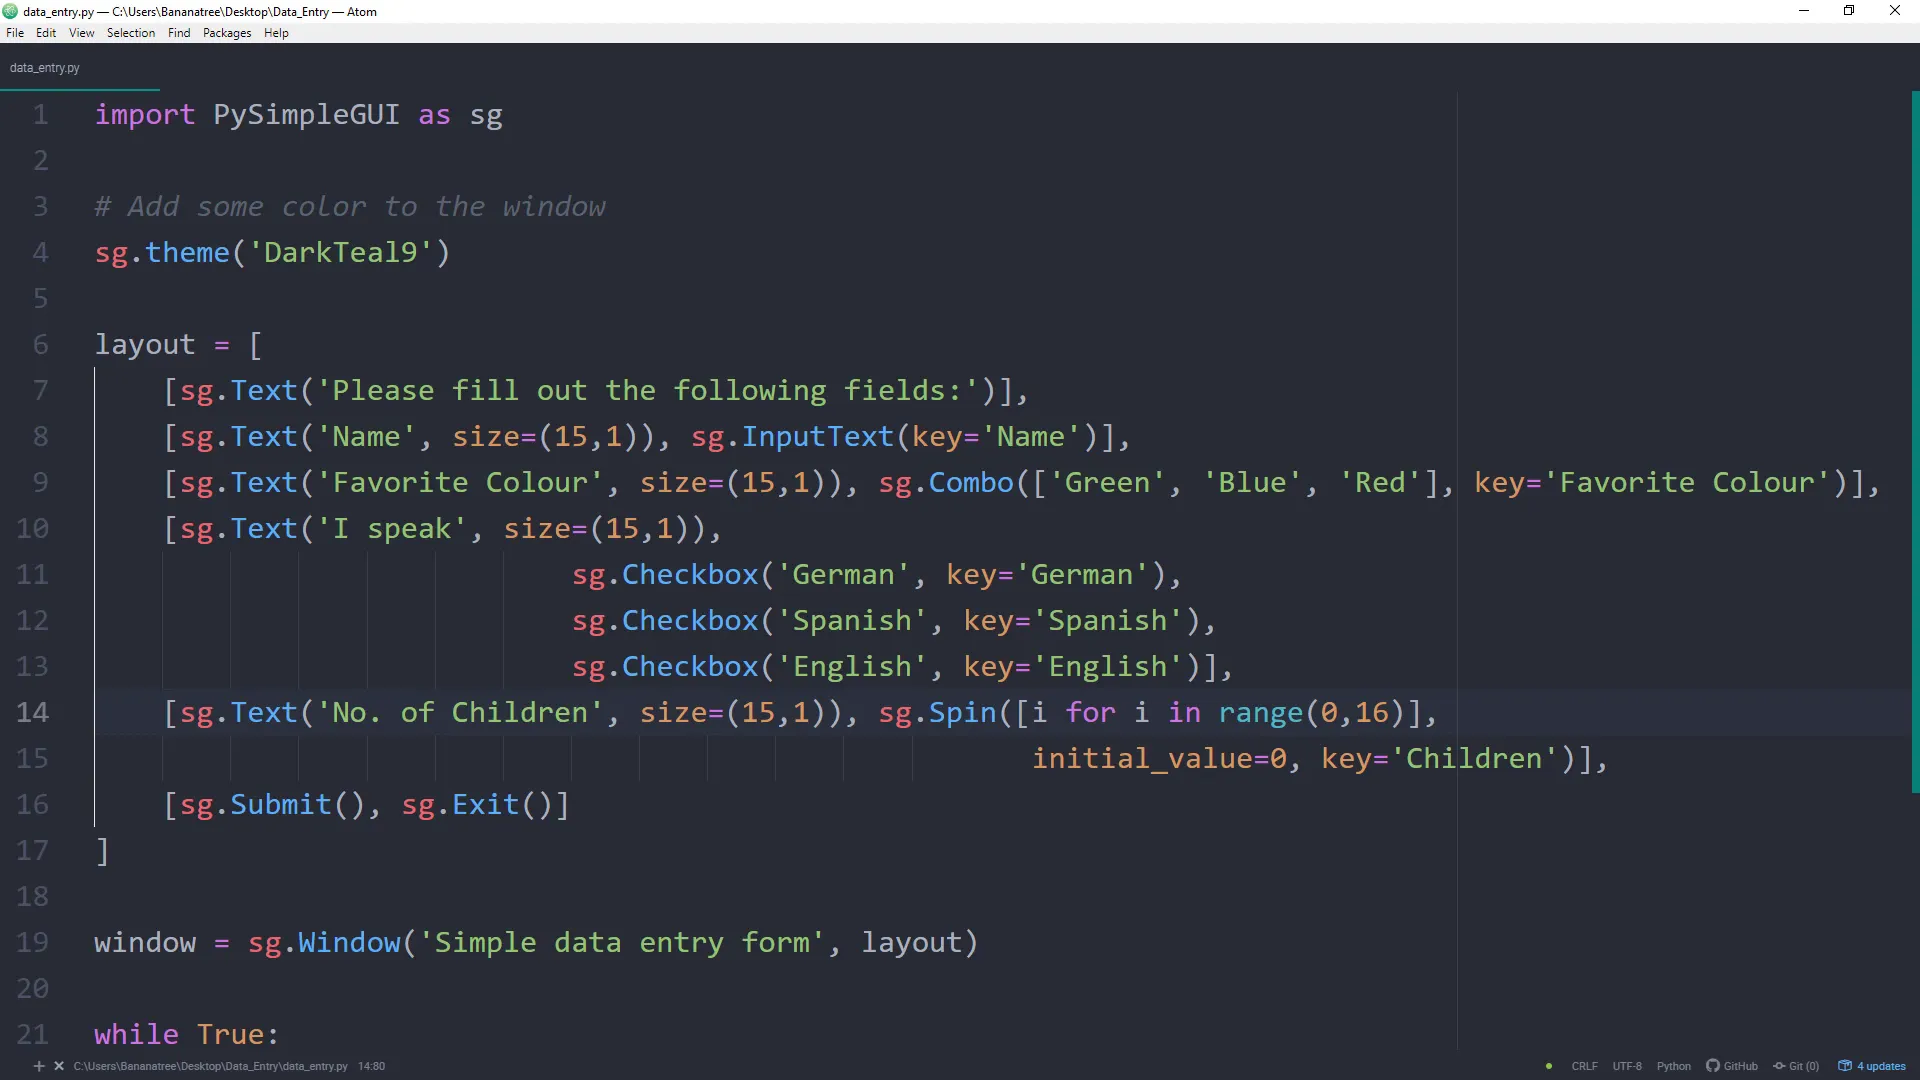
Now that the libraries are installed, let’s open a blank Python file and start coding. I will begin by importing PySimpleGUI as sg. This library comes with different color themes, but for this tutorial, I will use the DarkTeal9 theme.
Next, I will create the layout for the GUI. Each list within the Layout list represents a column in the GUI. Here’s a breakdown of the elements I will include:
- A header text.
- An input field for the user’s name.
- Two buttons: one for submitting the data and another for exiting the form.

Event Handling
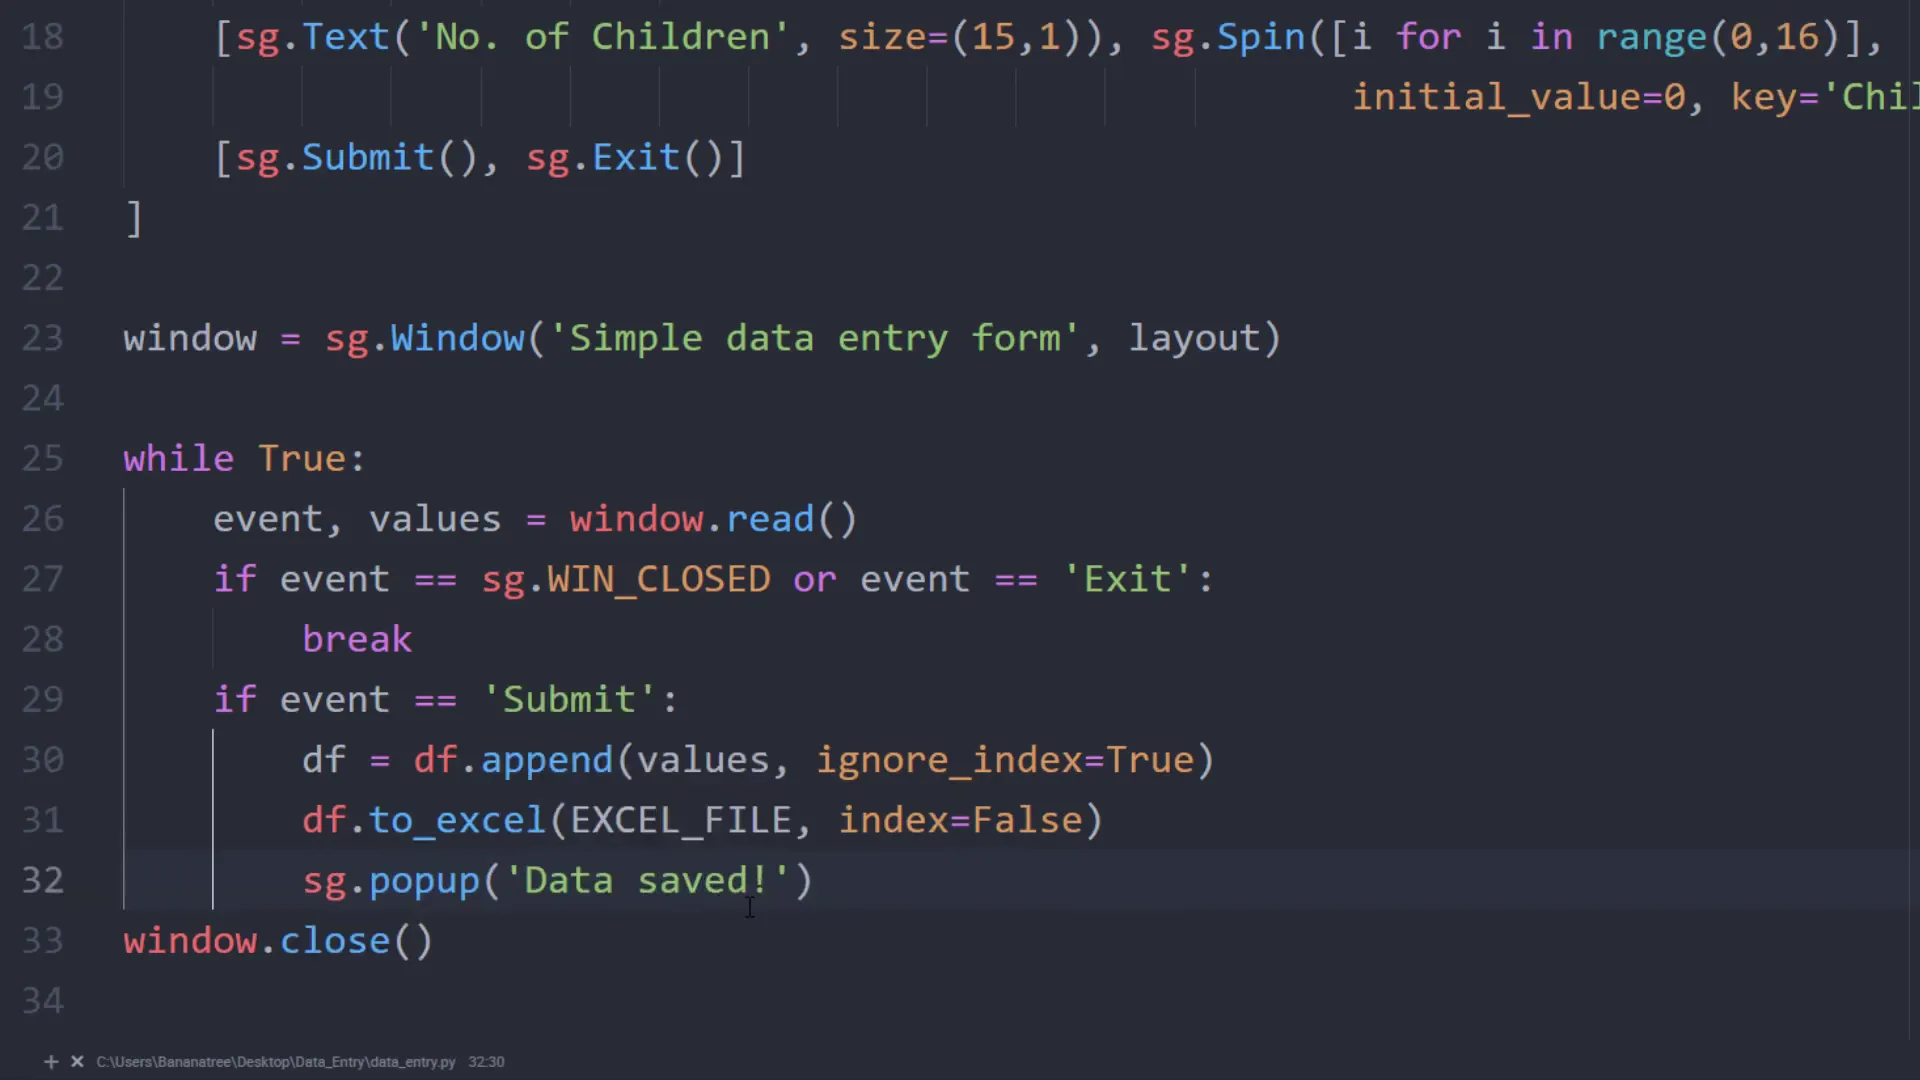
Once the layout is created, I will pass it over to the instance of the Window. I will also provide a title for the window. After initializing the Window, I will set up a while loop to check for any events using the Window.read() method. For example, clicking the Exit button will trigger the ‘Exit’ event, allowing us to break out of the loop.
Running the Application
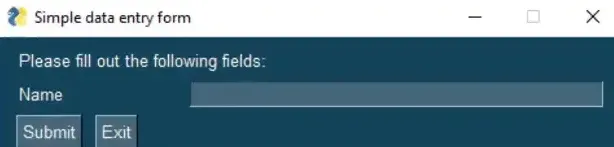
After writing the code, I will navigate to the directory of the script in my command prompt and run the Python file. Once I press enter, the GUI will appear. I can enter my name and press the Submit button, which will print the event’s name and values in the command prompt.
Adding More Fields
Now that I understand how to use the library, I will add more fields to the layout. For example, I will include:
- A combo box for selecting colors.
- Three checkboxes for additional options.
- A spin element to select numbers from 0 to 15.
After rerunning the script, I can see the updated GUI with the new layout. When I press the Submit button, it will print out the values again in a Python dictionary.
Saving Data to Excel
Instead of printing the values to the screen, I want to save them to an Excel file. I have prepared an Excel file with headings that match the keys defined in my layout. To do this, I will import pandas and define a variable to hold the path to the Excel file. I will create a pandas DataFrame and append the new row with the values from the GUI.
Clearing Input Fields
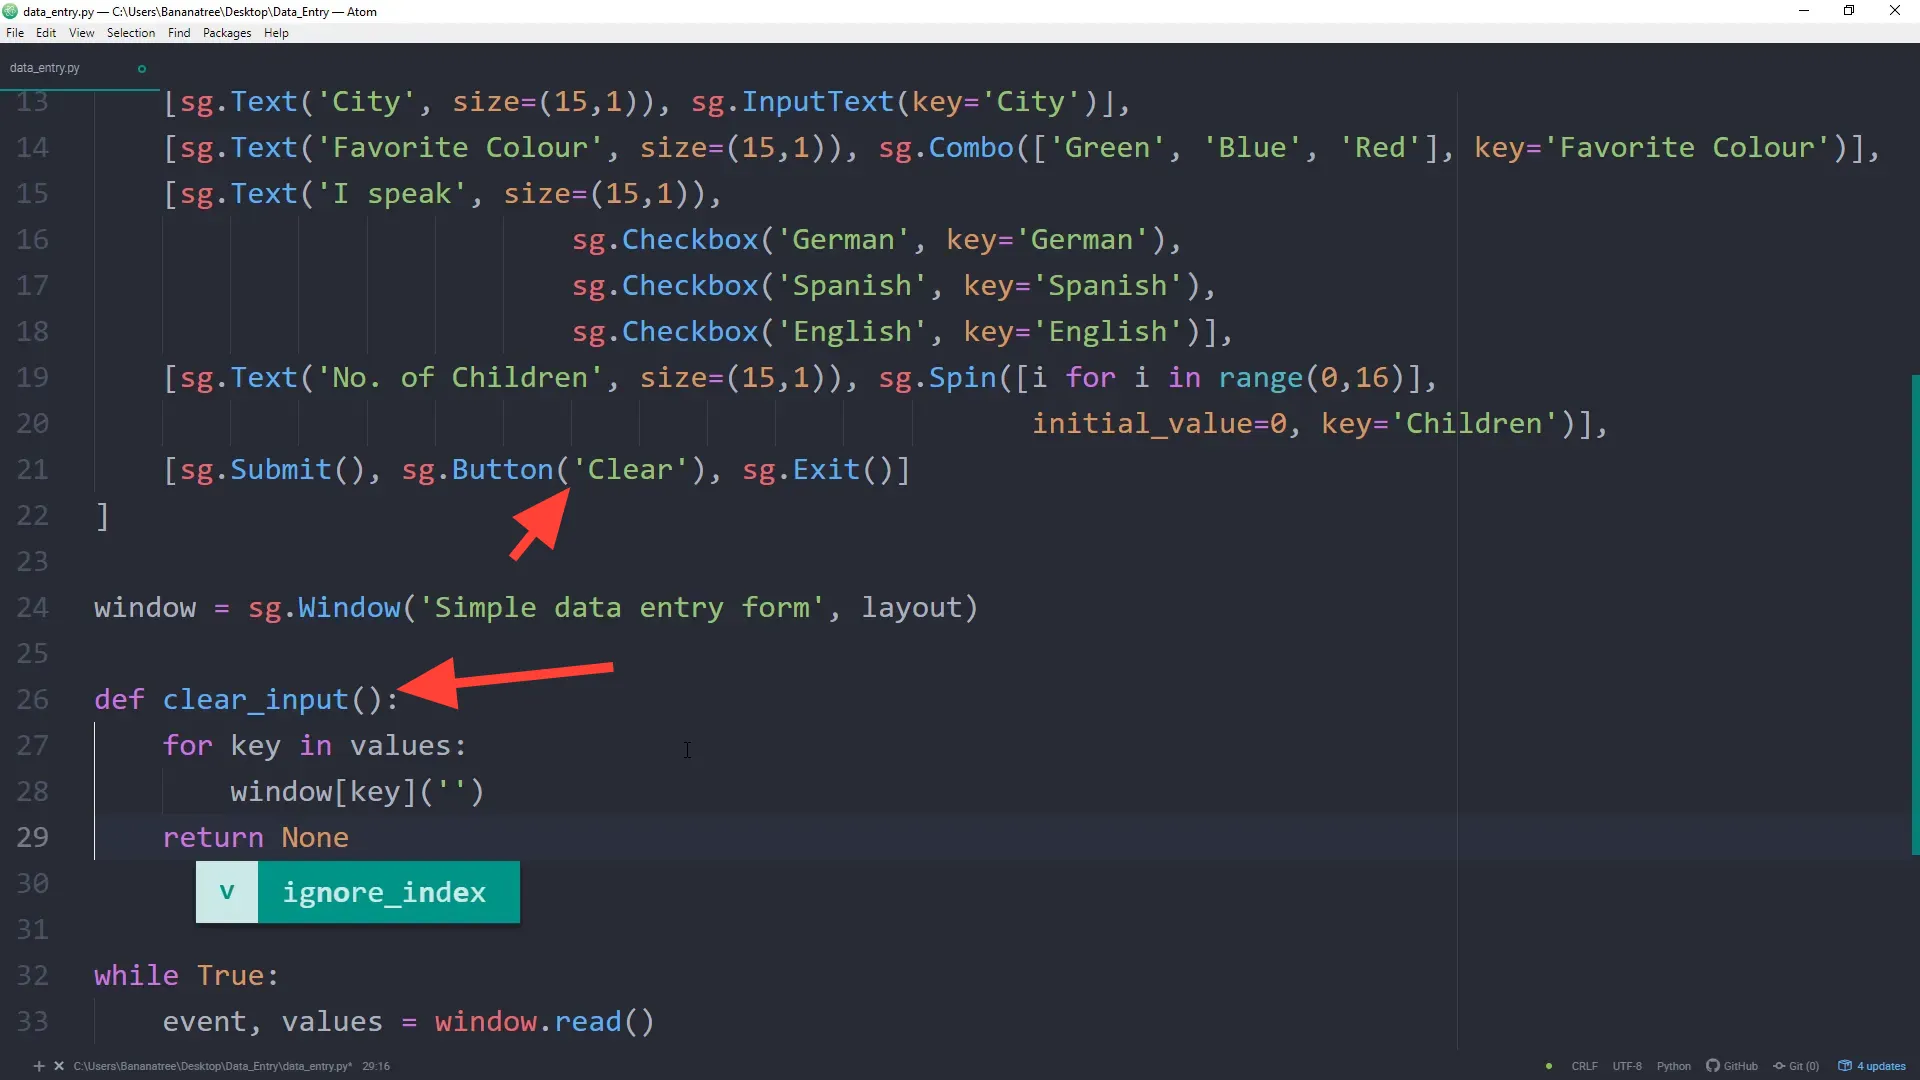
To enhance the user experience, I will add a “Clear” button. When clicked, this button will clear the input fields in the GUI. I will define a function that iterates over the keys in the values and sets them to an empty string. This function will be called whenever the users press the “Clear” button.
Creating a Standalone Executable
Finally, I will convert the Python file into a standalone executable file. This way, users without Python installed can still use the application. I will use the PyInstaller library for this purpose. After installing it with:
pip install pyinstaller
I will navigate to the directory of the Python file and run:
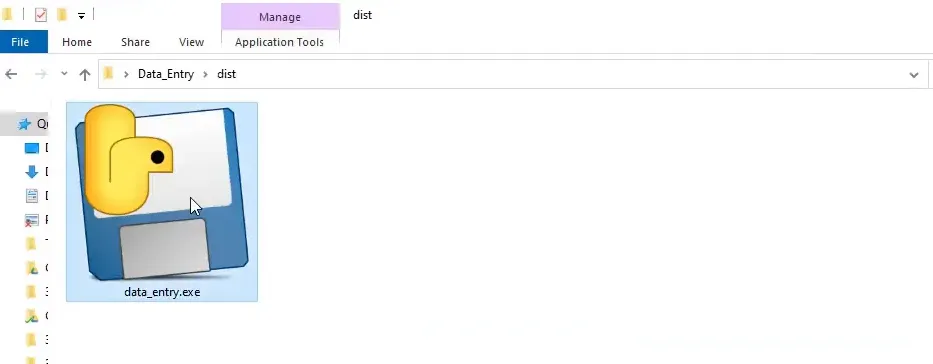
pyinstaller –onefile –noconsole data_entry.py
Once the process is complete, I will find the standalone executable in the “dist” folder.
Conclusion
In this tutorial, I covered how to create a simple Data Entry Form in Python using PySimpleGUI and save the data to an Excel file. We also explored adding multiple input fields, handling events, and converting the script into a standalone executable for easier sharing. This code serves as a great starting template for future projects.