Run Python Scripts Daily Online in Just 5 Minutes: Easy Guide
Introduction
If you’re looking to run a Python script without the hassle of managing it locally, you’re in the right place. In this guide, I’ll show you how to execute and schedule your Python code online using PythonAnywhere. The setup is quick, taking only a few minutes, and best of all, it’s free!
Example
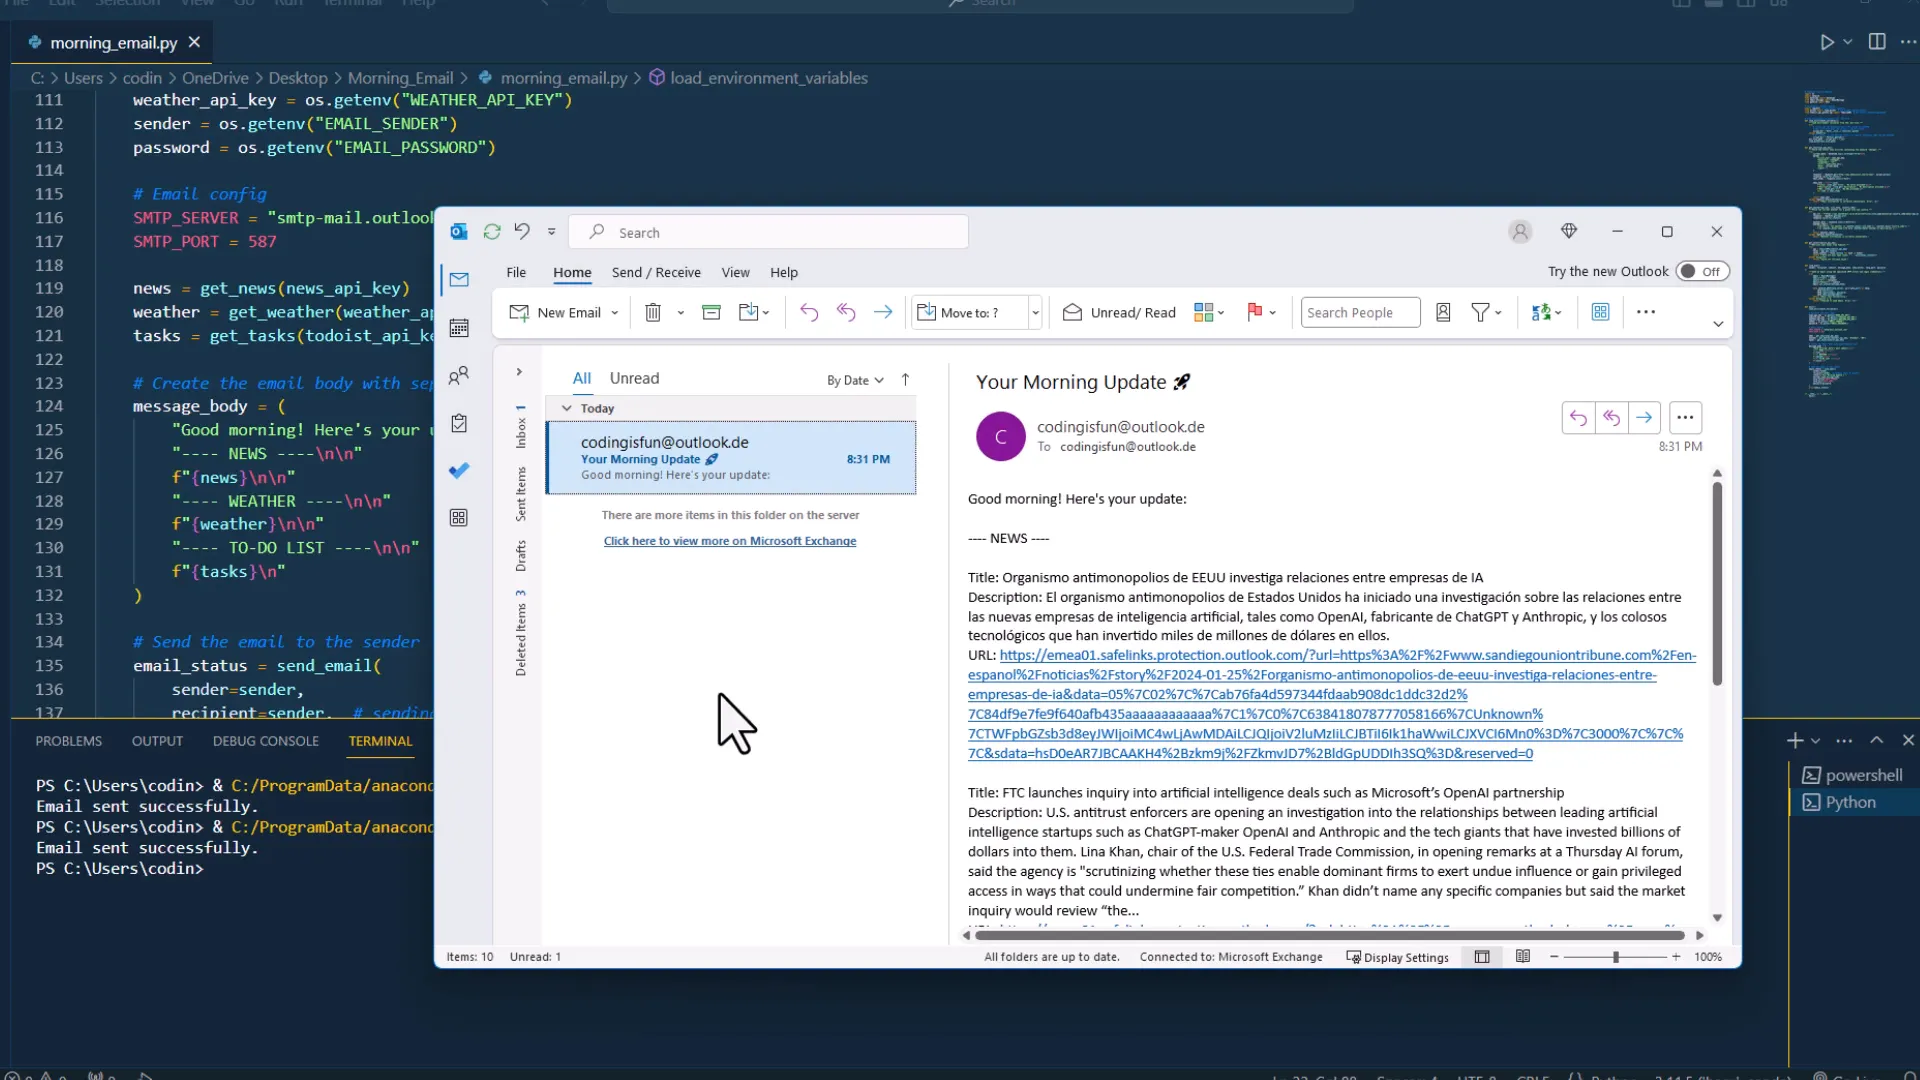
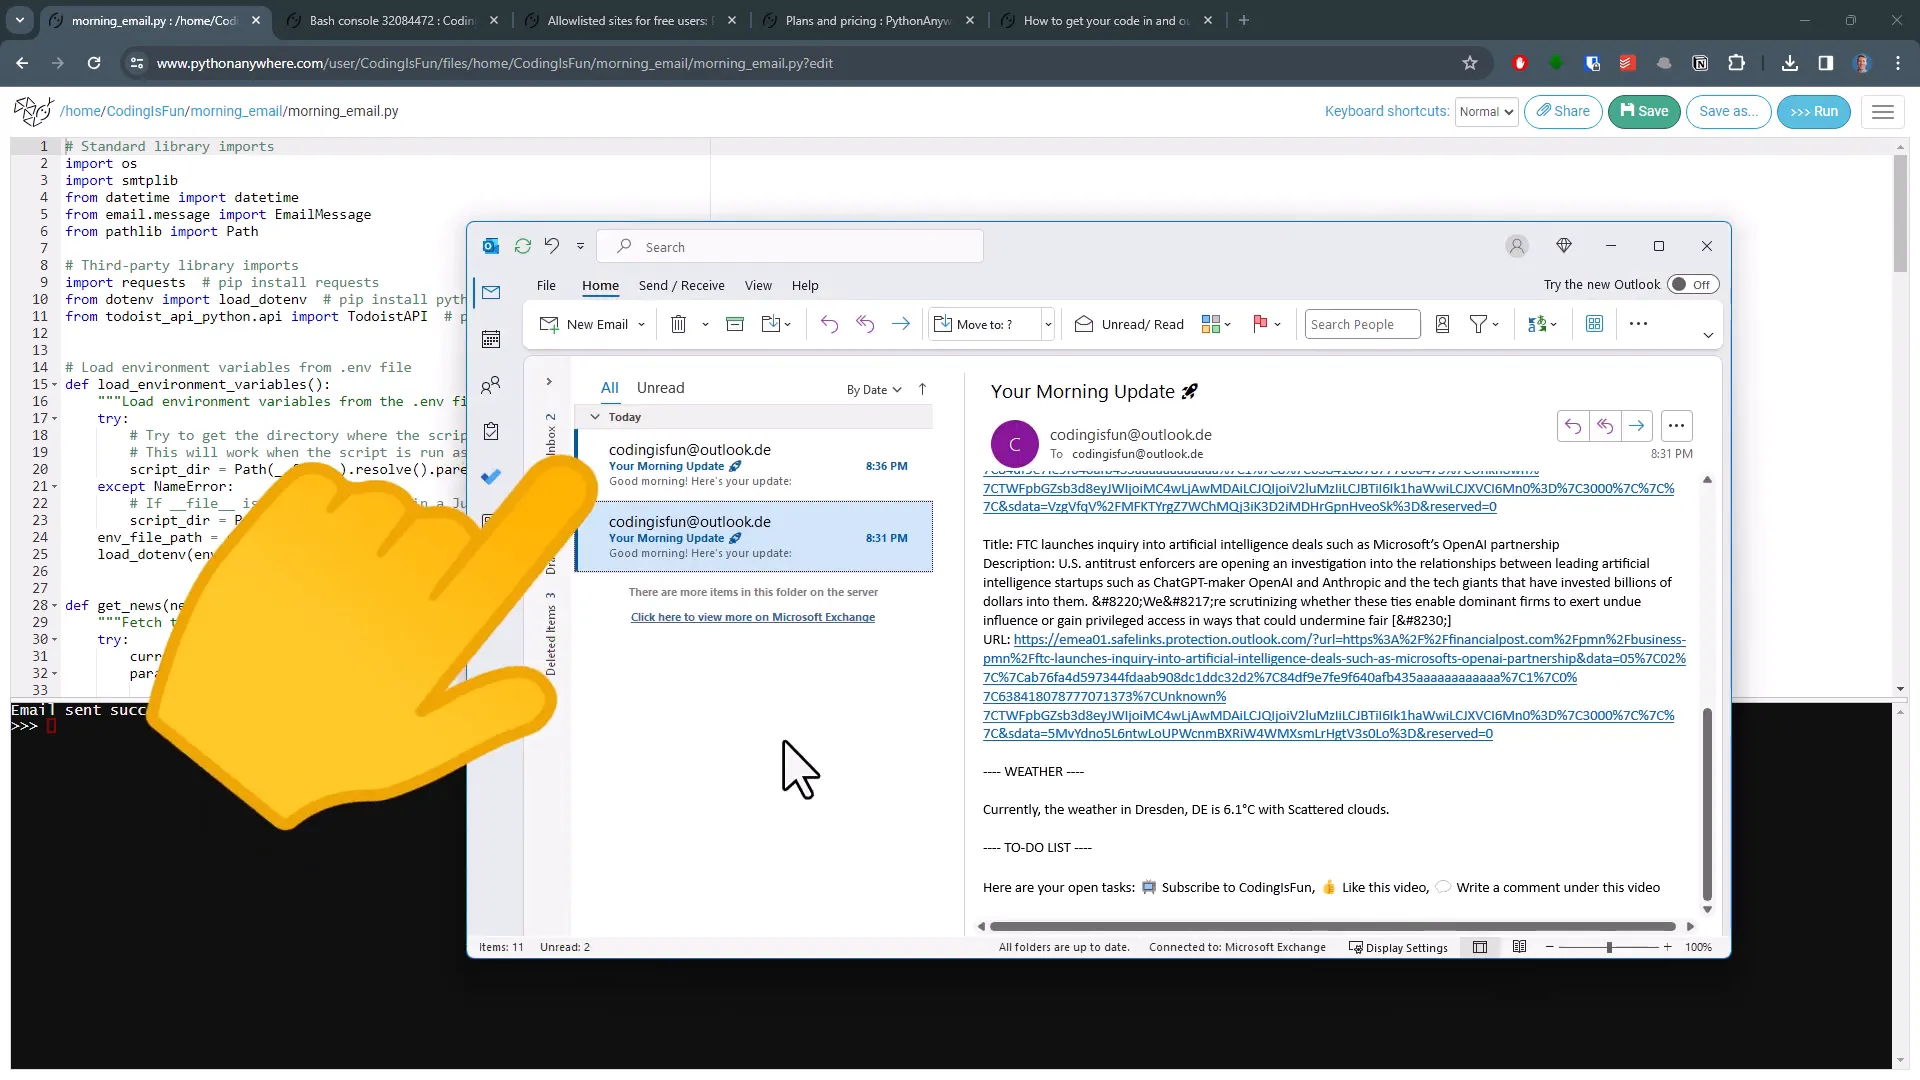
For this demonstration, I’ve created a Python script that connects to various services using APIs. The script sends me an email with the current weather forecast, the latest news, and my to-do list for the day. When I run it locally, I receive an email that looks like this:
Deploy
Now that I know the code works locally, it’s time to deploy it. I’ll be using PythonAnywhere for this. Although the website’s user interface might seem a bit dated, the service is excellent.
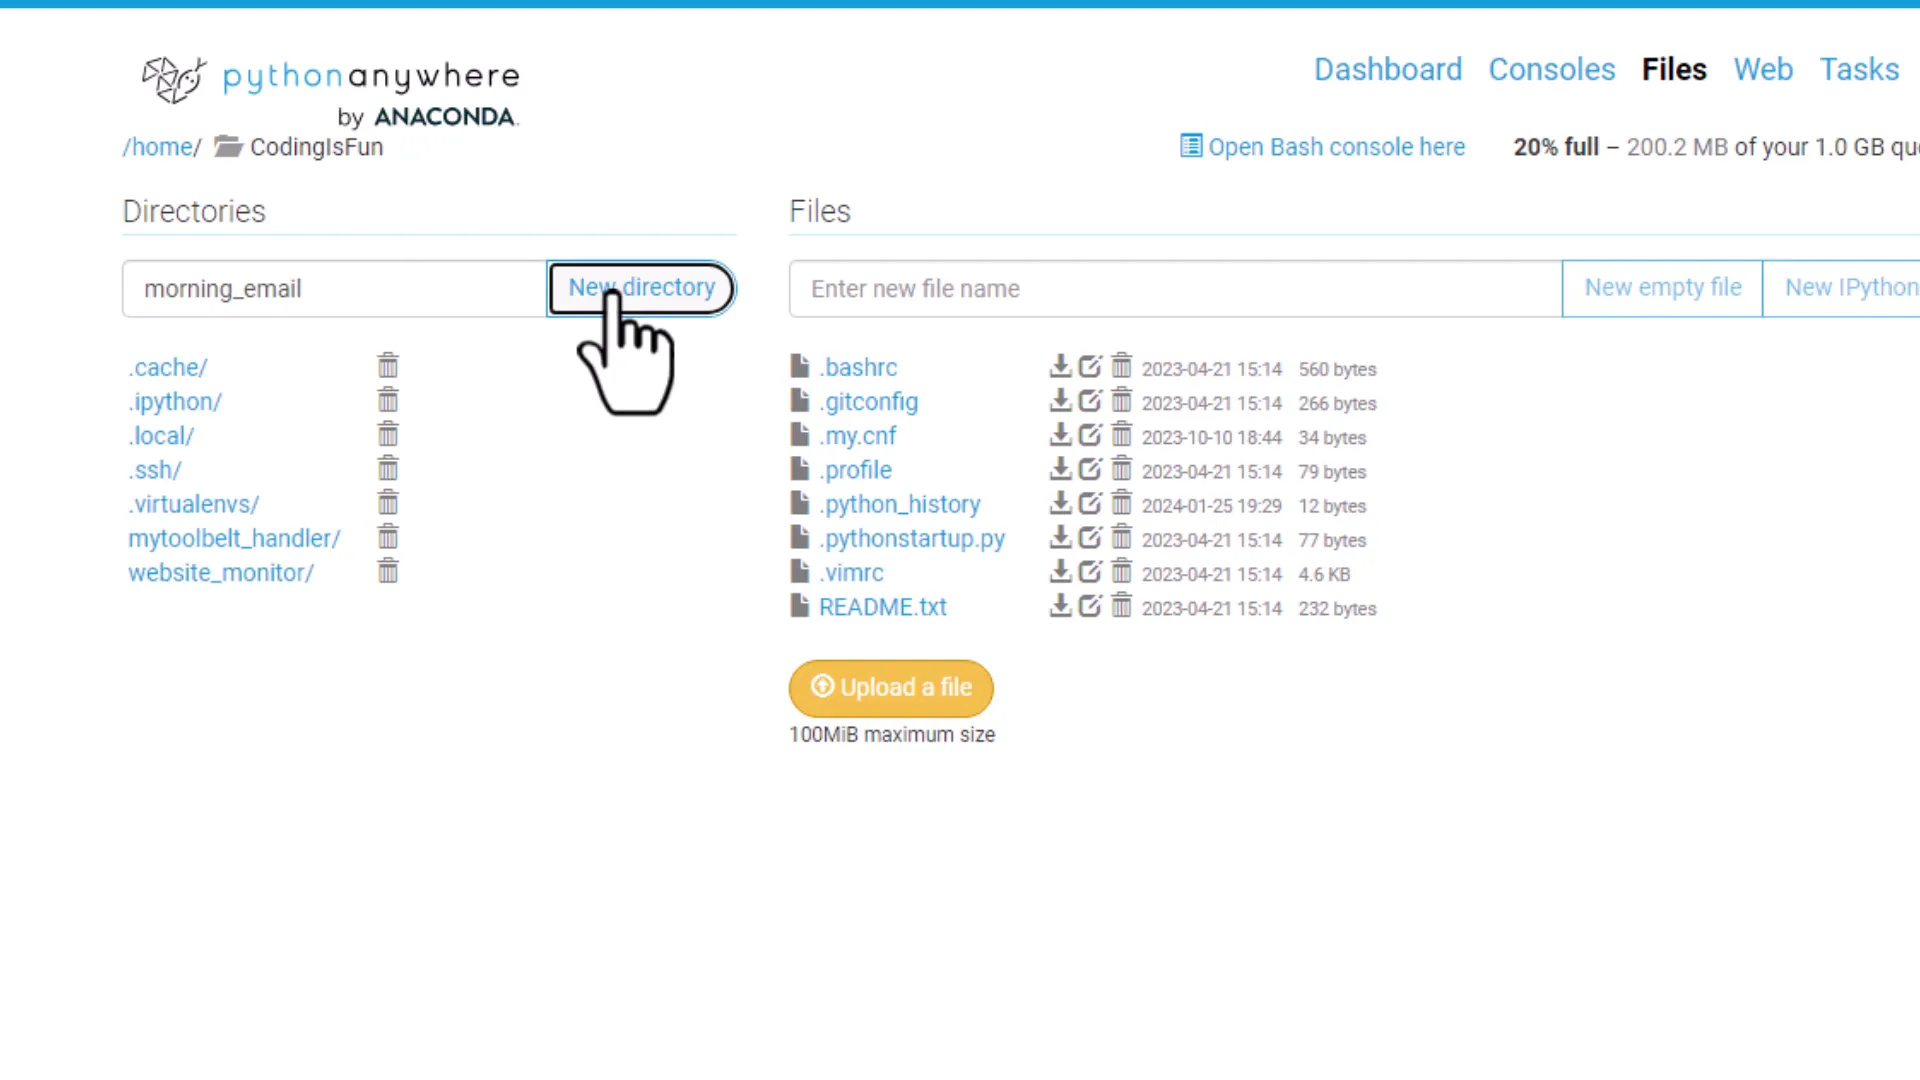
First, sign up for a free account. Once logged in, navigate to your dashboard and go to the “Files” section. Here, I’ll create a new folder named “morning_email” to keep things organized.
Python File
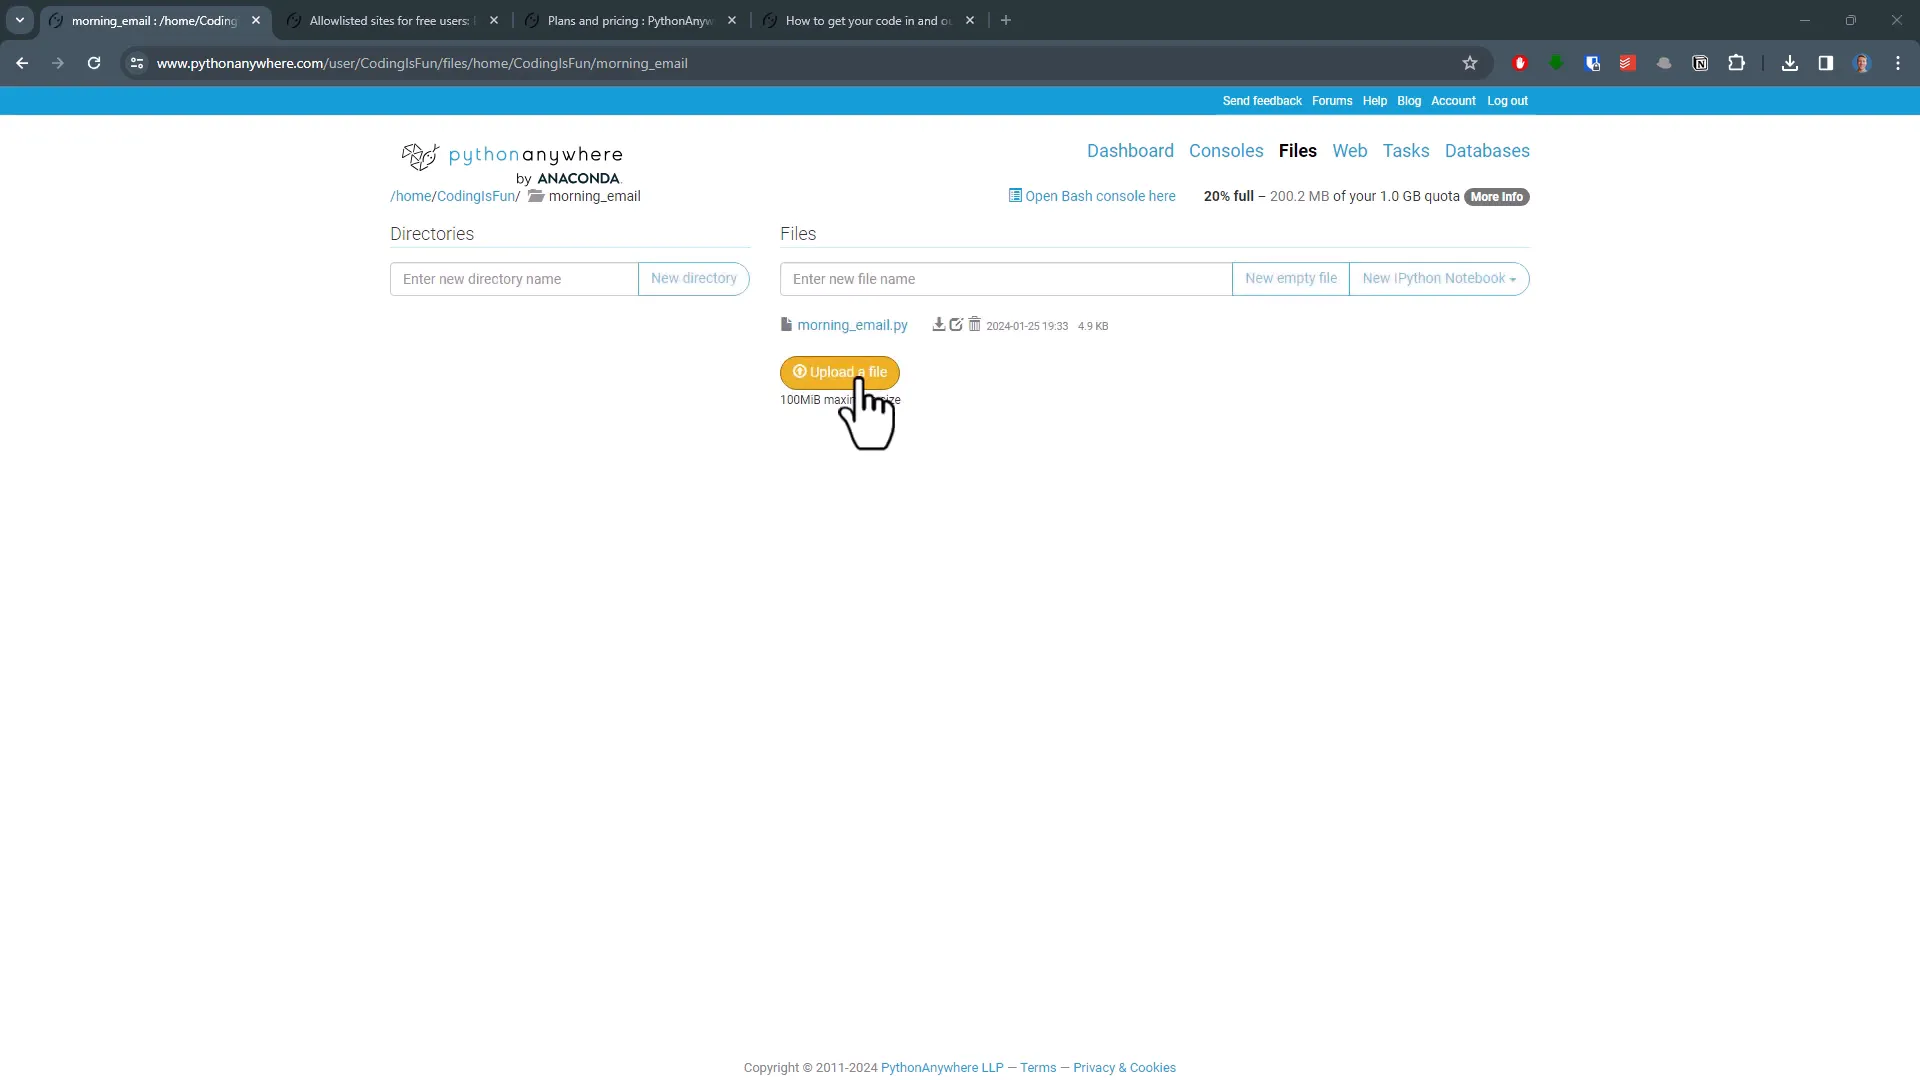
Inside this directory, I will upload my Python script. Keep in mind that you can only upload one file at a time. I also need to upload an .env file that contains my email credentials necessary for sending the email.
Python Anywhere Console
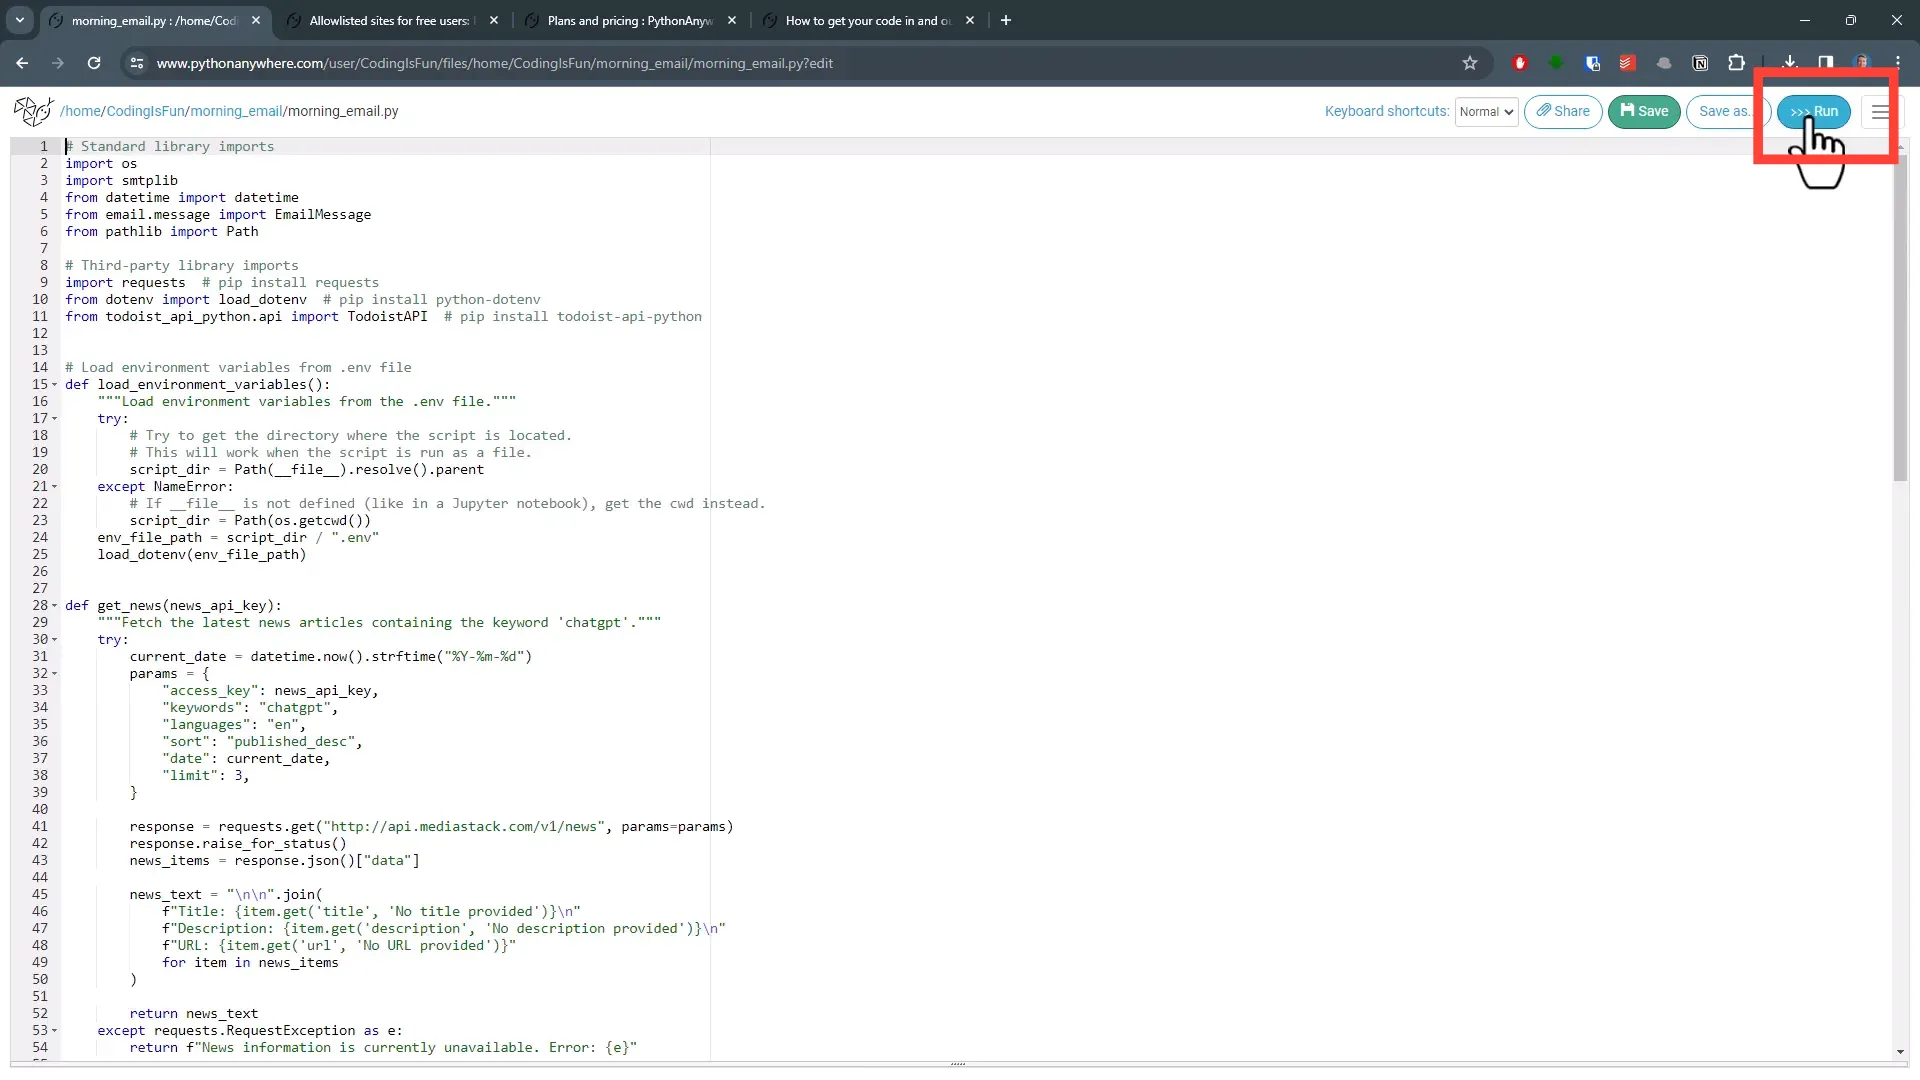
Before scheduling the script, it’s essential to ensure there are no errors when running it. Click on your Python file to open it in the PythonAnywhere editor, and hit the “Run” button. This will open a terminal where you can check for any error messages.
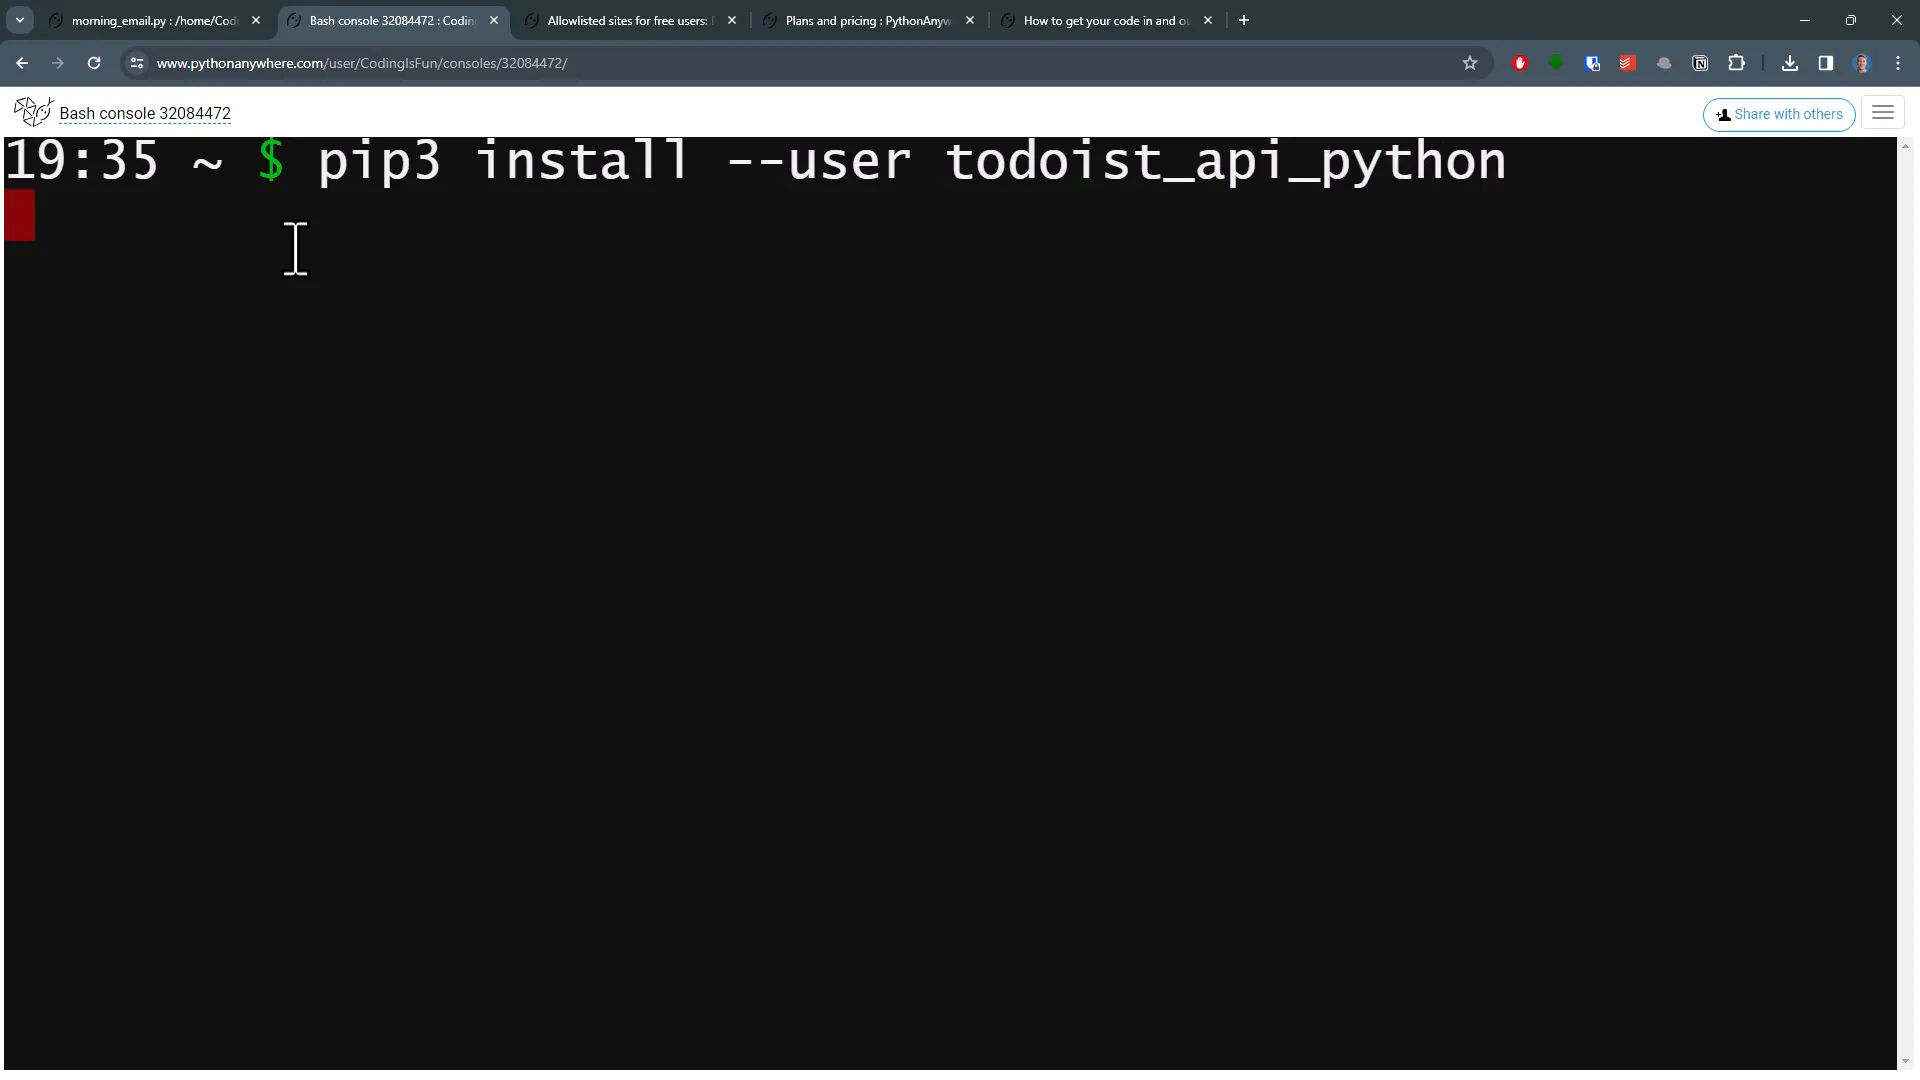
I encountered an error indicating that PythonAnywhere couldn’t find the todoist API module. This happened because I installed this third-party package locally, and I need to install it in PythonAnywhere as well. To do this, I’ll open a new bash console from my dashboard and type:
pip install --user todoist-api-python
Schedule Your Script
After installing the necessary package, I’ll return to the editor and run the code again. This time, it executed without errors, and I received a confirmation email!
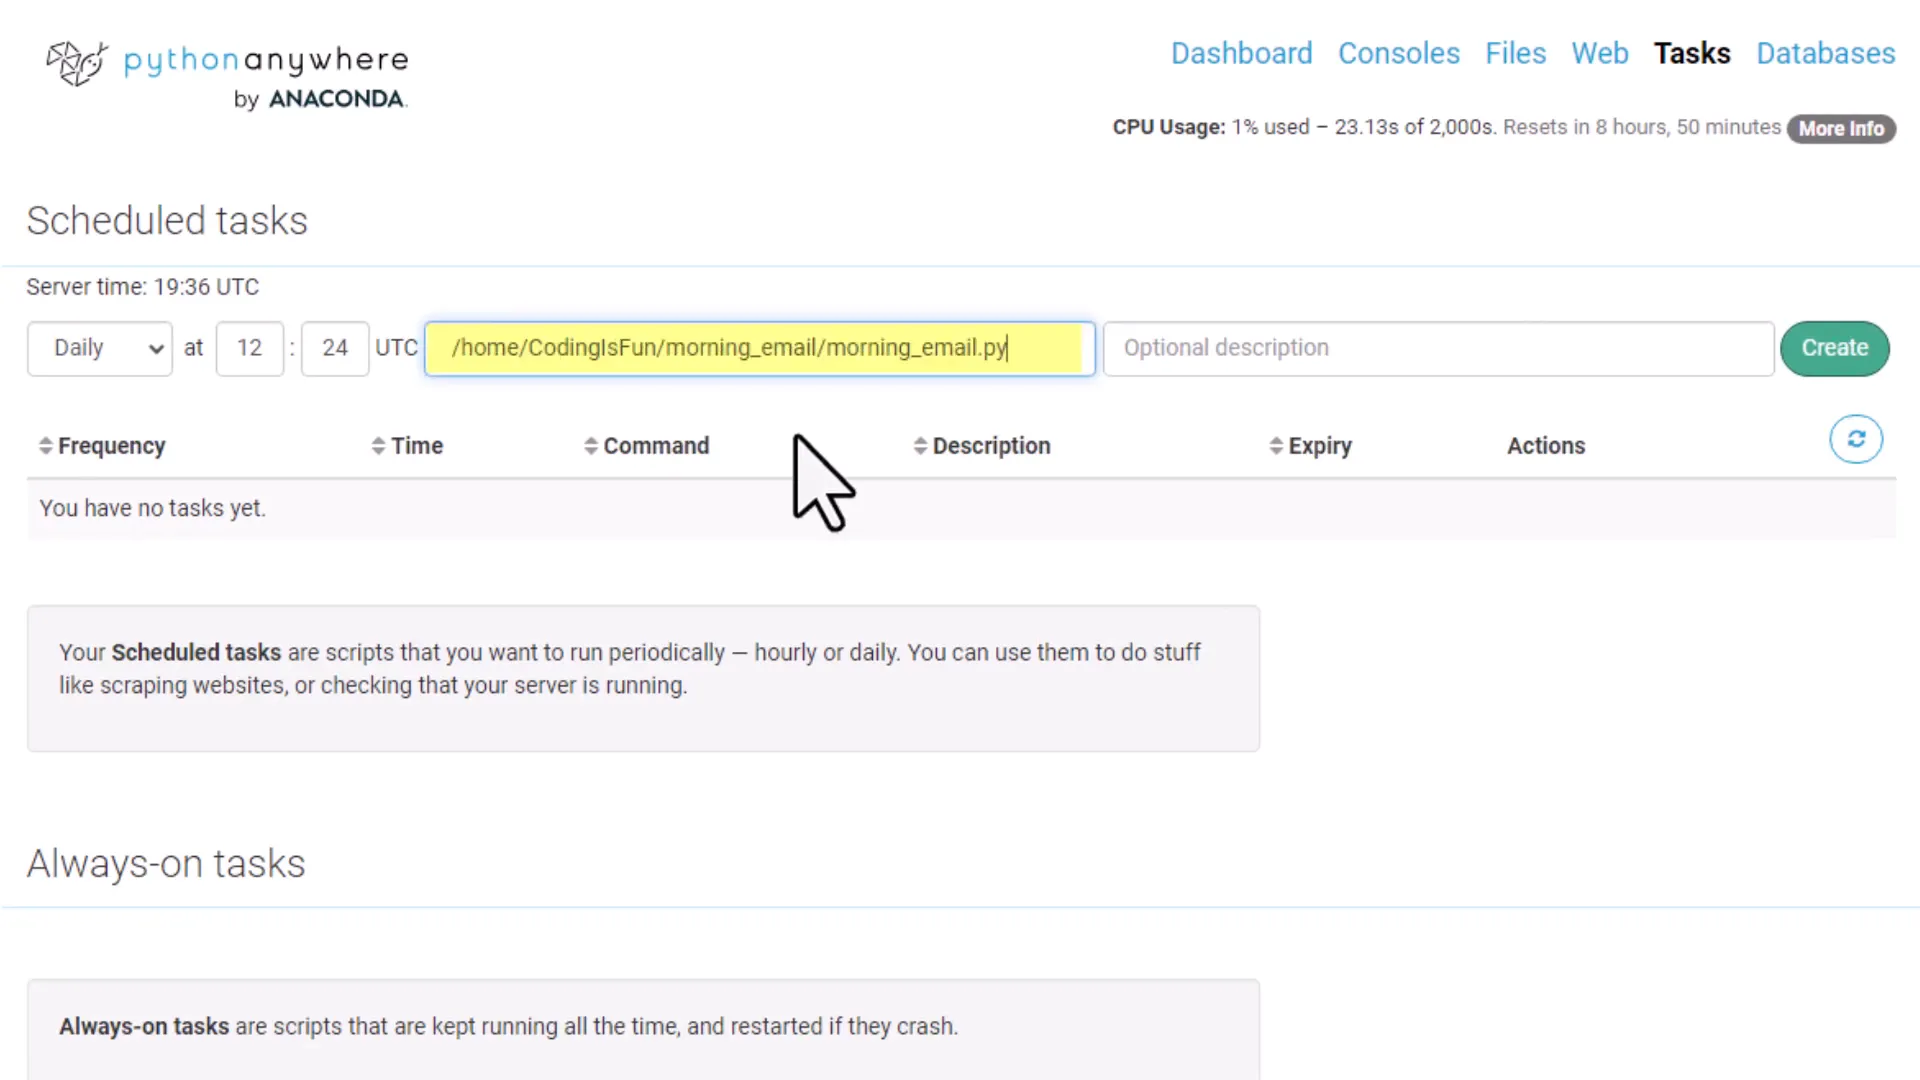
Now, let’s schedule the script. First, I’ll copy the path to my Python file. You can find this under your recent files. Then, click on the “Tasks” section and paste the path. Finally, set the time you want the script to run, keeping in mind that it’s in UTC.
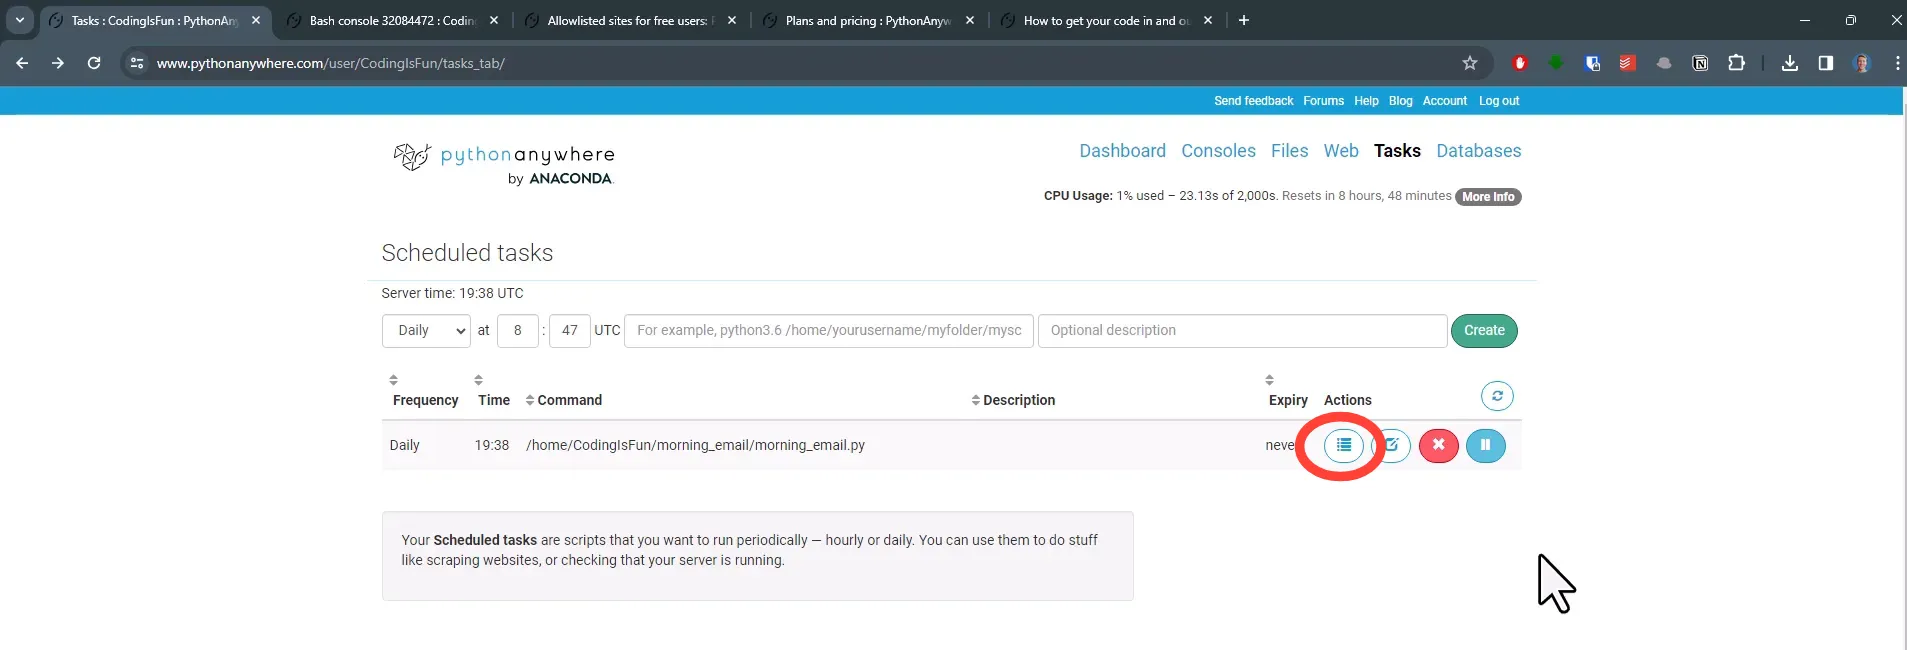
Troubleshooting
If your code execution fails, the first place to check is the logs. This will provide additional information on what went wrong. Another important note is that PythonAnywhere allows you to host web applications. If you’ve built a Django or Flask app, you can host it here for free. However, FastAPI is currently in beta testing, so check the site for updates.
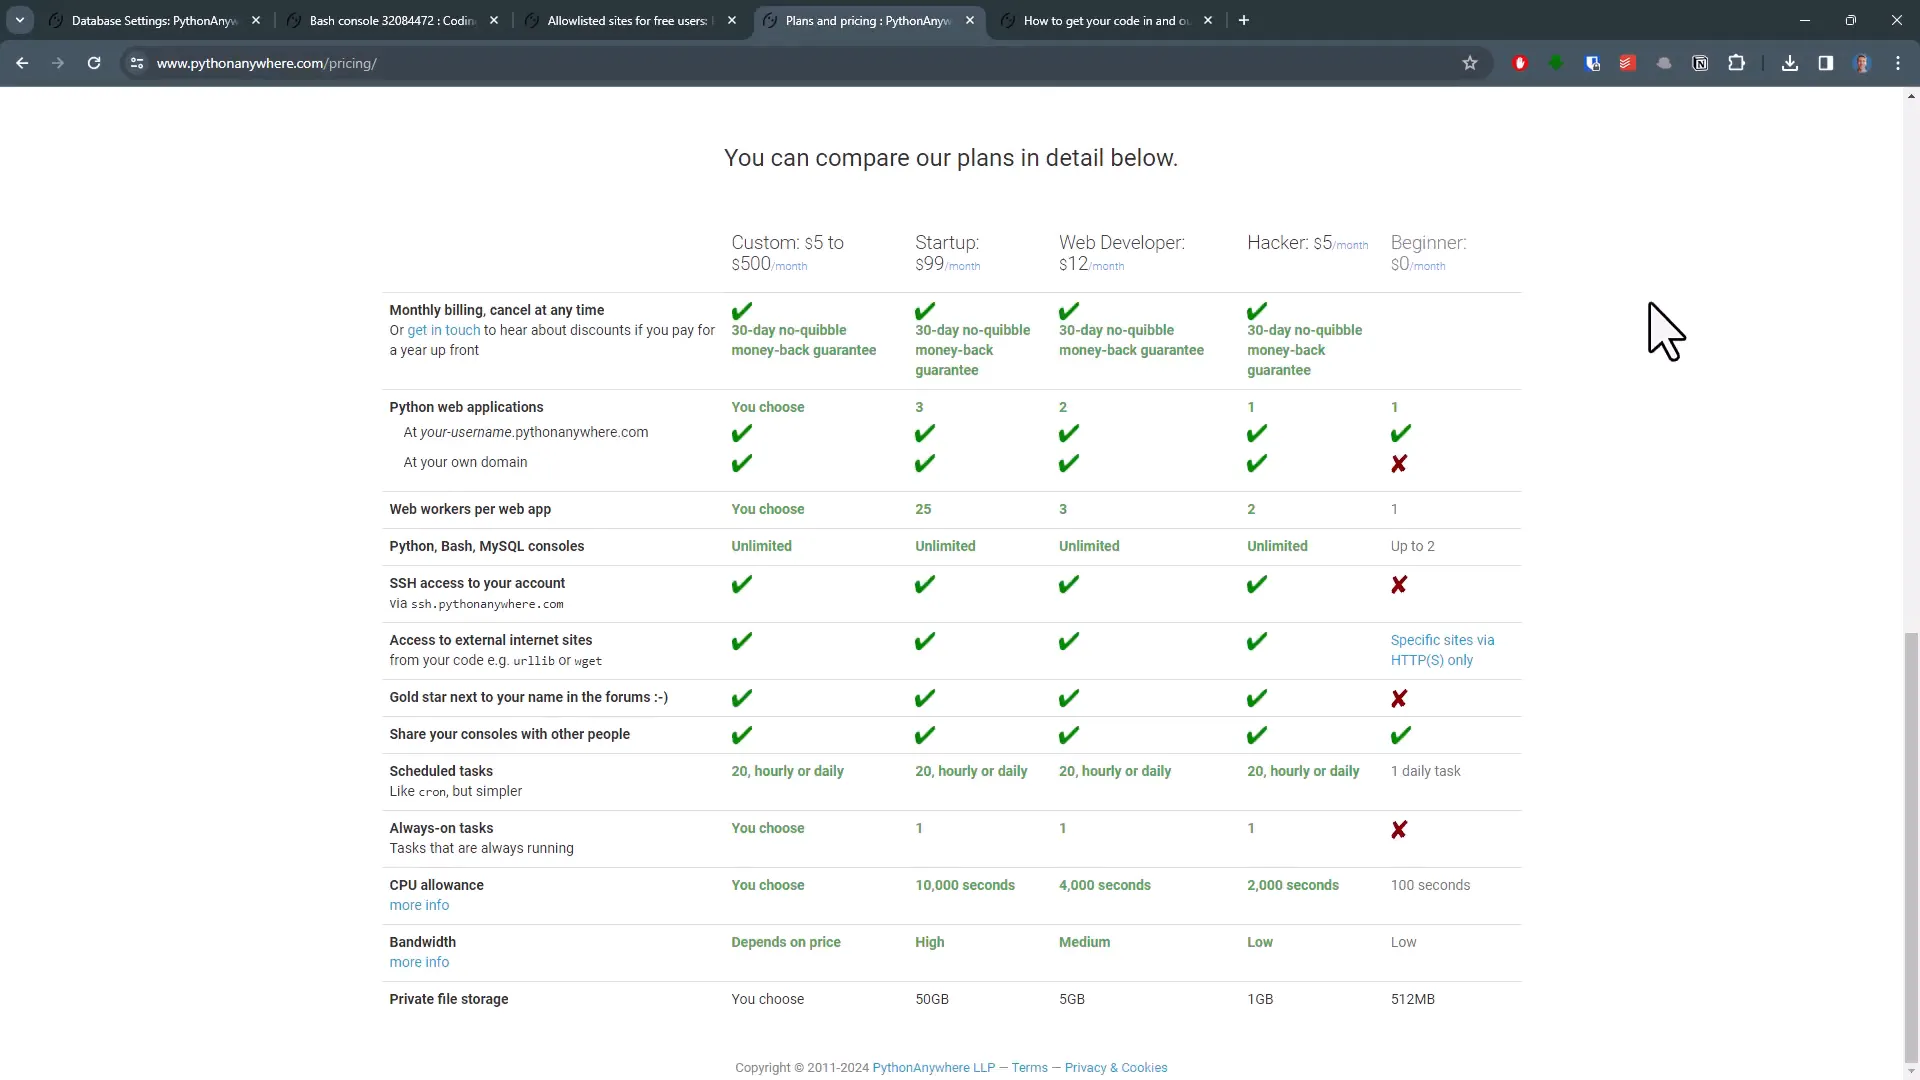
Pricing Plans
With a free account, you can only schedule one daily task. I personally use the Hacker plan, which allows scheduling up to 20 tasks and offers more flexibility, including hourly tasks and the option to run a task continuously.
Other Questions
In this tutorial, I kept it simple by using the file upload button. However, you can also clone your GitHub repository to avoid repeatedly uploading files. Use the bash console for that, and instructions are provided on the PythonAnywhere website.

Limitations
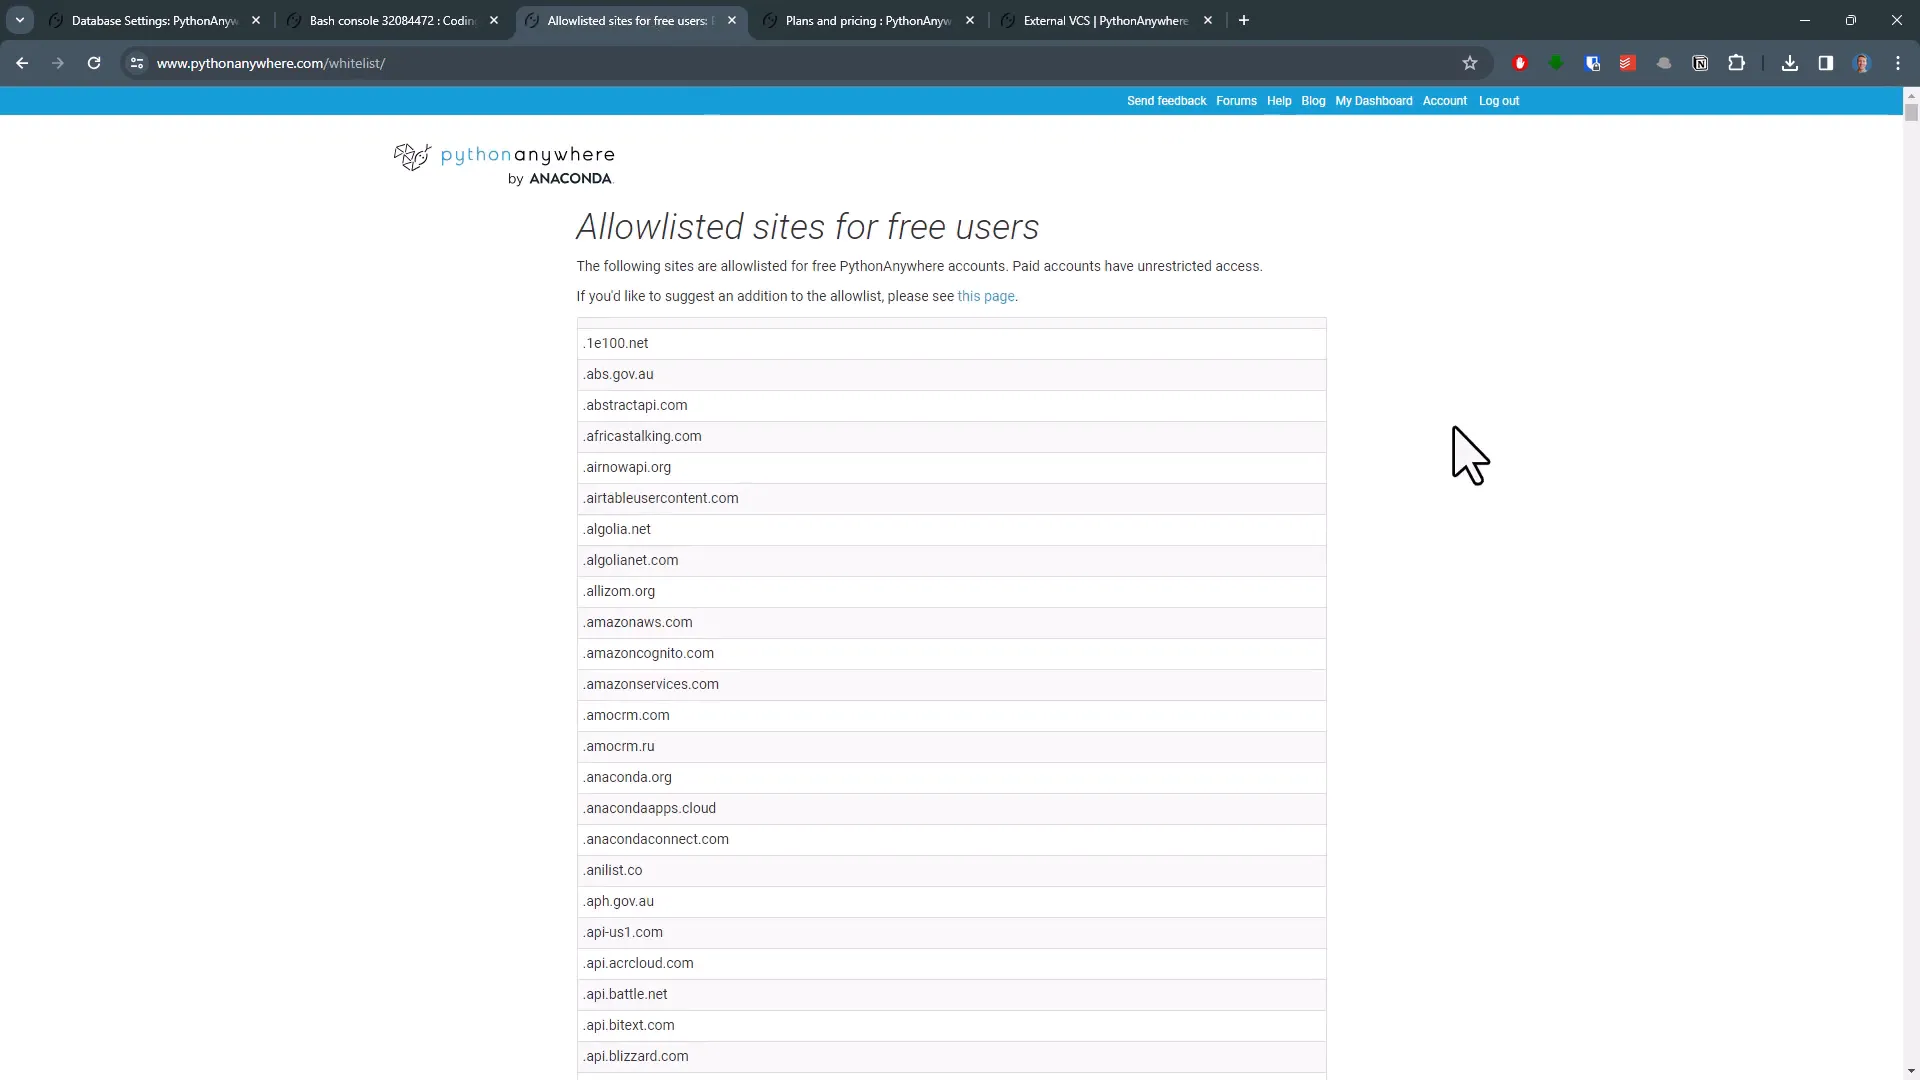
Be aware that there are limitations with the free plan. You can only access certain websites. For instance, the API I used for retrieving news from Media Stack is whitelisted. Check the whitelist if you plan to connect your script to other services.
Outro
And that’s it! You now know how to schedule your Python scripts for free in just a few minutes. If you’re interested in the code I used in this tutorial, you can find it on GitHub; the link is in the description below. Thanks for reading!