How to Deploy a Taipy App to Heroku
Introduction
In this tutorial, I’ll guide you through the process of deploying a Taipy app on Heroku. Previously, I created a sales dashboard with various filter options and a toggle button for switching between dark and light modes. However, that app is currently only accessible on my local machine. To share it with everyone, I need to deploy it. For this tutorial, I’m using Heroku, which simplifies the deployment process. Just a heads up: as of now, Heroku doesn’t offer a free plan; the cheapest option starts at $5 per month.
Here’s a brief overview of what we need for this deployment:
- Heroku CLI
- Git
- A Procfile
- A requirements.txt file
Don’t worry if this sounds a bit overwhelming. I’ll explain each component as we proceed, and I’ll provide all necessary links and commands along the way. Oh, and one more thing: you’ll need a Heroku account and to enter your credit card details for the deployment to work.
Setting Up Heroku CLI
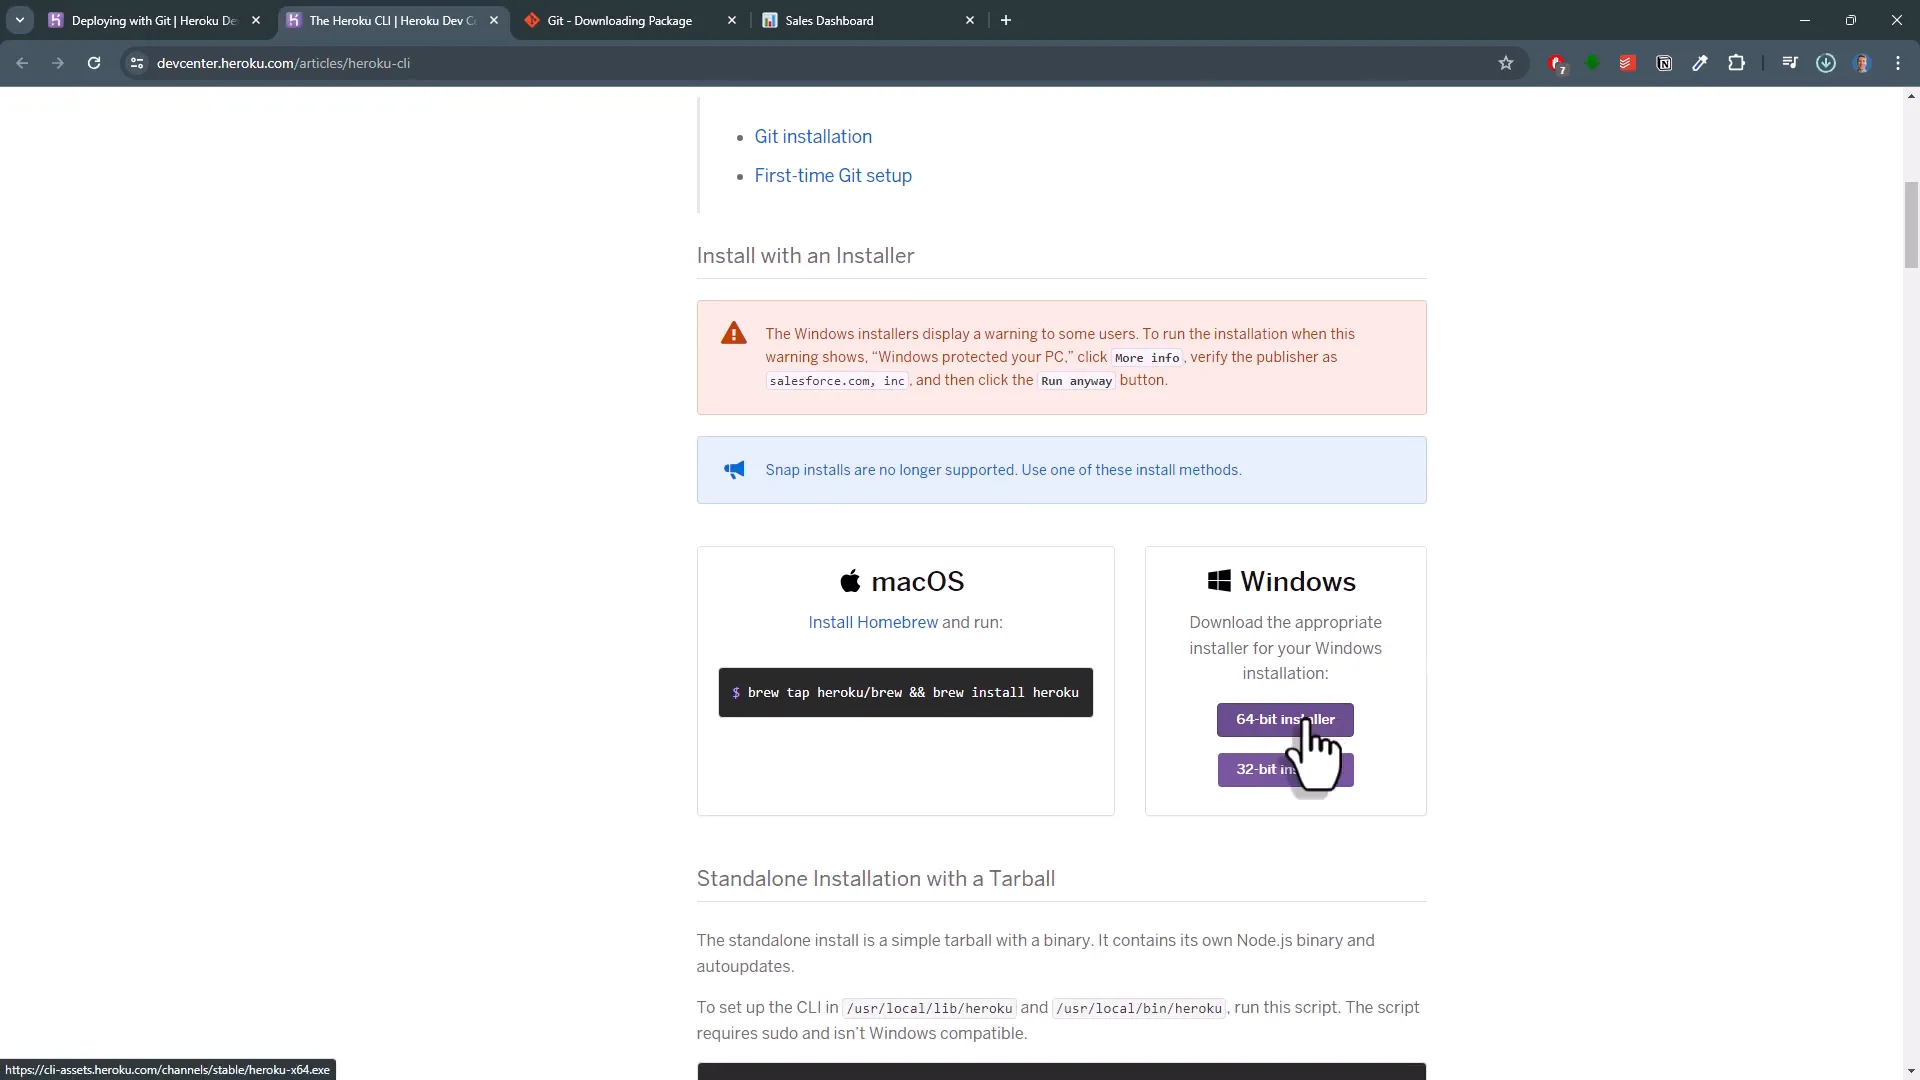
First things first, we need the Heroku CLI (Command Line Interface). This tool allows your computer to communicate with Heroku. To install it, download the appropriate installer for your system. I’ll be using the 64-bit version. If you already have it installed, you can skip this step.
Installing Git
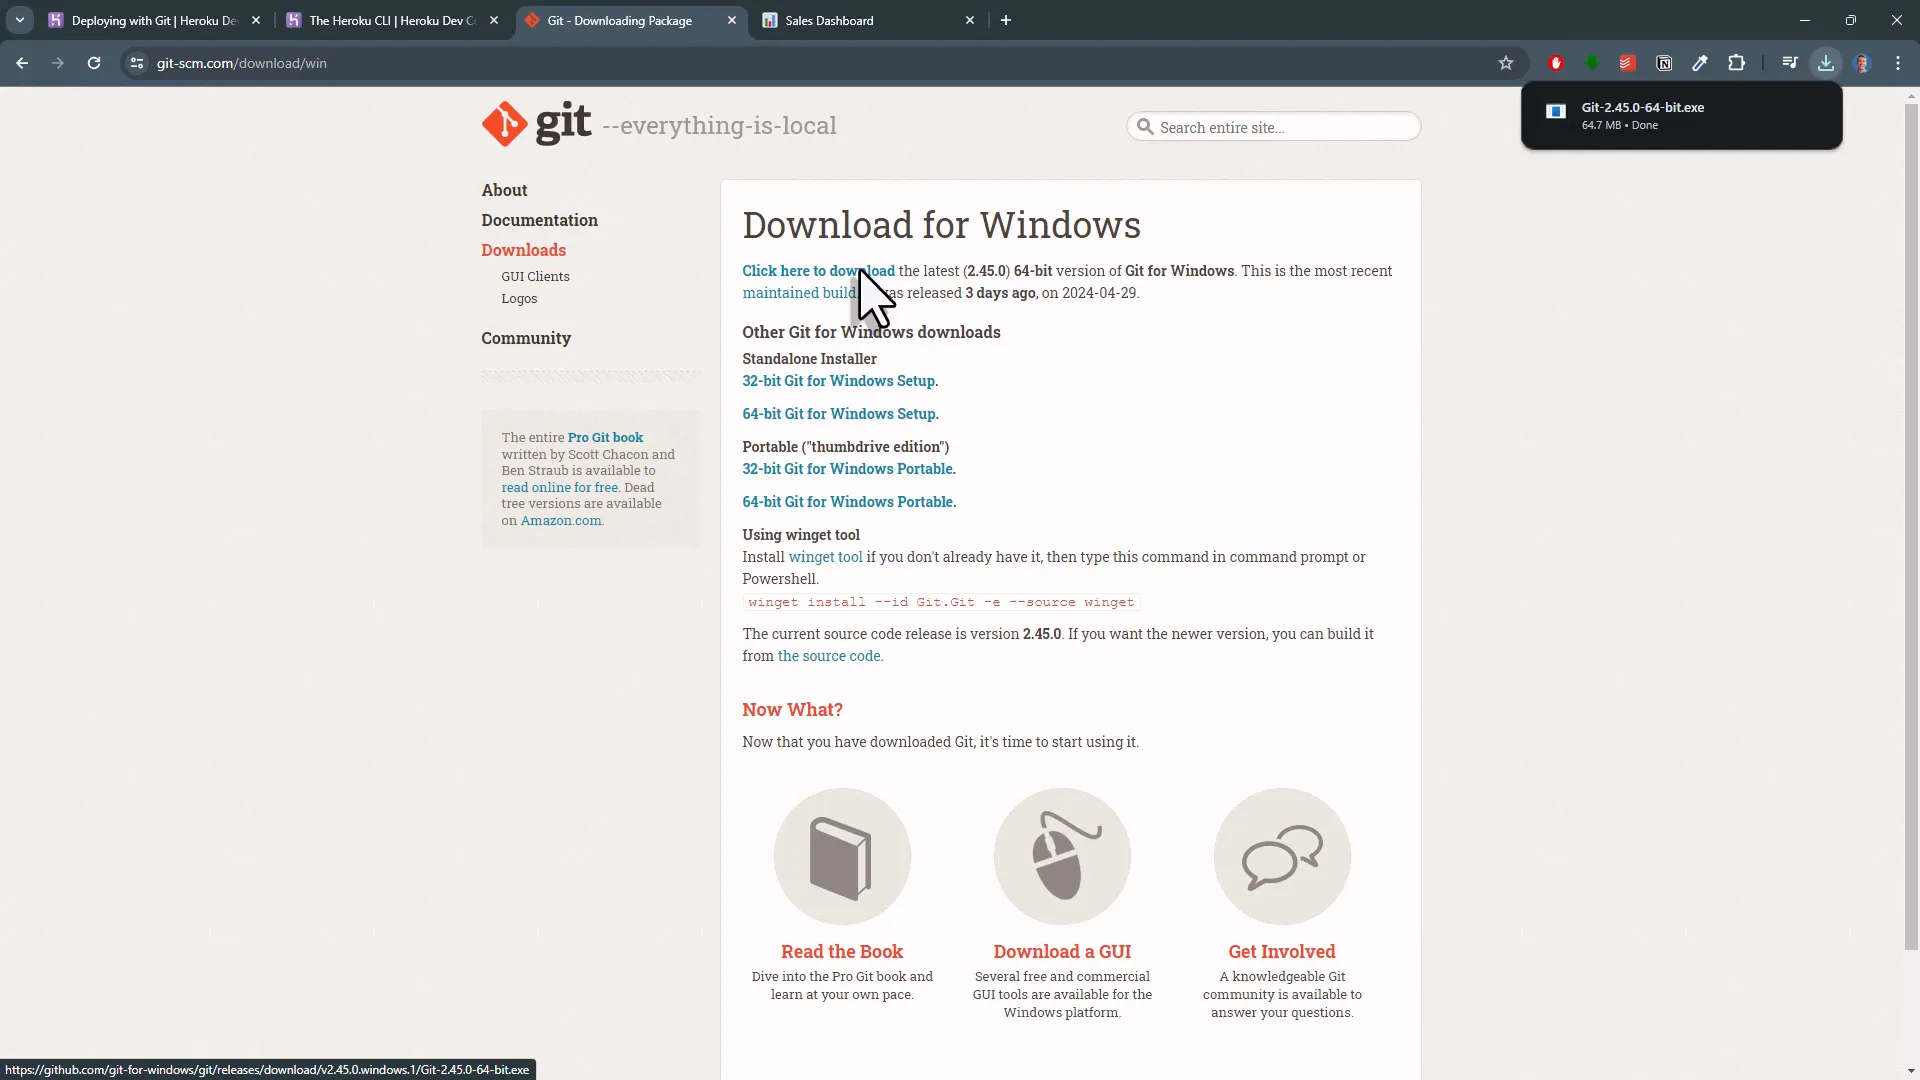
Next, we need Git, a version control system that tracks changes in your project. If you haven’t worked with Git before, don’t worry. We’ll just need a few commands that I’ll demonstrate. Start by downloading the installer for Git that matches your operating system.
Once downloaded, launch the installer and stick to the default settings. After installing Git, navigate back to your project folder and stop any running app.
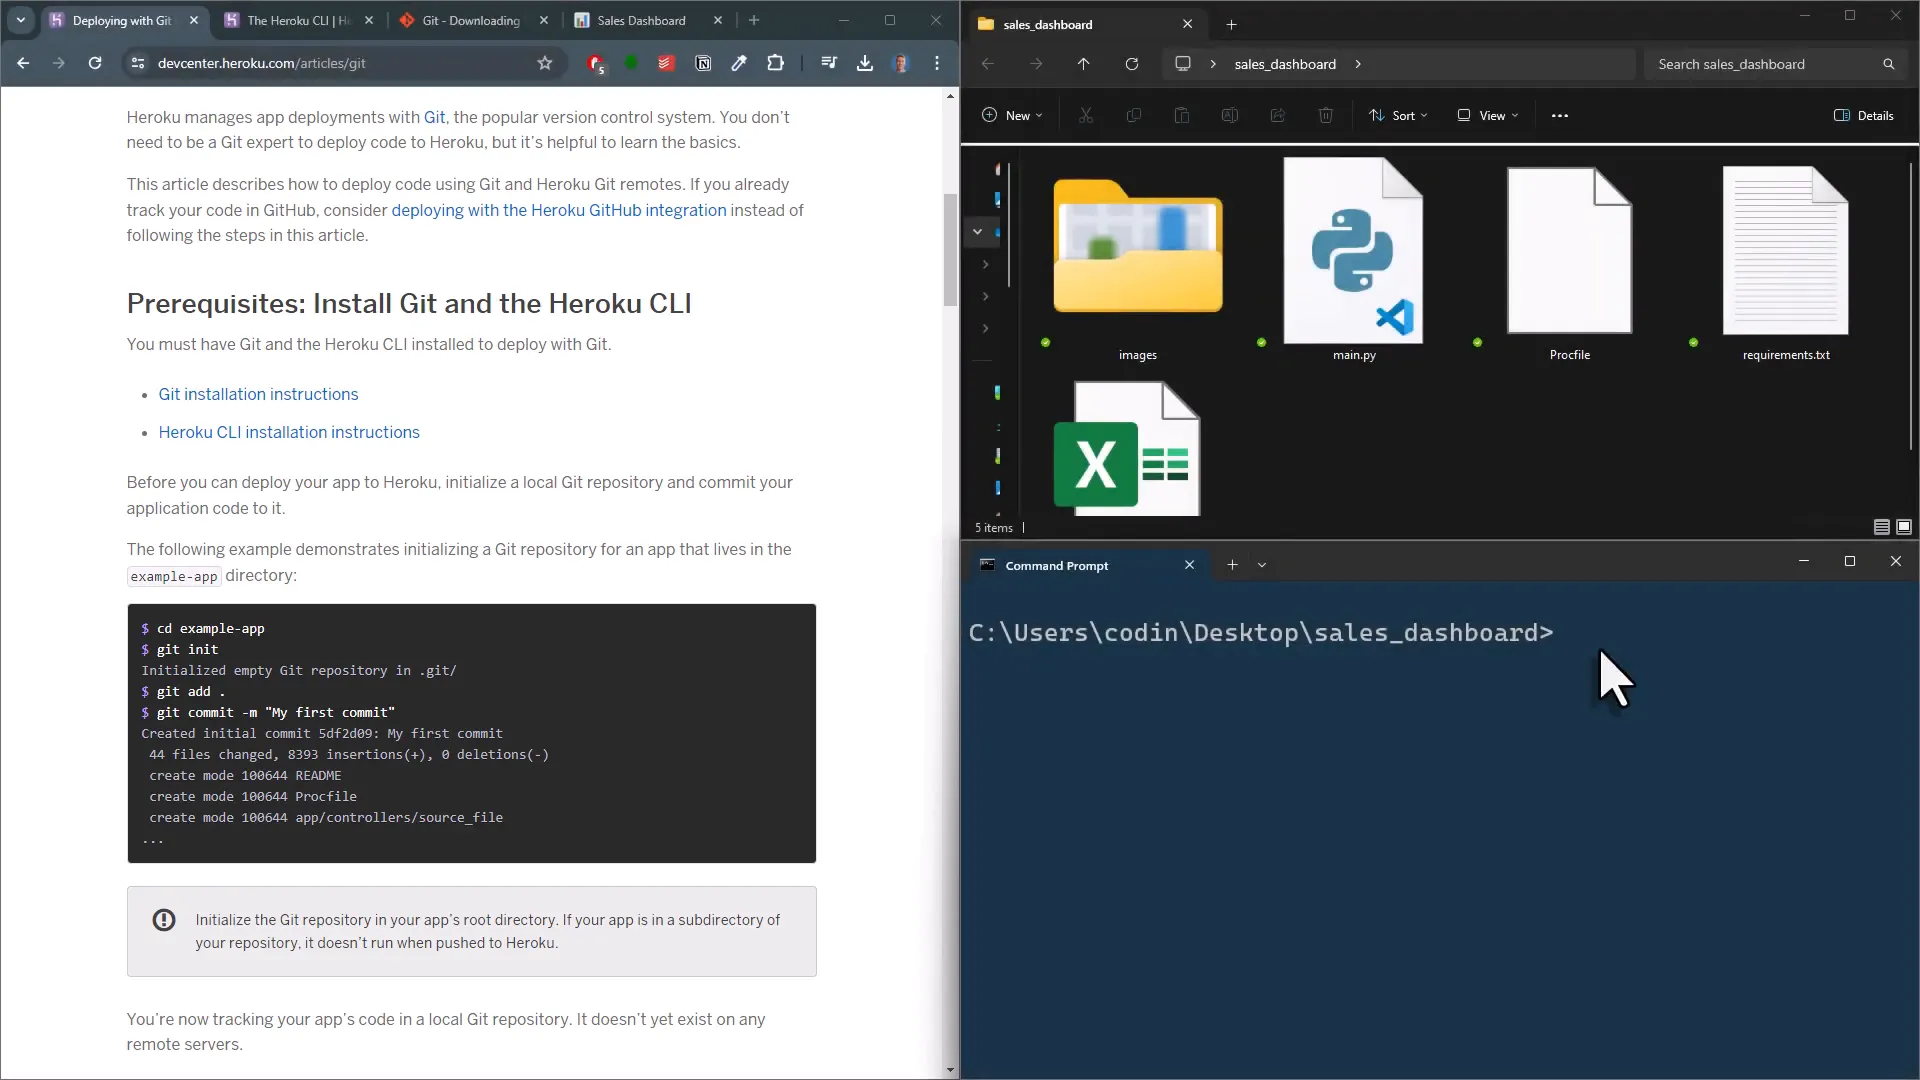
Creating the Requirements File
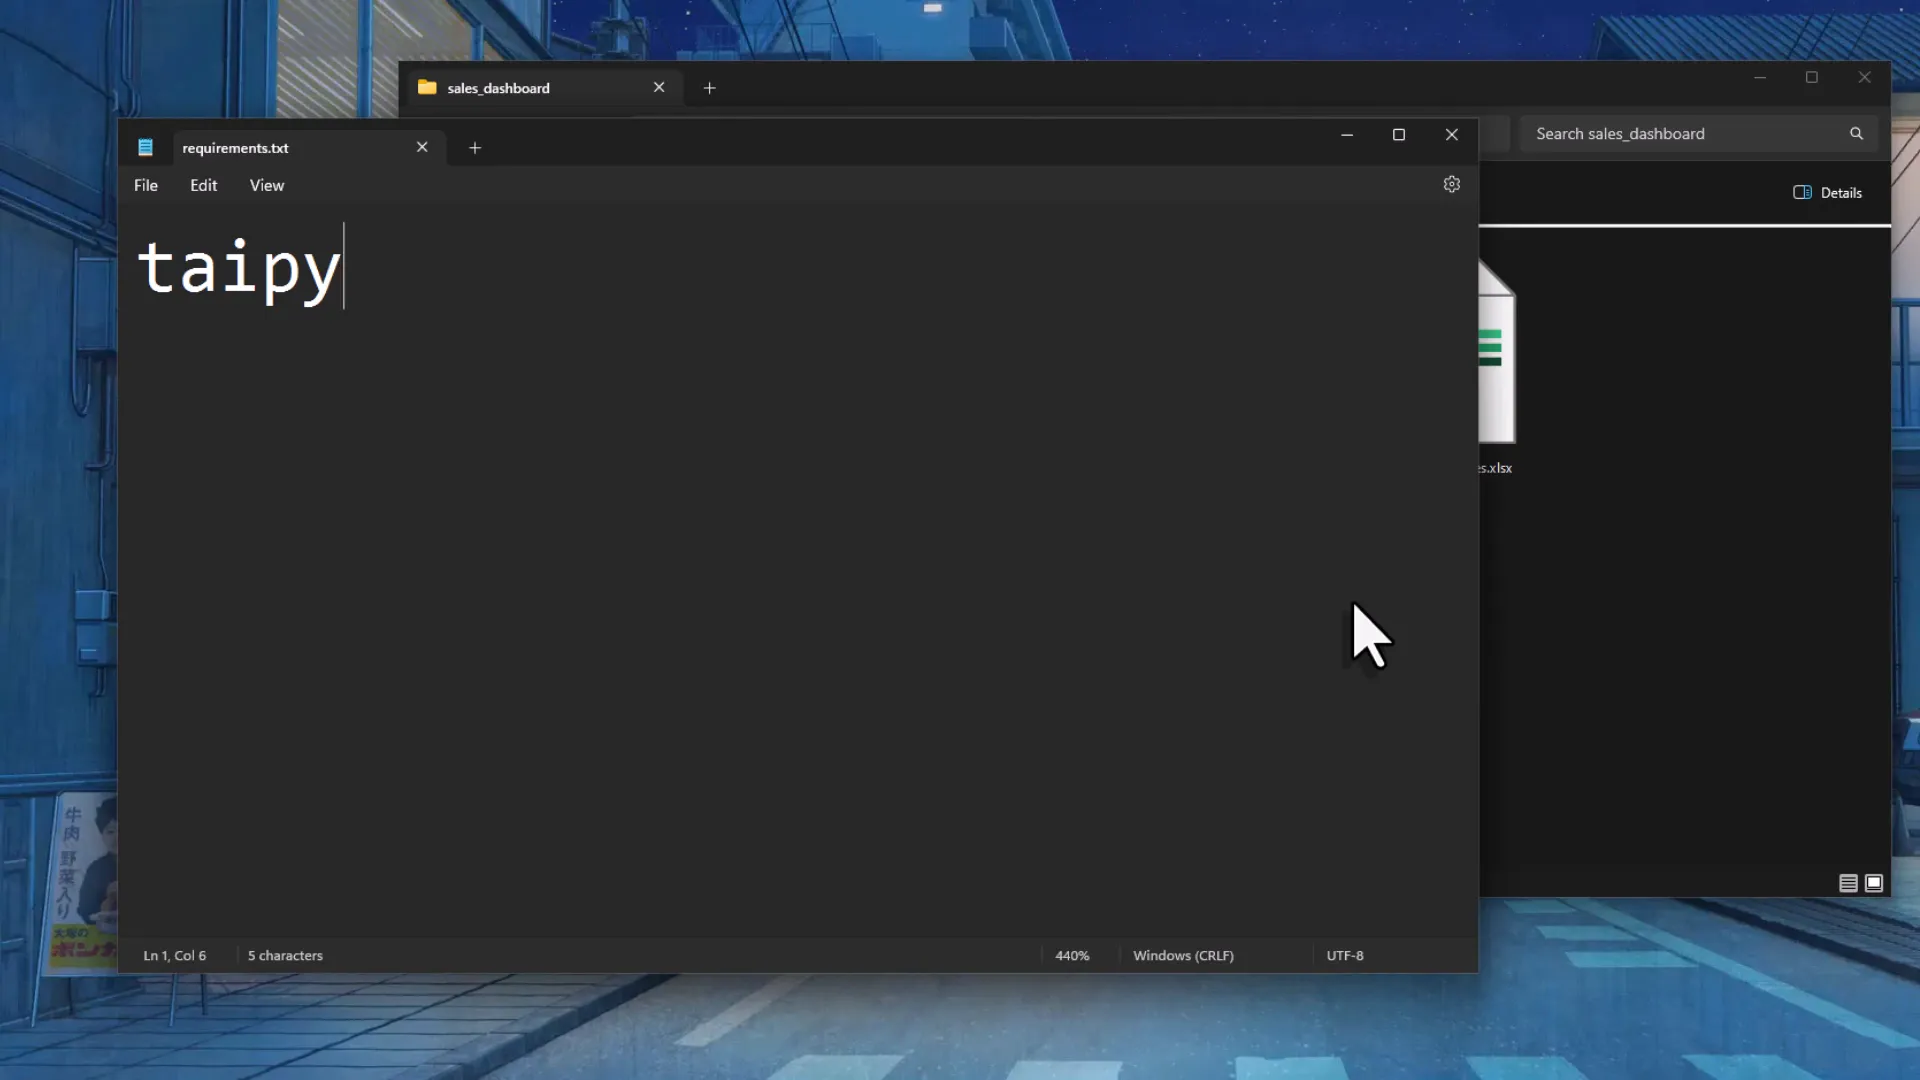
Now, we need to create a requirements.txt file. This file tells Heroku which packages to install for your app to run. In my case, I only need Taipy. You can pin the version if you wish. I also need Pandas, but since Pandas is a dependency of Taipy, specifying Taipy is sufficient.
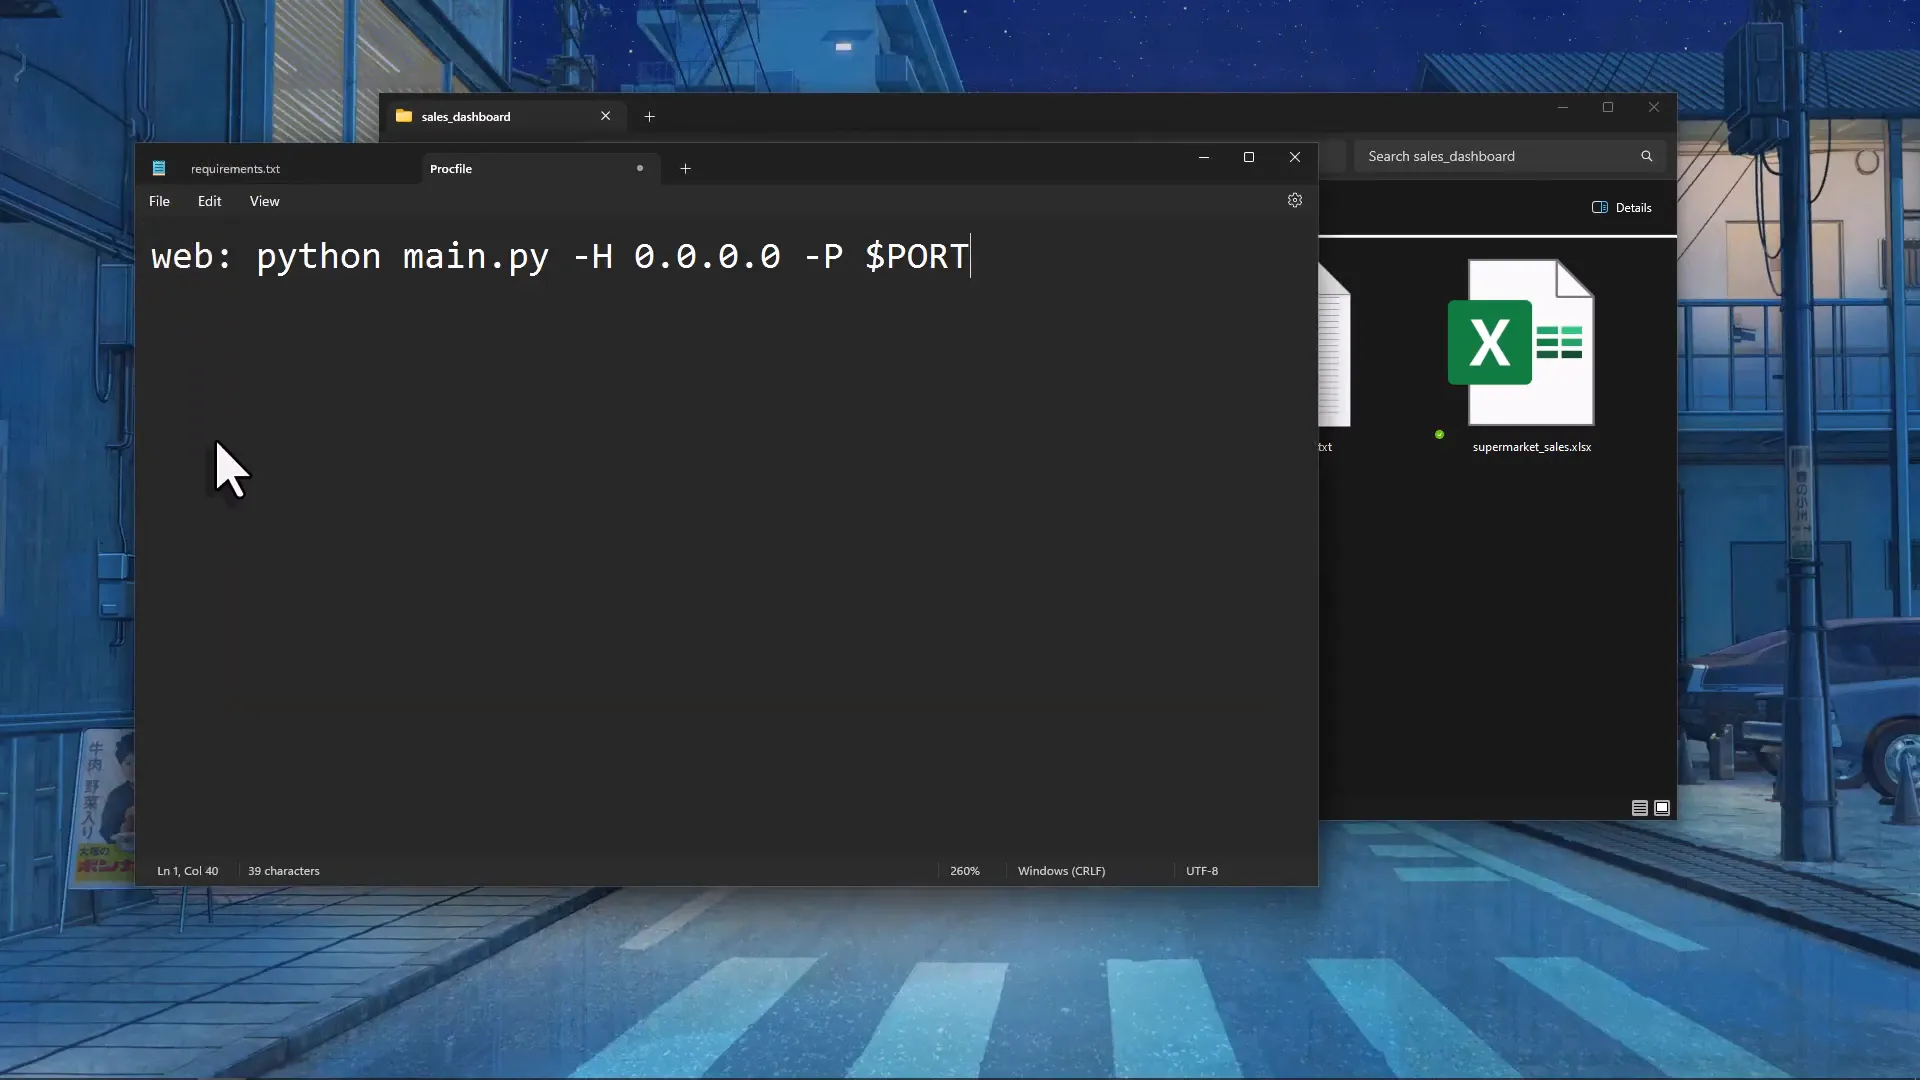
Creating the Procfile
Next, we need a Procfile. This file has no extension but can be opened in a text editor like Notepad. In this file, insert the following command:
web: python main.py -H 0.0.0.0 -P $PORT
This command tells Heroku that it’s a web app and how to start it. Make sure to replace “main.py” with your actual file name if it’s different.
Deploying the App
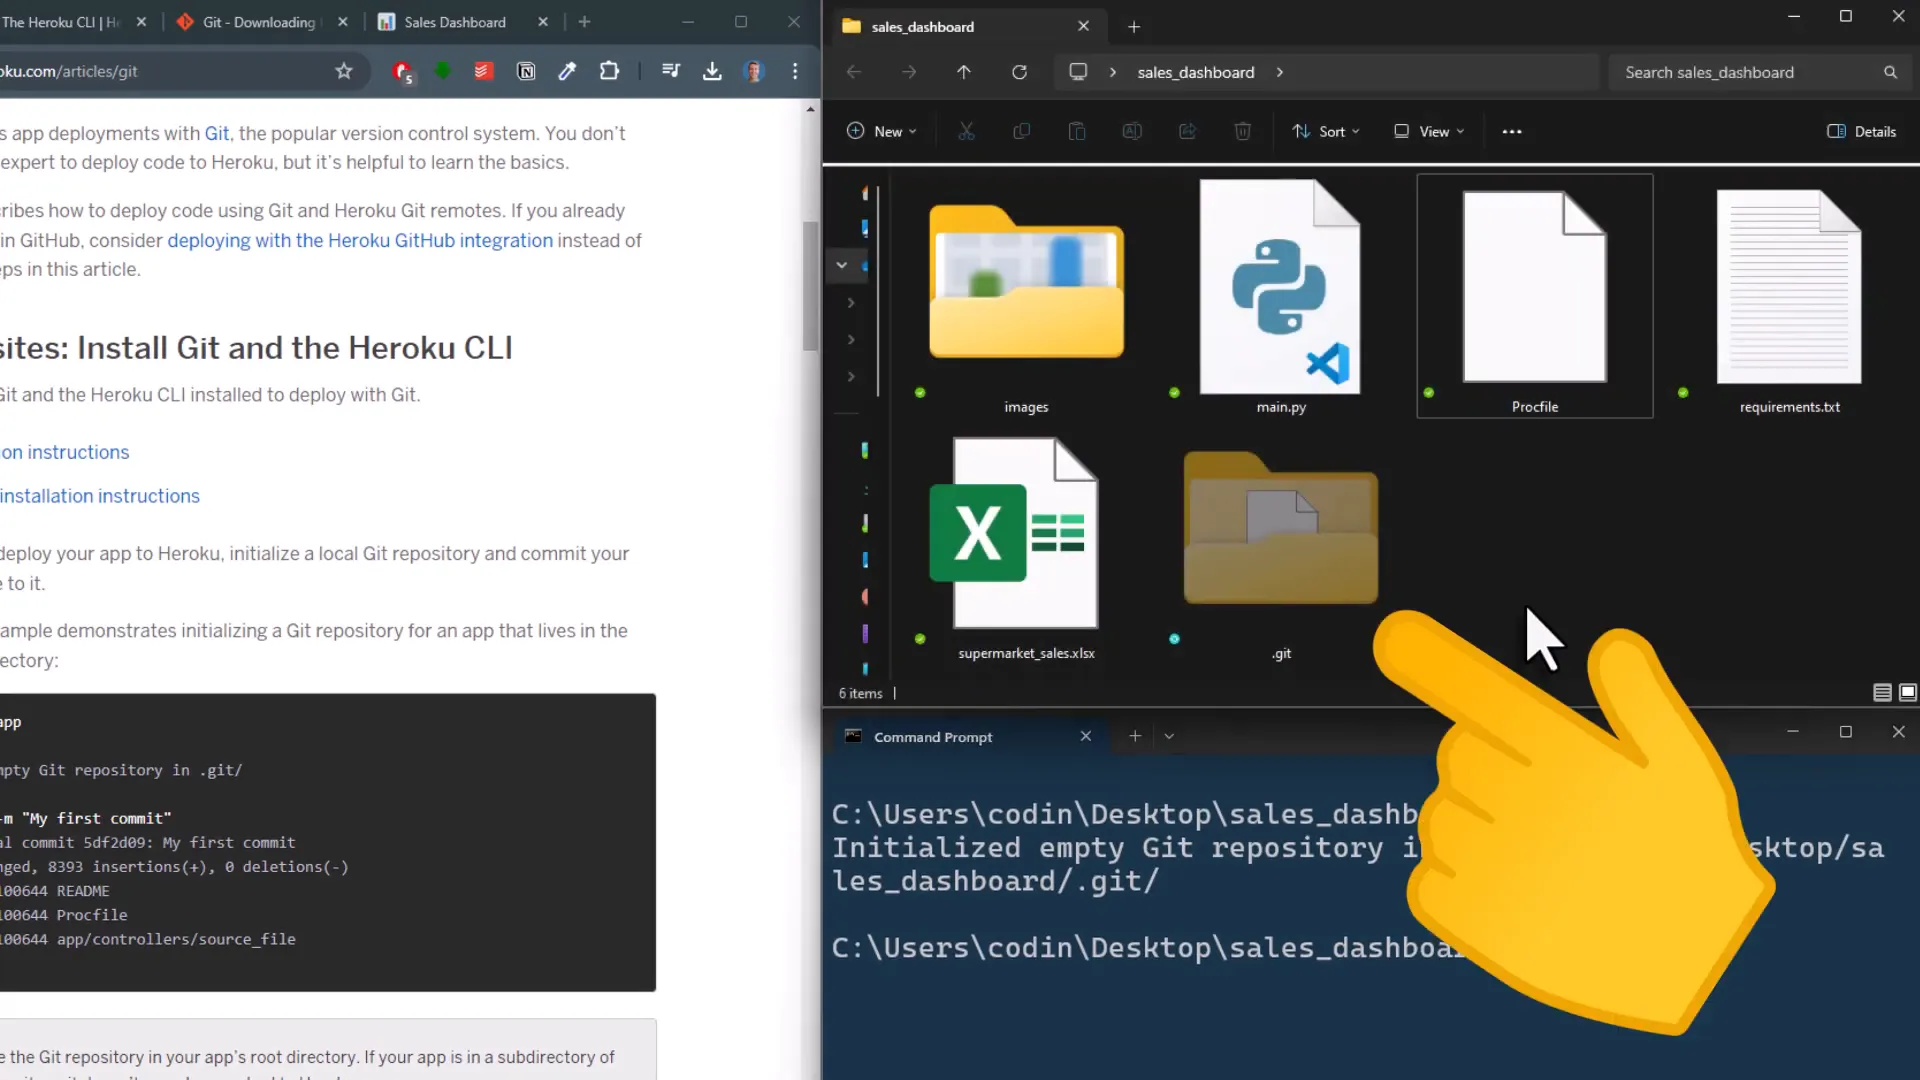
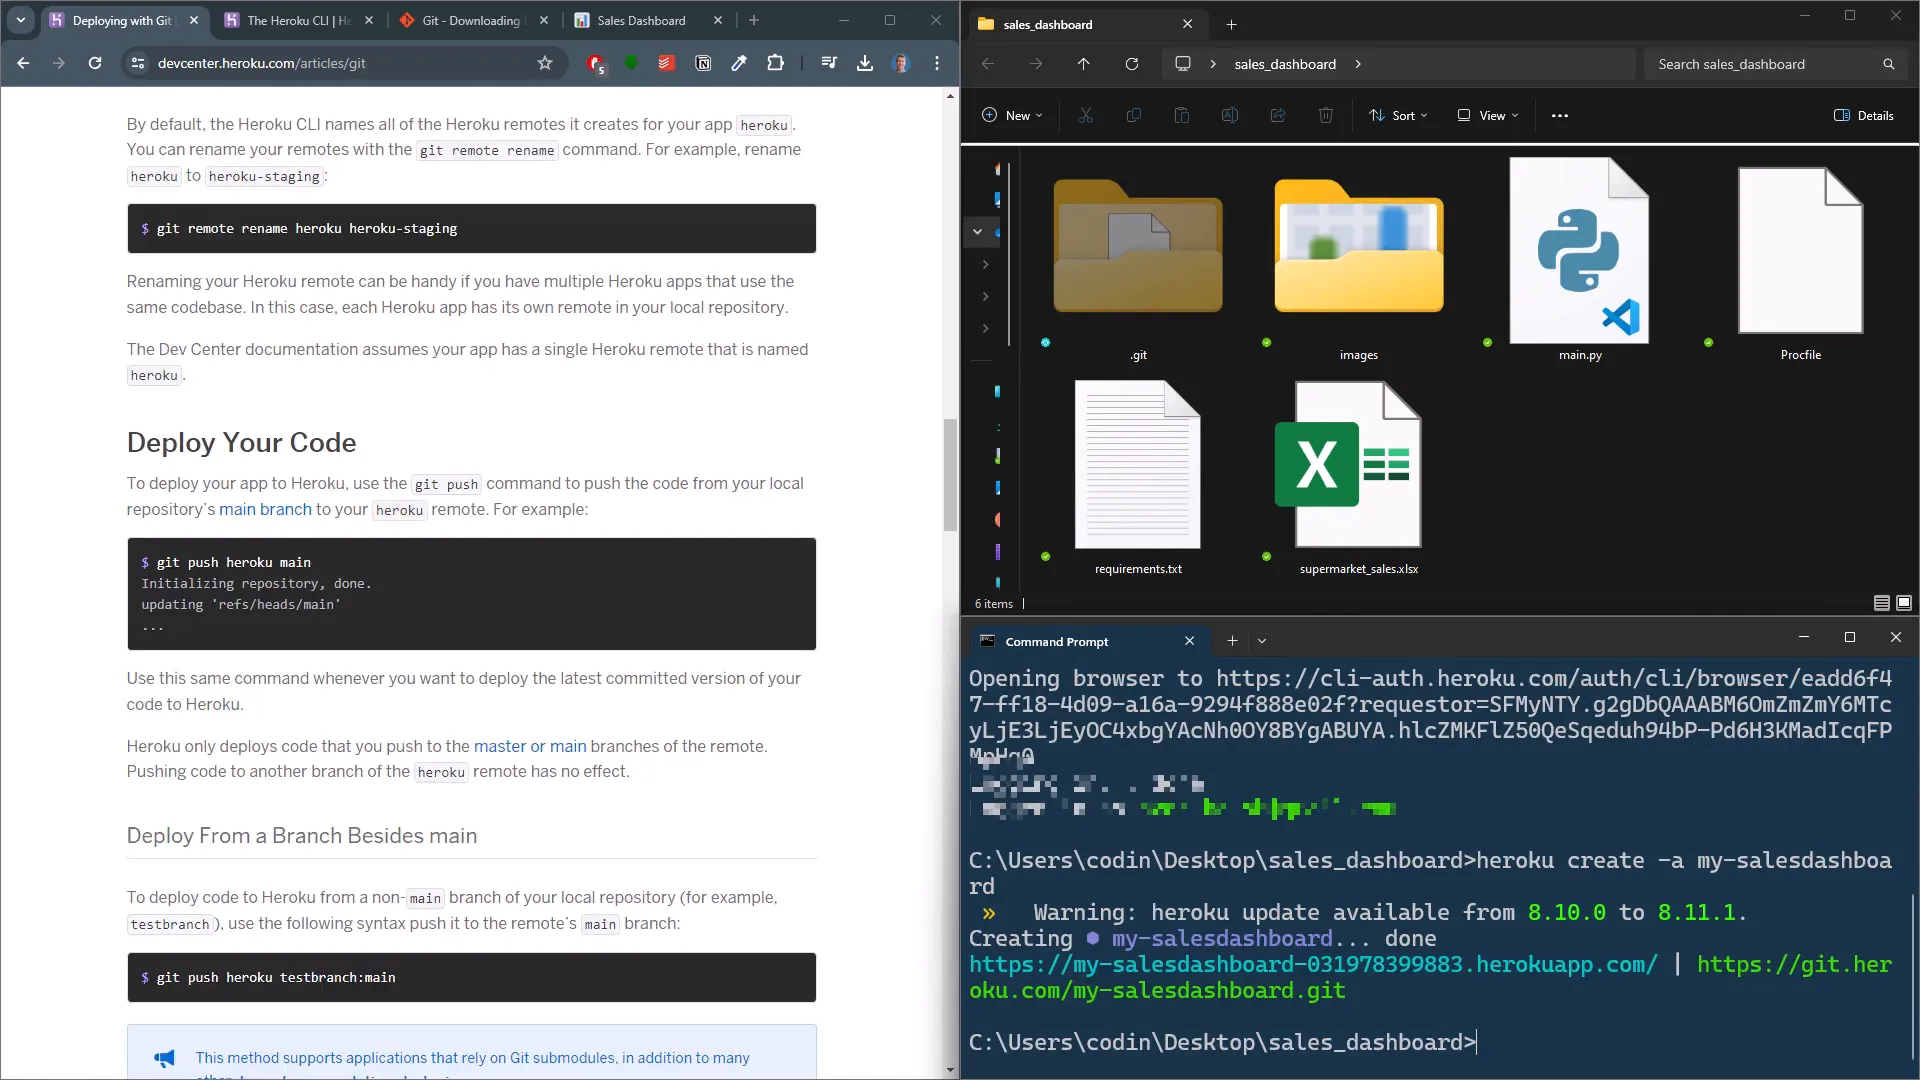
Now that we have everything set up, let’s deploy the app. Open the terminal in your project folder and ensure you’re in the correct directory. For me, it’s on my desktop in a folder called “sales dashboard”.
To initialize a Git repository, use the command git init. Once executed, a hidden folder will appear in your project directory. If you can’t see hidden folders, adjust your settings to show them.
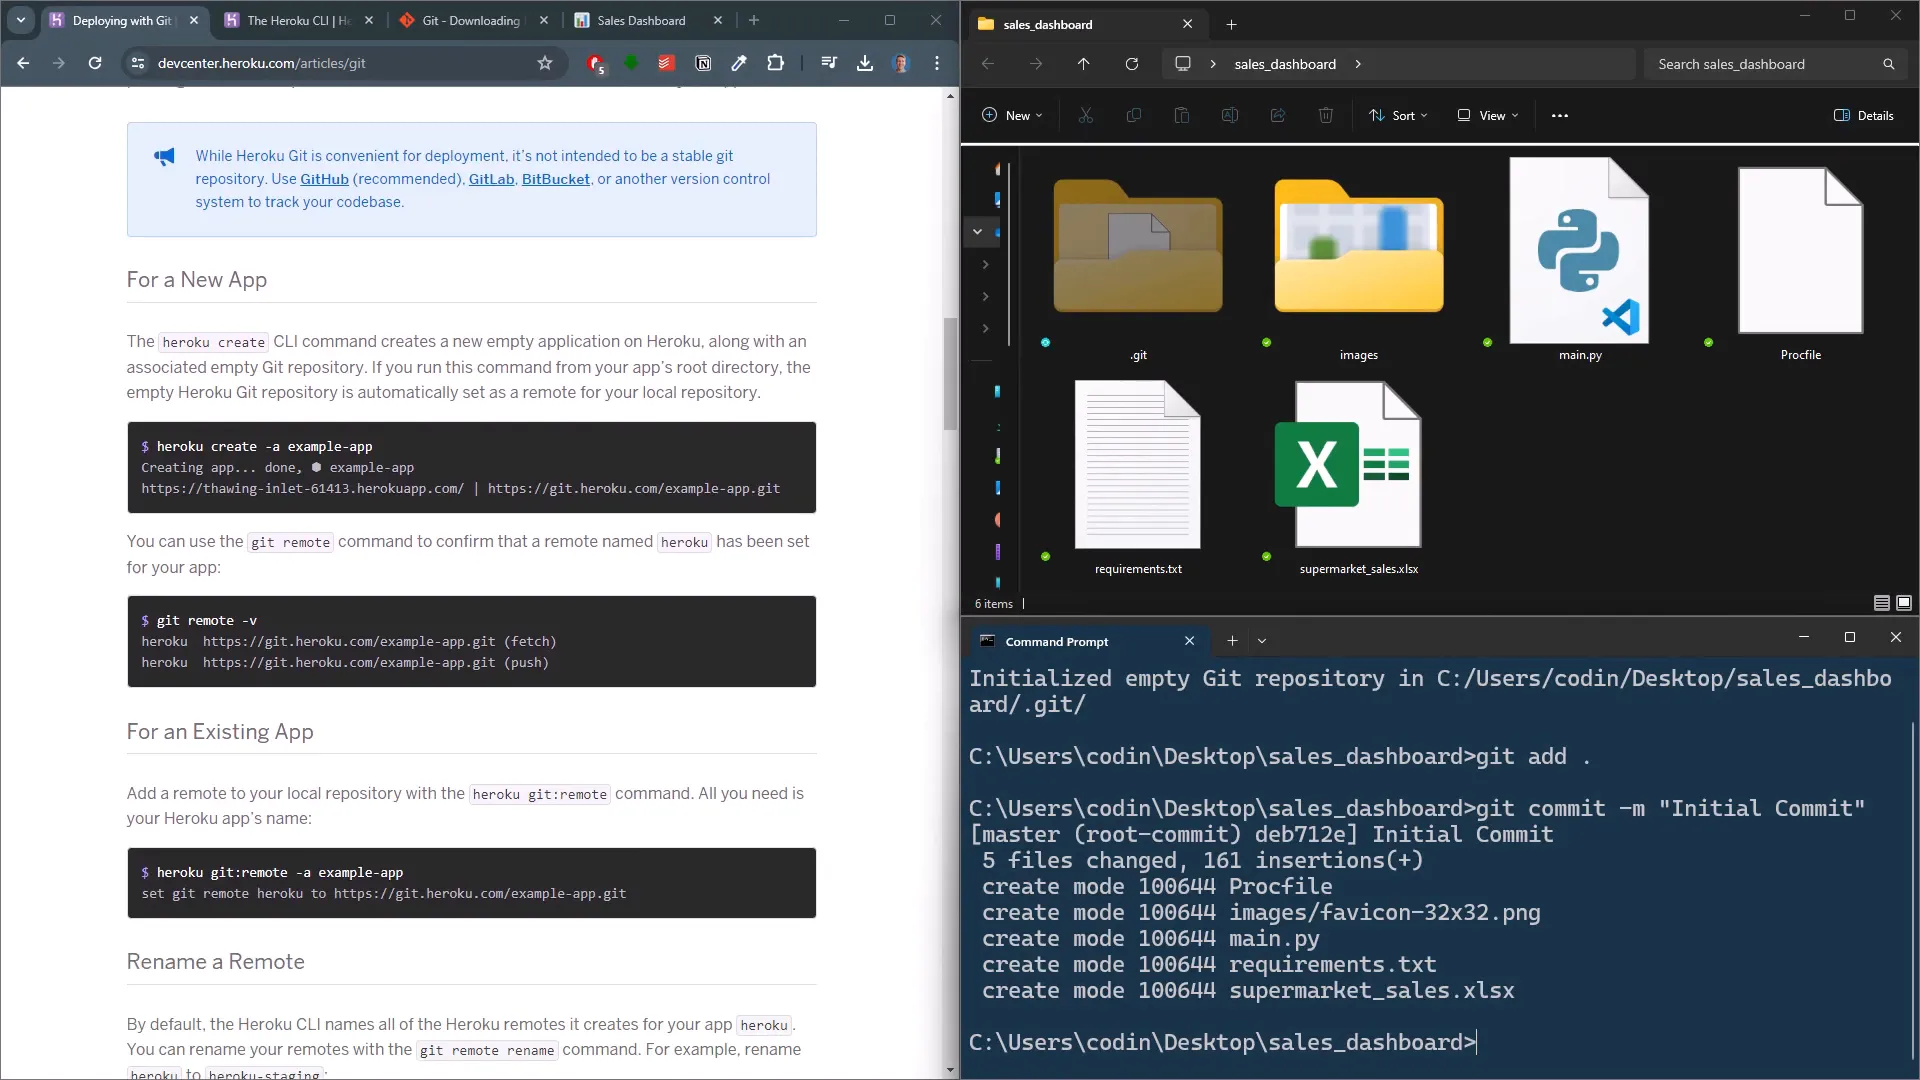
Next, include all your files for the next commit with the command git add . and then commit with a message using git commit -m "Initial Commit".
To deploy to Heroku, you’ll need to log in through the command prompt by typing heroku login. A browser window will open for you to log in. After logging in, close the browser tab.
Creating and Deploying the App
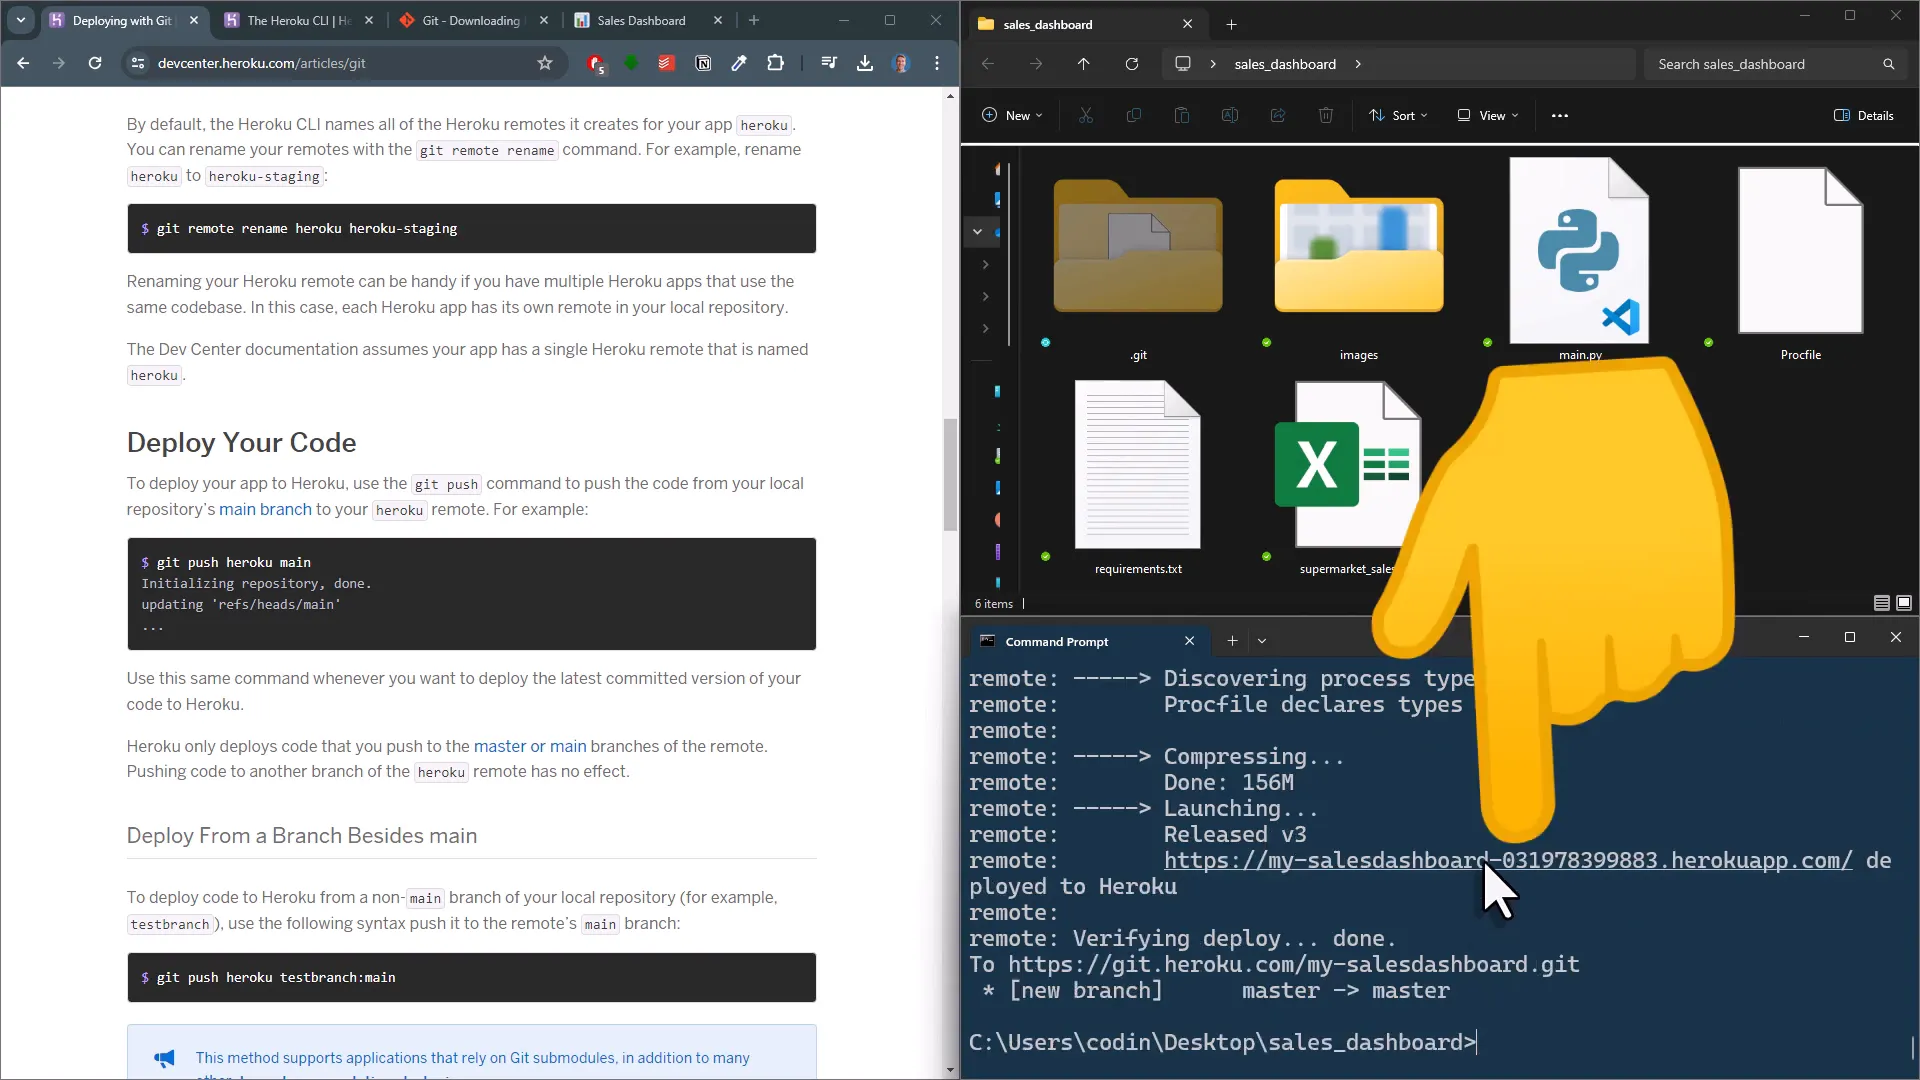
Now, create a new app on Heroku by running heroku create my-sales-dashboard. This name will be part of the URL later. Once the app is created, deploy it by pushing your code using git push heroku main. If you encounter an error about the main branch not being found, check your branches with git branch to confirm the branch name. In my case, it’s “master”, so the command becomes git push heroku master.
Heroku will now install the packages listed in your requirements file and start your app. This may take a few minutes, but soon your app should be live!
Updating Your App
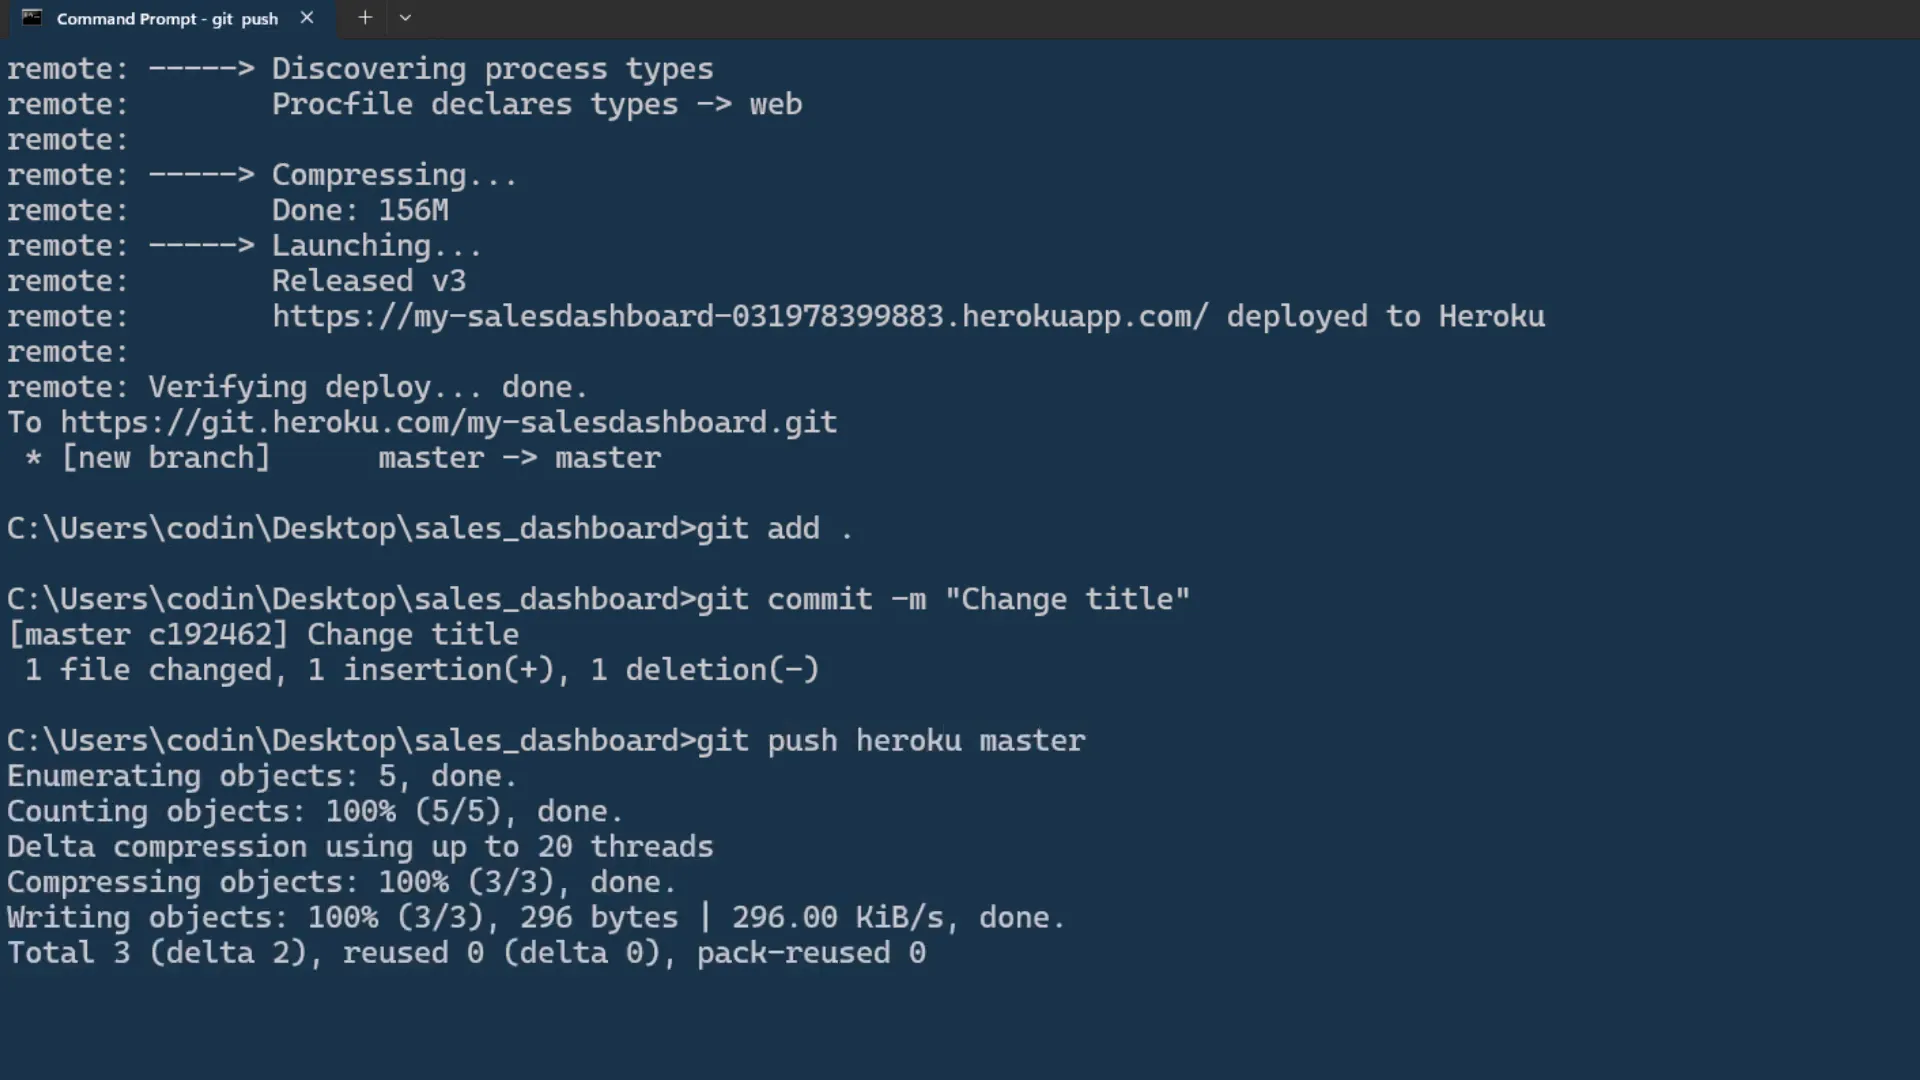
If you want to make changes to your app, just edit the files. For example, I’ll change a title and add an emoji. After making changes, follow the earlier steps: add the files, commit with a message, and push the updated code to Heroku. The deployment this time should be faster since Heroku recognizes that the requirements file hasn’t changed.
Additional Options
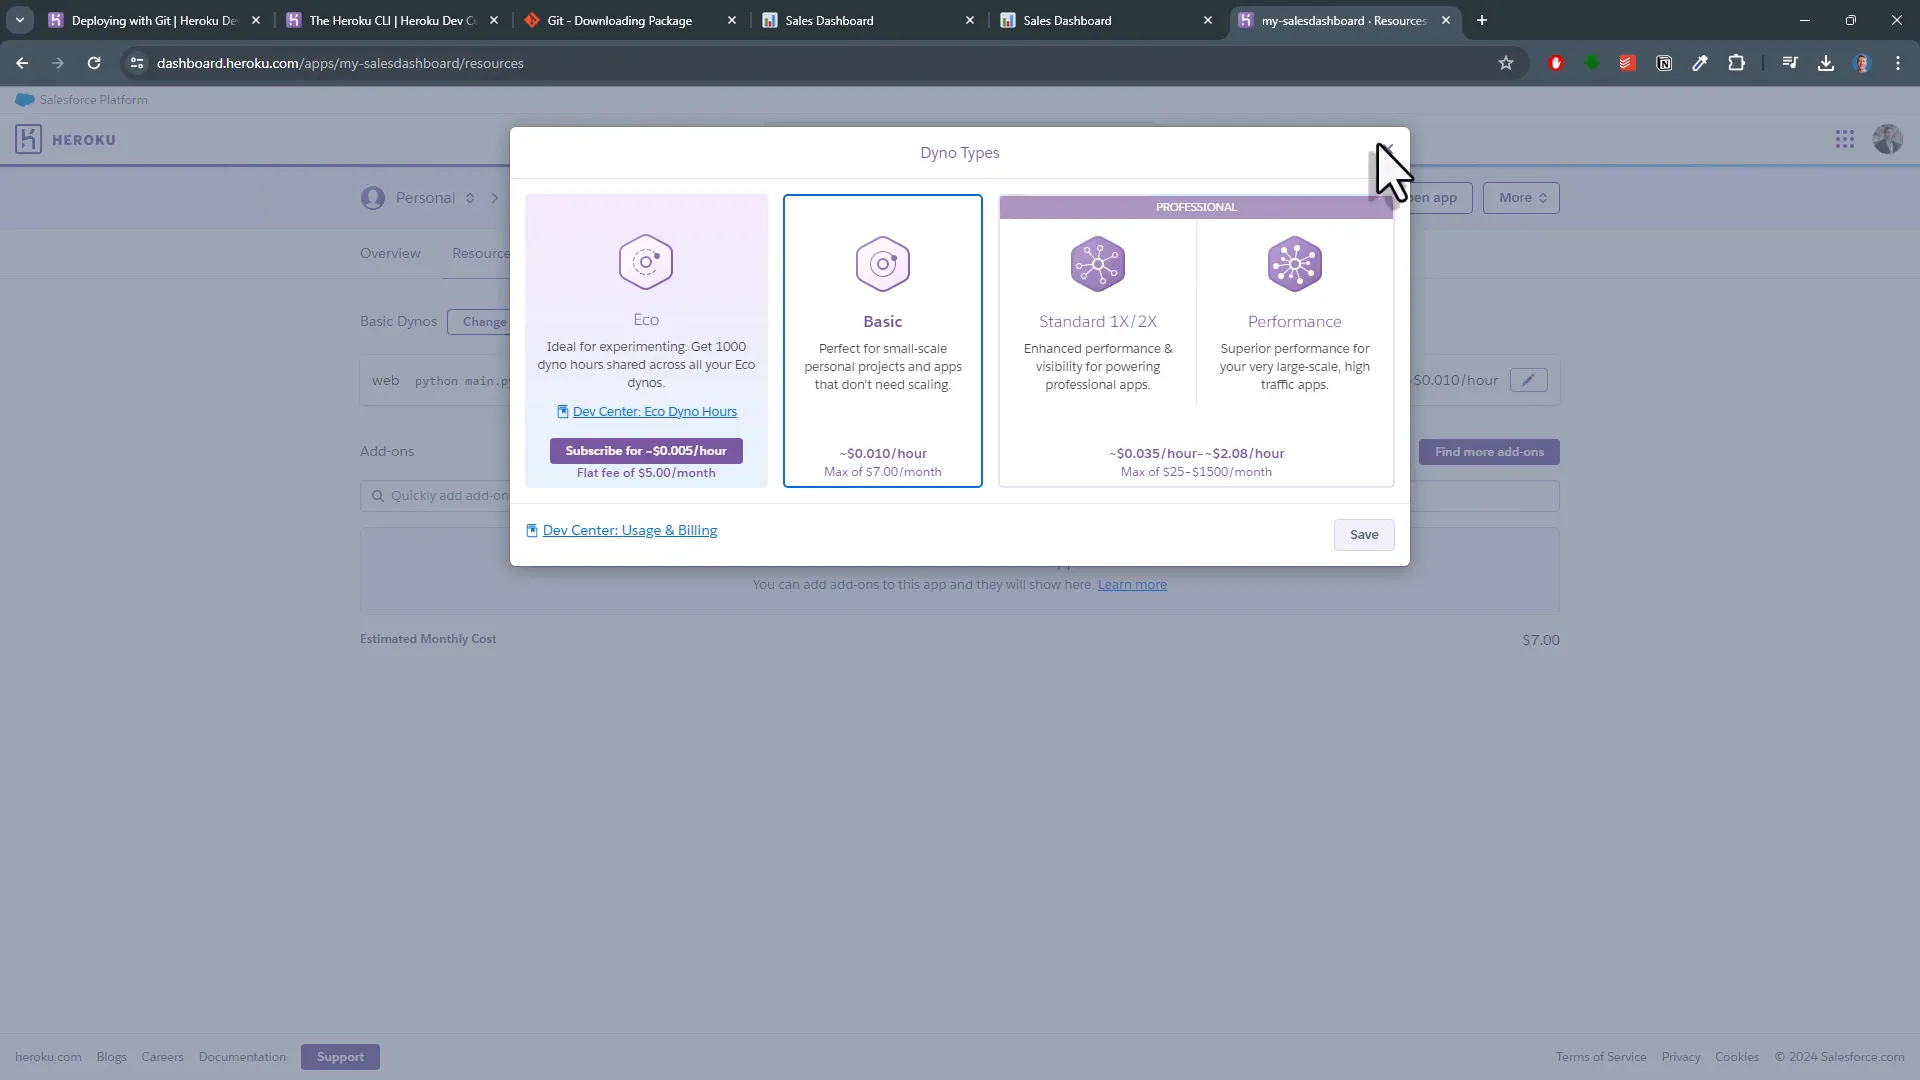
Once logged into your Heroku account, you can explore additional options for your app. For instance, under “Configure Dynos”, you can adjust how much you want to spend each month. The cheapest option is $5 per month. You can also change your domain name under the settings tab, allowing you to buy a custom domain and link it to your app.
Conclusion
In this post, I walked you through deploying a Taipy app to Heroku. From setting up the Heroku CLI and Git to creating the necessary files and deploying the app, you now have a clear understanding of the process. Remember, making updates to your app is easy once it’s set up. Just follow the same steps, and you’ll be able to push updates effortlessly.