Automate Any Website with Excel VBA
Introduction to Web Automation
Web automation allows you to interact with web pages programmatically. You can automate repetitive tasks like filling out forms, clicking buttons, or downloading files. By using Excel and VBA along with Selenium, you create a bridge between your spreadsheet and the web. This empowers you to harness data and perform actions with minimal manual intervention. Imagine sending WhatsApp messages directly from Excel. This is just one of the many possibilities that web automation offers. You can streamline your workflows, save time, and reduce errors. The tools we’ll be using are accessible and powerful, enabling you to tackle a range of projects.
Setting Up Your Environment
Before diving into coding, we need to set up our environment properly. This includes downloading necessary software and configuring your system. The first step is to download Selenium Basic for VBA, which will allow us to control the browser. Additionally, we will need the Chrome Driver, which acts as a link between the Selenium script and the Chrome browser.
Downloading Selenium Basic for VBA
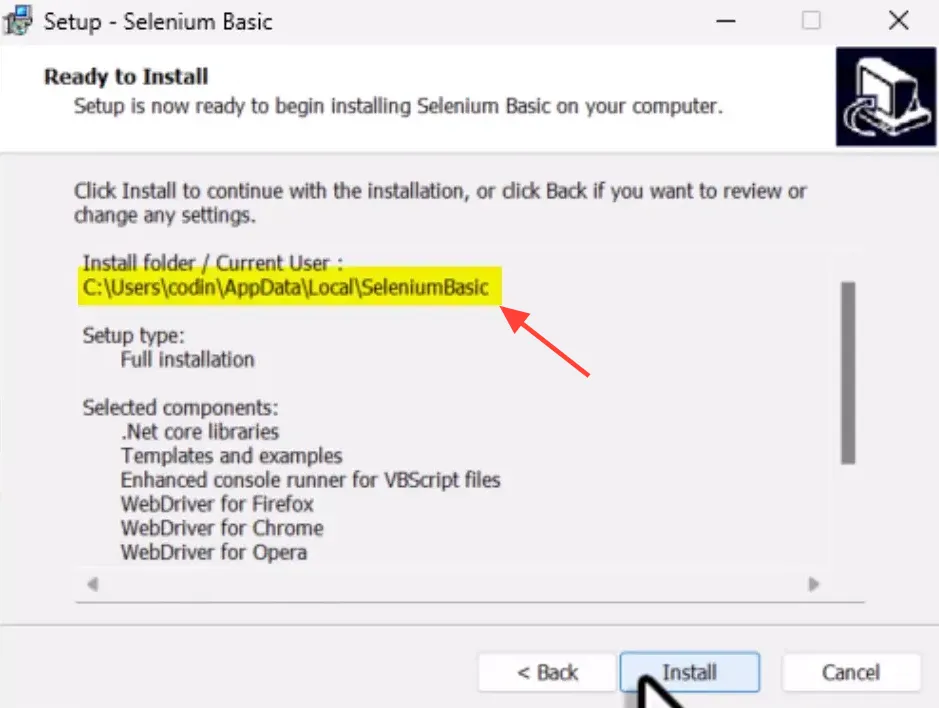
To download Selenium Basic for VBA, visit THIS GitHub page. After the download, locate the installer in your downloads folder and double-click to run it. During the installation, leave the default settings as they are. However, before completing the installation, copy the installation folder path. This path will be essential for the next steps, as we will need to place the Chrome Driver and browser files into this folder.
Installing the Chrome Driver
The next step is to install the Chrome Driver and Chrome Testing Browser. Visit the official site to download it HERE. Once downloaded, extract the contents of the Chrome Driver & Chrome Testing Browser zip file. After extraction, you will find a file named ‘chromedriver.exe’. Move this file into the Selenium Basic installation folder we accessed earlier. If prompted, confirm the replacement of any existing files. This step ensures that our Selenium scripts can communicate effectively with the Chrome browser. 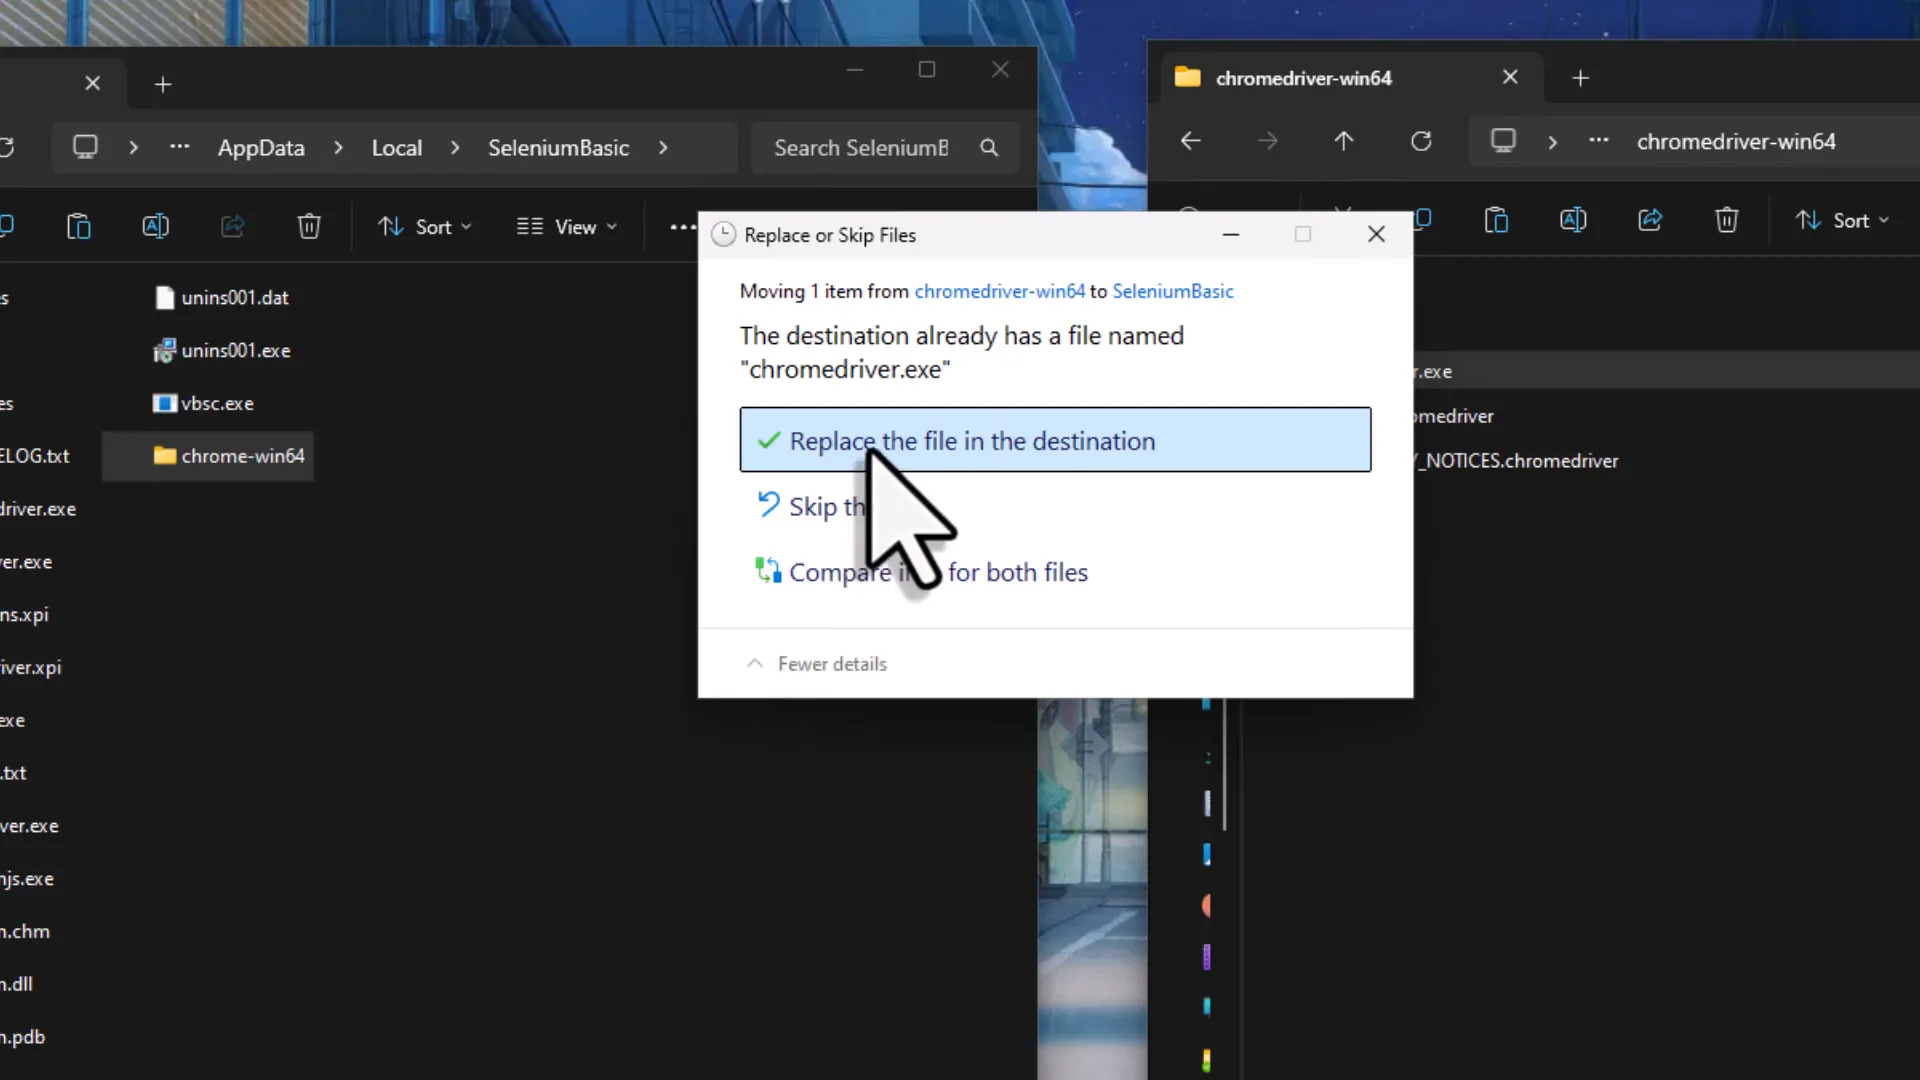
Creating a New Excel Workbook
Let’s kick things off by creating a new Excel workbook. This is where all your automation magic will happen. Open Excel and create a new workbook. Once your workbook is ready, head over to the Developer tab. If it’s not visible, right-click on the ribbon and choose “Customize Ribbon.” Check the box next to “Developer” and click “OK.” Now you should see the Developer tab appear. This is where you’ll access the Visual Basic editor and other essential tools for your automation tasks. 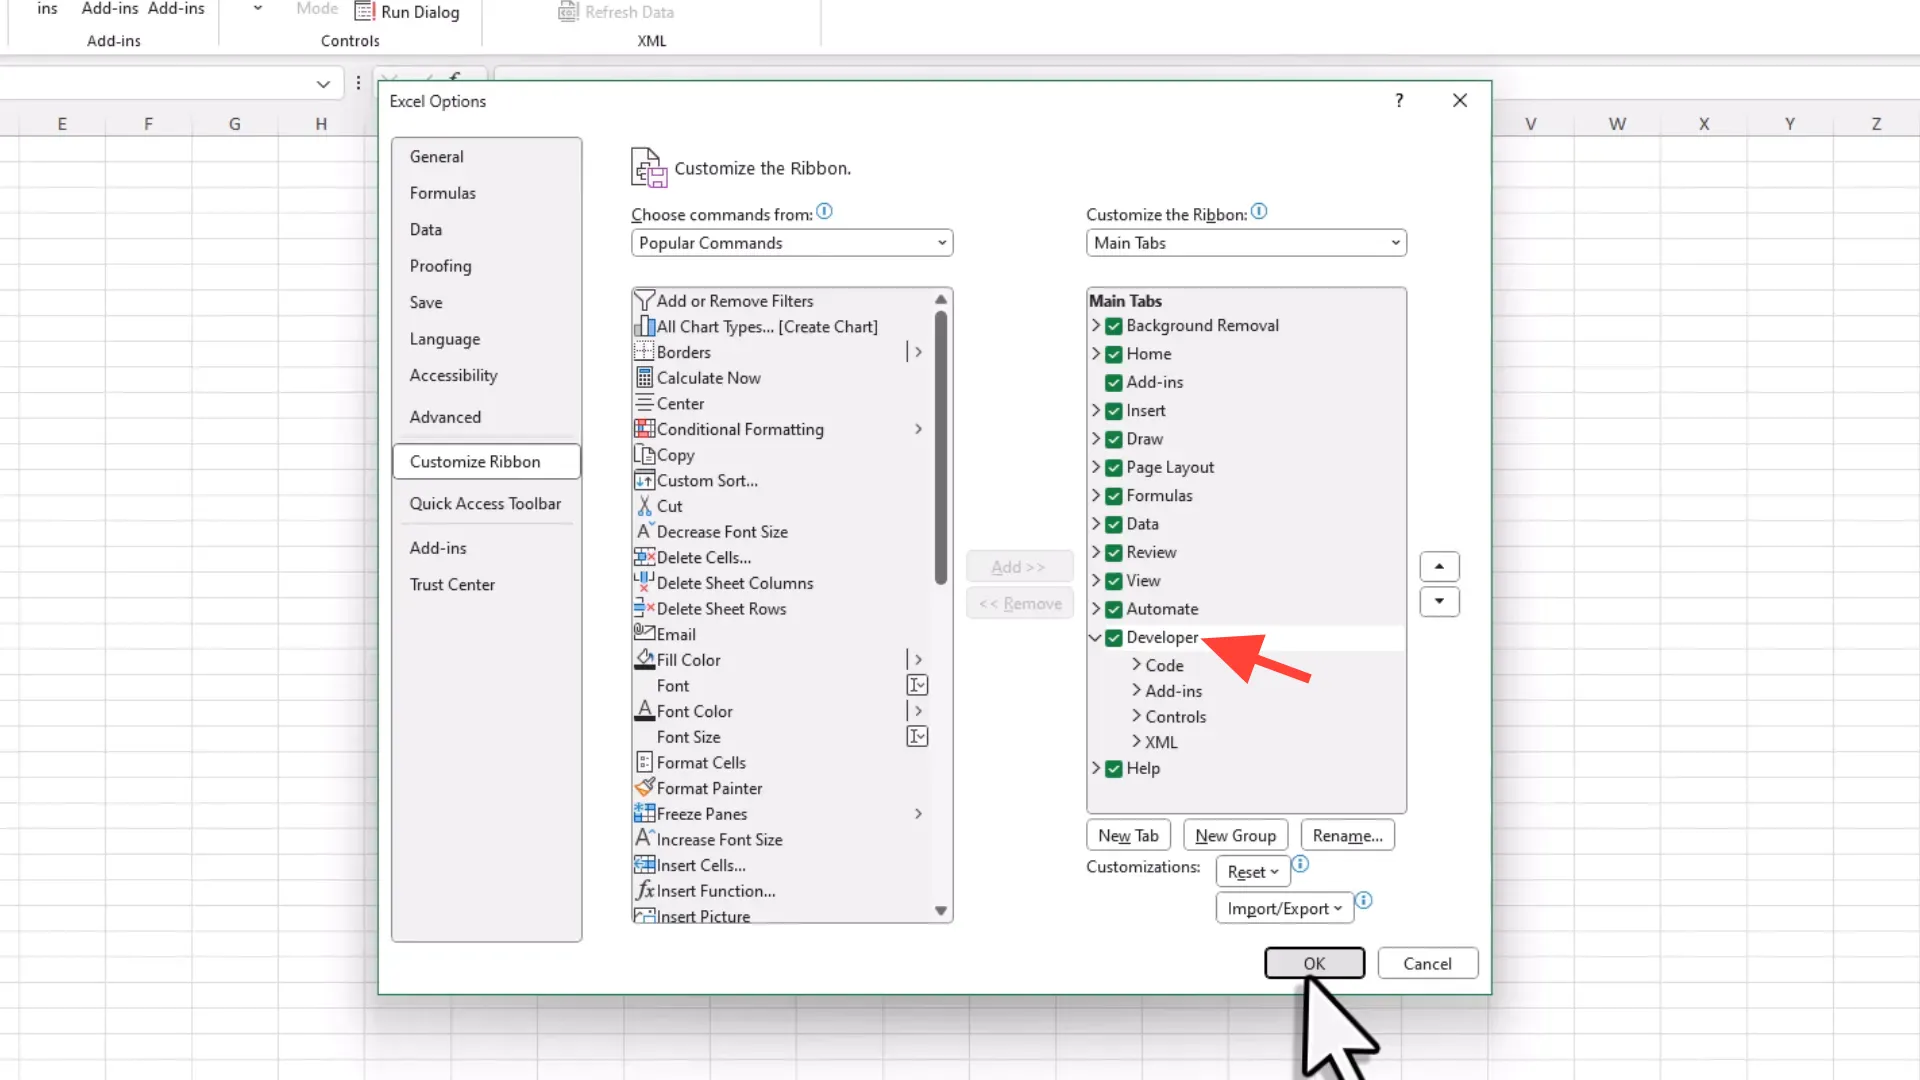
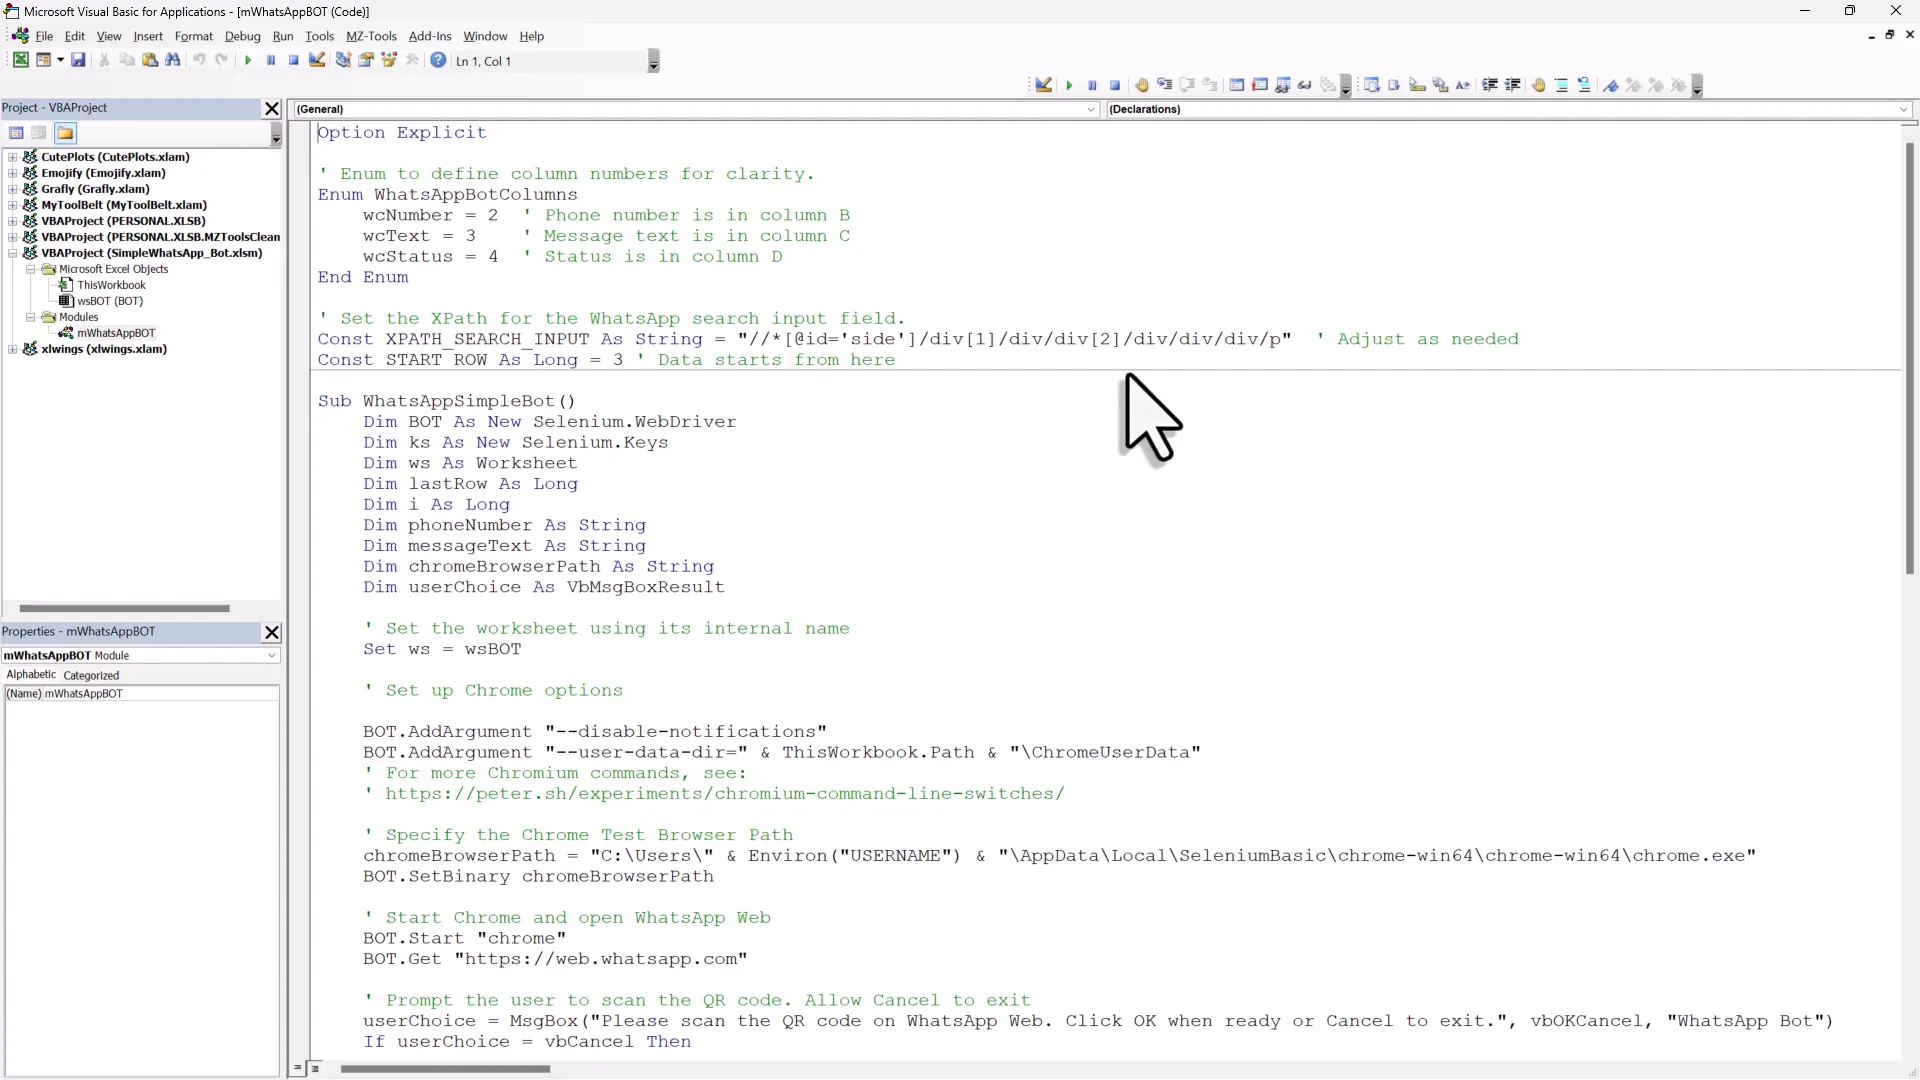
Setting References in VBA
Before diving into coding, there’s a crucial step: setting references. Open the Visual Basic for Applications (VBA) editor from the Developer tab. Once there, insert a new module. In this module, you need to set a reference to the Selenium type library you just installed. Go to “Tools,” then “References.” In the list, find “Selenium Type Library” and check the box next to it. Click “OK” to confirm. This step is vital as it gives you access to all the objects and methods you need to automate your browser. A quick heads-up: if you encounter a VBA automation error later, it might mean you need to install the .NET Framework. Make sure to check the documentation for details if that happens. 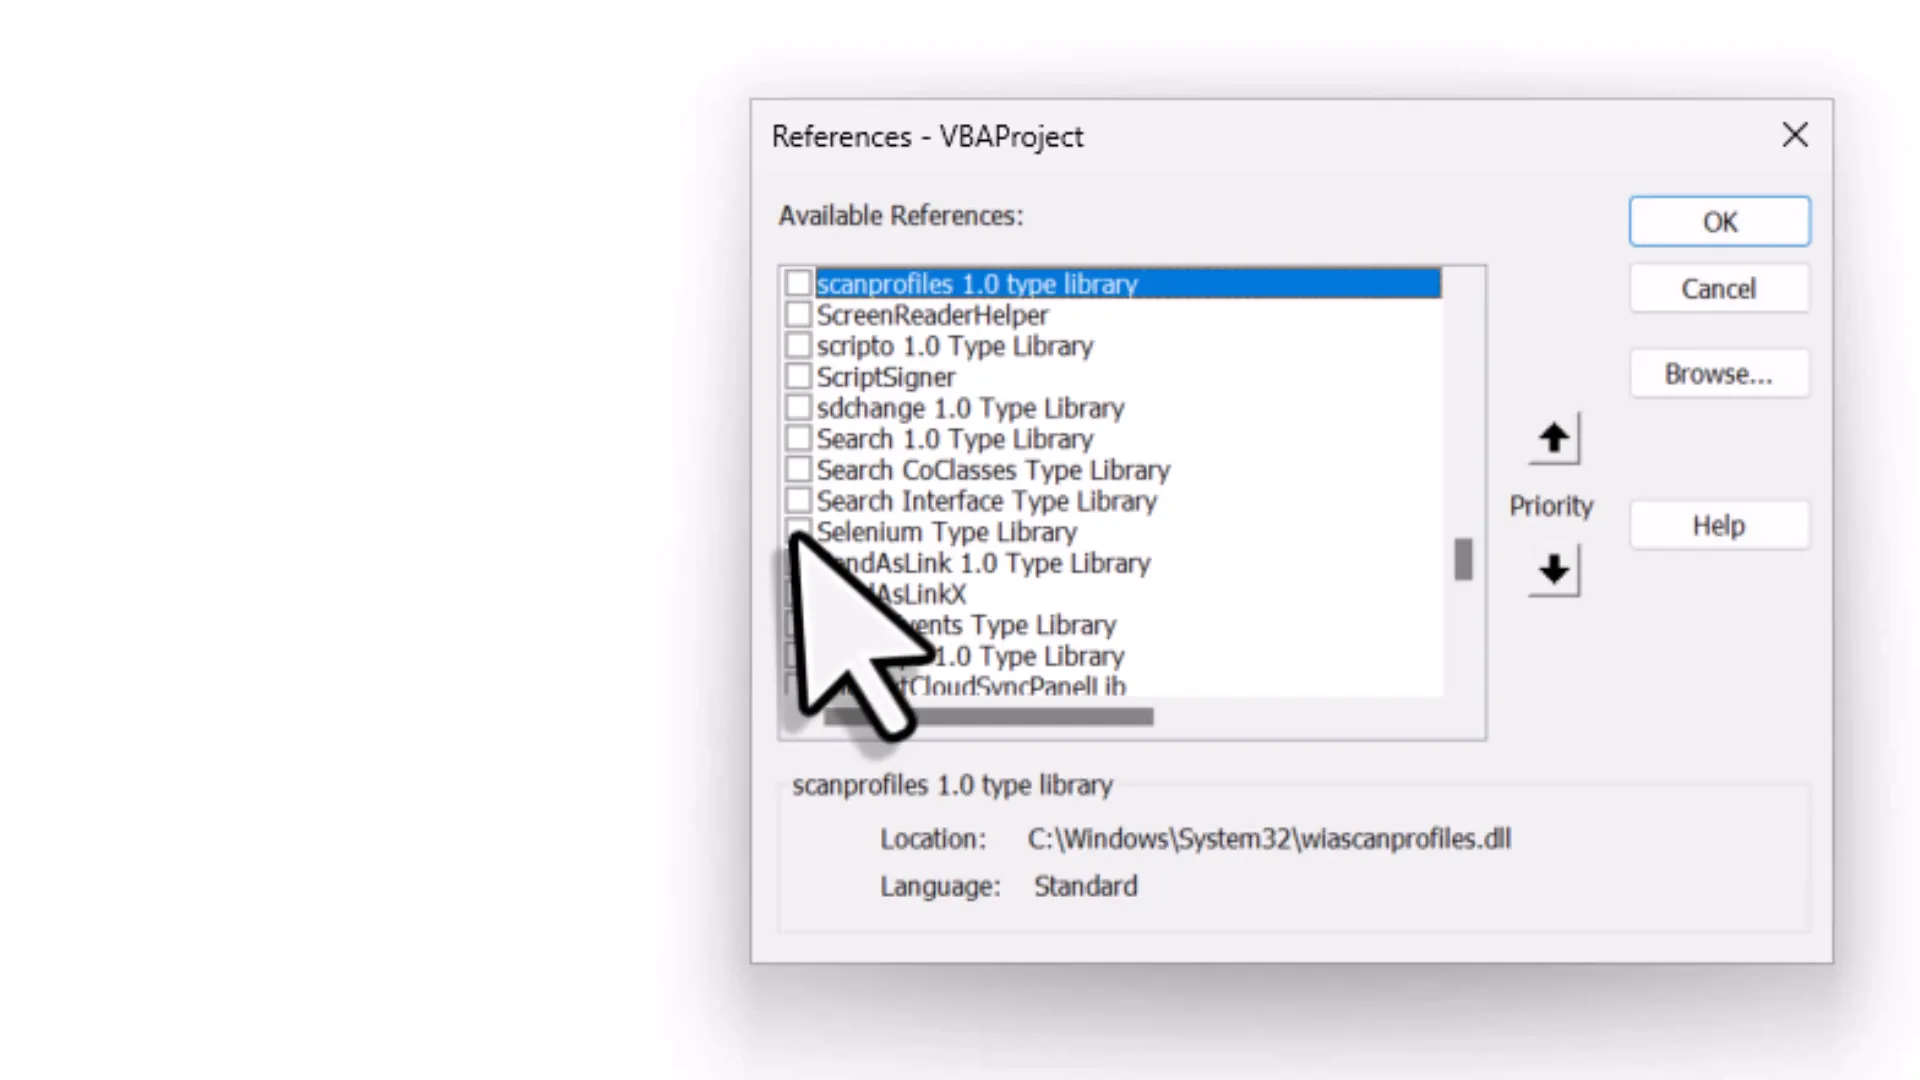
Initializing the Selenium WebDriver
Now, let’s initialize the Selenium WebDriver. This is your bot. In your new module, declare a new variable and call it “bot.” Use the following code snippet:
Dim bot As New WebDriverThis line creates a new instance of the WebDriver, which you will use to control the browser. With the WebDriver initialized, you can now set it to use the Chrome testing browser you downloaded earlier. To do this, you need to hold the path to that browser in a variable. Here’s a quick tip: you can dynamically grab your username to create the path, making your script more portable. 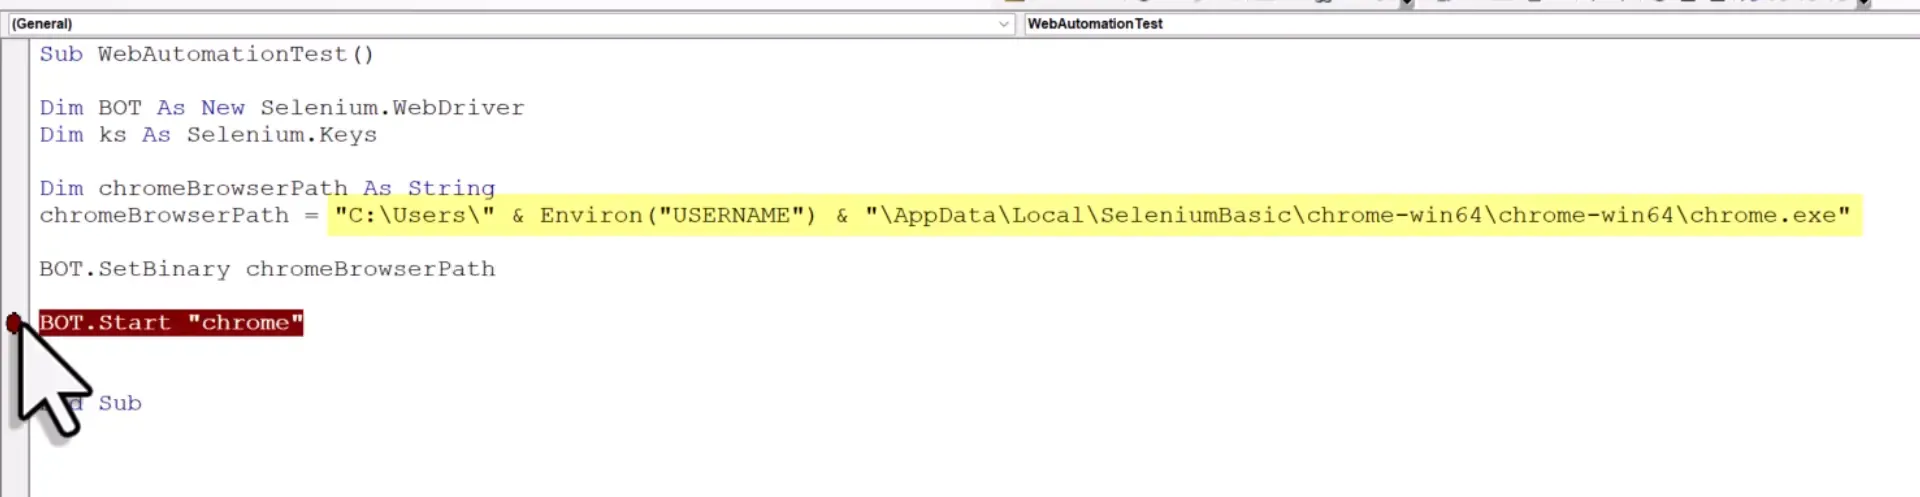
Opening a Website with VBA
To open a webpage, use the following command:
bot.Get "https://web.whatsapp.com"This command directs the bot to navigate to the WhatsApp web page. Place the execution cursor on this line and step into it. You should see the Chrome browser launch and load the WhatsApp web page. Now, since logging in requires scanning a QR code, you’ll need to pause the script temporarily. Use a simple message box to achieve this. This way, you can log in manually before continuing with the automation. 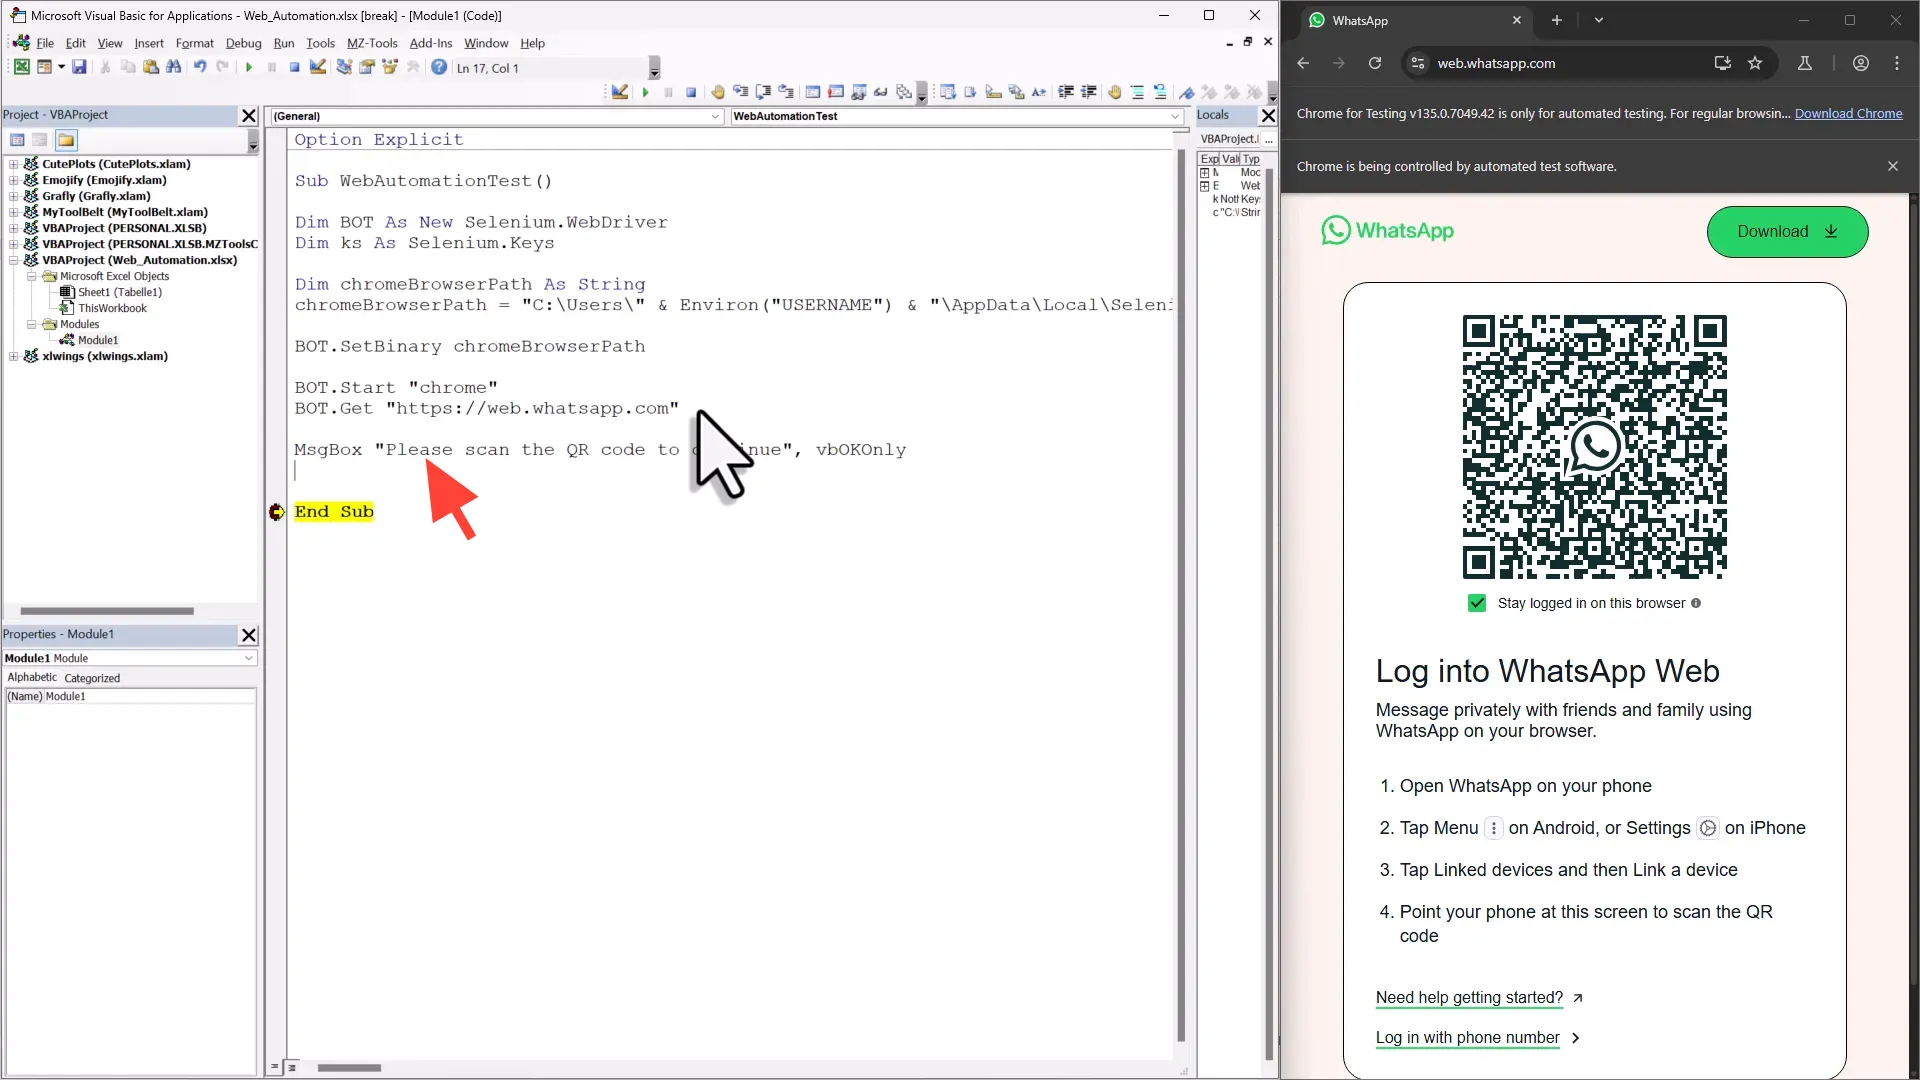
Handling QR Code for WhatsApp Login
As you log in to WhatsApp, the bot will display a QR code. This part requires human interaction; you cannot automate scanning the QR code. To handle this, use a message box to pause execution:
MsgBox "Please scan the QR code to log in."After scanning the QR code, click “OK” on the message box to continue the script.
Interacting with Web Elements
Once you’re logged into WhatsApp, the real fun begins. You can interact with all the elements on the web page. The first task for our WhatsApp bot is to search for a contact in the search box. This requires locating the search field, which will be done using the XPath method. To find the XPath, right-click anywhere on the page and select ‘Inspect.’ This will open the Chrome Developer Tools, revealing the HTML source code of the page. Hover over the elements until the desired search box is highlighted. Right-click the highlighted code, select ‘Copy,’ and then choose ‘Copy XPath.’  Now, switch back to your VBA code. Use the following command to find the element:
bot.FindElementByXPath("YOUR_XPATH_HERE").ClickReplace “YOUR_XPATH_HERE” with the XPath you just copied. This command clicks into the search field, allowing you to type the contact’s number.
Sending Messages via WhatsApp
With the search box active, it’s time to send a message. First, we need to type the contact’s number into the search box. Use the following code snippet:
bot.FindElementByXPath("YOUR_XPATH_HERE").SendKeys "CONTACT_NUMBER"Make sure to replace “CONTACT_NUMBER” with the actual phone number. After entering the number, send an Enter keystroke to open the chat:
bot.SendKeys Keys.Enter Once the chat is open, the cursor will be in the message field, ready for your message. To send a message, use:
bot.FindElementByXPath("MESSAGE_FIELD_XPATH").SendKeys "YOUR_MESSAGE"Replace “MESSAGE_FIELD_XPATH” with the XPath for the message field and “YOUR_MESSAGE” with the message you want to send. To finalize the message, again simulate pressing Enter:
bot.SendKeys Keys.Enter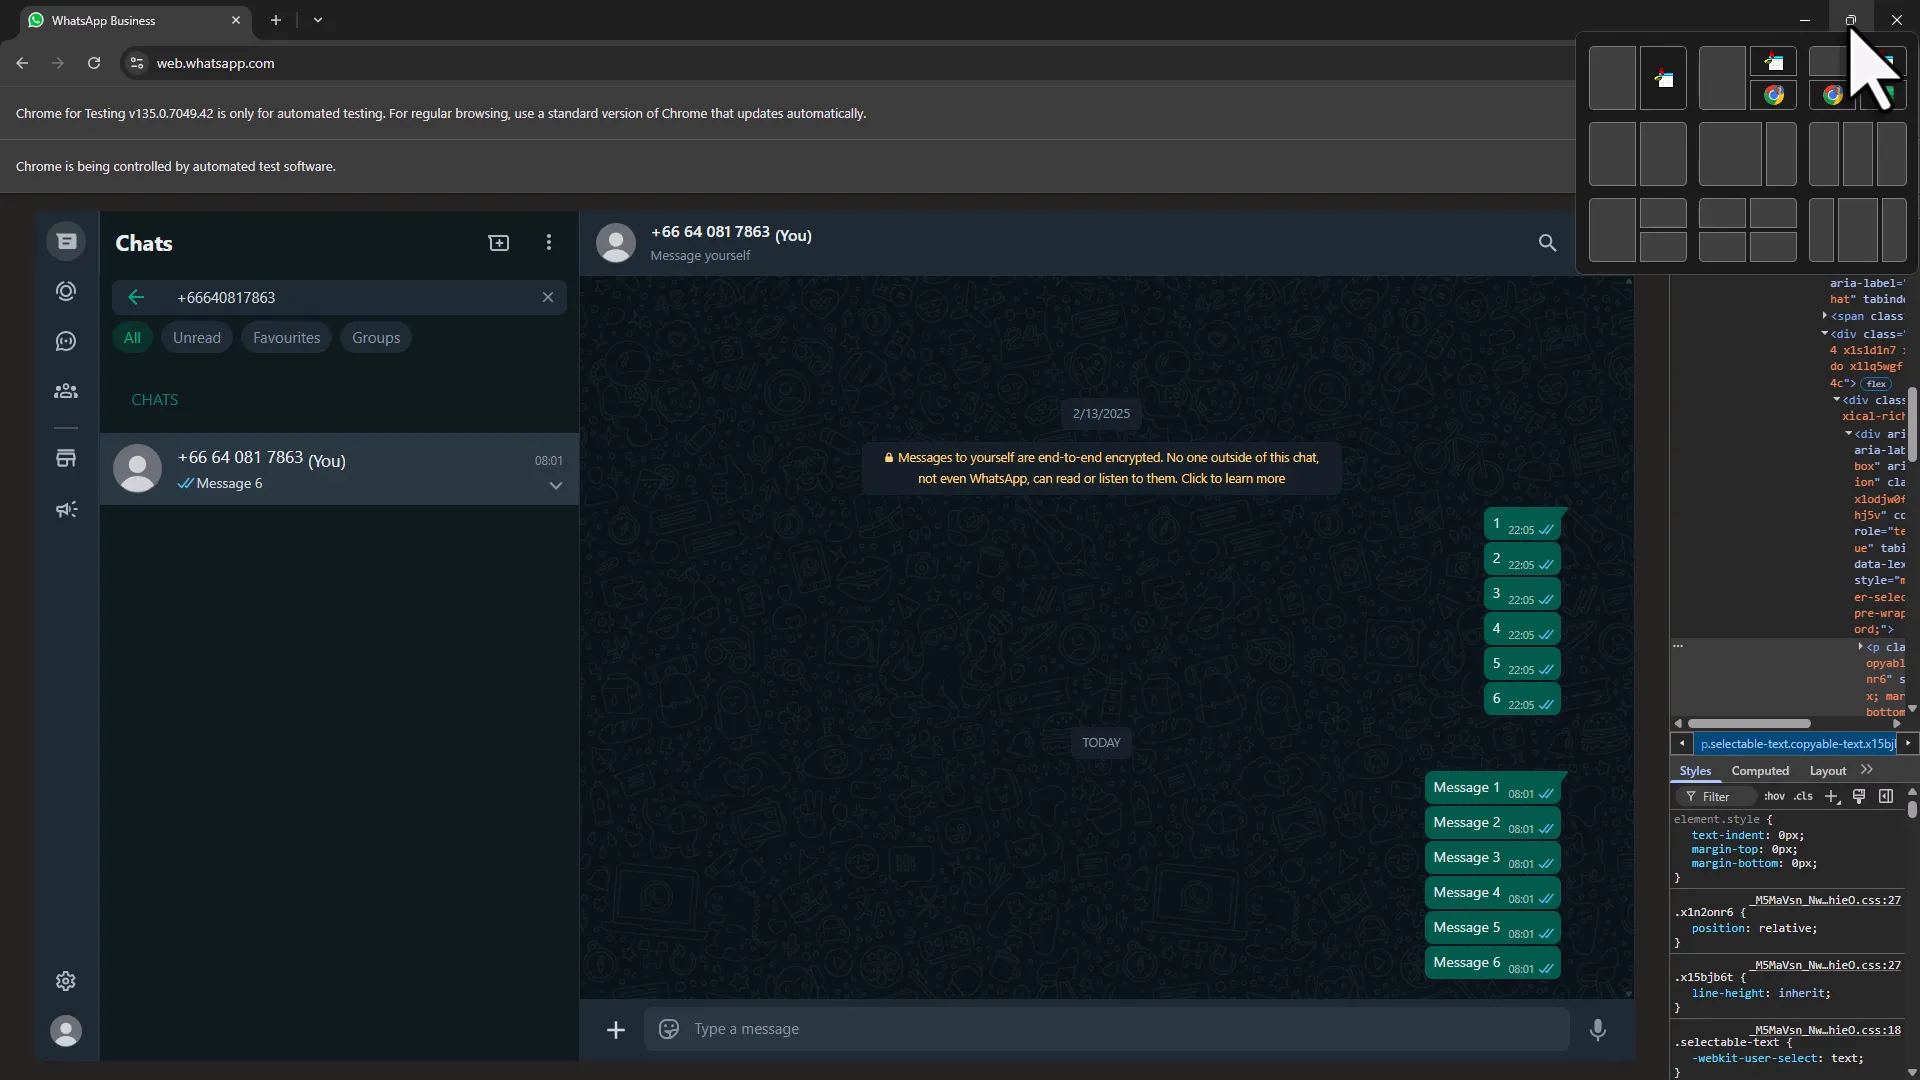
Running Full Automation
Now that we’ve set up sending messages, let’s run the entire automation from start to finish. Ensure your code is organized, and consider using variables for phone numbers and messages to make your script cleaner. For this, you can store your phone numbers and messages in the Excel sheet instead of hard-coding them. This will make it easier to manage and update your contacts and messages. Here’s a basic structure you can follow: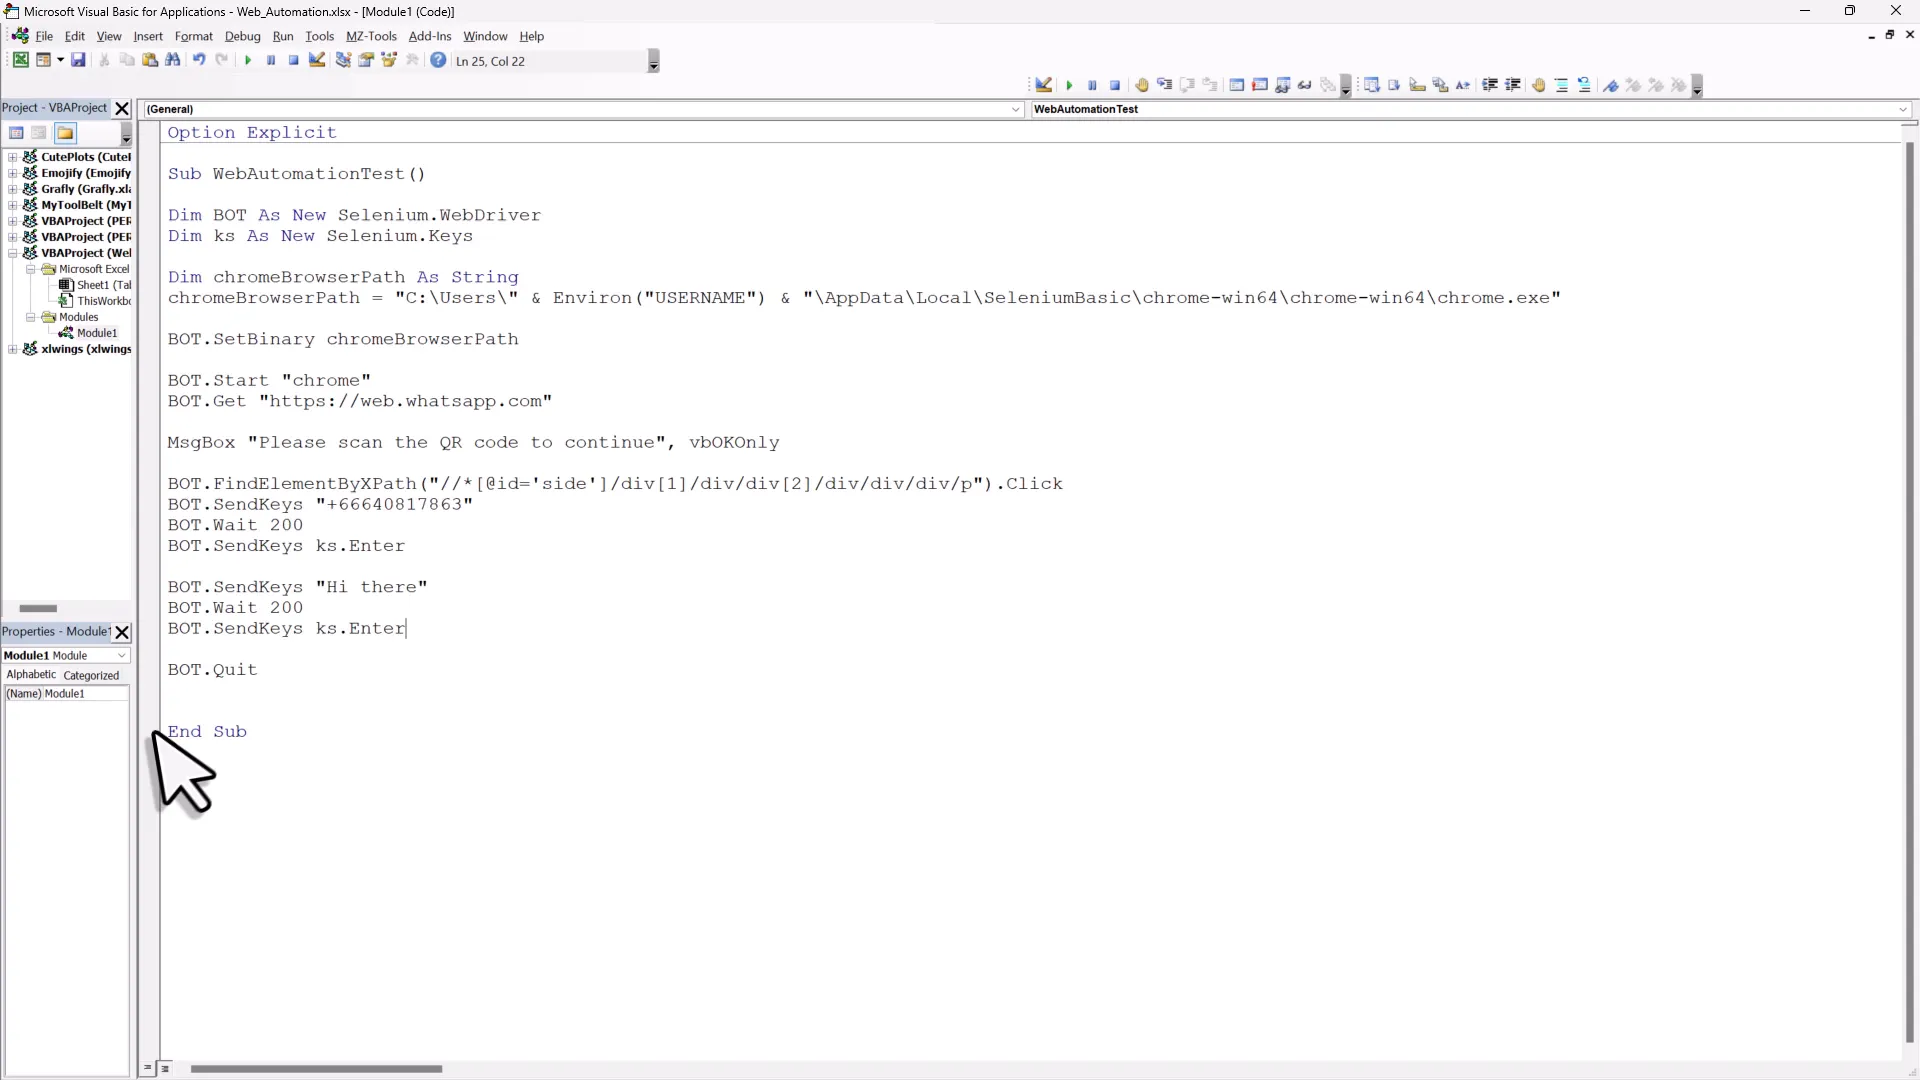
Be mindful of the loading times. Adding short pauses can enhance reliability. Use the wait method to introduce delays between commands:
bot.Wait 200 ' Wait for 200 millisecondsThis is particularly useful to ensure the page has fully loaded before executing the next command. 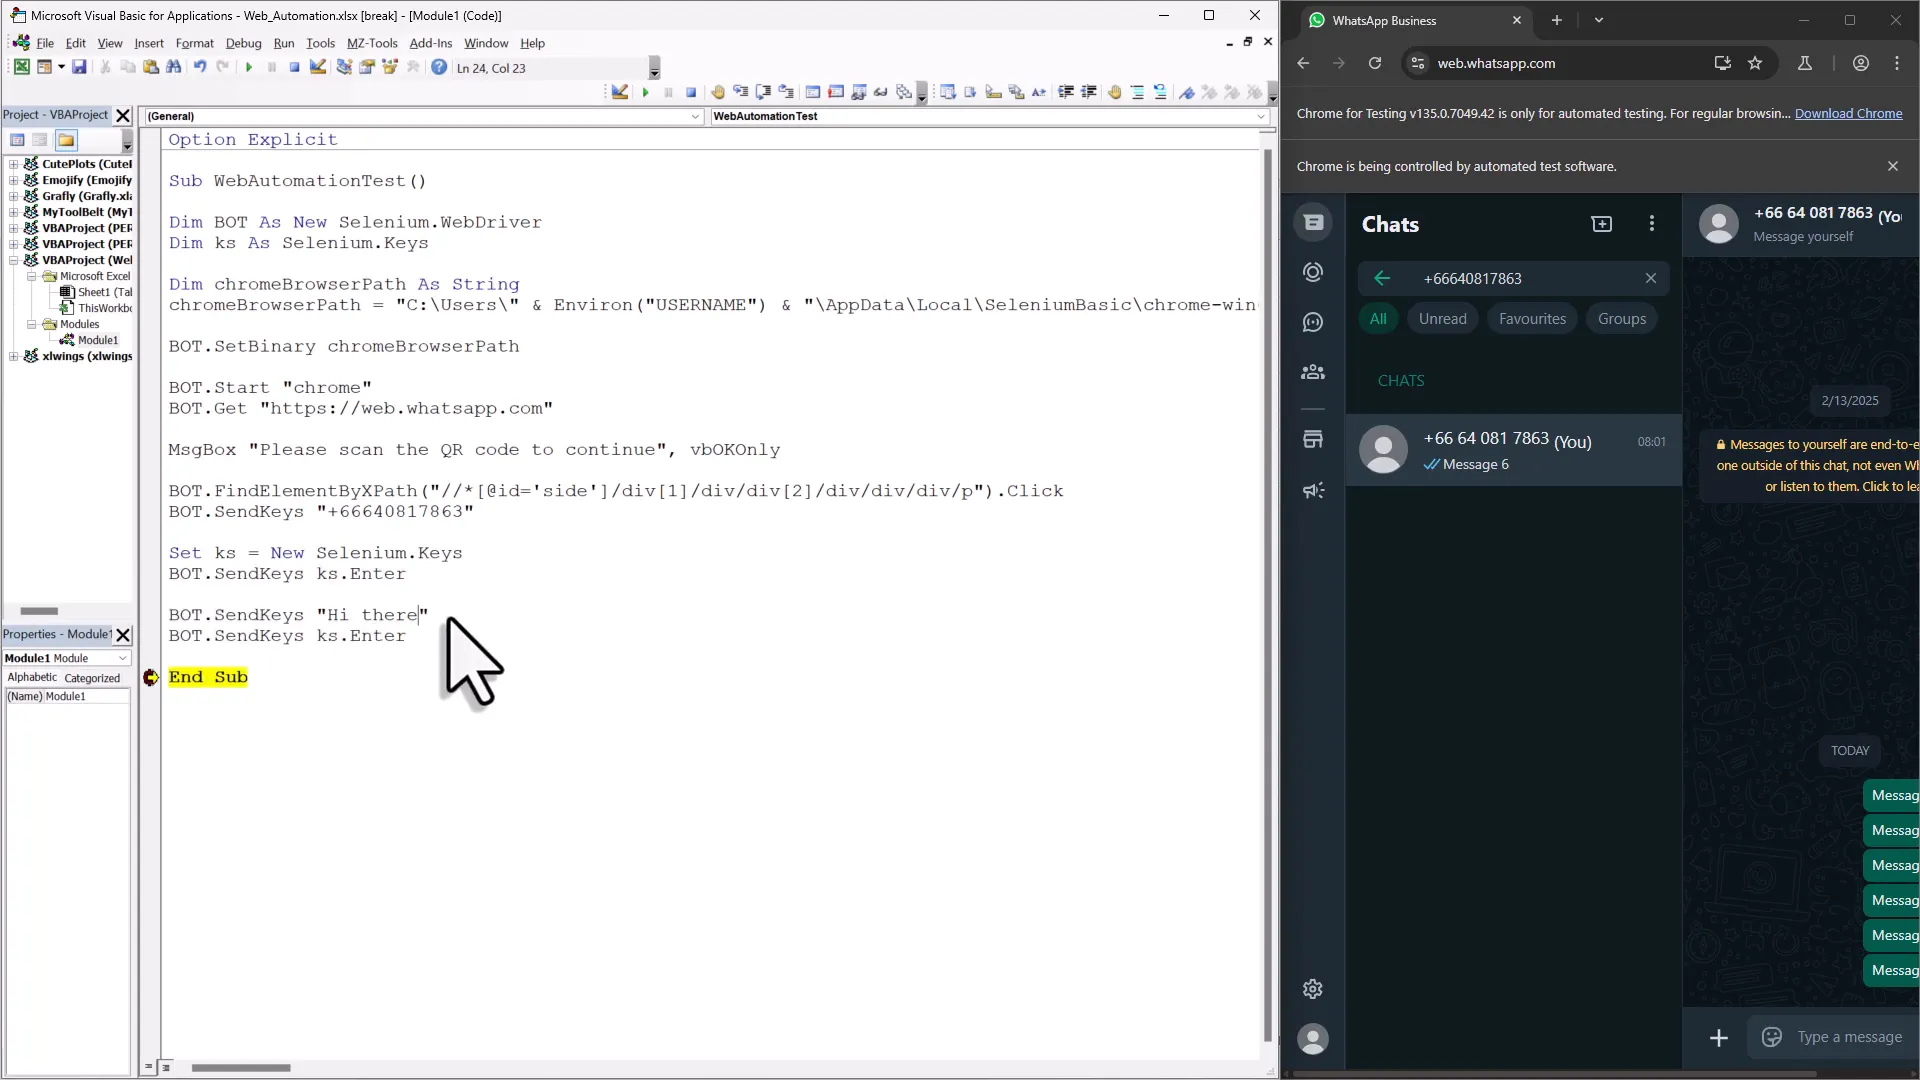
Practical Tips for Your Automation Projects
As you embark on your automation journey, here are some practical tips to keep in mind:
- Use Constants for XPath: Store your XPath values as constants in your code. This makes it easier to update if the structure of the web page changes.
- Dynamic User Data Directory: Set a custom user data directory in Chrome to save cookies and login information. This way, you won’t have to log in every time.
- Error Handling: Implement error handling in your code. This will help you troubleshoot issues without crashing your entire script.
- Test Incrementally: Test your automation in small increments. This will help you identify issues early and avoid larger problems later.
- Keep Code Organized: Maintain a clean and organized code structure. This will make it easier to read and debug.
Conclusion
With the knowledge gained from this guide, you can now automate WhatsApp messaging using Excel VBA. This is just one of the many applications of web automation. The principles you’ve learned can be applied to various websites and tasks. Whether you’re sending messages, filling forms, or downloading files, the possibilities are endless. Always remember to test your automation thoroughly and keep refining your code. Thanks for reading.