How to Turn an Excel Table Into a Live Website (Free & Fast)
Turn Excel Table into Website — Fast, Free, and Interactive
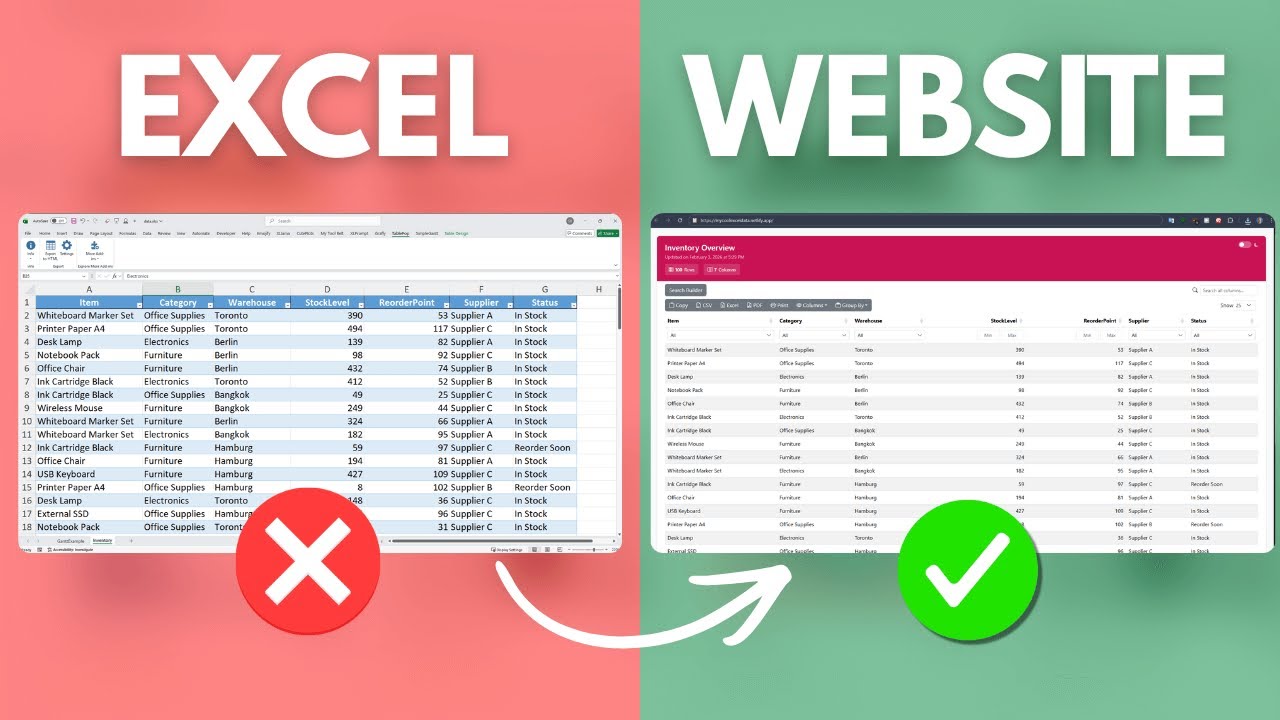
Imagine you have a long Excel table that teammates need to access from anywhere, without sending files back and forth. You could build a web app, or you can take a much faster route: turn Excel table into website in a minute using a free add-in and a free hosting service. No coding required.
What you are doing and why it works
The approach is simple. First, an Excel add-in exports your table as an interactive HTML file. That HTML file already includes filtering, search, column hide/show, PDF export, and data grouping. Second, you upload that single HTML file to a static host and it becomes a live site. The result looks and feels like a mini web app, but it is just a static file with smart client-side features.
Tools you need
- TablePop – an Excel add-in that exports tables to interactive HTML
- Netlify – free static hosting that supports drag-and-drop deploys
Quick overview of the steps
- Install the add-in and export your table to HTML.
- Rename the file to
index.htmland place it in a folder. - Drag that folder into Netlify to publish the site.
- When the Excel data changes, export again and re-deploy (simple overwrite).
Step 1 — Export your table from Excel
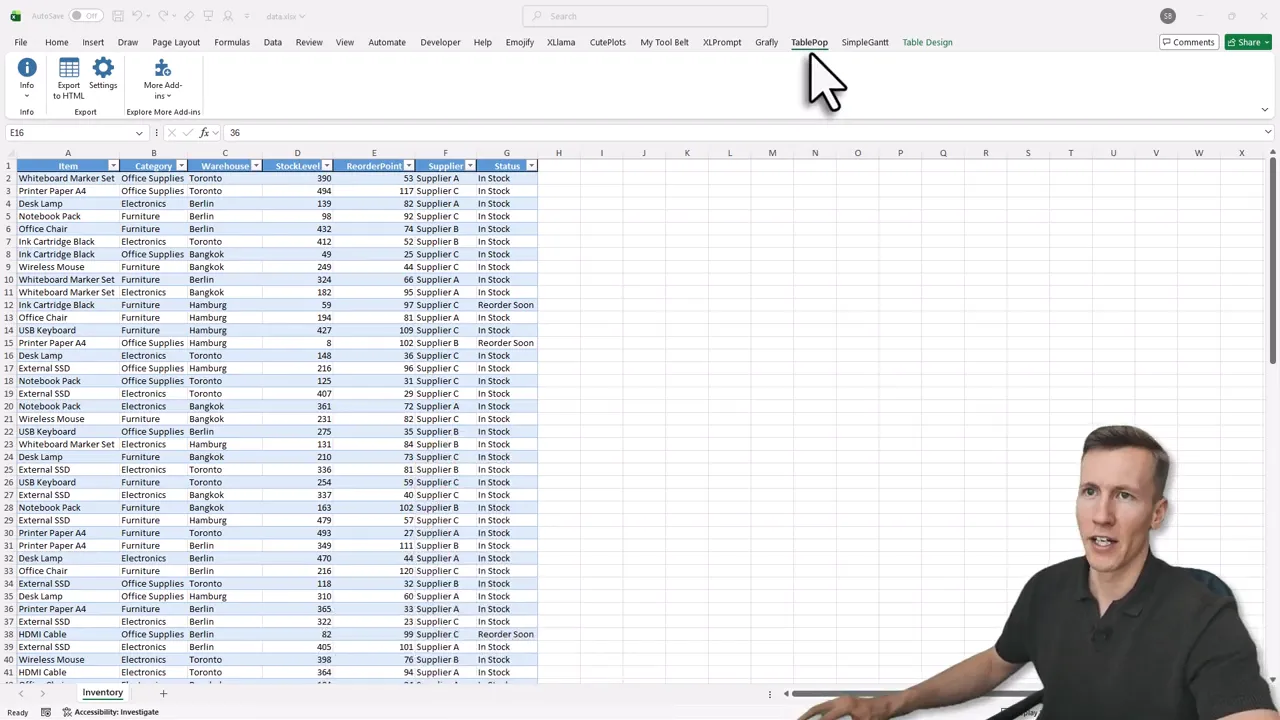
After installing the add-in, a new ribbon appears in Excel with an Export to HTML button. Select your table and export. The add-in produces an interactive HTML file saved to your workbooks folder.
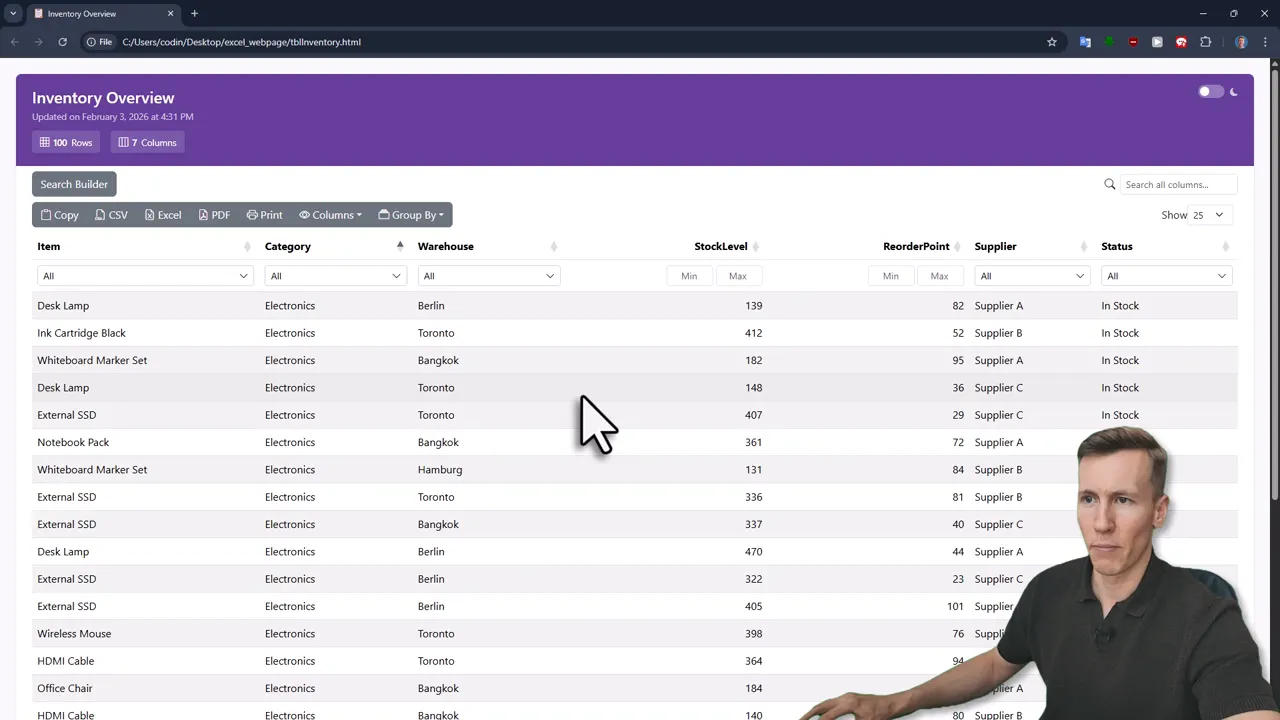
Open the HTML file locally to confirm the interactive features: filtering controls, search box, column hide/show, grouping options, and a PDF export button.
Step 2 — Prepare the file for deployment
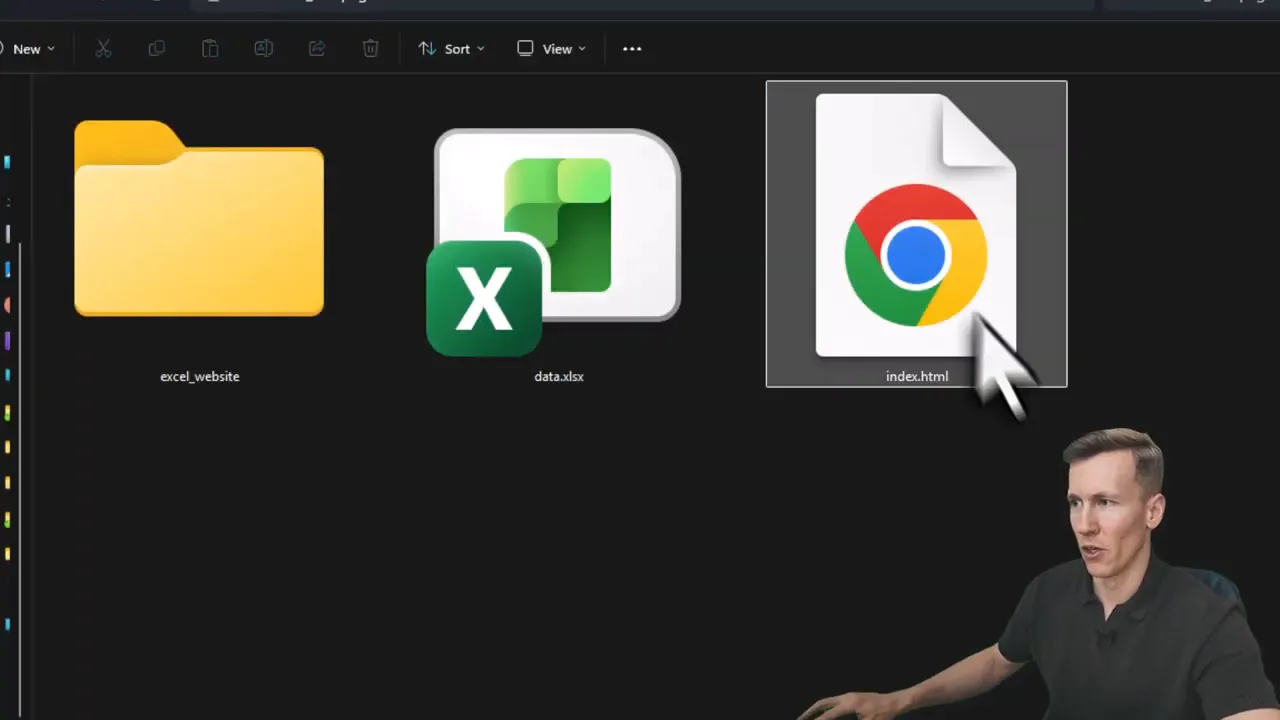
Create a folder for the project and rename your exported HTML file to index.html. Static hosts treat index.html as the entry point, so this name is essential.
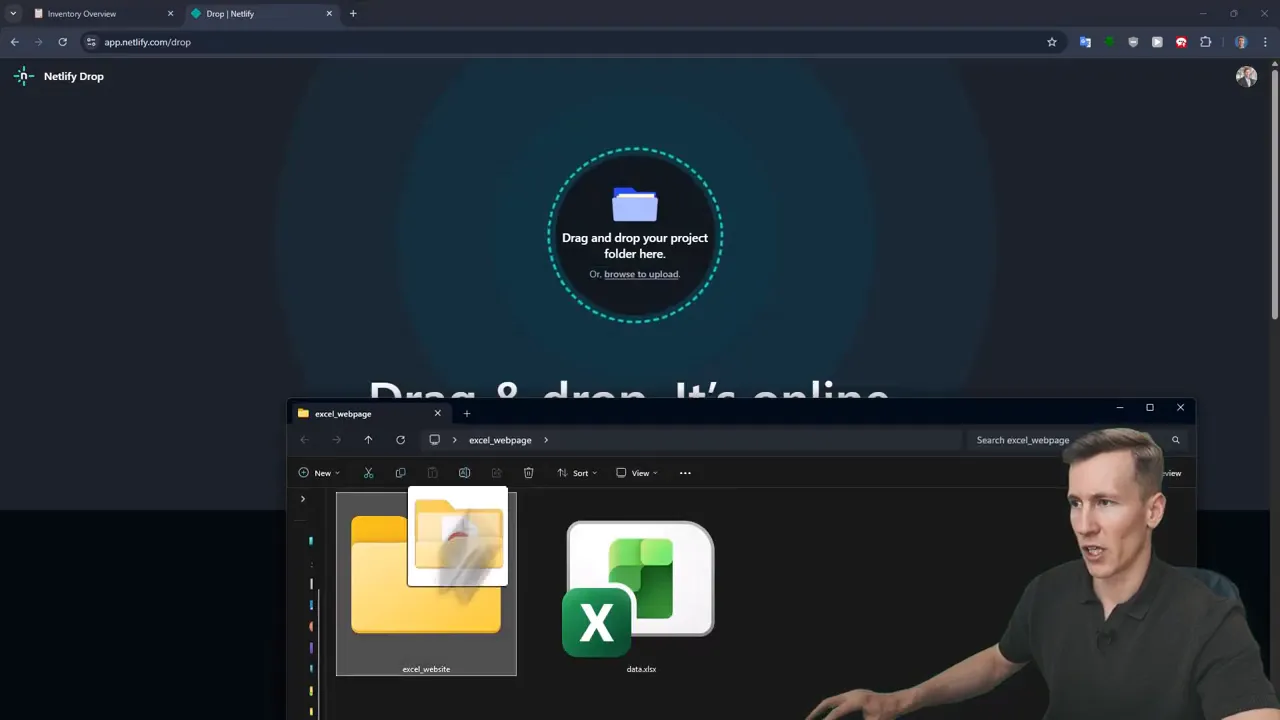
Step 3 — Publish with Netlify
Netlify offers a free account and a very simple manual deploy option. Log in, choose Add New Project, then Deploy manually. Drag your project folder onto the deploy area. Netlify will publish the folder and give you a URL that serves your interactive table.
Step 4 — Update the live site when data changes
When you update the Excel file, export again (rename to index.html), overwrite the file inside your project folder, and drag the folder into Netlify Deploys to re-publish. Refresh the page and the new data appears. (Yes, it really is that simple.)

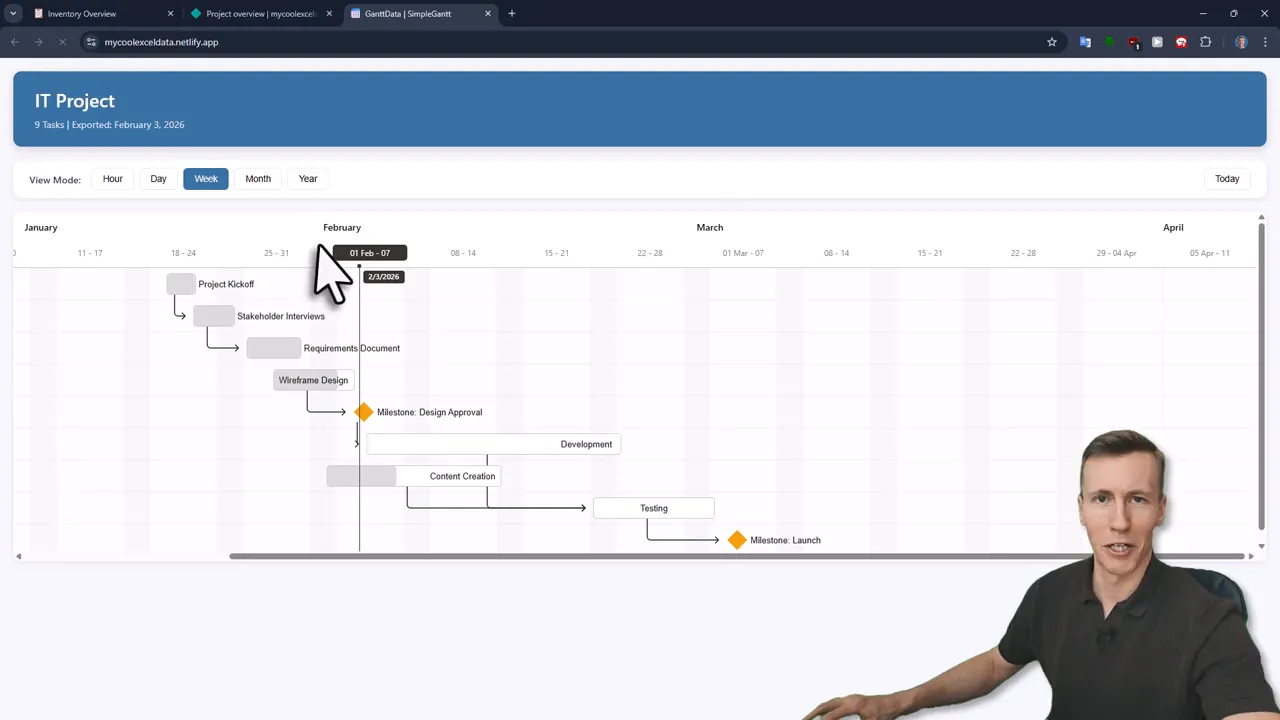
Bonus: interactive Gantt charts
The same flow works for other exports. For example, a SimpleGantt add-in turns Excel project data into an interactive Gantt chart HTML file. Rename, drop into the folder, and redeploy to publish a live project timeline.
Practical tips
- Keep the file name as index.html for easy deployment.
- If you want a nicer URL, rename the project inside Netlify’s domain settings.
Final takeaway
If you need to turn Excel table into website quickly, this method is low friction and keeps your data interactive and shareable. It avoids building a web app while still delivering search, filters, export, and grouping. For small teams or clients who just need easy access to spreadsheet data, this is one of the fastest, most practical solutions available.
Try it once and you will see how fast a spreadsheet can become a shareable web page. Happy publishing. —Sven