Create Stunning Python GUIs in 10 Minutes With Drag & Drop

Introduction
Have you ever wanted to create your own GUI application in Python? GUI stands for Graphic User Interface, which is simply an interface for your Python application. There are various packages available for creating GUIs, such as Tkinter, which is built into Python, and PySimpleGUI. While these packages are great, building a GUI can sometimes be tedious due to the amount of code required to position elements like labels, images, and buttons.
To simplify the process, I discovered an interesting tool that allows you to use Figma to create your design. Figma is a user-friendly web-based application for creating mockups. You can easily drag and drop elements onto your canvas and style your application as you desire. The best part is that once you are done designing, you can export your design directly into Python code, saving you a lot of time.
Designing Your GUI in Figma
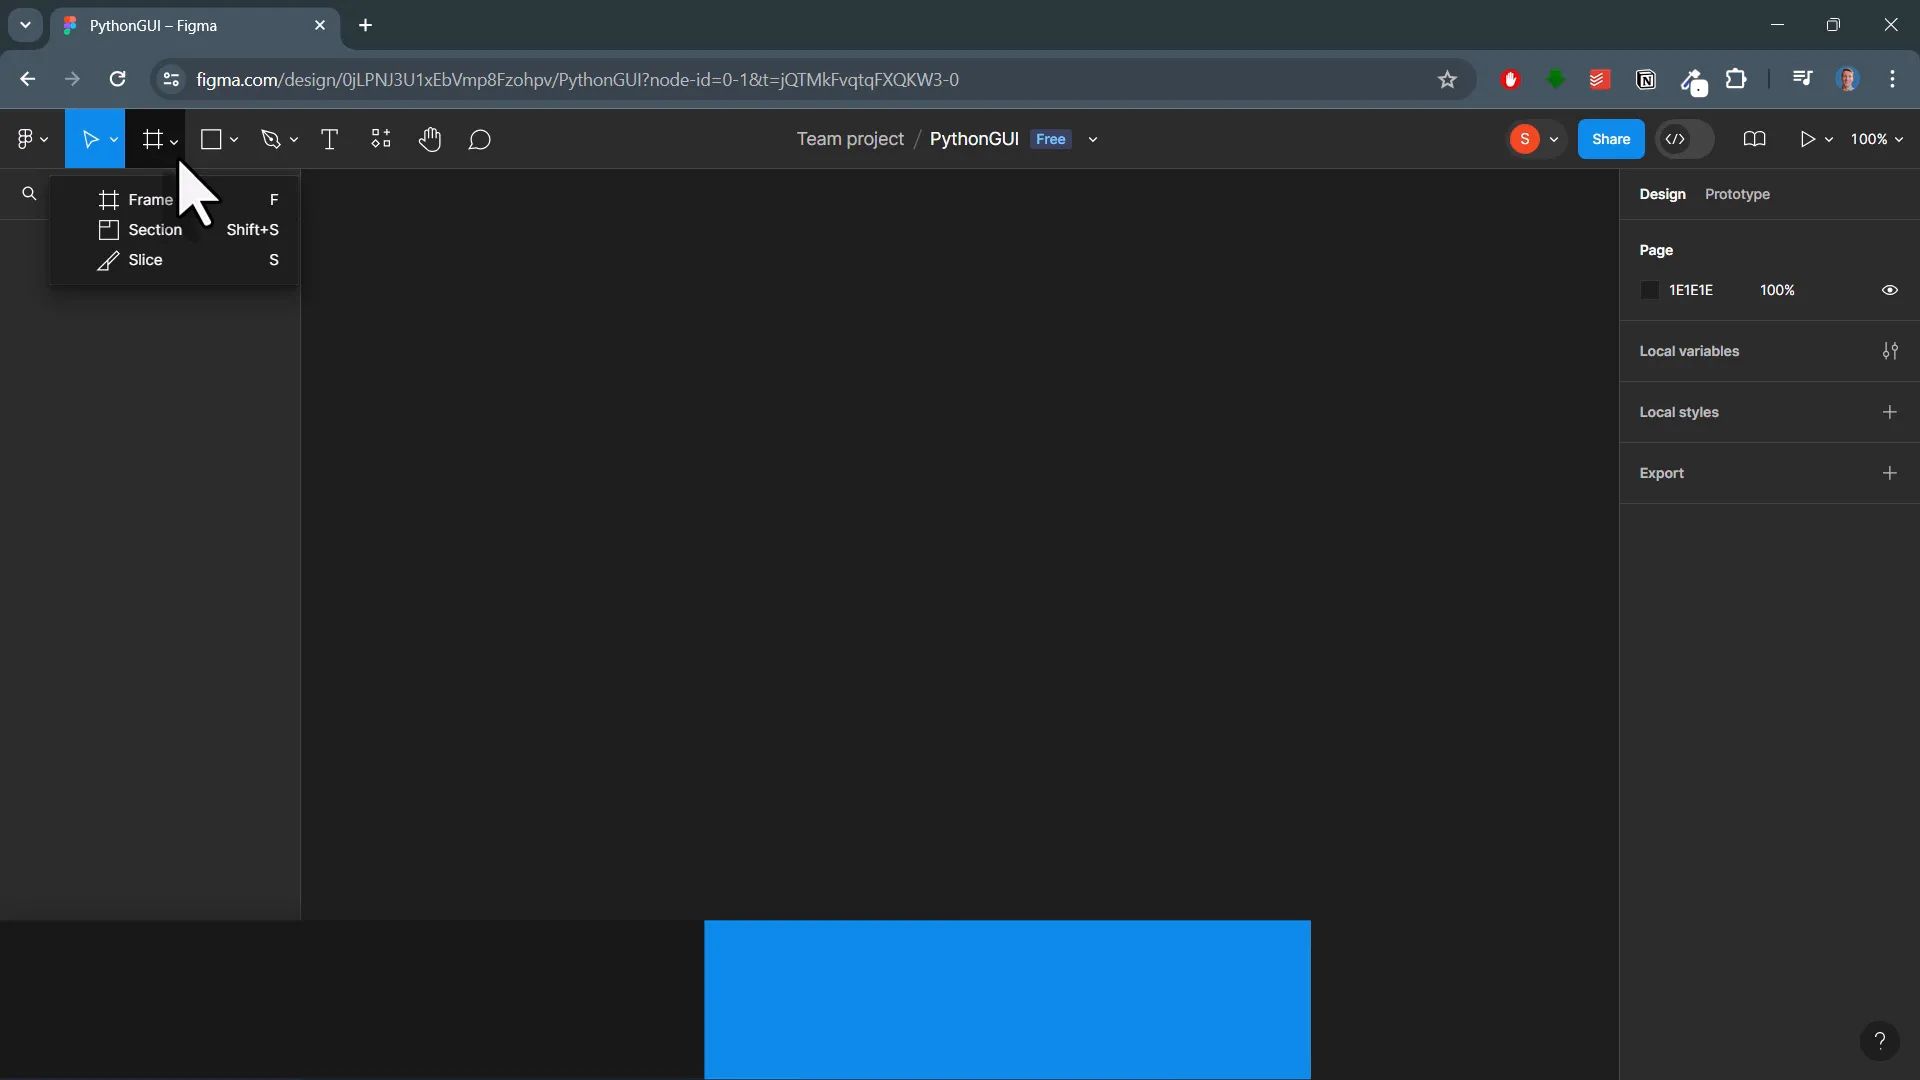
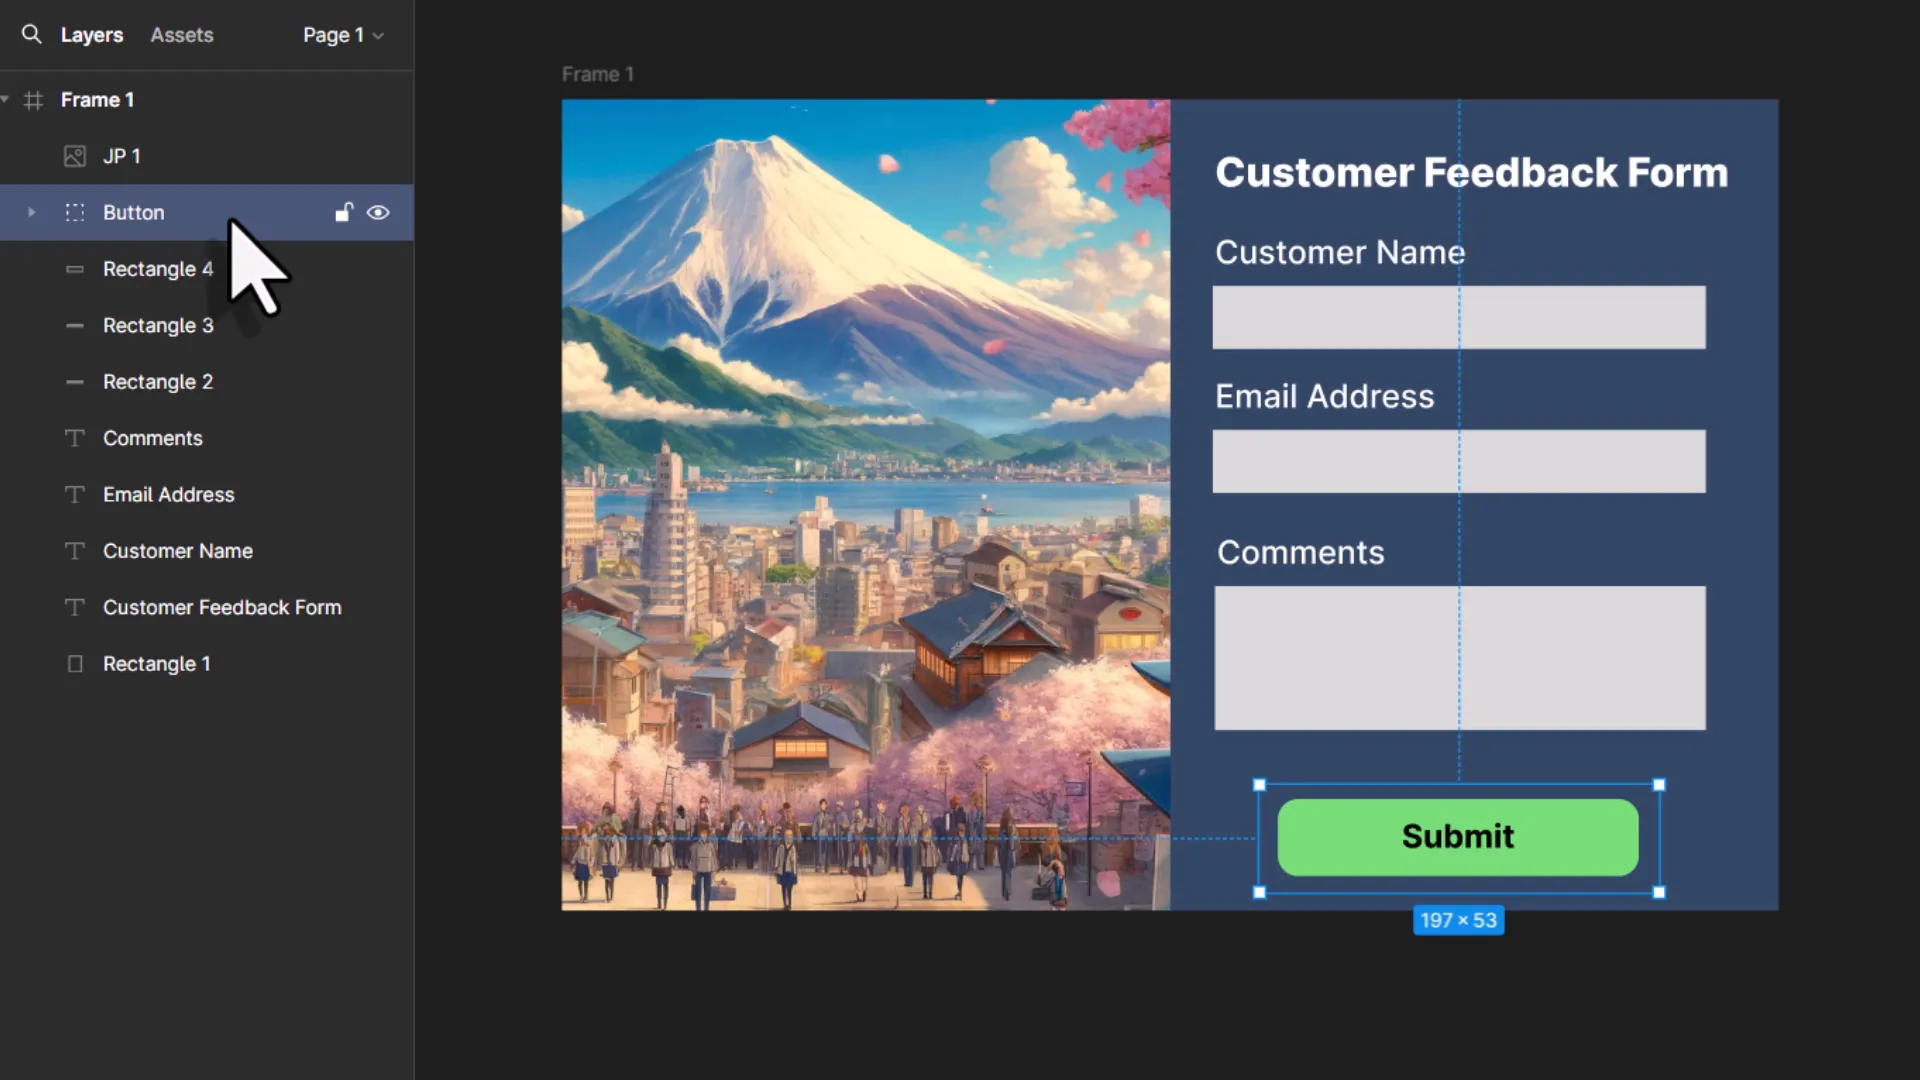
To get started, head over to figma.com and create a free account. Once logged in, start by creating a frame. You can specify the width and height on the right side; for this demo, I used dimensions of 600 by 400 pixels.
Next, draw a rectangle to serve as the background. I chose a blue fill color. After that, insert some text, adjusting the font properties as needed. You can create input fields by using simple text elements for labels and rectangles for the input fields.
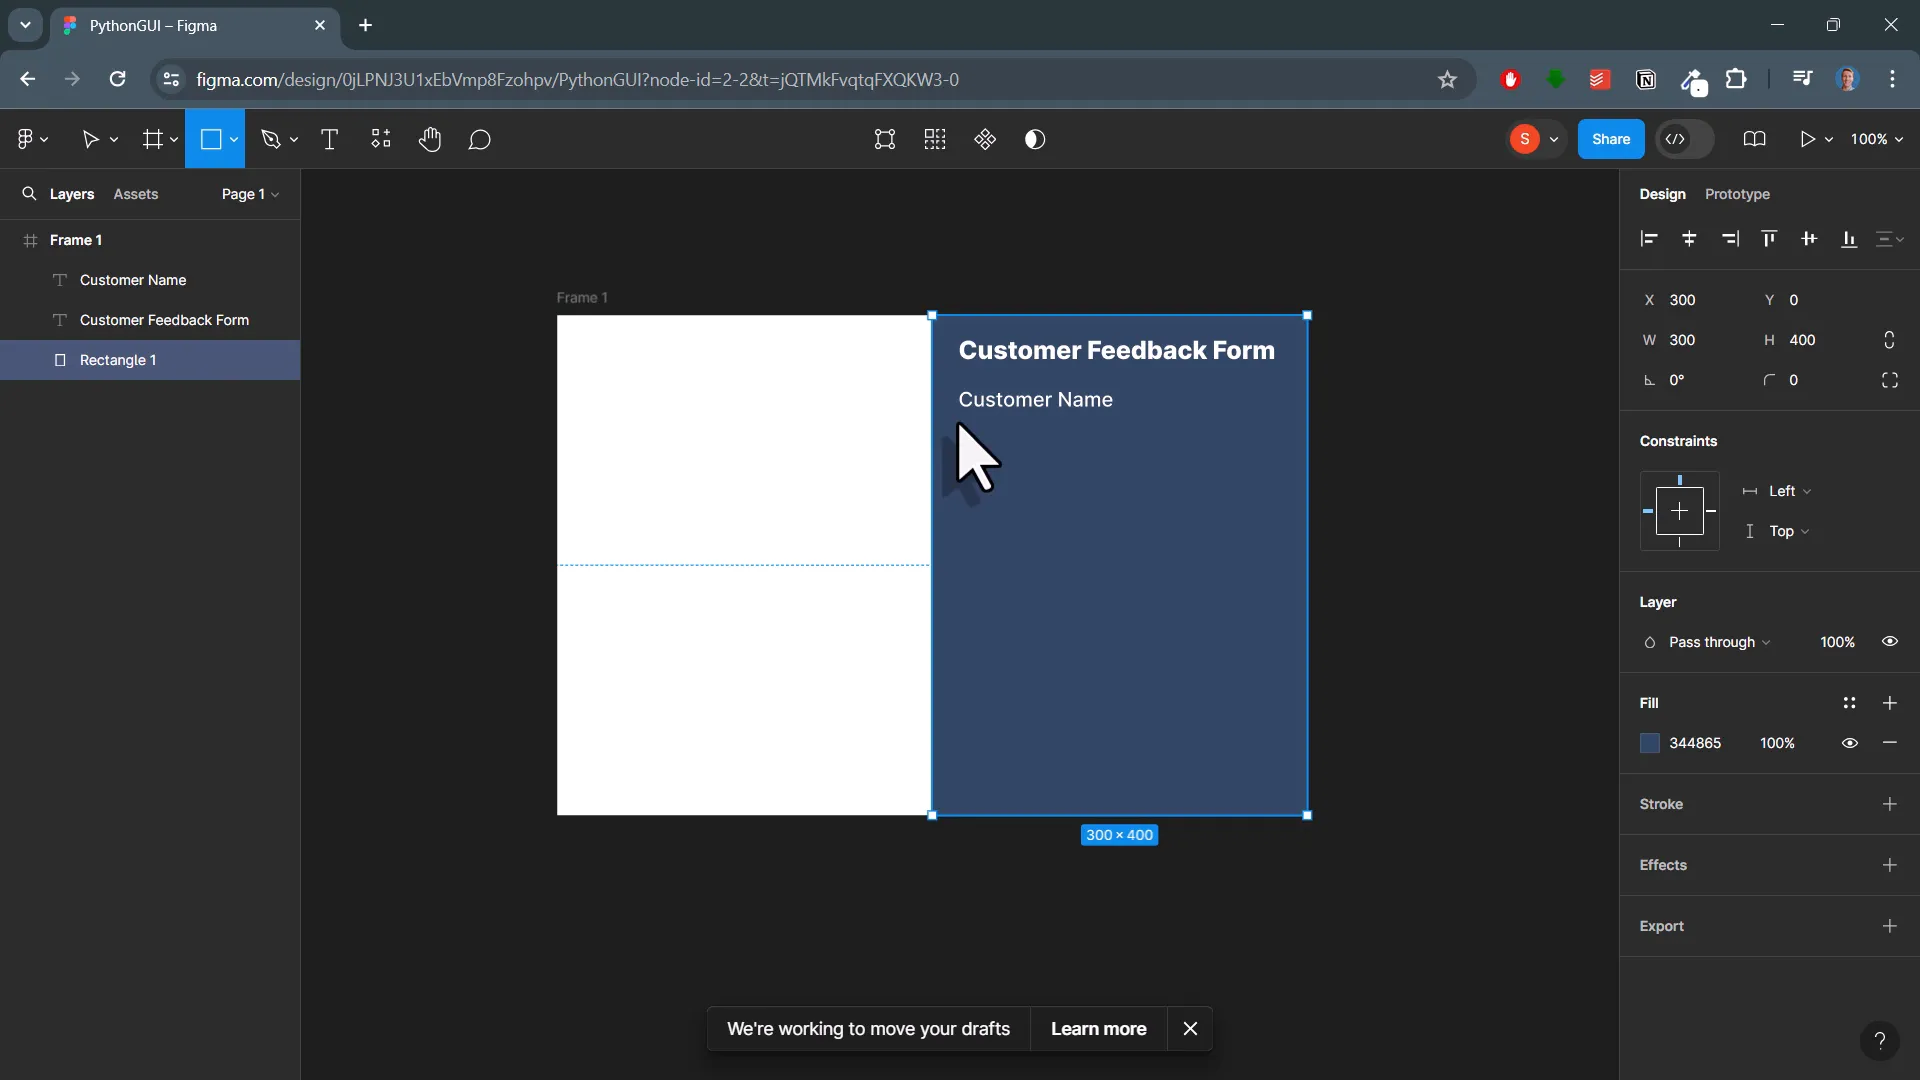
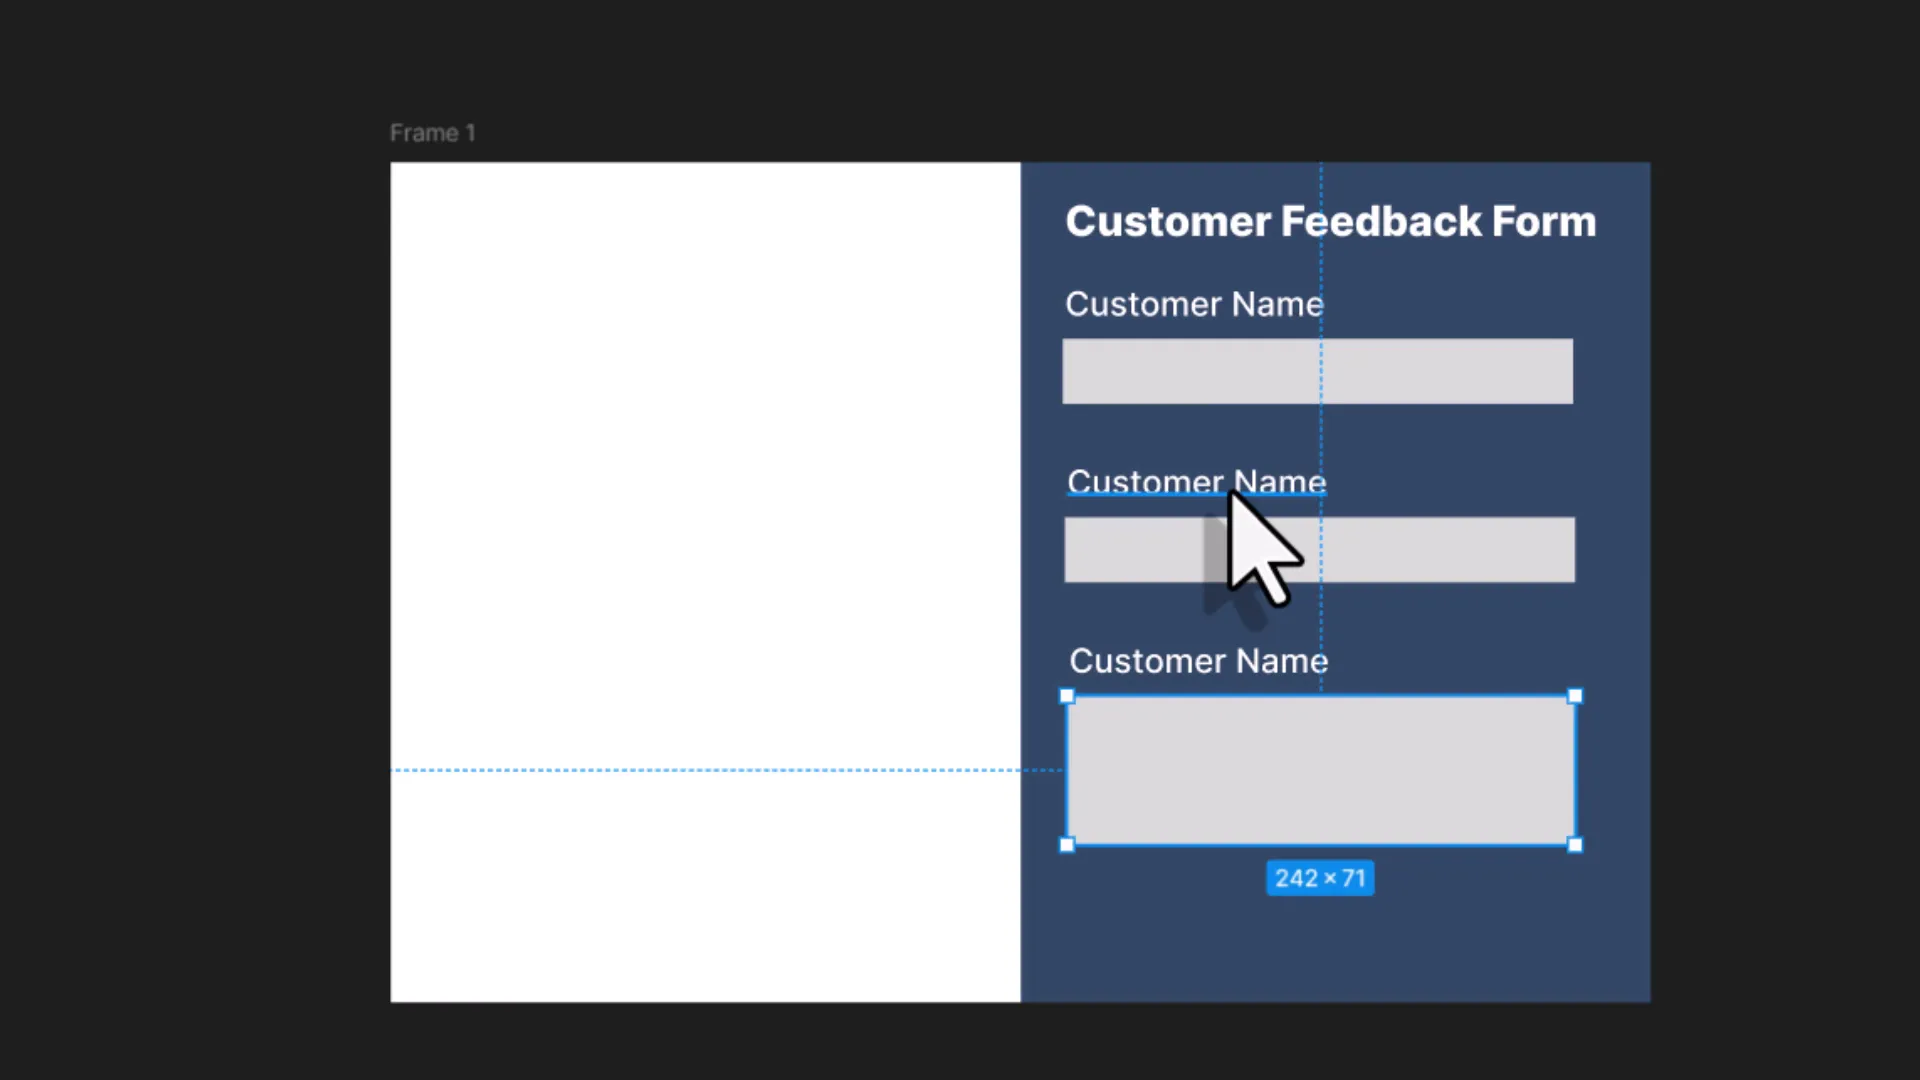
To duplicate elements like the input fields, select the rectangle and text, then press Ctrl D. Drag down your selection to create additional fields. For the last input field, which will be a text area, make the rectangle larger. Adjust labels accordingly, setting one for the email address and another for comments.
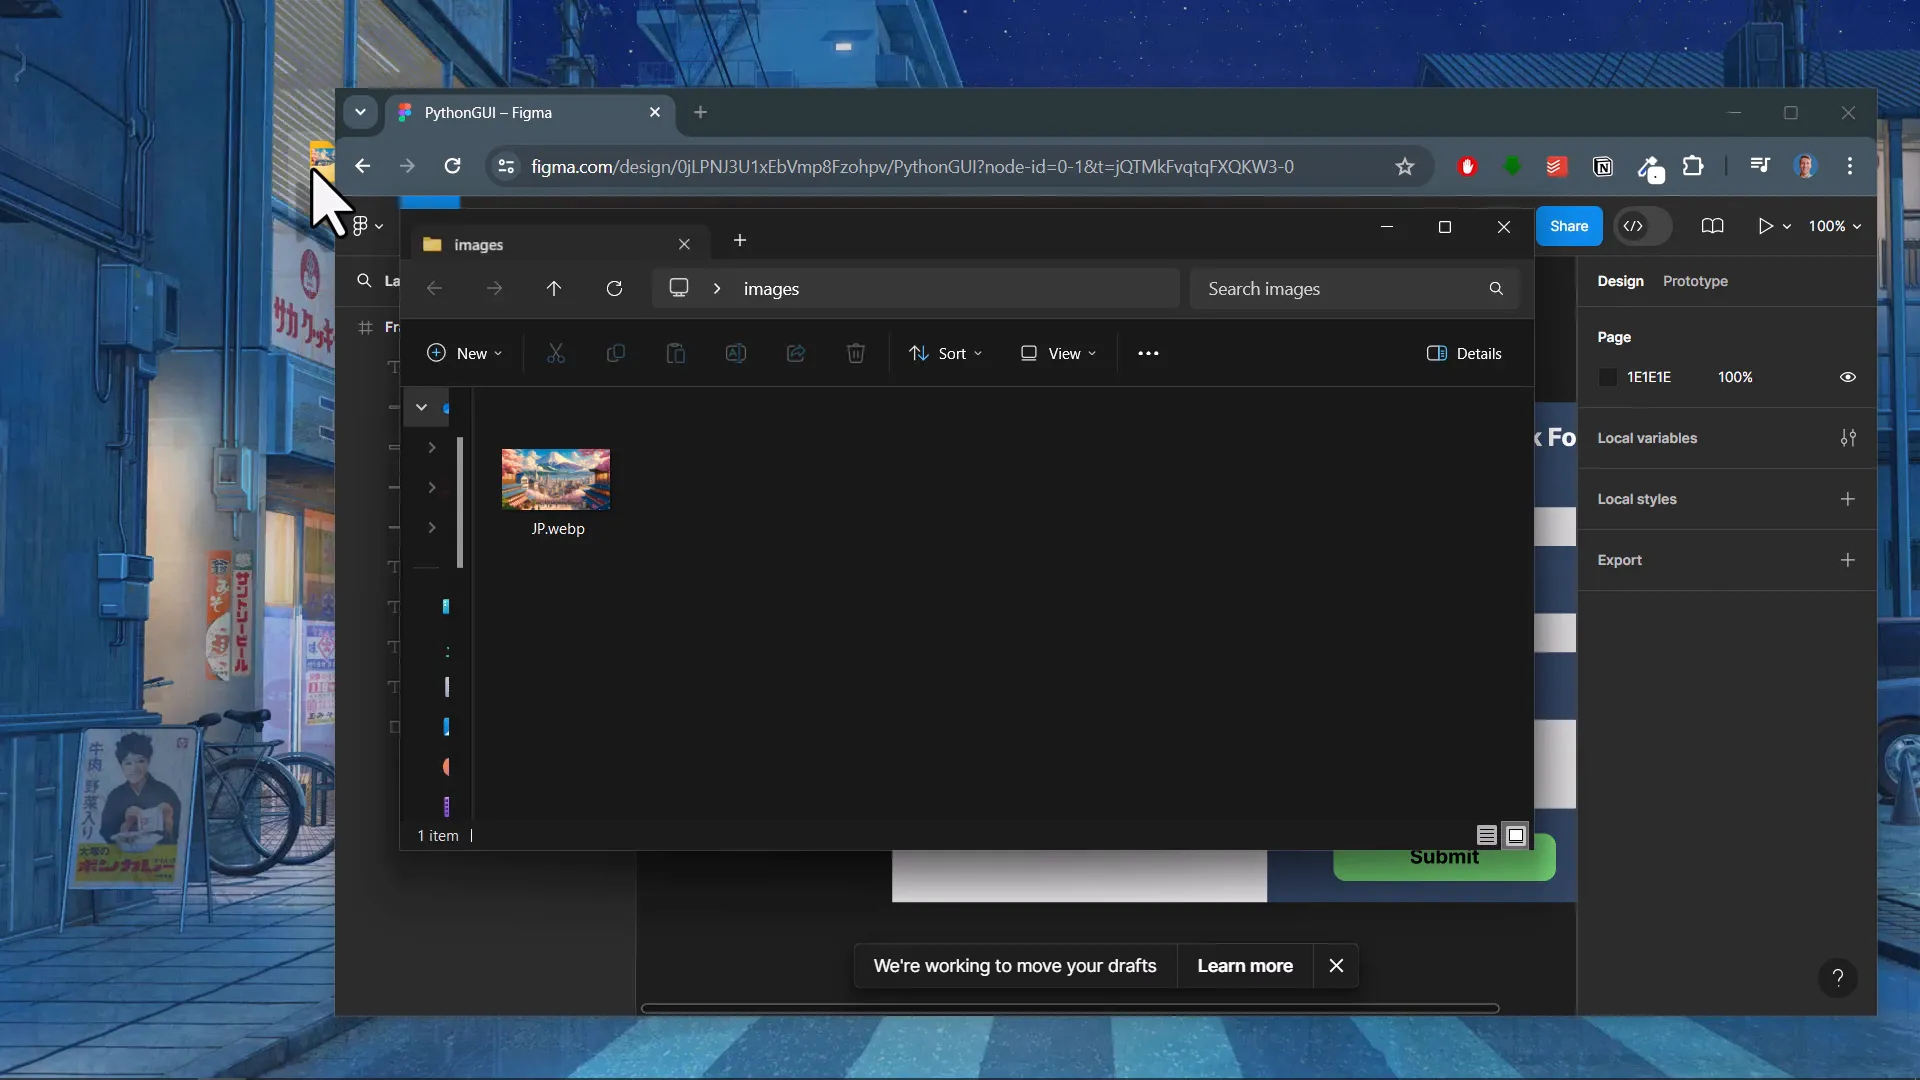
Finally, create a submit button using a rectangle with rounded corners. Set the color to a light green and center a text label on it. To add an image, simply drag and drop one from your desktop onto the canvas, resizing and cropping it to fit your frame.
Finalizing Your Design
Before finishing, group the button elements together to ensure they function as a single button. Rename the group to “Button.” For hover effects, duplicate the button and adjust its color or opacity. Naming your elements correctly is crucial for converting them to Python code later.
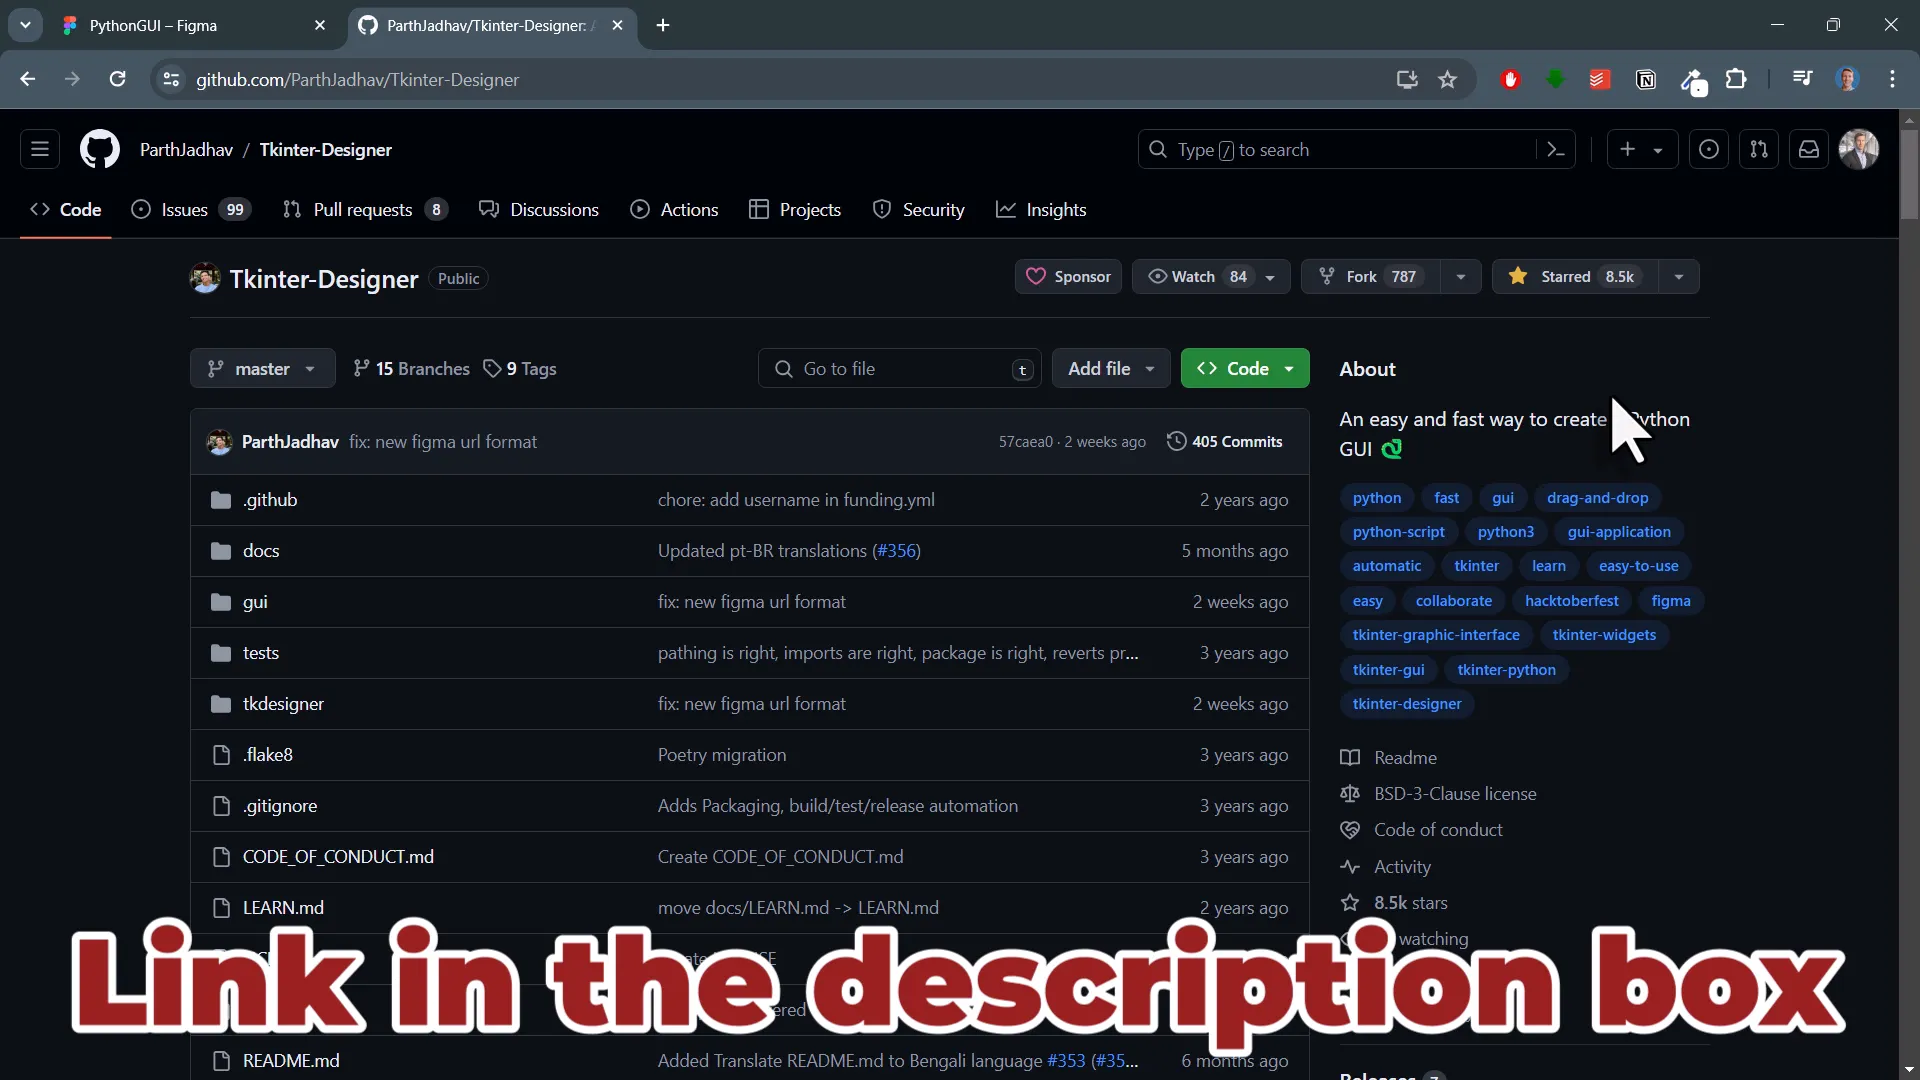
After completing your design, head over to the Tkinter Designer GitHub repository to download or clone it. Install the required packages as outlined in the repository’s documentation.
Converting Your Design to Python Code
To convert your Figma design into Python code, you’ll need to obtain the file URL from Figma and generate an API token from your account settings. Paste the URL and token into the Tkinter Designer app, and specify your output path for the generated files.

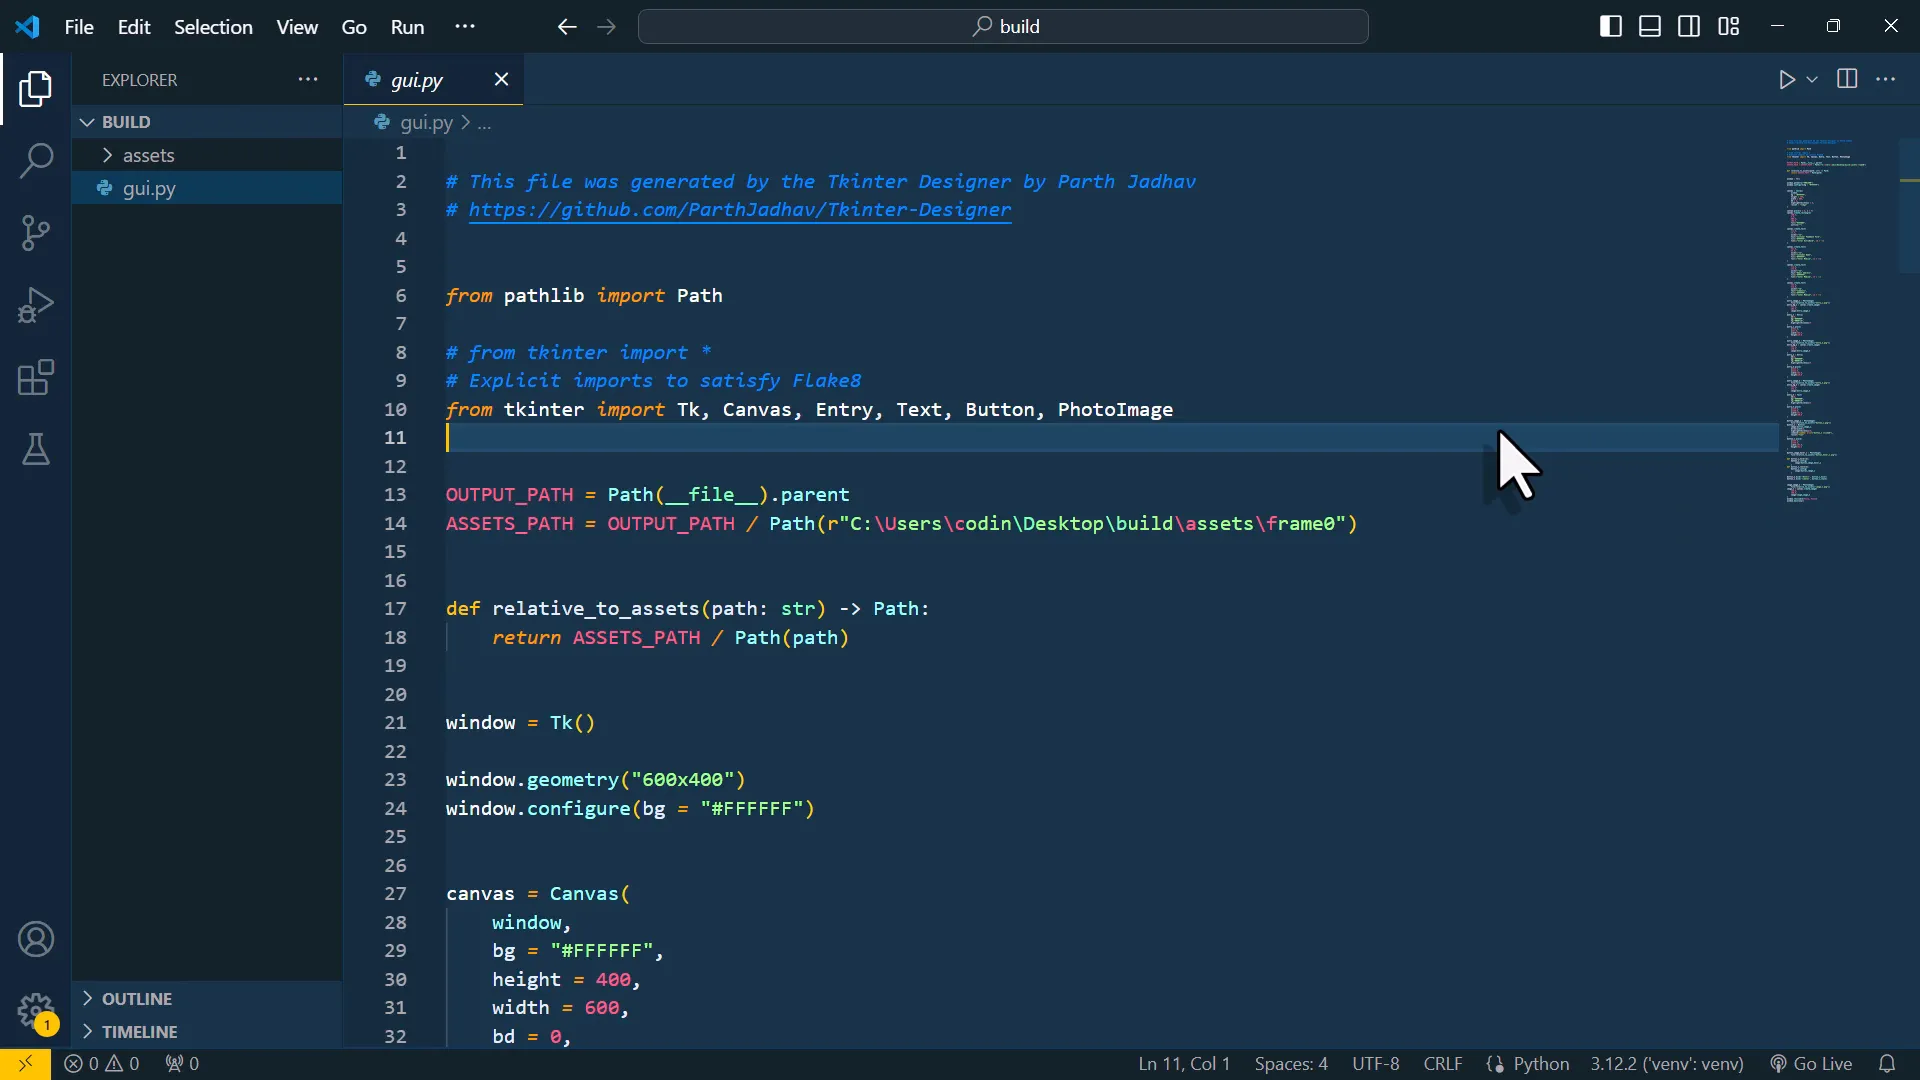
Once you generate the GUI, a new folder containing assets and the Python file will appear. You can test it by running the script in Visual Studio Code. Your fully functional Python GUI will include input fields, a text area, and a button with a hover effect.
Creating an Executable File
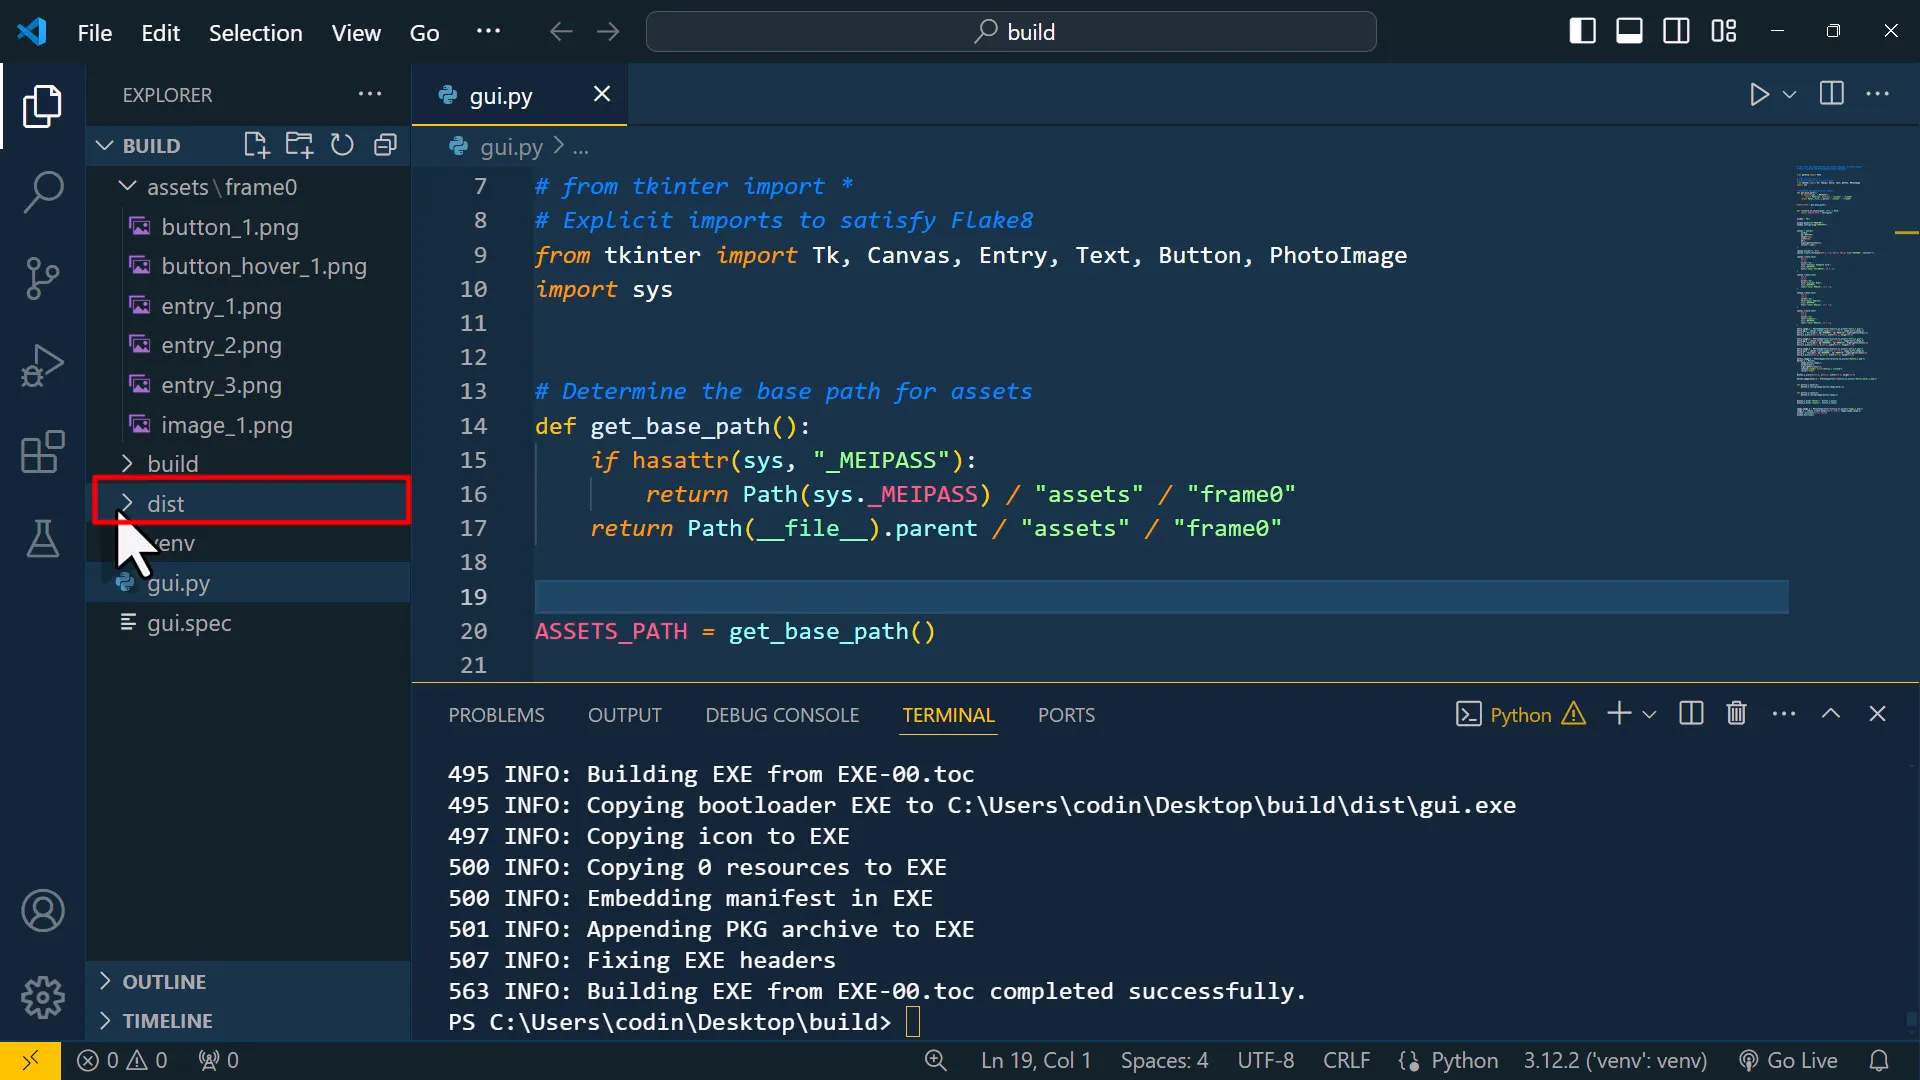
To share your application with others who may not have Python installed, you can convert your Python code into an executable file using PyInstaller. Create a virtual environment and install PyInstaller. Use the appropriate command to include your assets in the build process.
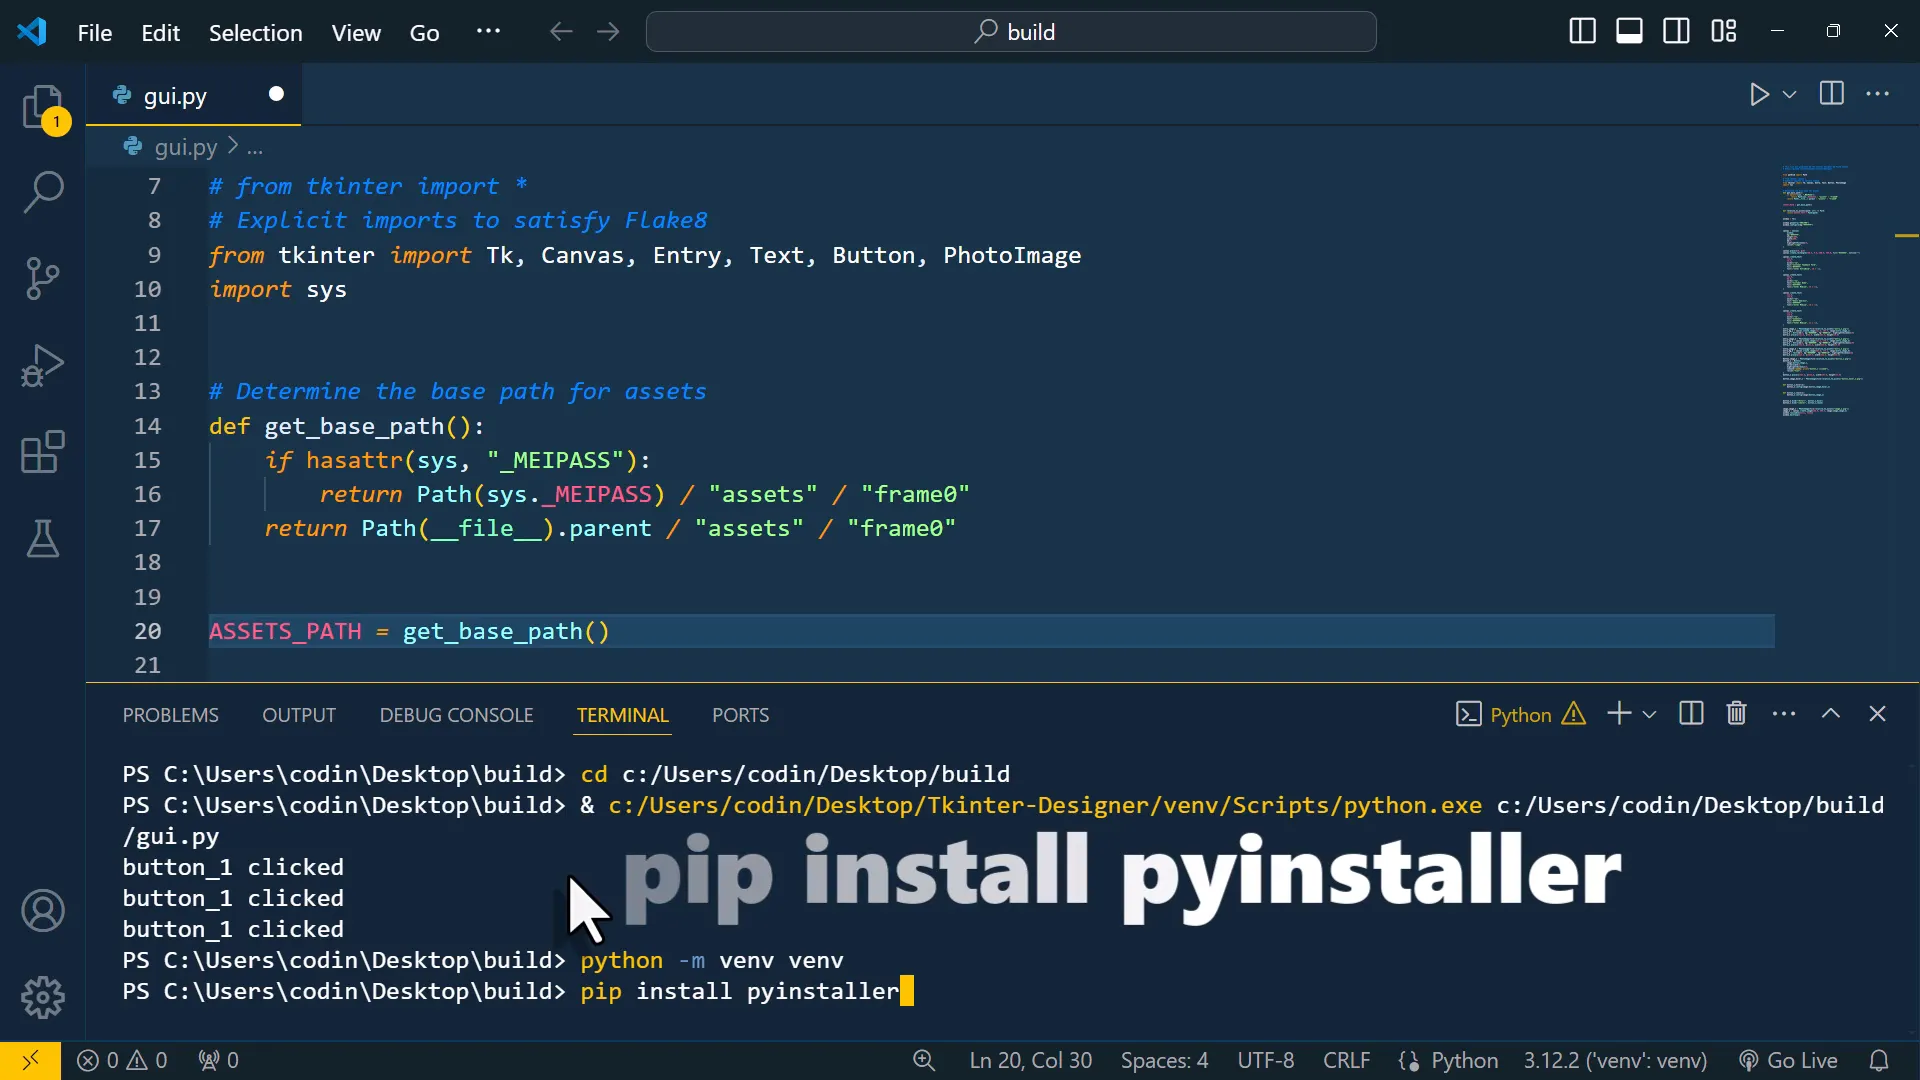
While executing the command, you may encounter issues with Windows detecting the app as a virus. Temporarily disable real-time protection to run the command successfully. Once completed, you will find your executable file ready for use.
Conclusion
Designing and building your Python app has never been easier. By leveraging Figma for design and Tkinter Designer for conversion, you can create stunning GUIs quickly. In the next tutorial, I’ll show you how to enhance this GUI into an Excel data entry app. Stay tuned!