Build A Digital Resume Using Python & Streamlit

Introduction
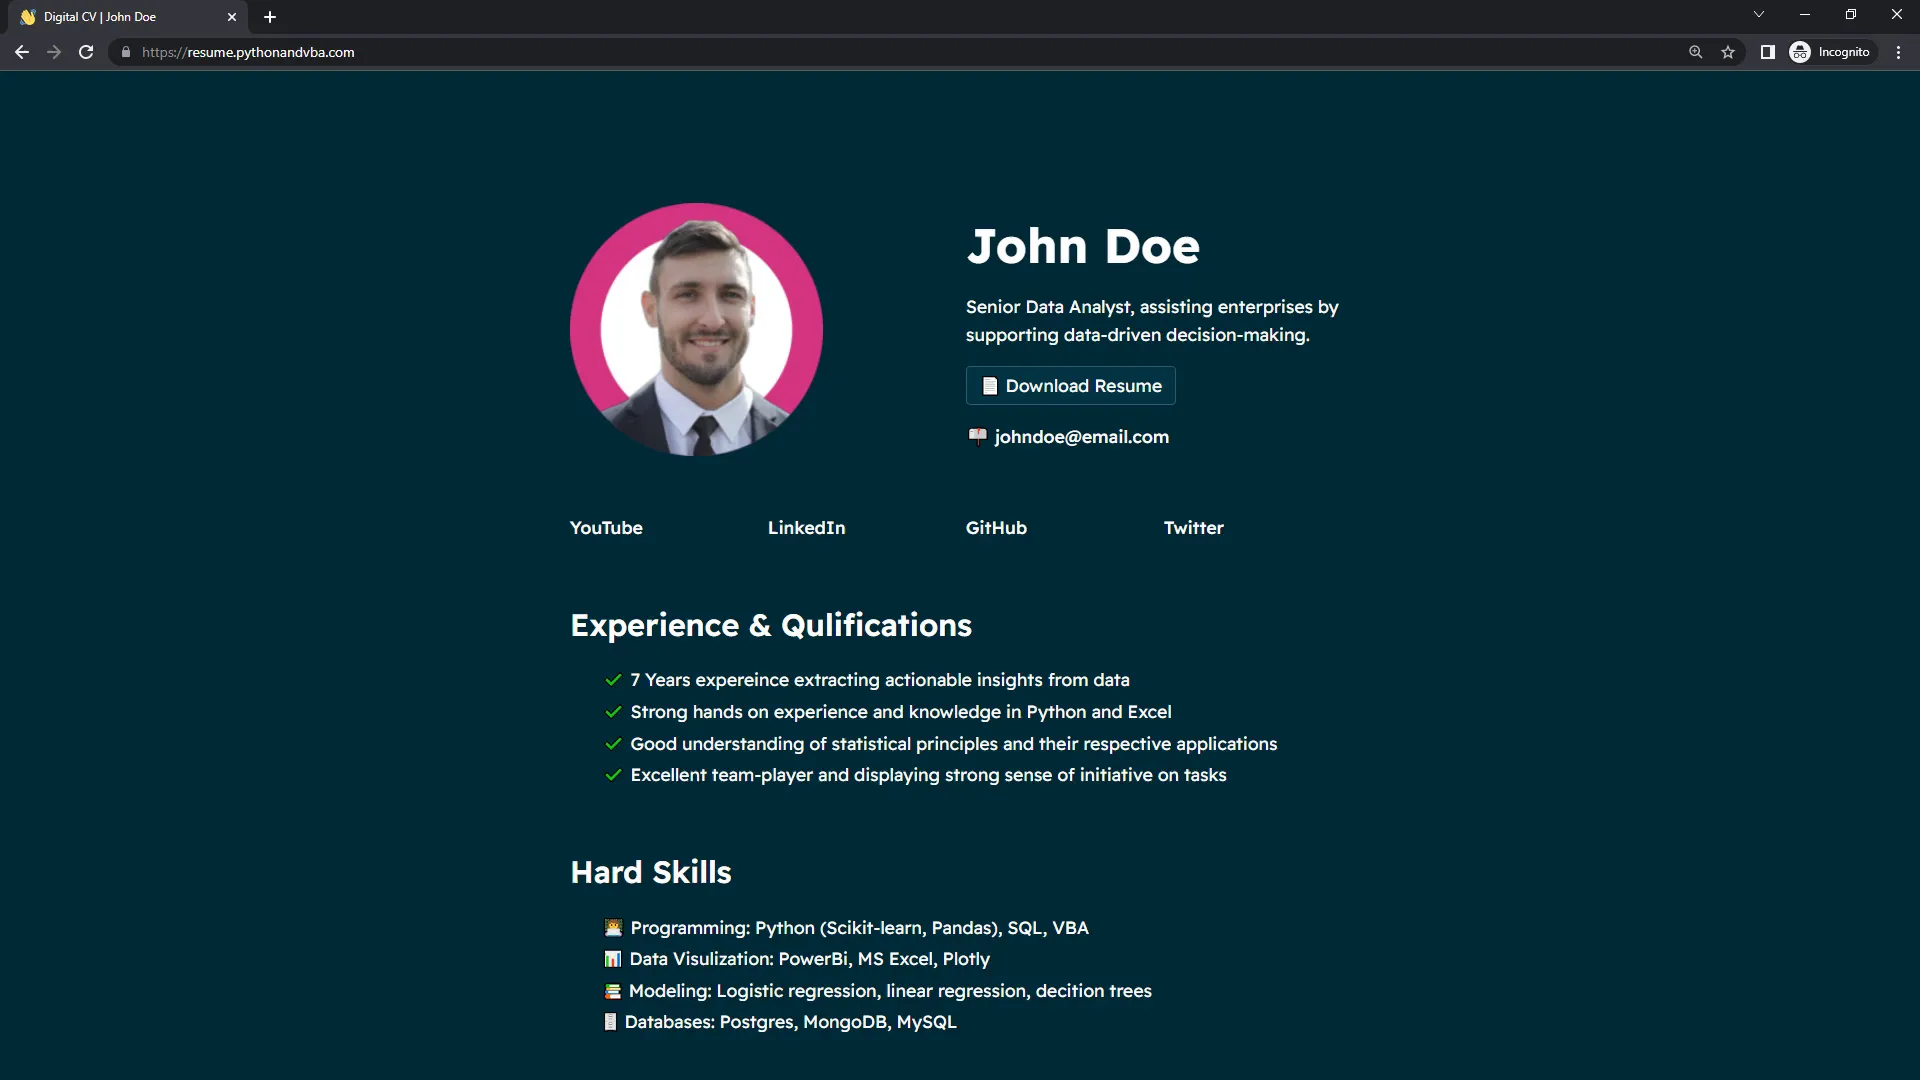
Today I’m excited to show you how to build a digital resume using Python. It’s a quick process, taking only a couple of minutes! You can find a live demo of this webpage at the provided link. Before we dive into coding, let’s briefly explore the website.
Disclaimer
Before we start, I want to give credit where it’s due. The website idea and design are heavily inspired by a video from the Traversy Media channel, where Dennis built a digital resume in HTML and CSS. If you’re interested in that version, I highly recommend checking it out.
Project setup
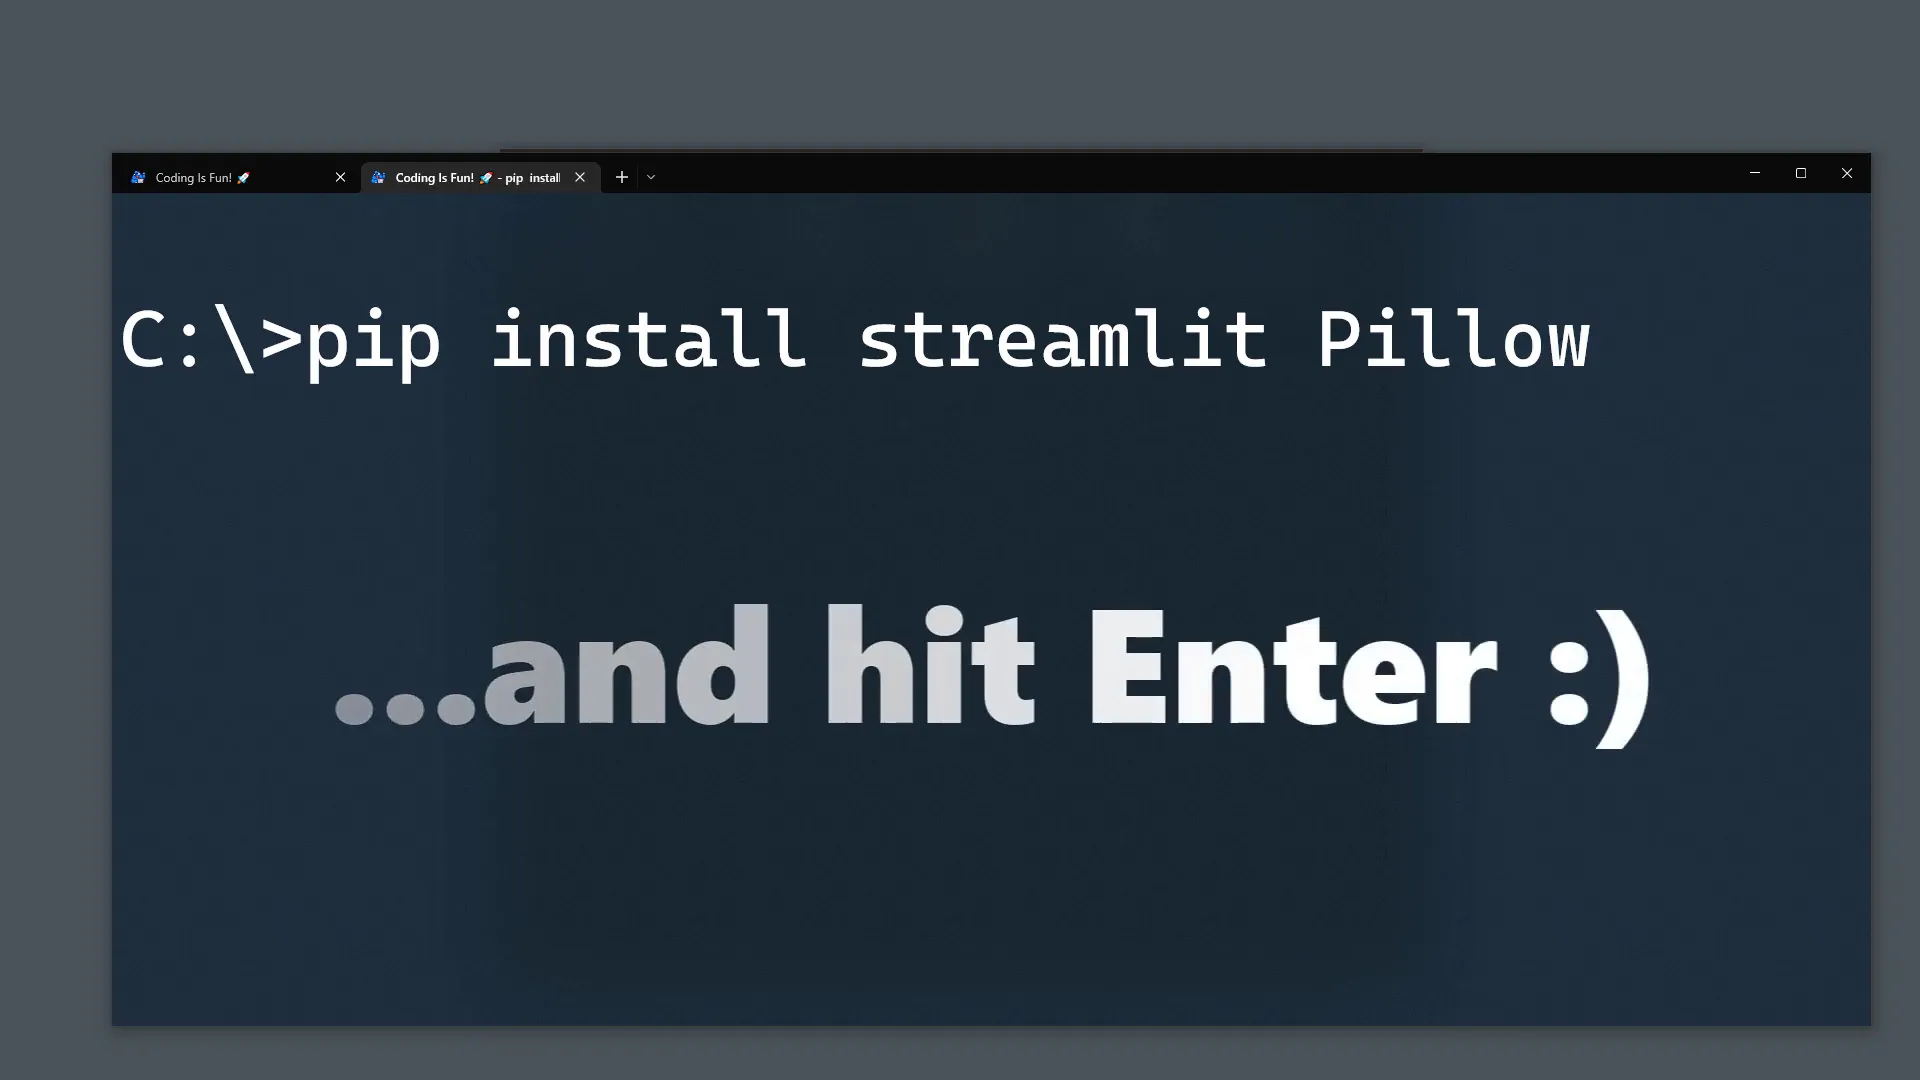
Let’s kick things off by installing the required dependencies. Open your terminal and type pip install streamlit pillow. Streamlit is essential for creating our website, while Pillow is necessary for handling images.
Imports and path settings
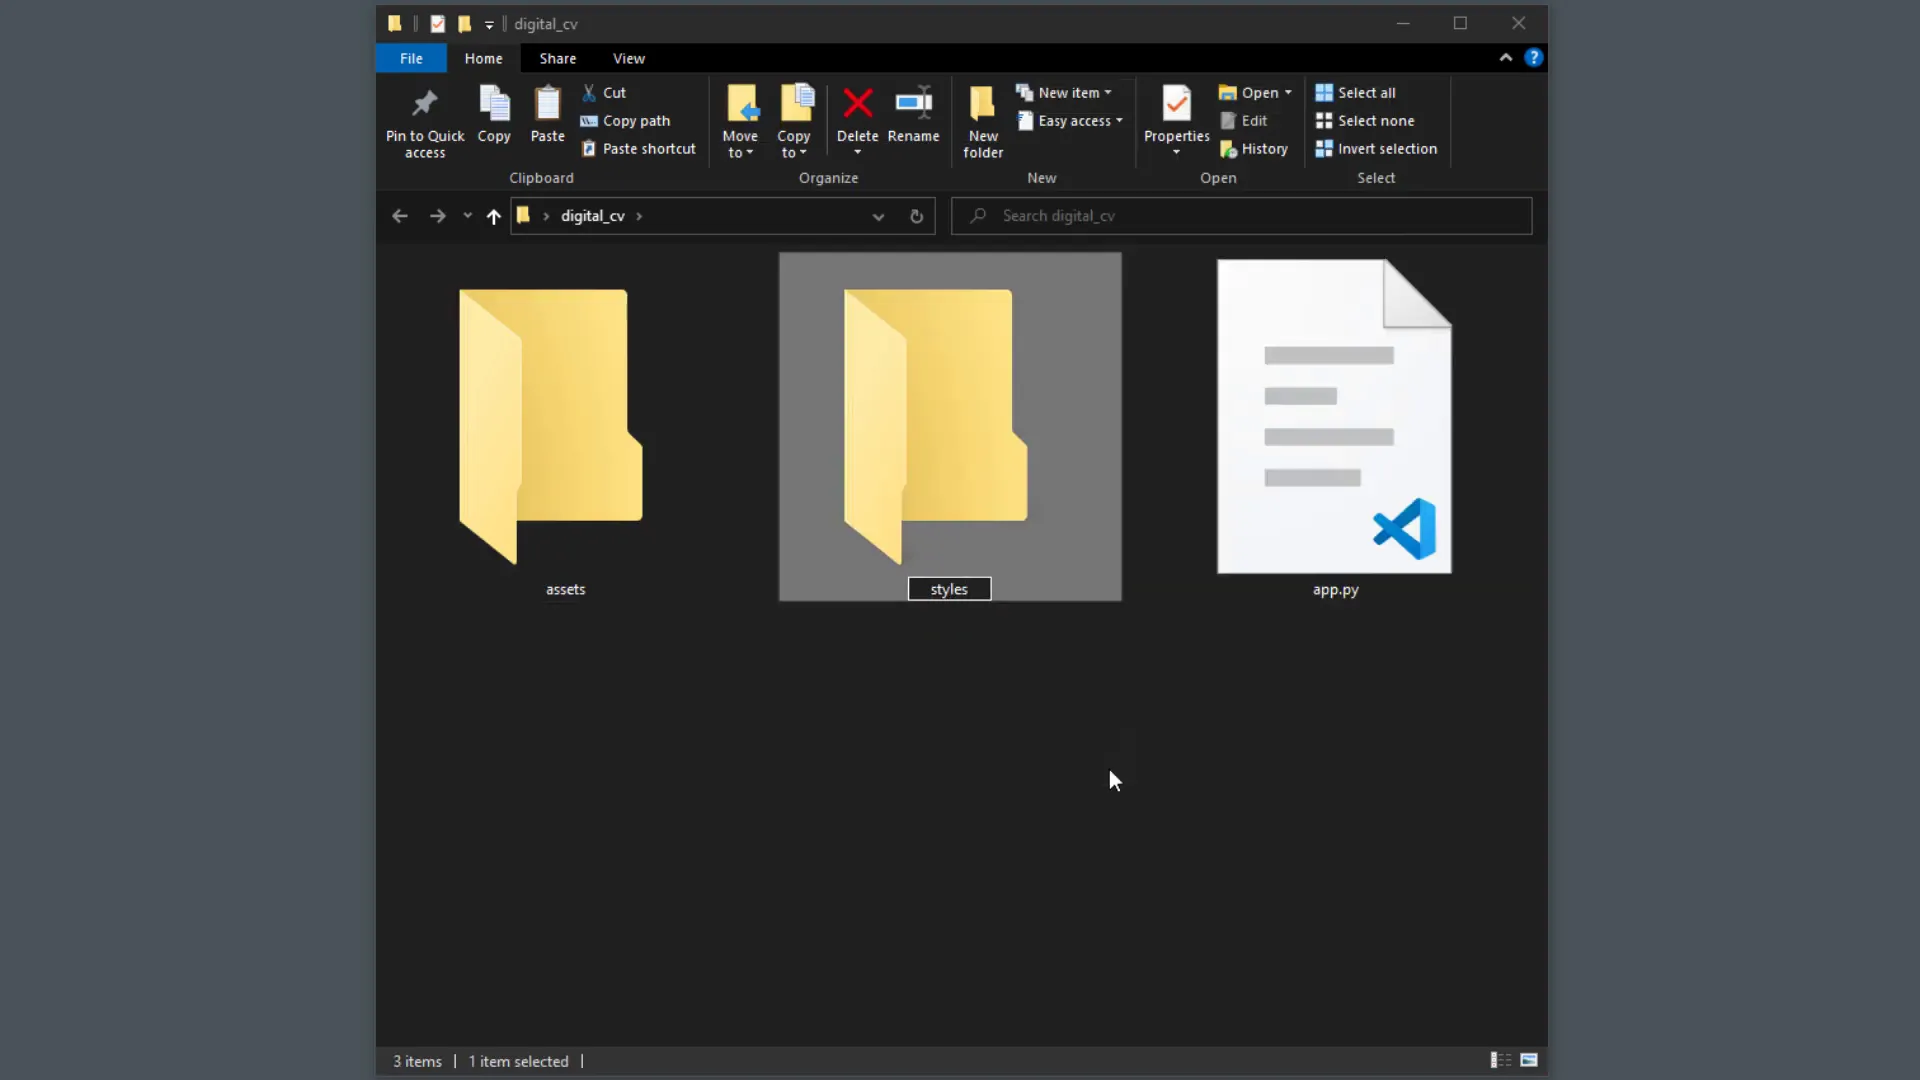
Next, I’ll create a new Python file named app.py and two folders: assets and styles. Inside the styles folder, I’ll create a CSS file named main.css. We will return to this file later to adjust our website’s style.
General settings
Now let’s set up the necessary file paths in our app.py file. I’ll import Path from pathlib, along with Streamlit and Pillow. The starting point for file navigation will be the current directory of the Python file.

Running the app
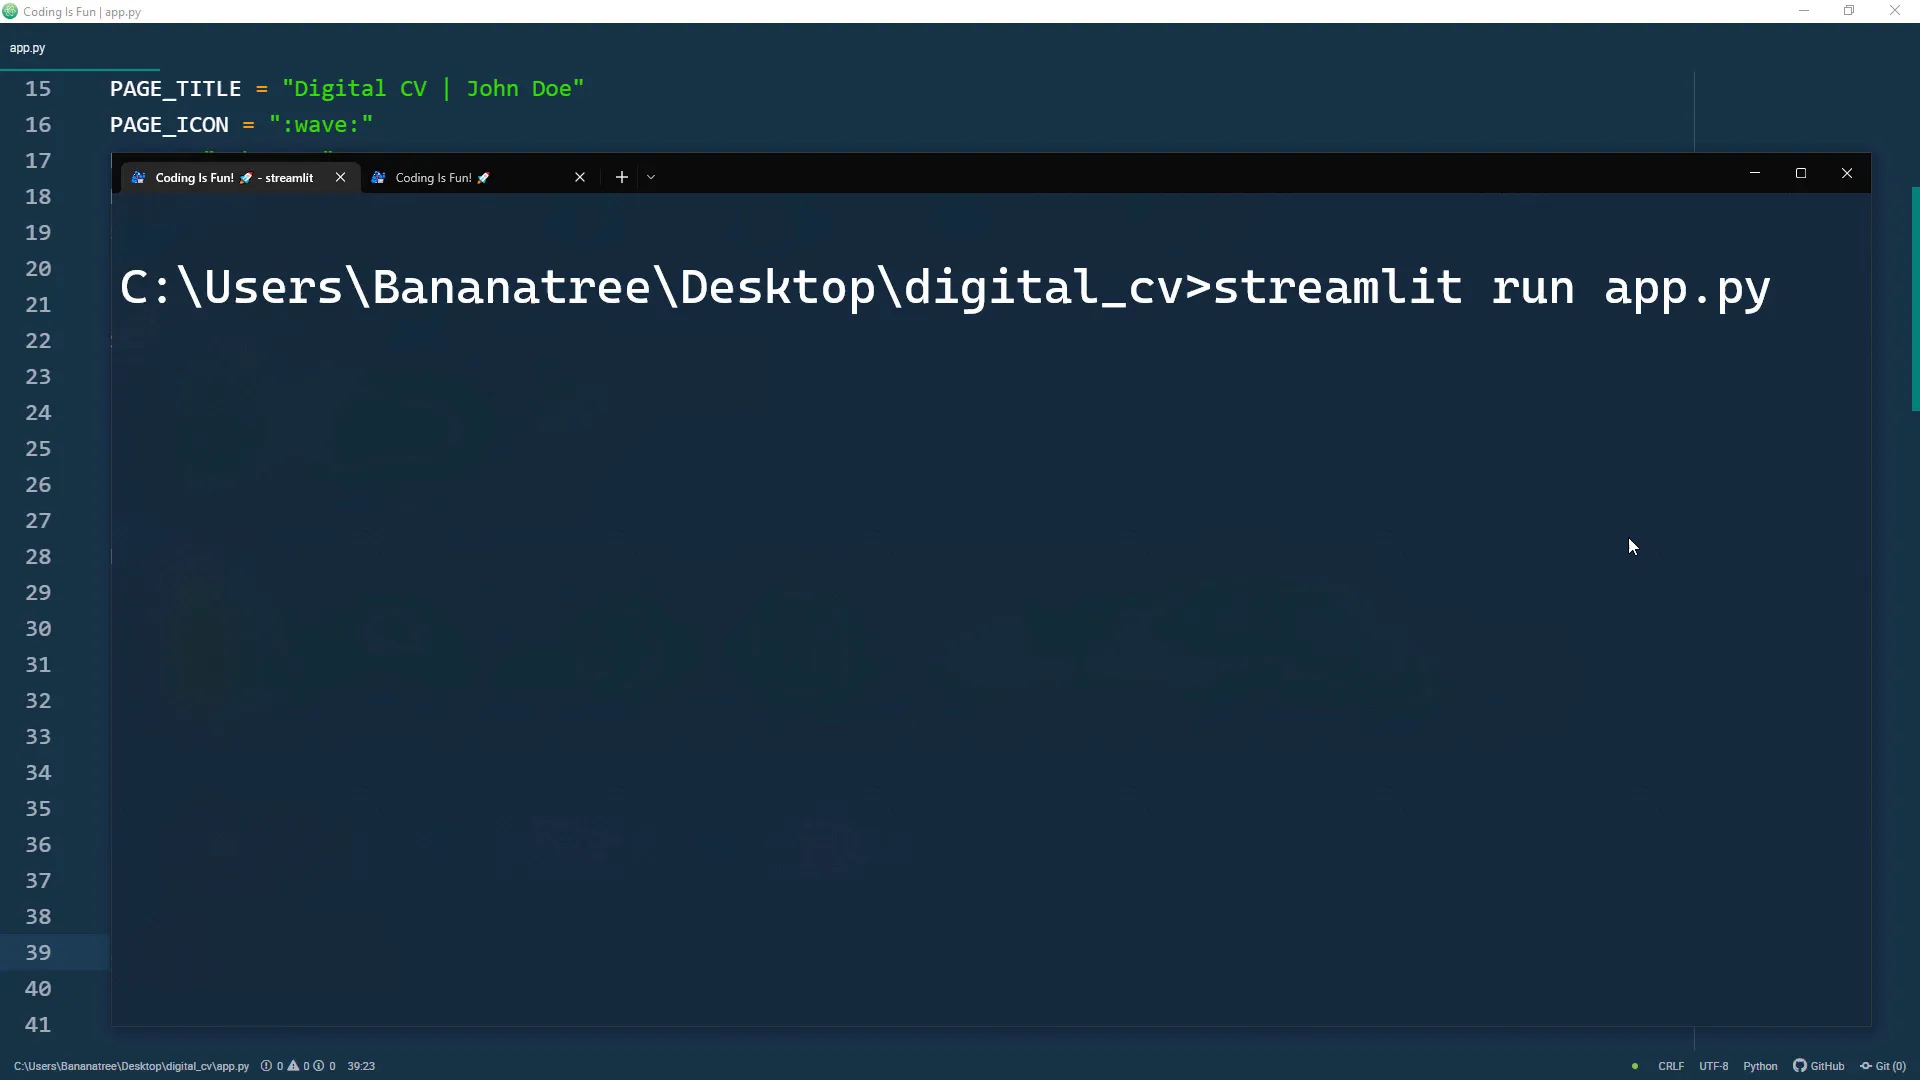
To run the app, save the script and type streamlit run app.py in your terminal. This will launch your default browser to display the web app.
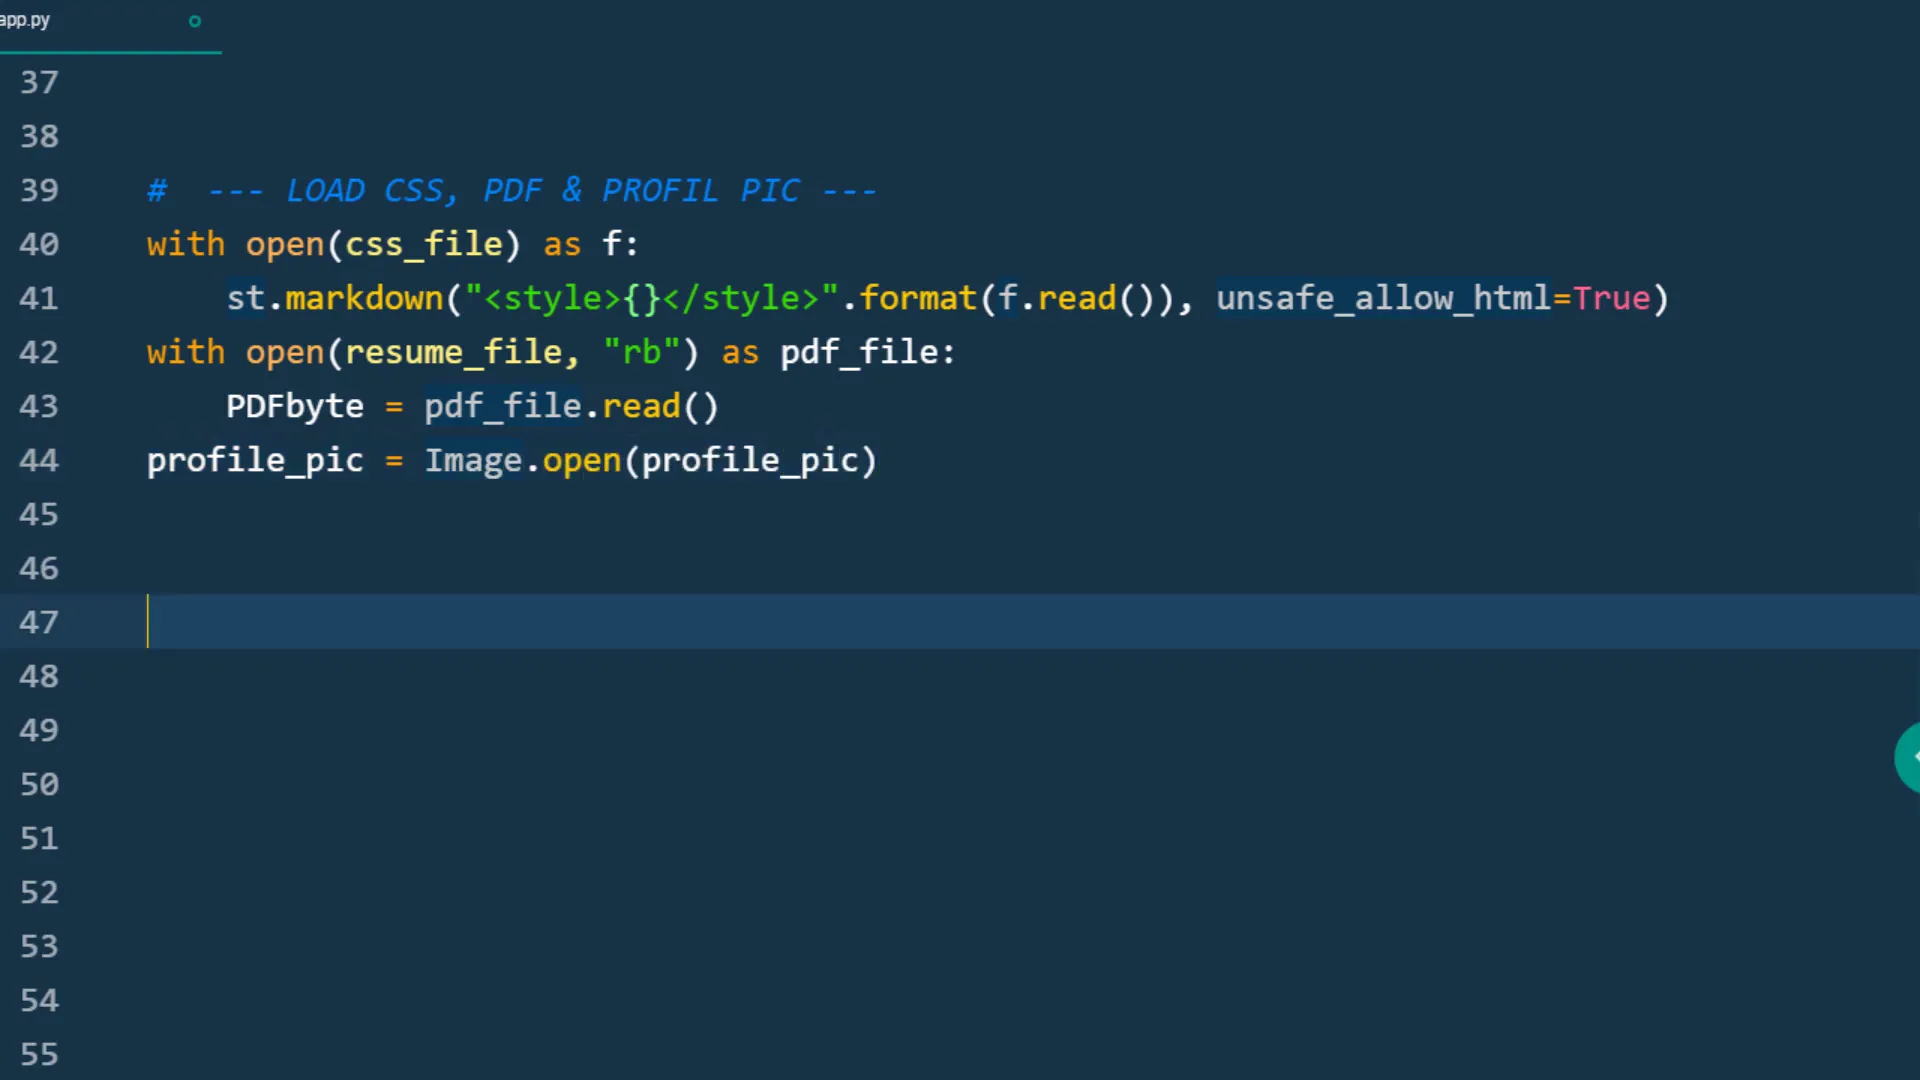
Loading the resources
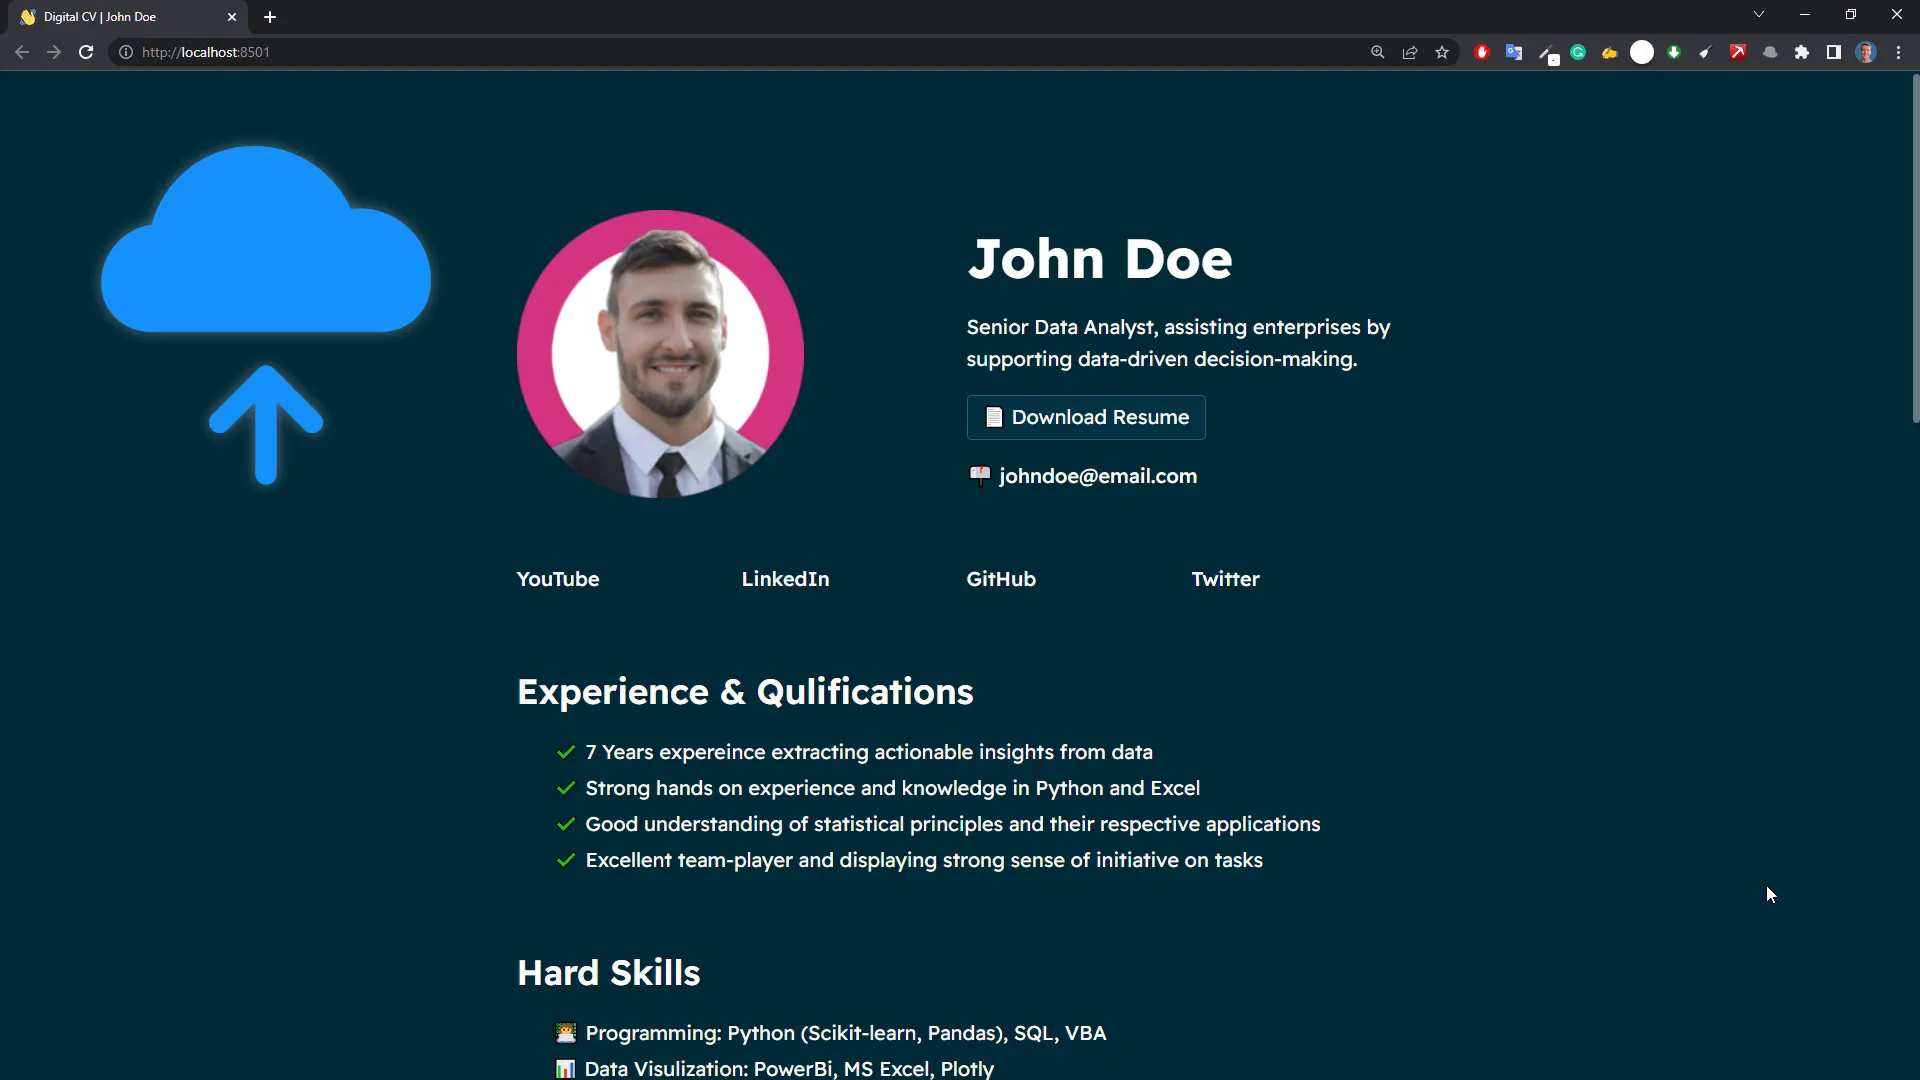
Let’s load our resources. I’ll read the resume file as binary and load our profile picture using Pillow. Then, I’ll create the hero section with two columns: one for the profile picture and the other for the name, description, and a download button for the PDF version of the CV.
Hero section
In the hero section, I’ll insert the profile picture and a button to download the PDF version of our resume. The download functionality seems to be working perfectly!

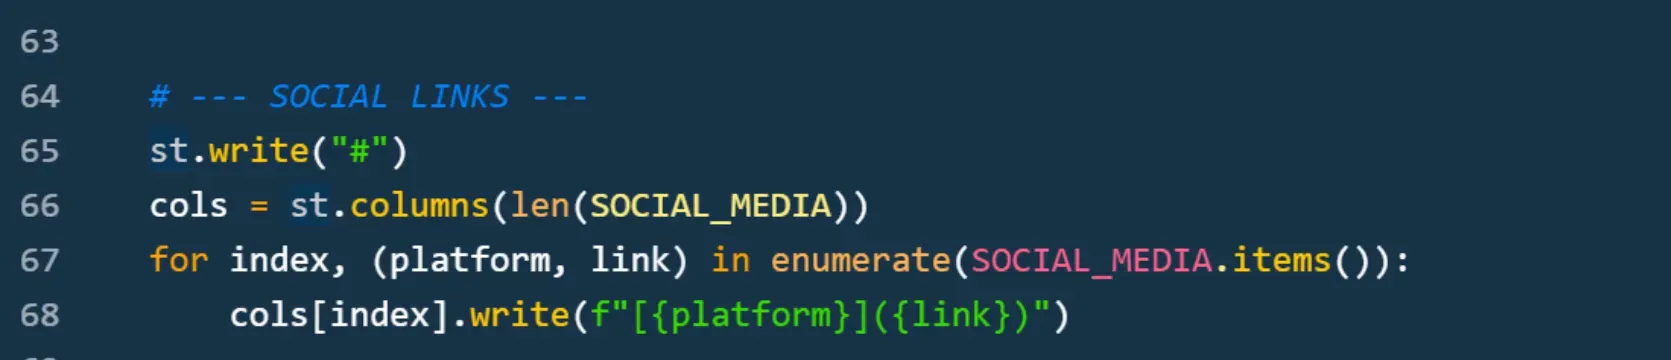
Social Links
Next, I’ll add social links defined in the general settings area. These links will be placed horizontally after the hero section. I’ll use a simple method to iterate over the dictionary and display the links dynamically.
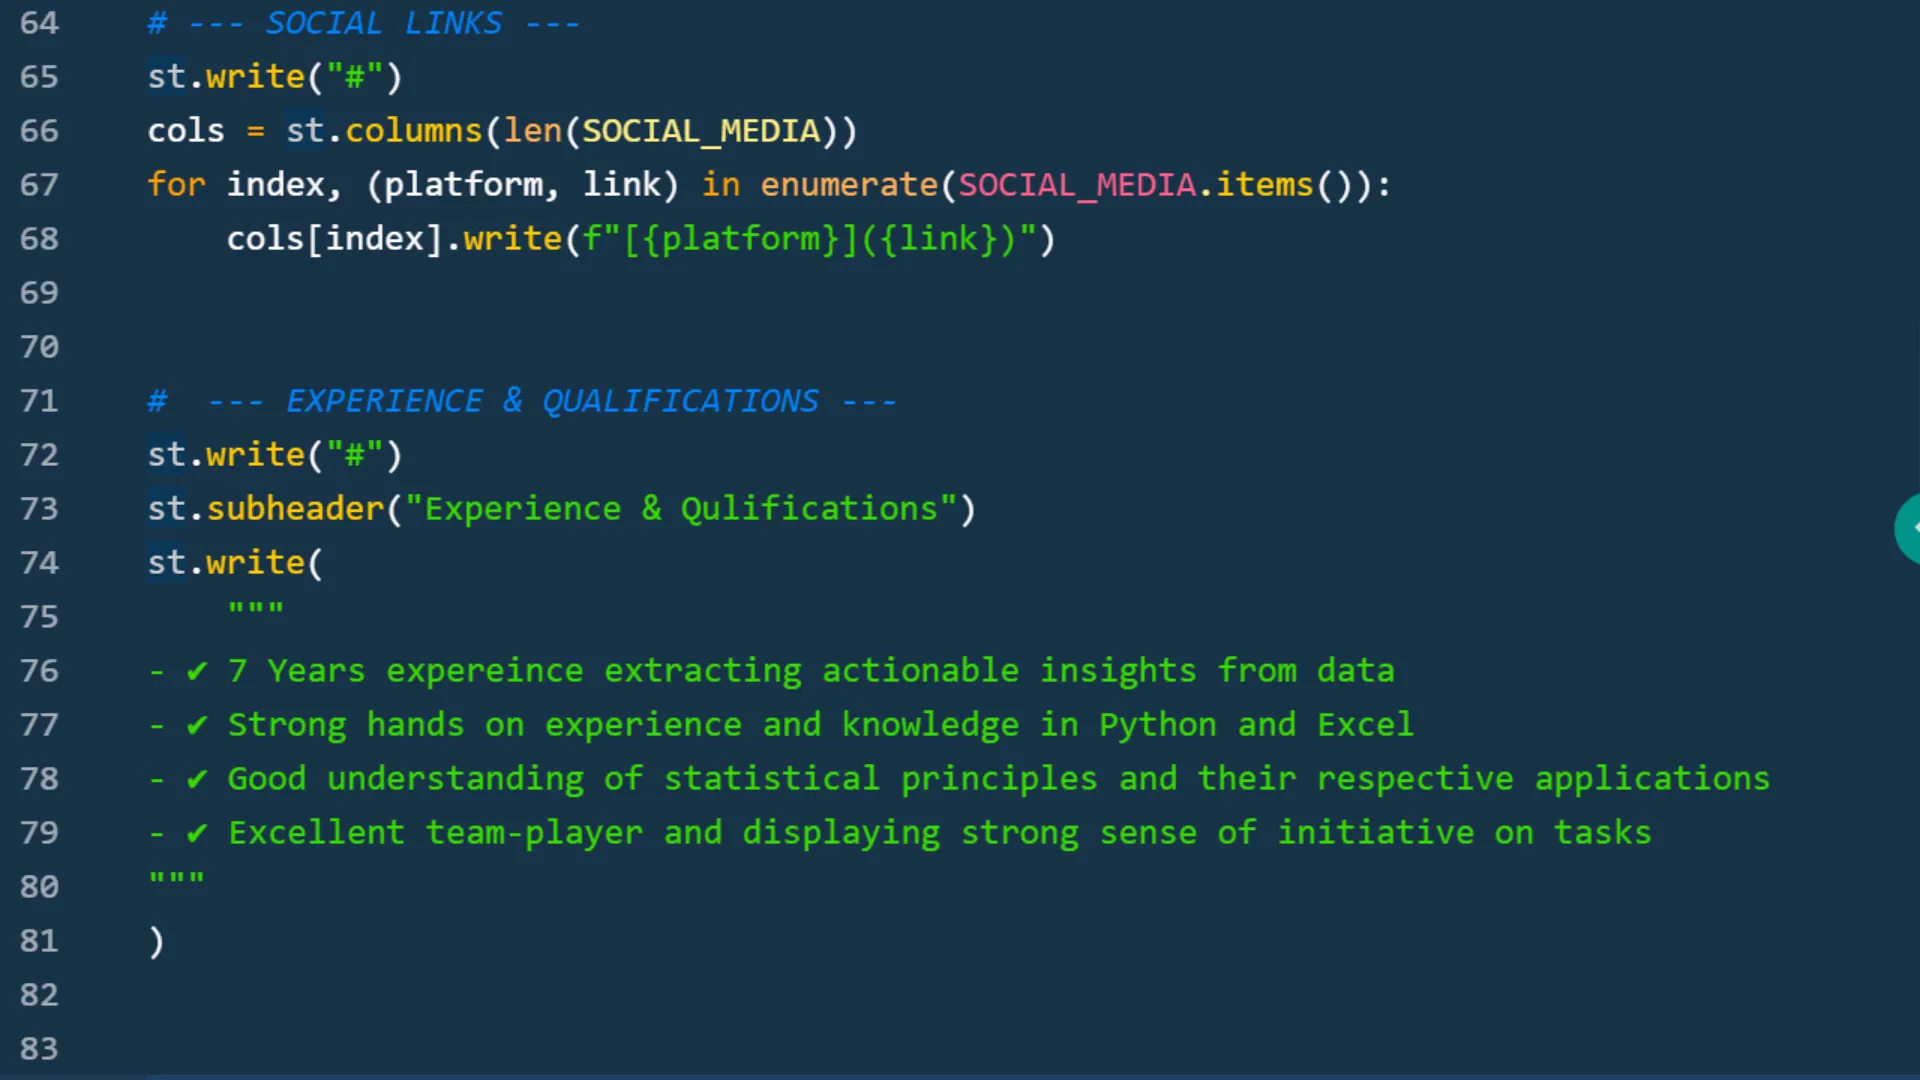
Experience and Qualifications
Moving on, I’ll list my experience and qualifications using bullet points. Streamlit recognizes a dash at the beginning as an unordered list. Below this, I will list my skills, using different emojis for each skill.
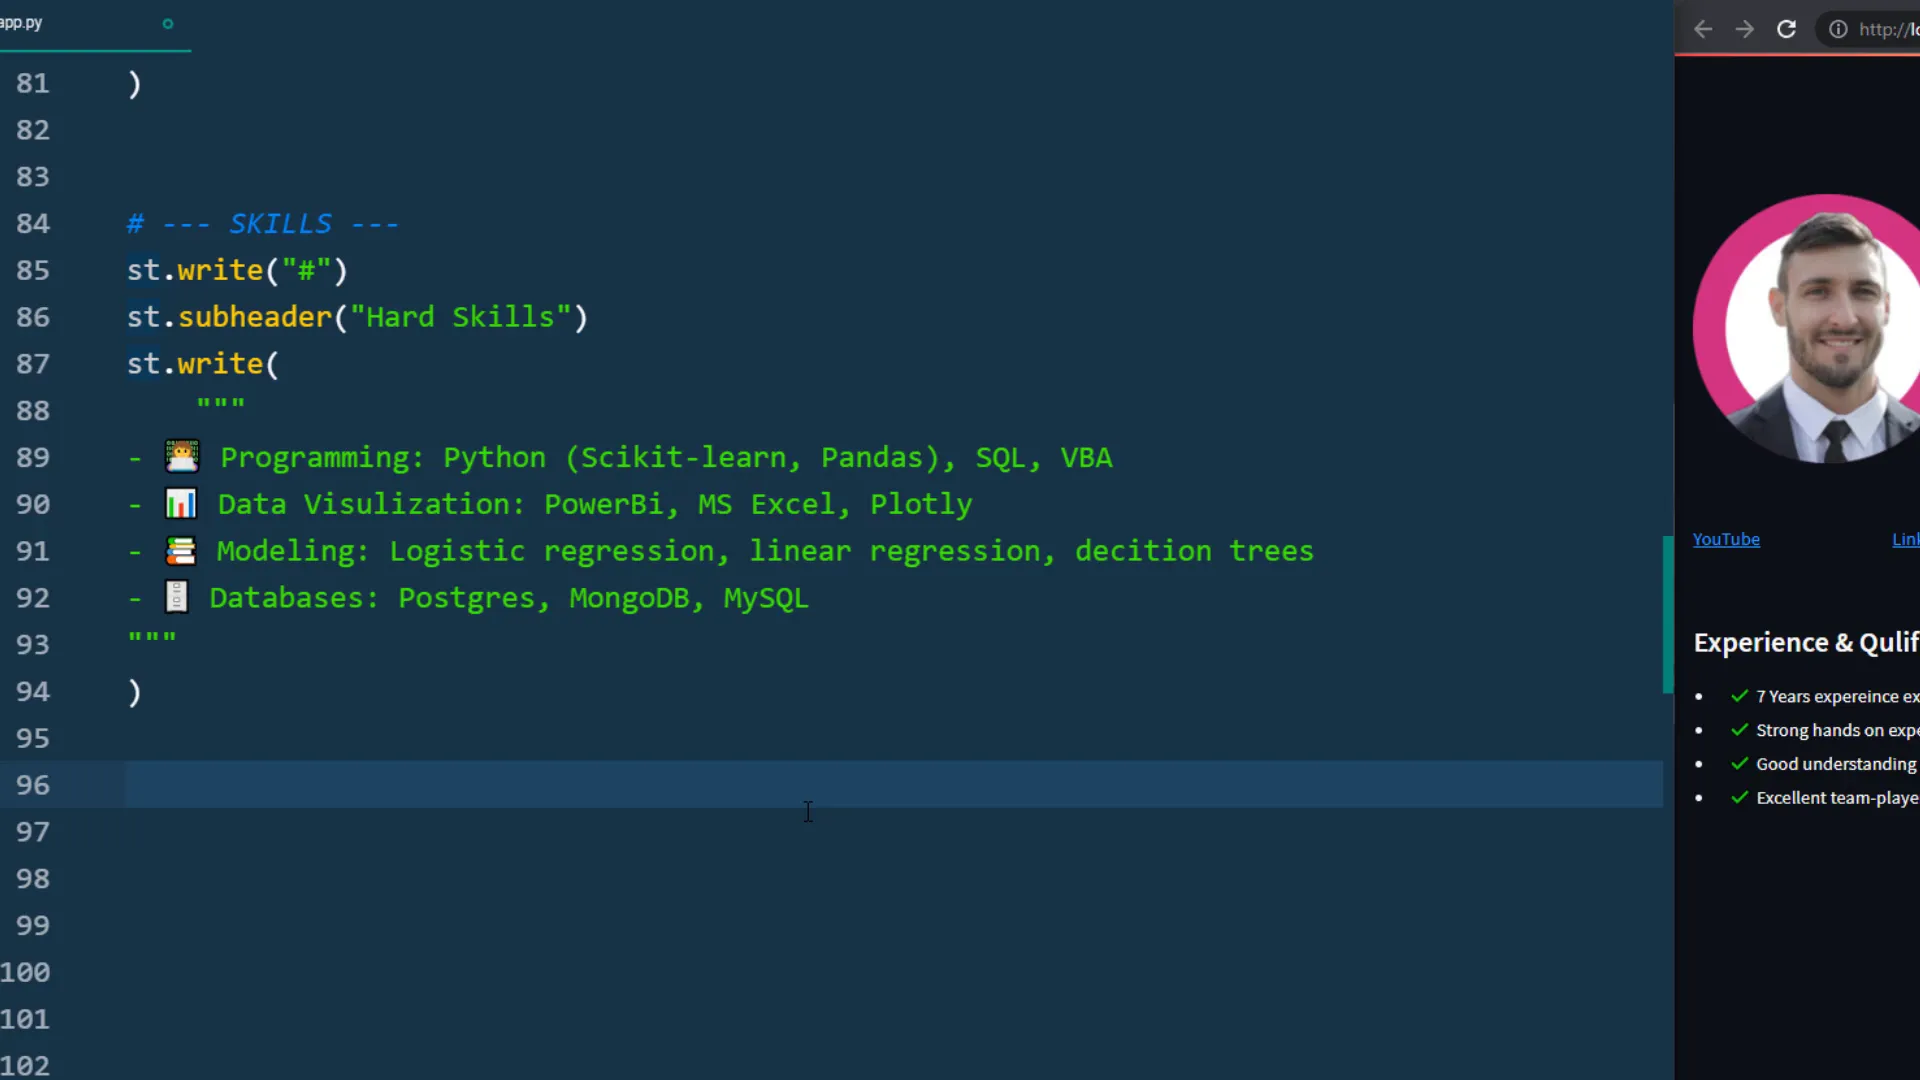
Hard Skills
I’ll create a similar section for my hard skills, showcasing what I bring to the table. This section will look visually cohesive with the experience section.
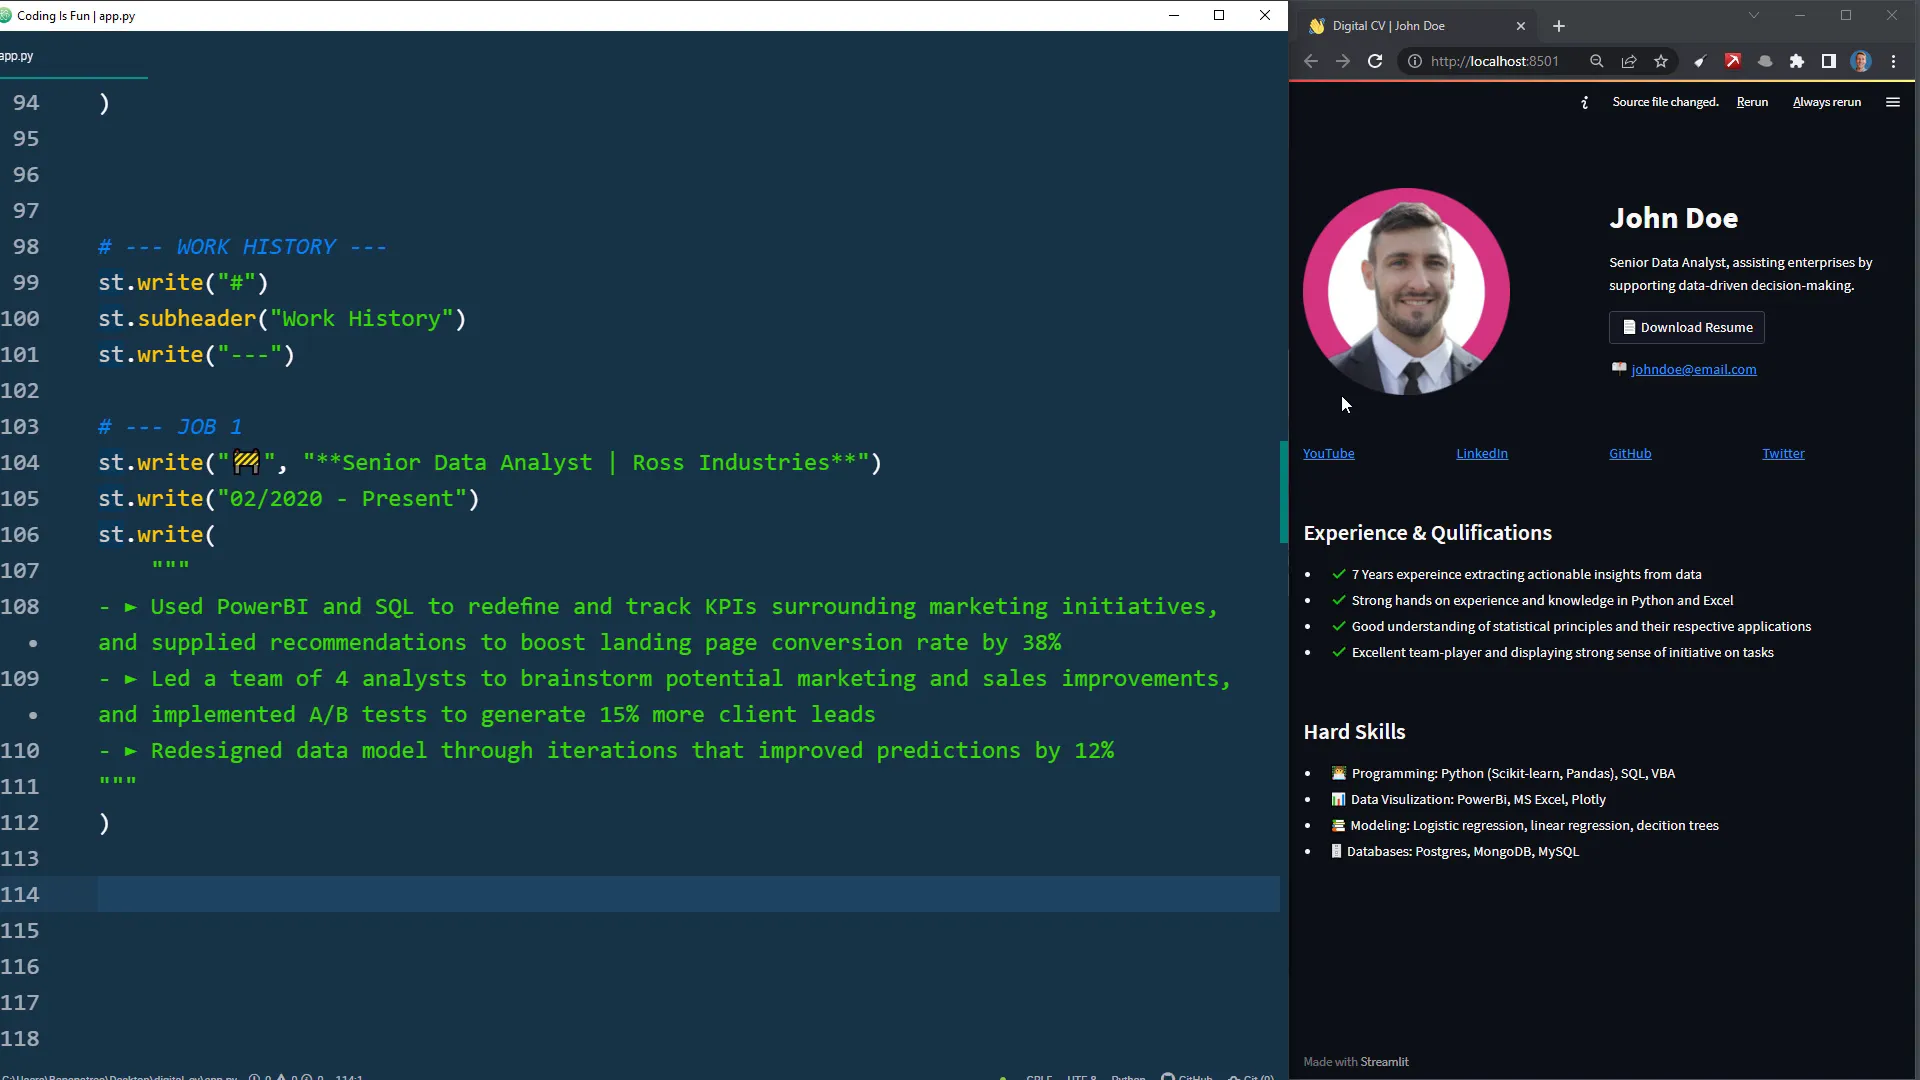
Work History
In this section, I’ll summarize my work history. I’ll insert a divider for visual separation and list my recent jobs with titles, companies, periods, and main tasks.
Projects and Accomplishments
Lastly, I’ll include links to my projects and accomplishments. This section will have its own subheader and will iterate over the project dictionary to display each project description and link.

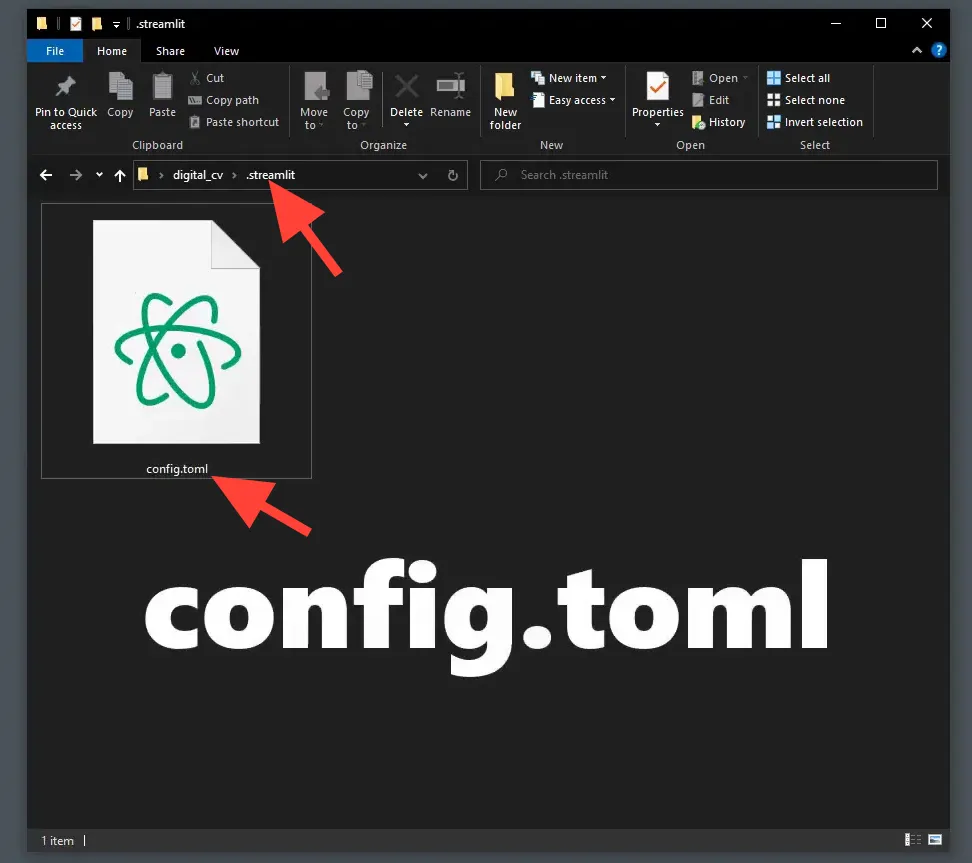
Styling the website
Now that we have the basic structure, let’s adjust the styling. I’ll create a .streamlit folder in the root directory and add a config.toml file to specify global settings like theme colors.
Deploy your website
As a final step, I’ll discuss deploying this website to the internet. I have a separate video that covers deploying to Heroku, which you can find linked in the description.
Outro
And there you have it! I hope you enjoyed building this digital CV in Python. If you have any questions or feedback, feel free to leave a comment. Thanks for reading!