Build & Deploy a Website in 7 Minutes using Python
Introduction
Creating a website has never been easier, especially with the help of Python and Streamlit. In this post, I’ll walk you through the steps of building a simple yet interactive website, complete with animations and the ability to personalize it using query parameters.
Getting Started
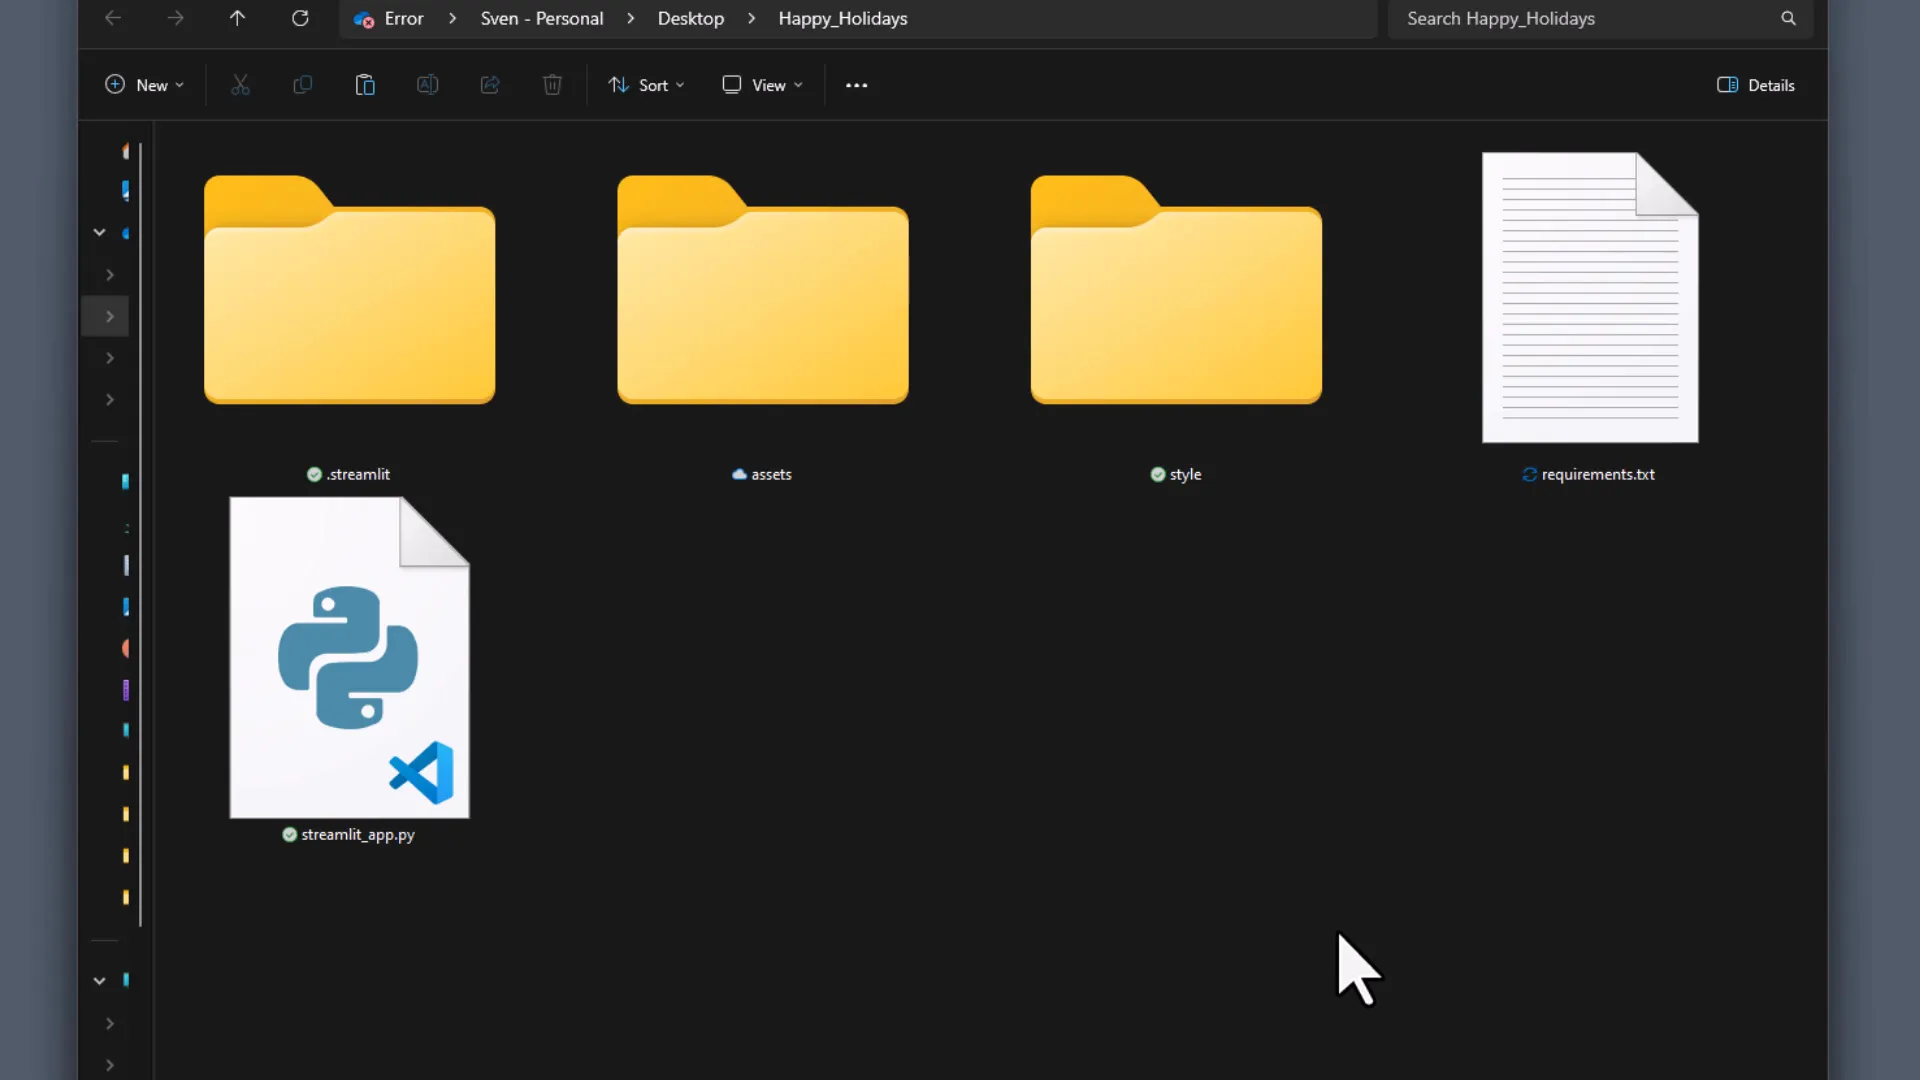
To kick things off, let’s create a structured folder setup. I’ll be creating the following directories:
- .streamlit
- assets
- style
Once these folders are created, we’ll add the necessary files. The main Python file will be named streamlit_app.py, and we’ll also create a requirements.txt file to specify the packages needed for deployment.
Configuring Streamlit
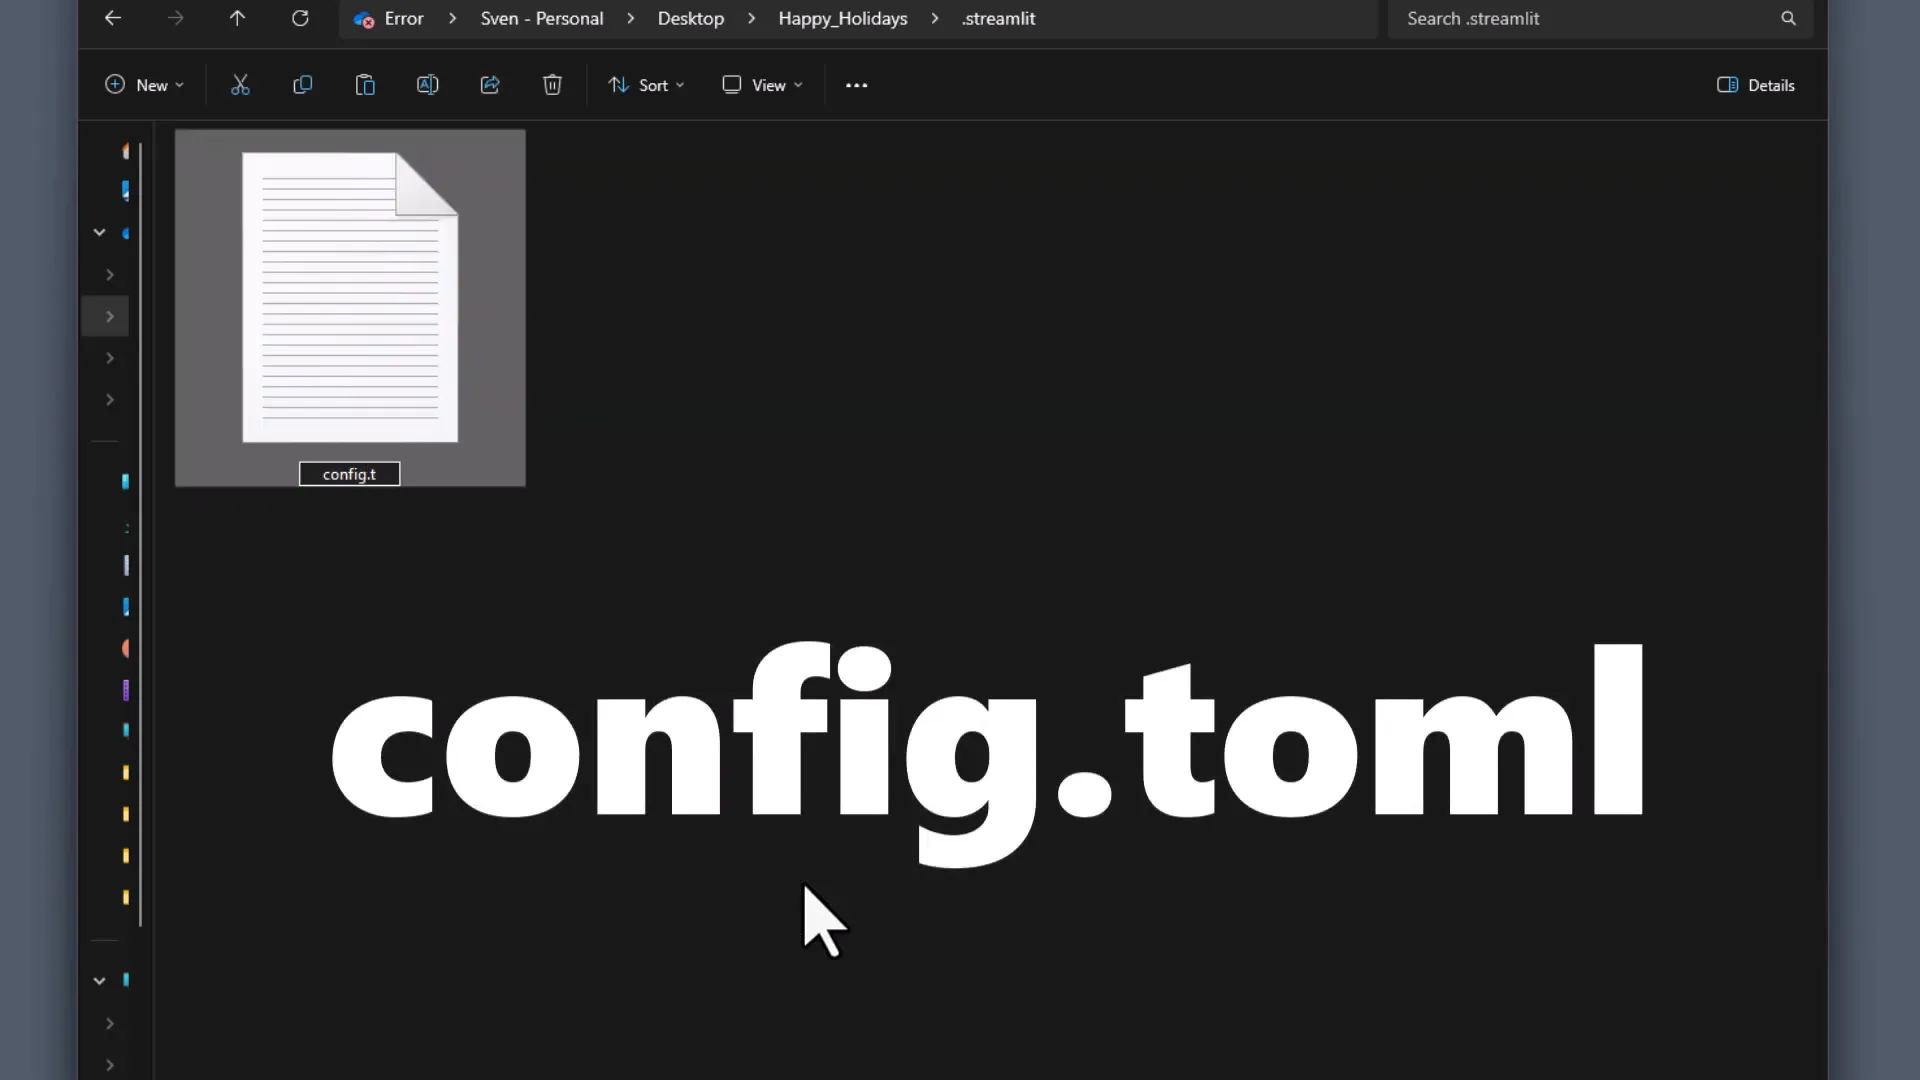
Next, we need to set up our configuration file. Inside the .streamlit folder, I’ll create a config.toml file. This file is optional but allows us to specify theme colors for our app. If you’d like to mimic my app’s colors, feel free to grab my configuration from the GitHub repository.
Adding Animations
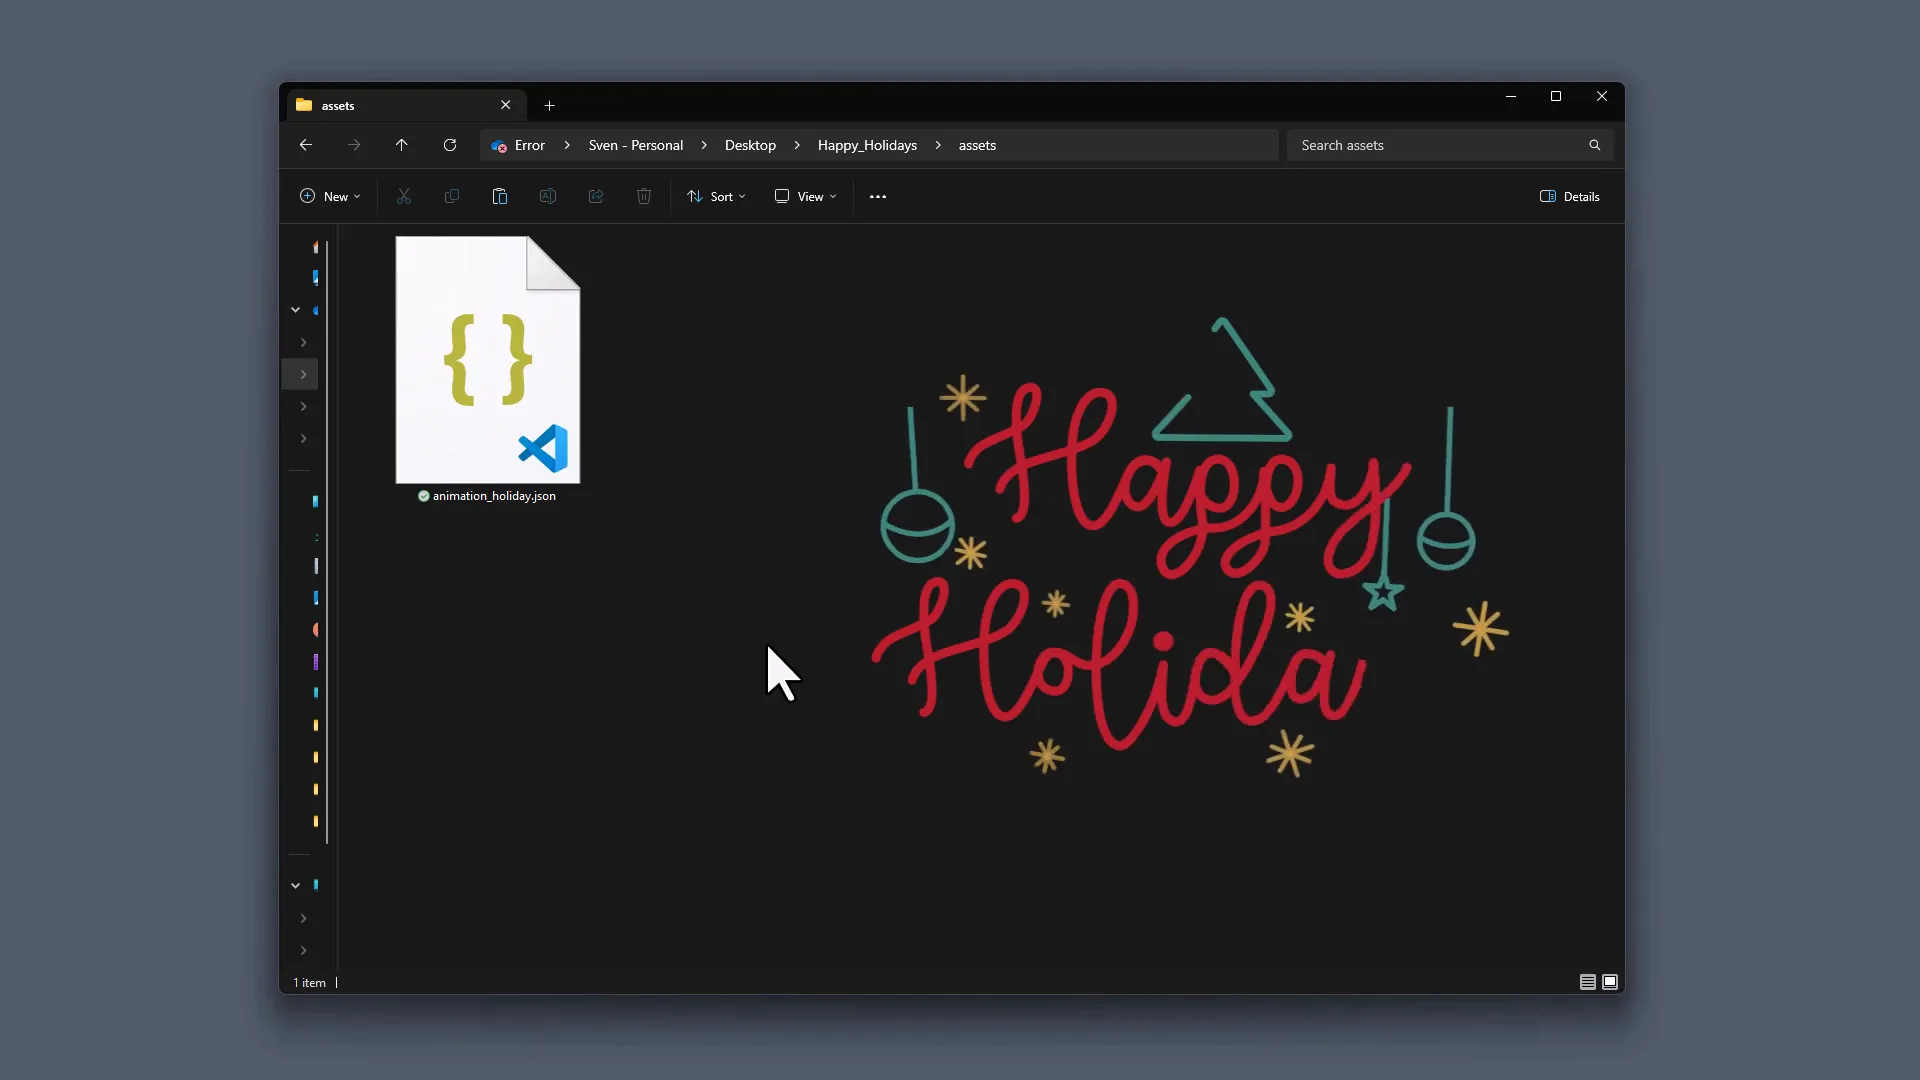
To make our app visually appealing, we’ll insert a Lottie animation. I’ll place a “Happy Holidays” animation in the assets directory. You can find various animations for free on LottieFiles.com. Just download the animation as a JSON file.
Styling the App
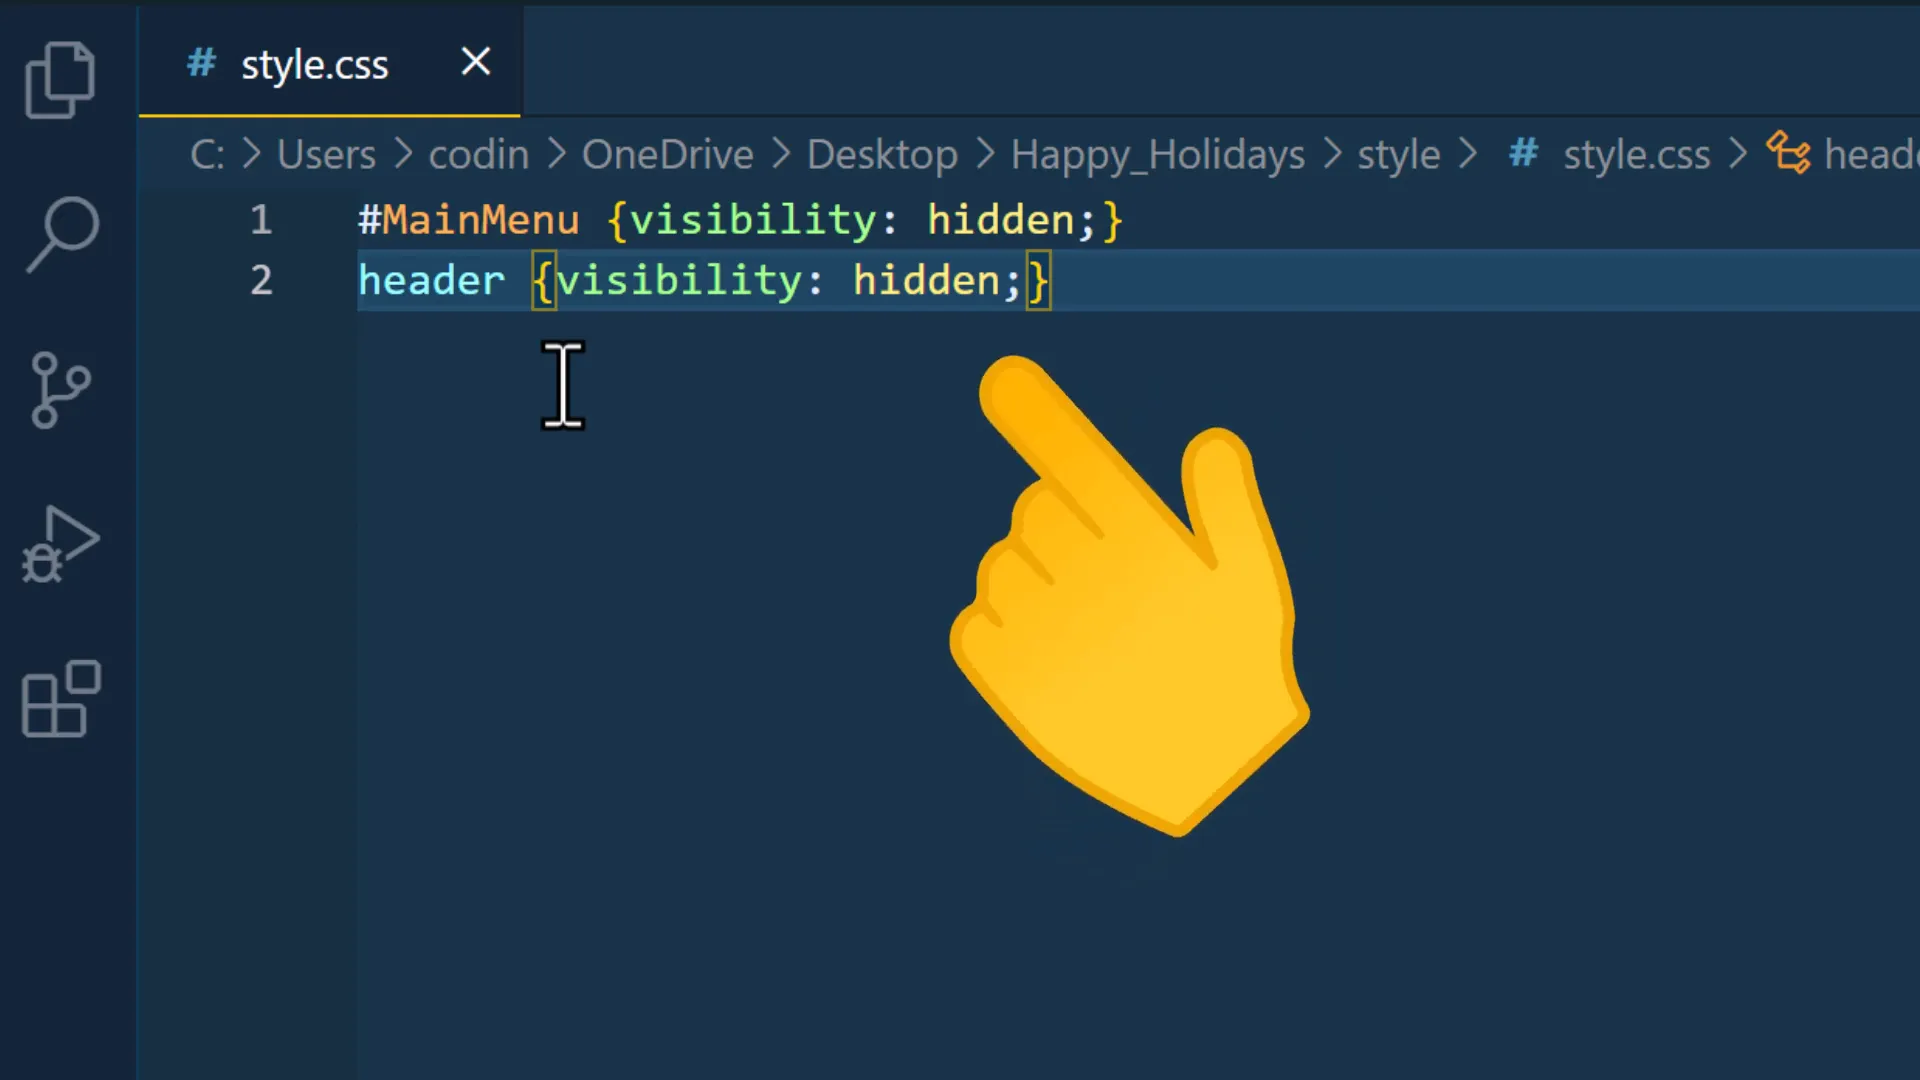
In the style directory, I’ll create a style.css file to hide default elements like the colorful header and hamburger menu. This will give our app a cleaner look.
Setting Up Requirements
Now it’s time to specify the packages we’ll need in our requirements.txt file. We’ll include:
- Streamlit
- Streamlit Extras for the snowflake animation
- Streamlit Lottie for inserting the animation
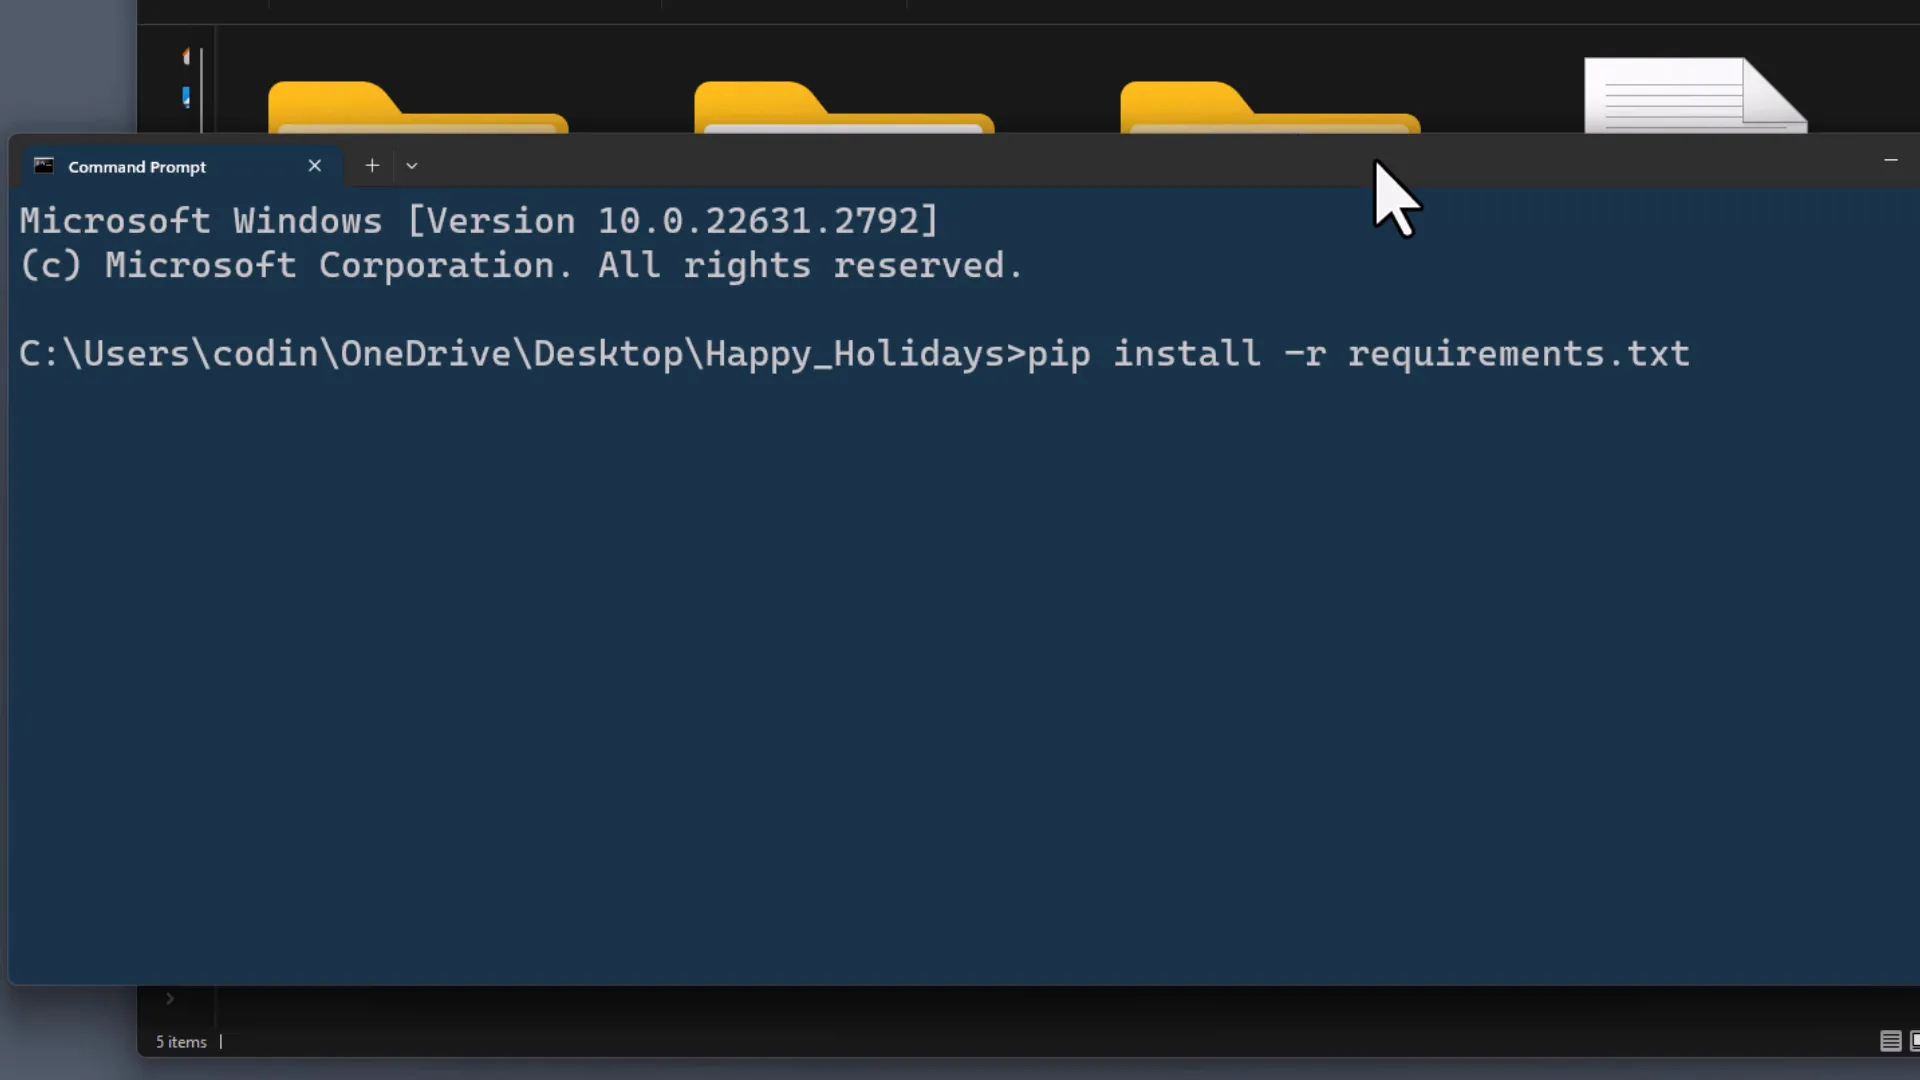
After saving the file, I’ll install these packages using the command pip install -r requirements.txt.
Writing the Python Code
Let’s jump into coding. I’ll start by importing the necessary packages, including pathlib and json for handling file paths.
Next, I’ll define the paths to our CSS and assets directories. We’ll also create functions to load the Lottie animation and implement the snowfall effect using the Streamlit Extras package.

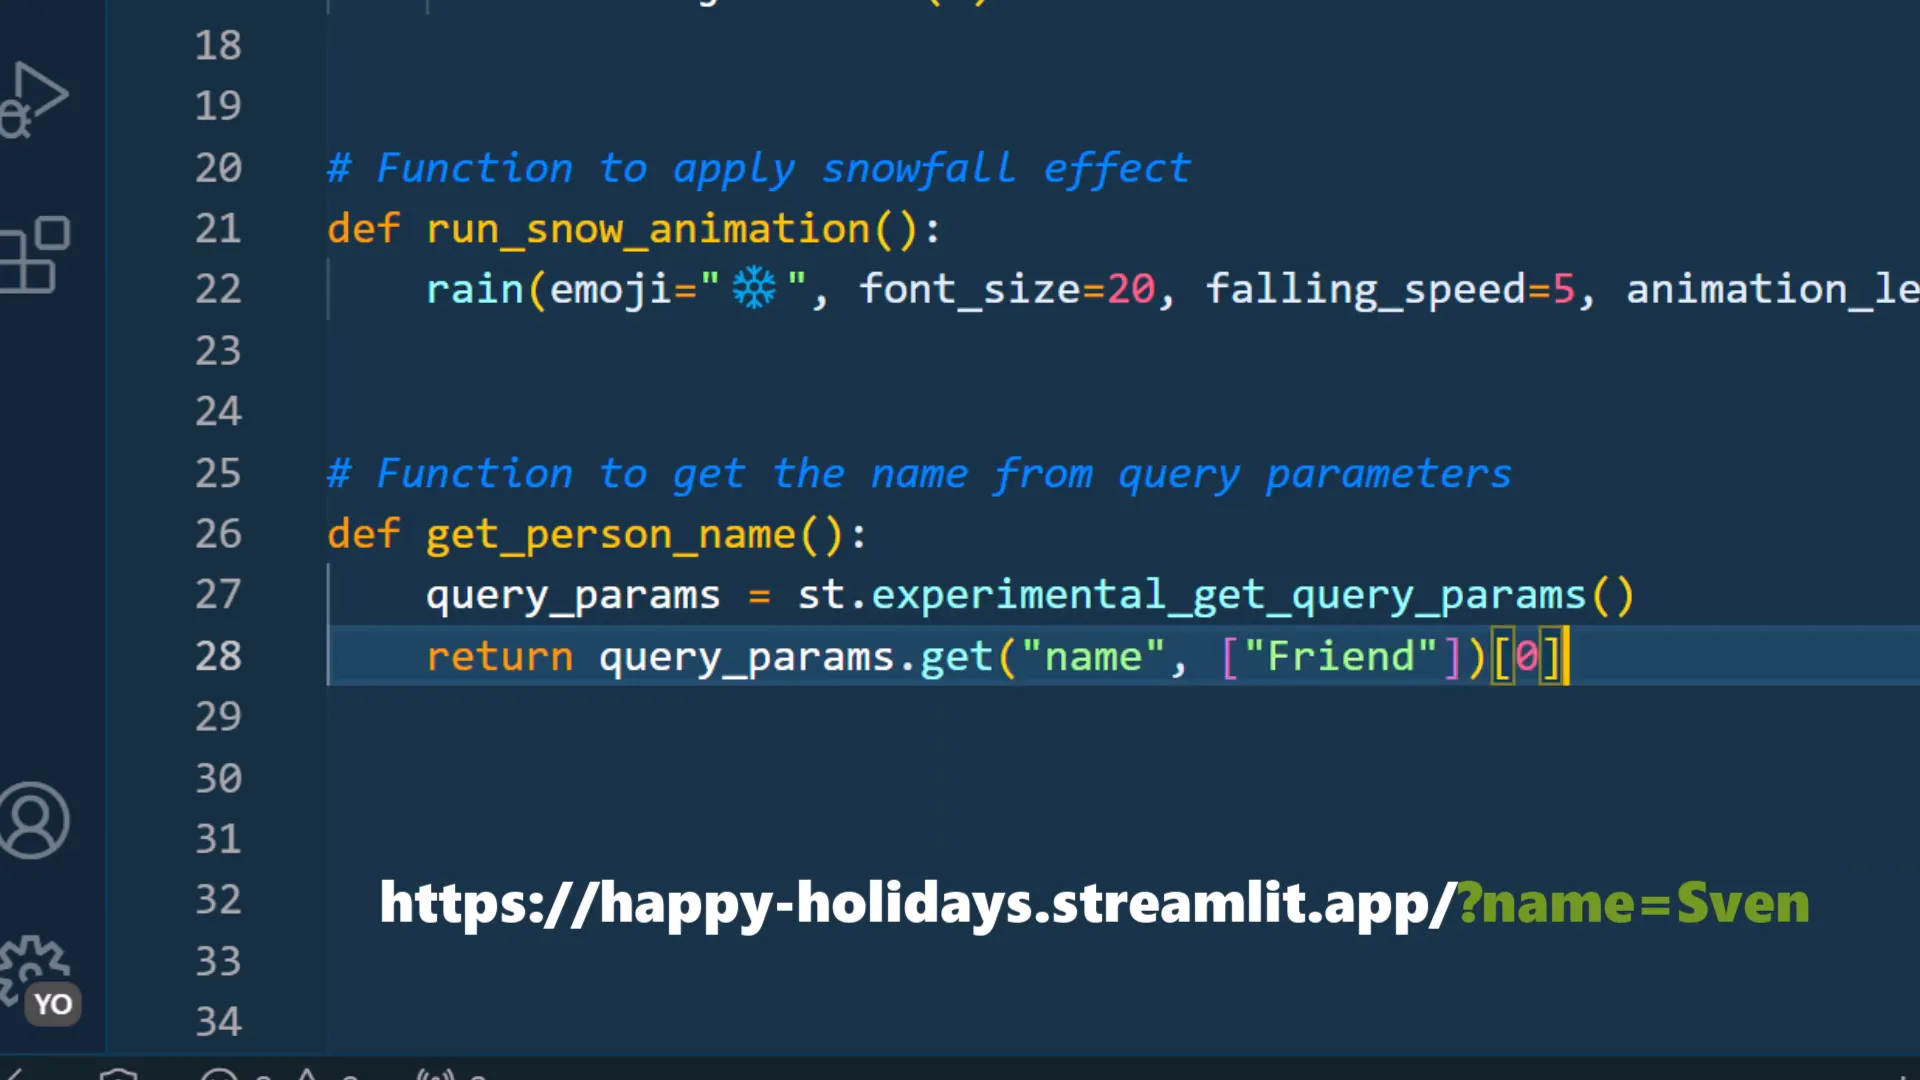
Personalizing the App
One of the exciting features of our app will be the ability to personalize it using query parameters. For example, if the URL includes a name, that name will be displayed on the page. If no name is provided, it will default to “friend”.
Deploying the App
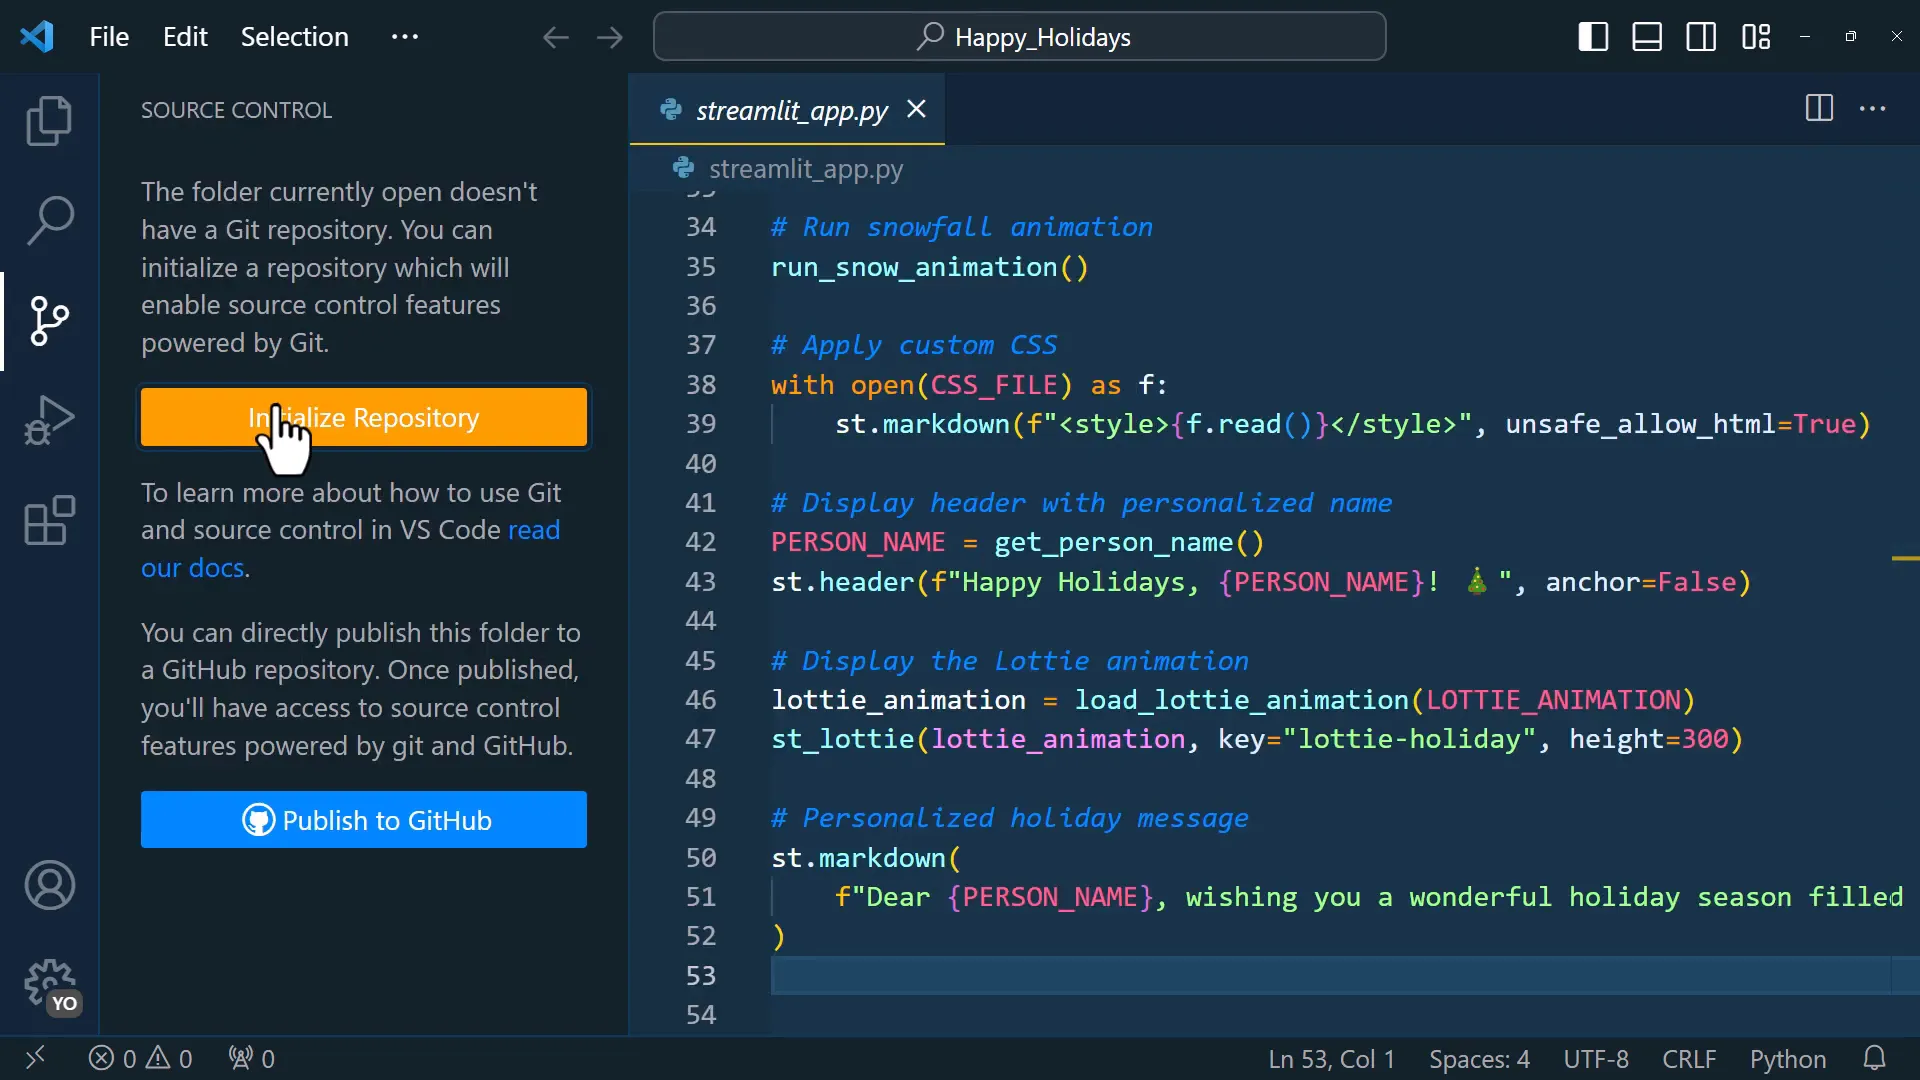
Once the app is running smoothly on my local machine, it’s time to deploy it. I’ll be using the Streamlit Community Cloud for this. Before deploying, I need to push my code to GitHub. I’ll initialize a git repository, commit my changes, and publish the branch to GitHub.
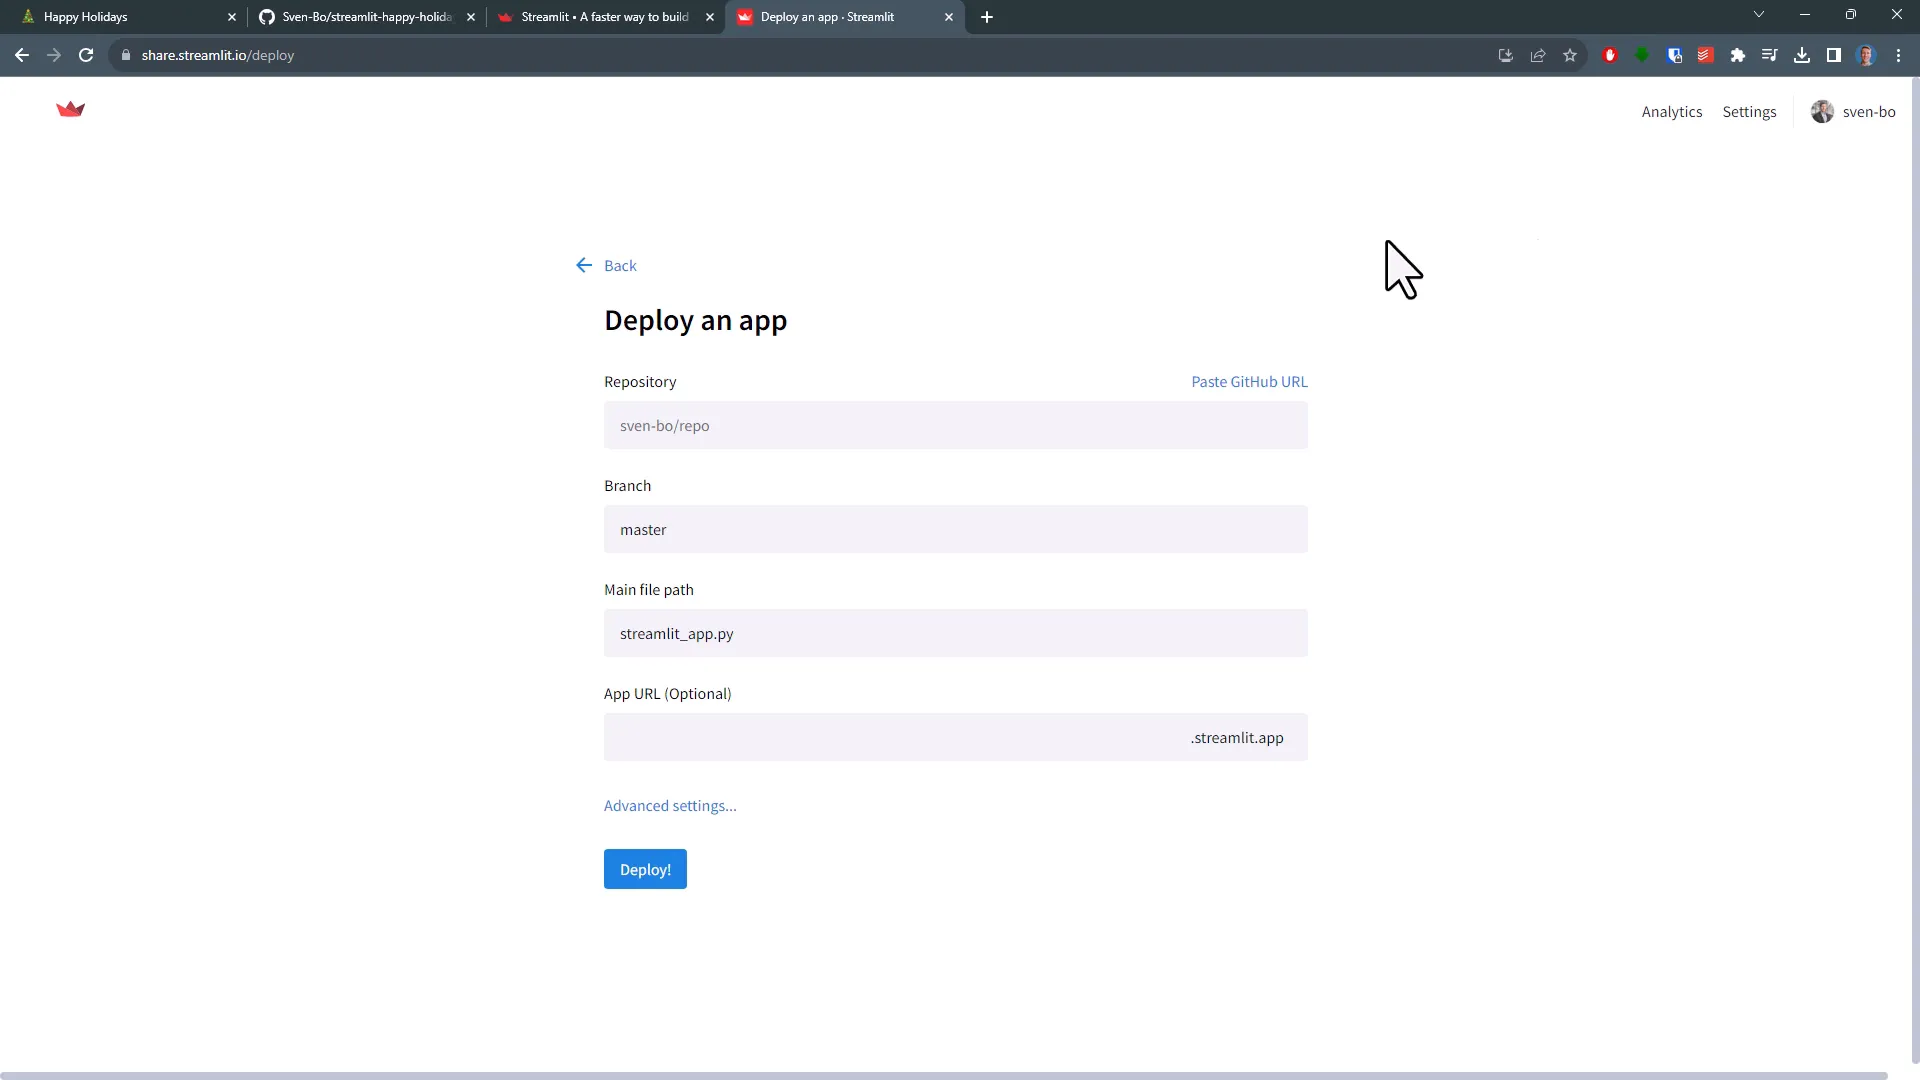
Final Steps in Deployment
After pushing to GitHub, I’ll navigate to the Streamlit Cloud, log in, and create a new app using the repository I just deployed. After a brief moment, my app will be live on the internet!
Conclusion
This project demonstrates how easy it is to create and deploy a simple interactive website using Python and Streamlit. The ability to personalize the site with query parameters and add animations enhances user engagement and makes the app visually appealing. As you explore this, consider how you might expand upon this foundation for your own projects!