Install Miniconda (Python) with Jupyter Notebook and Setting Up Virtual Environments on Windows 10

Installation Miniconda
To kick things off, I need to install Python on my Windows machine. Since I currently don’t have Python installed, typing python in the command prompt shows that it is not recognized. To get started, I’m going to use Miniconda, a distribution of Python.
First, I’ll head over to the Miniconda website to download the latest version of Python. As of now, Python 3.8 is the latest version available. Once downloaded, I’ll open the installer, click Next, and confirm the license agreement.
For the installation type, I recommend installing it for the current user to avoid any admin conflicts. I’ll leave the installation path as the default. An important step is to tick the box that adds the path to the Python executable. This allows me to access Python from anywhere in my command prompt without specifying the full path.
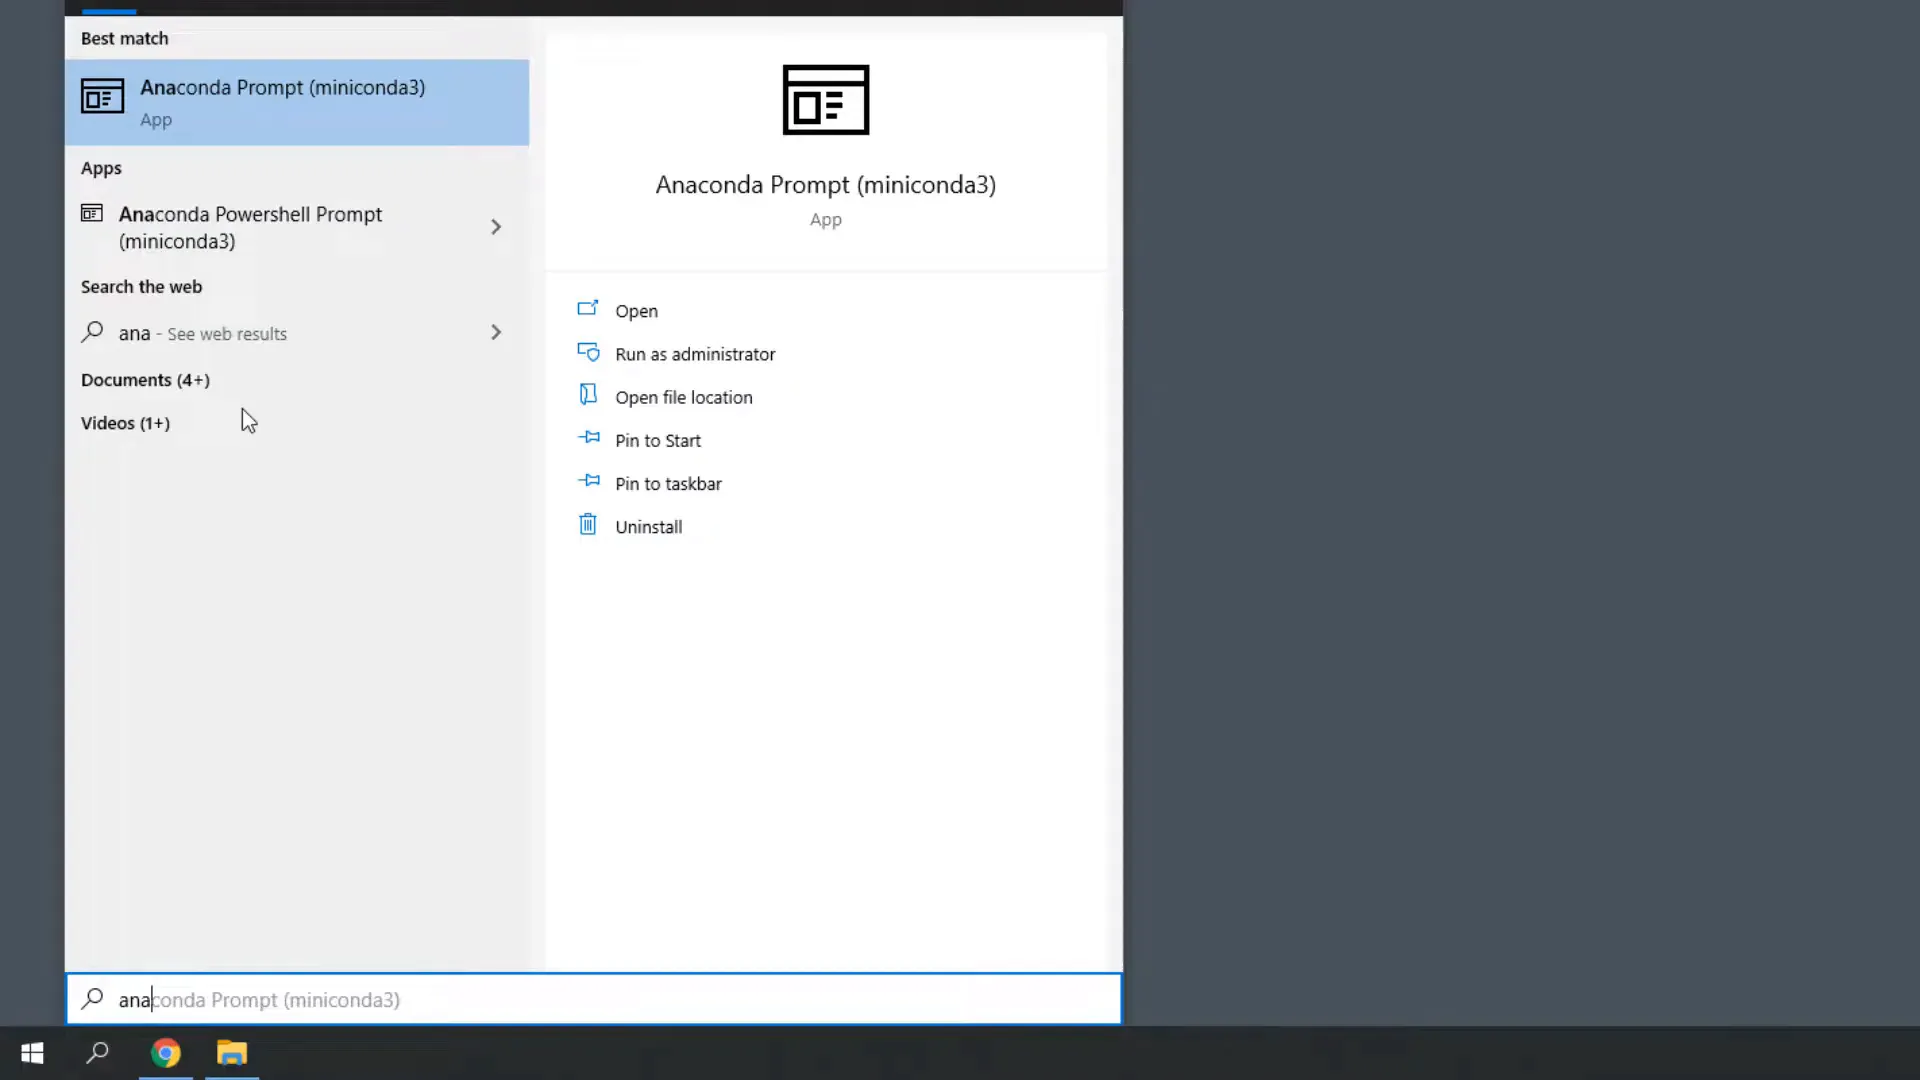
After completing the installation, I can launch the Anaconda prompt by typing anaconda in the Windows search bar. To validate the installation, I can type python and press enter. This should show the Python version, and I can even execute Python code directly in this terminal.
What are Virtual Environments?
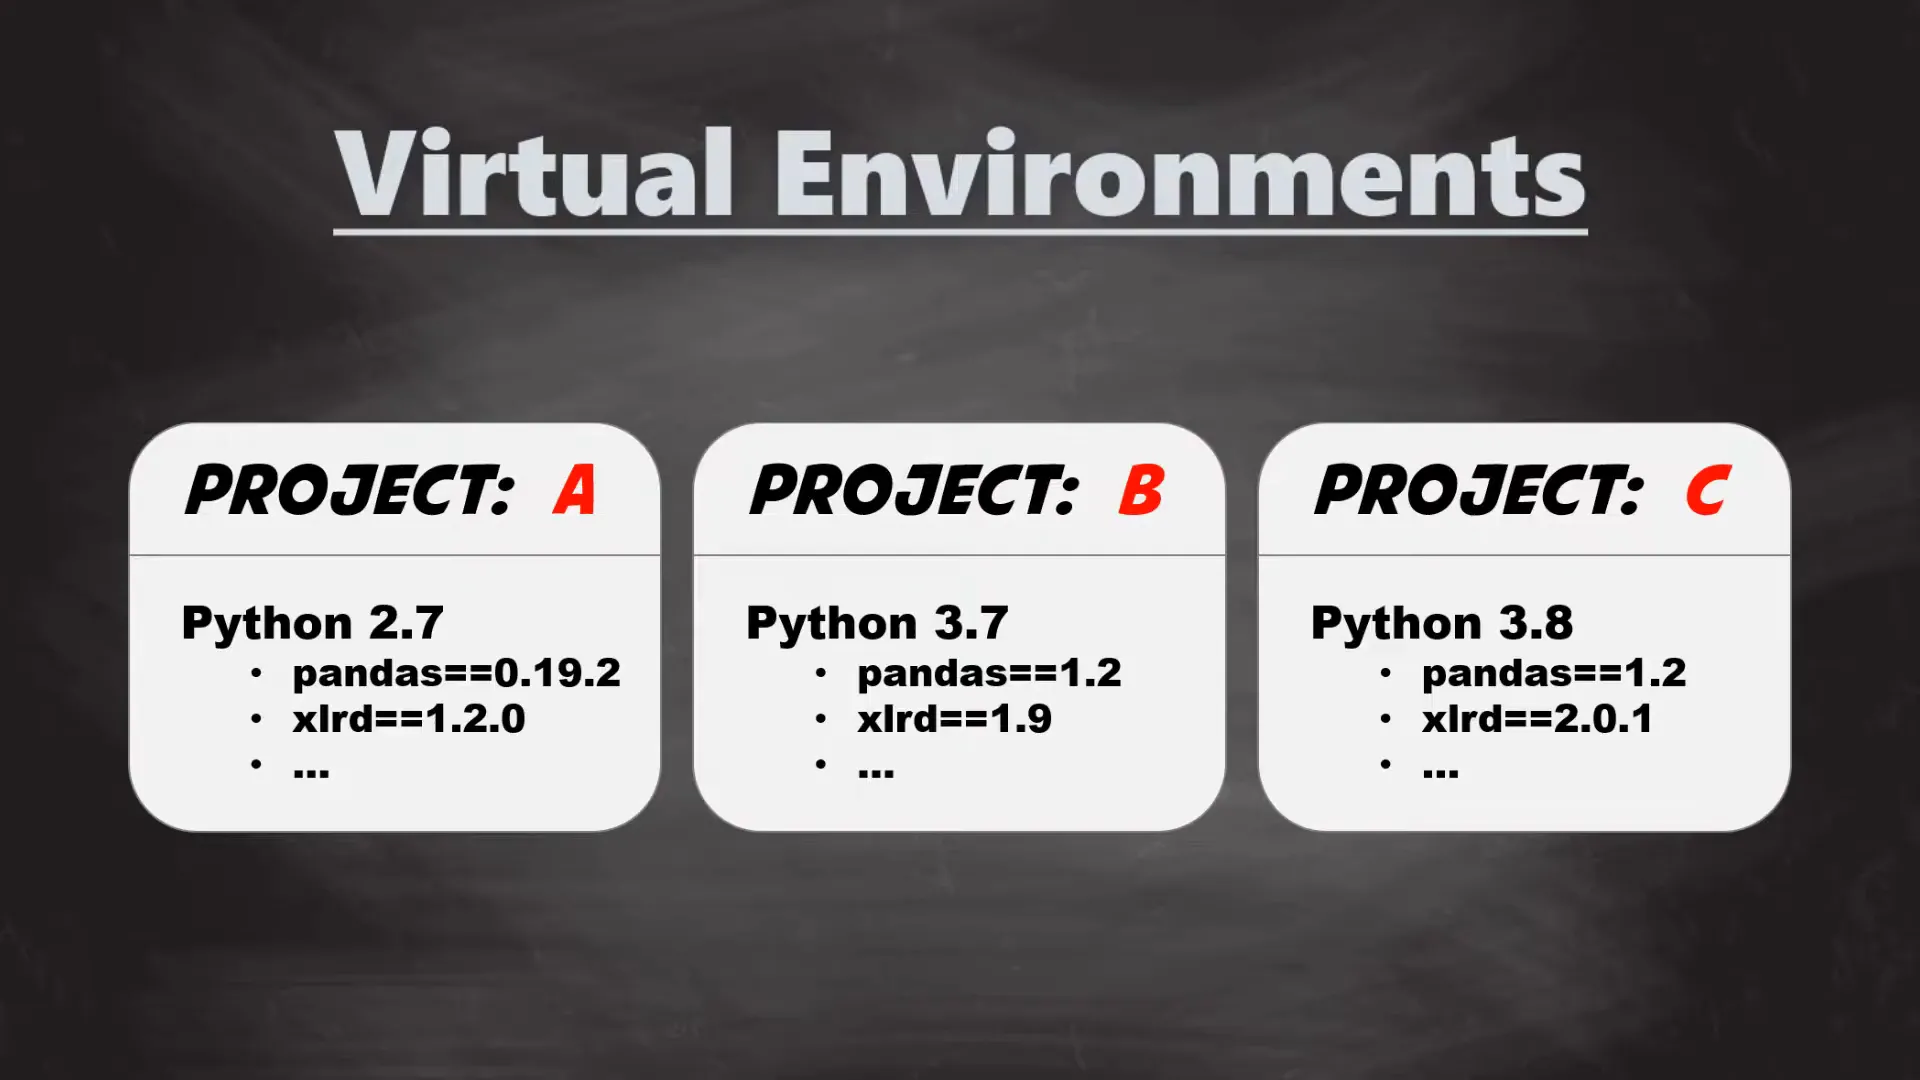
Now, let’s talk about the concept of virtual environments. The primary purpose of a Python virtual environment is to create an isolated space for each Python project. This means that every project can have its own dependencies without interfering with others. Think of it like trying to install an old Windows 95 software on Windows 10; it’s likely to face compatibility issues.
With virtual environments, I can freeze the current version of Python and the libraries used for a specific project. This practice ensures that my projects remain stable over time, even as libraries evolve.
How to create Virtual Environments?
To create a new environment, I’ll use the command conda create -n my_env, where my_env is the name of my environment. I can name it anything I like. In this environment, I’ll install Python, and I can specify a version if needed. For instance, I could install Python 3.7 even though my base environment has Python 3.8.
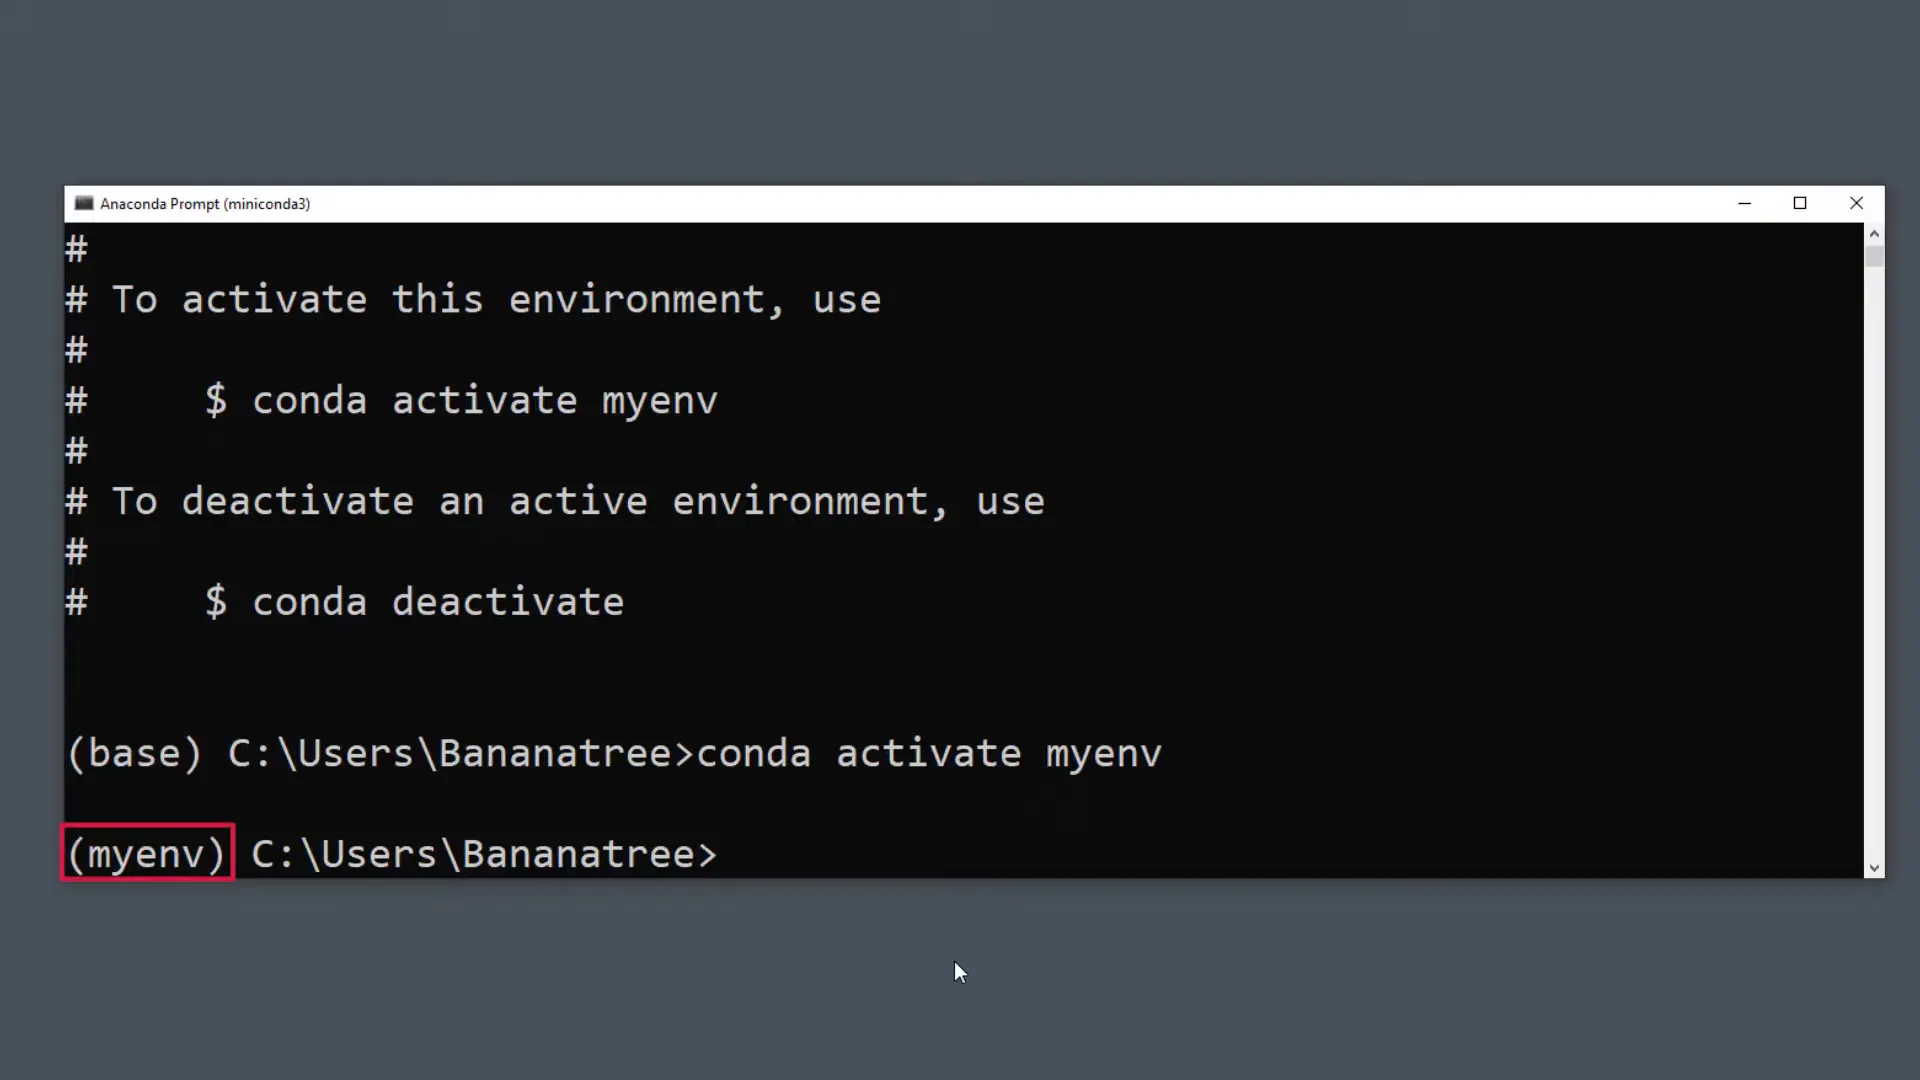
Once I confirm the installation, I need to activate the environment using conda activate my_env. After activation, the command prompt will show that I’m now in the my_env environment.
I can check the list of libraries installed in this environment using pip freeze. For this example, I’ll install the library pandas using pip install pandas.
Installation Jupyter Notebook
To use Jupyter Notebook, I first need to install it in my environment. This can be done by typing pip install jupyter. Once installed, I can open Jupyter Notebook by typing jupyter notebook in the command prompt.
Practical Example Using Virtual Environments
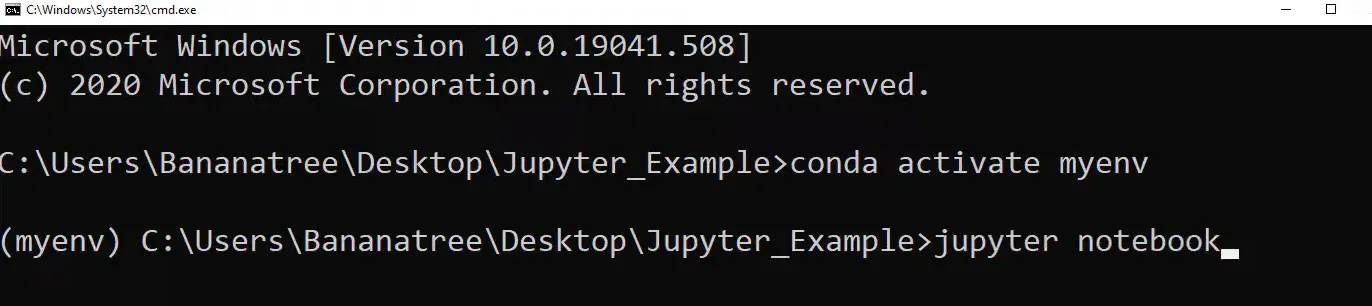
Let’s see how virtual environments can be beneficial with a practical example. In a specific folder, I have an Excel file that I want to manipulate using the pandas library in Jupyter Notebook. Once I navigate to this folder via command prompt, I’ll activate my environment and run jupyter notebook.
A browser window will open, displaying all files in the current directory. I can create a new workbook by selecting New and then Python 3. After importing pandas, I’ll attempt to read the Excel file using the read_excel method.
However, I encounter an error stating that I’m missing the optional dependency xlrd. To fix this, I’ll install the library xlrd in my environment.
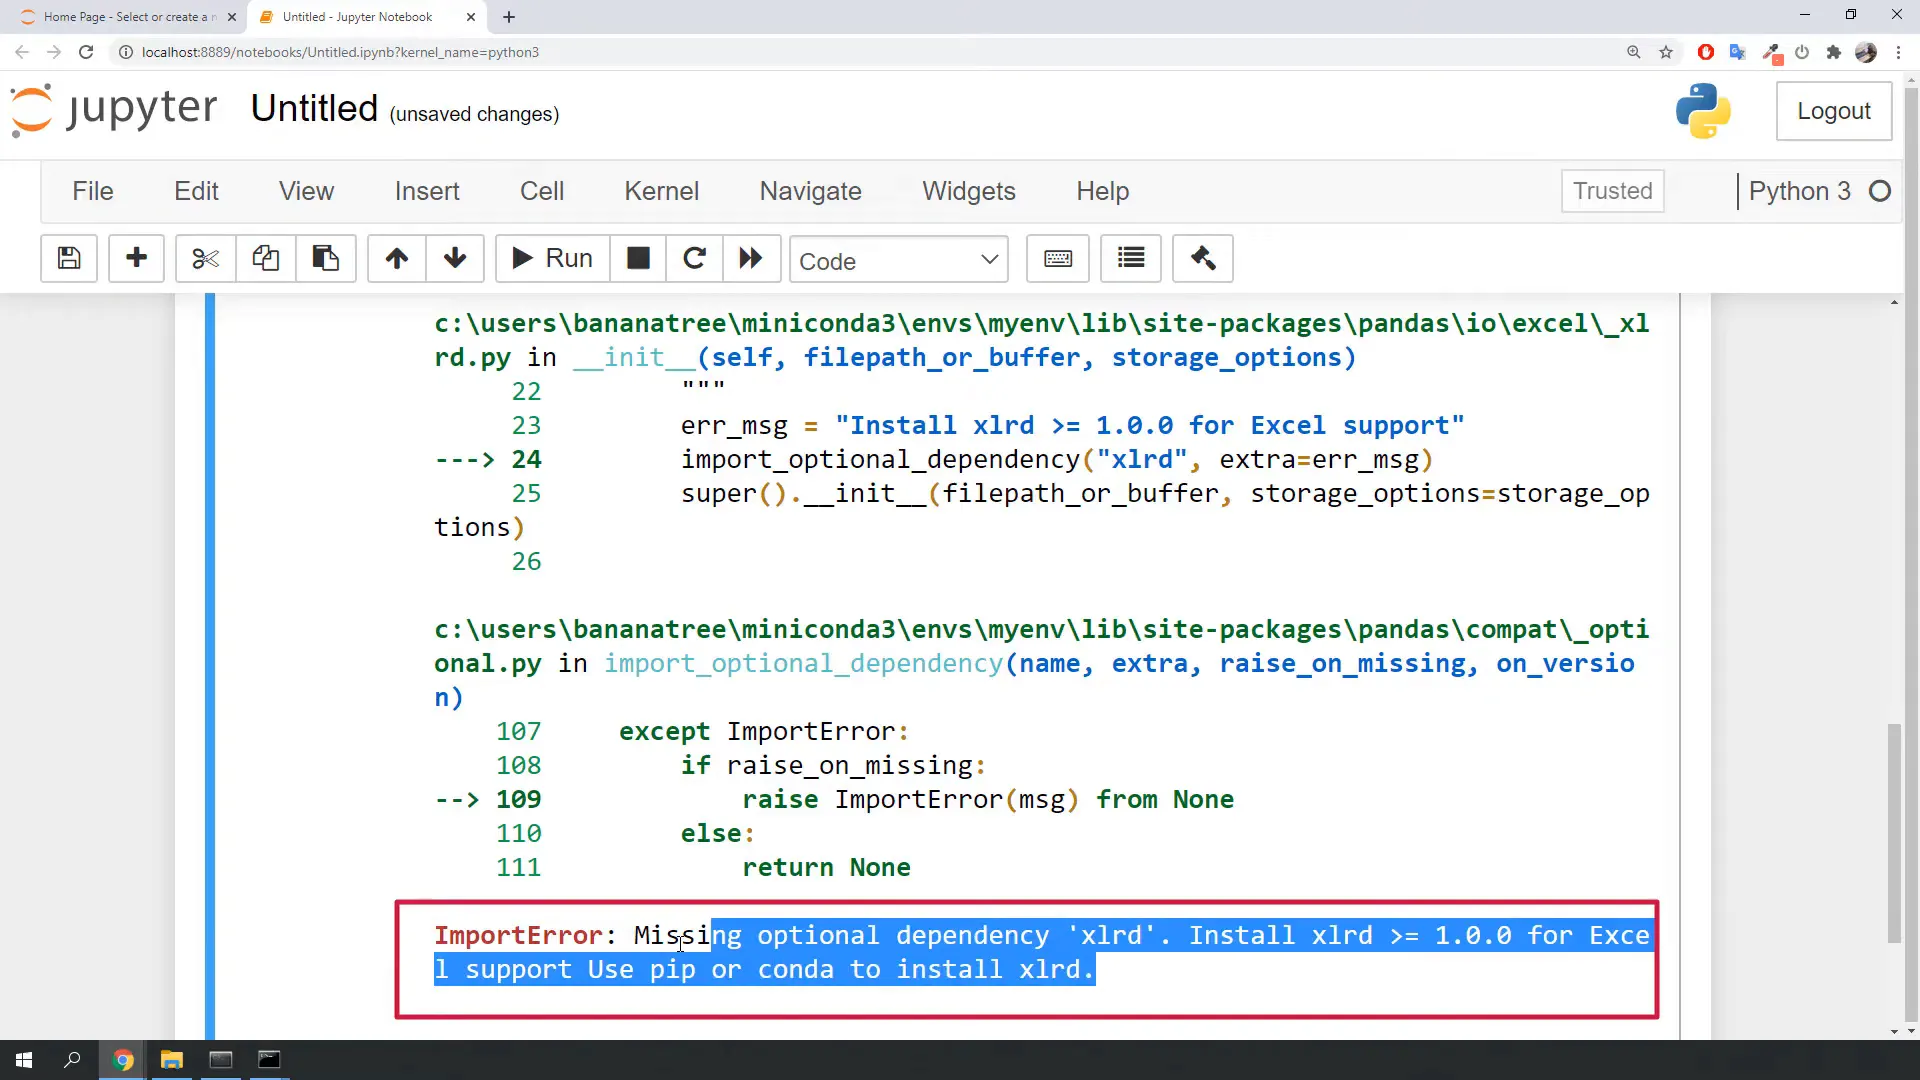
After successfully installing xlrd, I try running the script again but face another error indicating that the version of xlrd only supports .xls formats. As I’m working with an .xlsx file, I need to either downgrade xlrd or use another library called openpyxl. This scenario perfectly illustrates why virtual environments are crucial; they allow me to manage dependencies specific to each project.
Quick tips Jupyter Notebook
If you’re new to Jupyter Notebook, here are some of my favorite keyboard shortcuts:
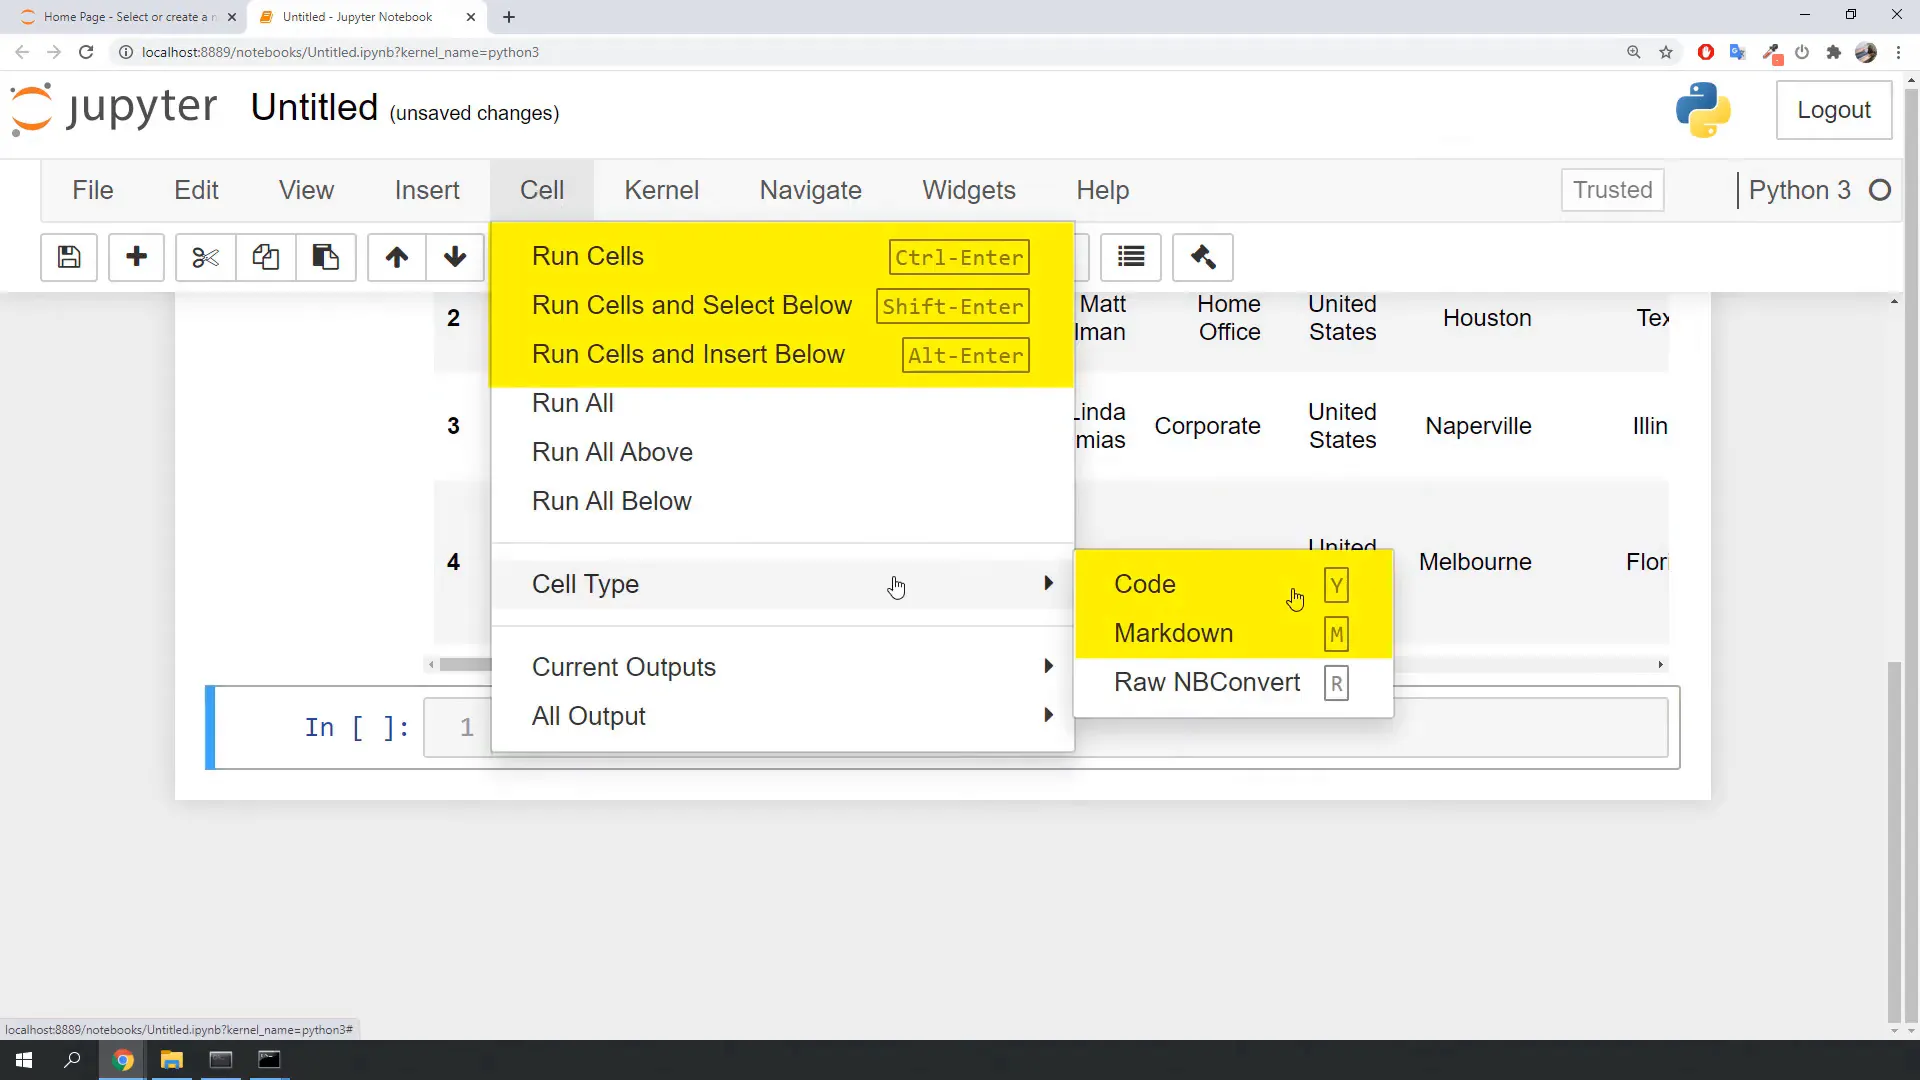
- Shift + Enter: Run the cell
- Ctrl + Enter: Run the cell and stay in the cell
- A: Insert a cell above
- B: Insert a cell below
- M: Change cell type to Markdown
Markdown is a simple syntax for formatting text, which includes headers, lists, and boldface. I’ll link a markdown cheat sheet in the description for further reference.

Outro
In this tutorial, I covered how to install Miniconda, create virtual environments, and set up Jupyter Notebook. I also demonstrated the importance of virtual environments through a practical example. If you have any questions or need further support, feel free to reach out in the comments below. Thank you for reading!