Quick Tip: Excel VBA Debugging

Introduction
Debugging can sometimes feel like a daunting task, especially when your VBA code isn’t performing as expected. Fortunately, I’ve got a straightforward method that I use to track down bugs effectively. Let’s dive right into it!
Setting Up Your Environment
First things first, you need to head over to the VBA editor. To begin debugging, you’ll want to enable the Local Window. Do this by going to View and then selecting Local Window.

Next, it’s essential to enable the Debug Toolbar. Again, navigate to View, then Toolbars, and select Debug.

Step Through Your Code
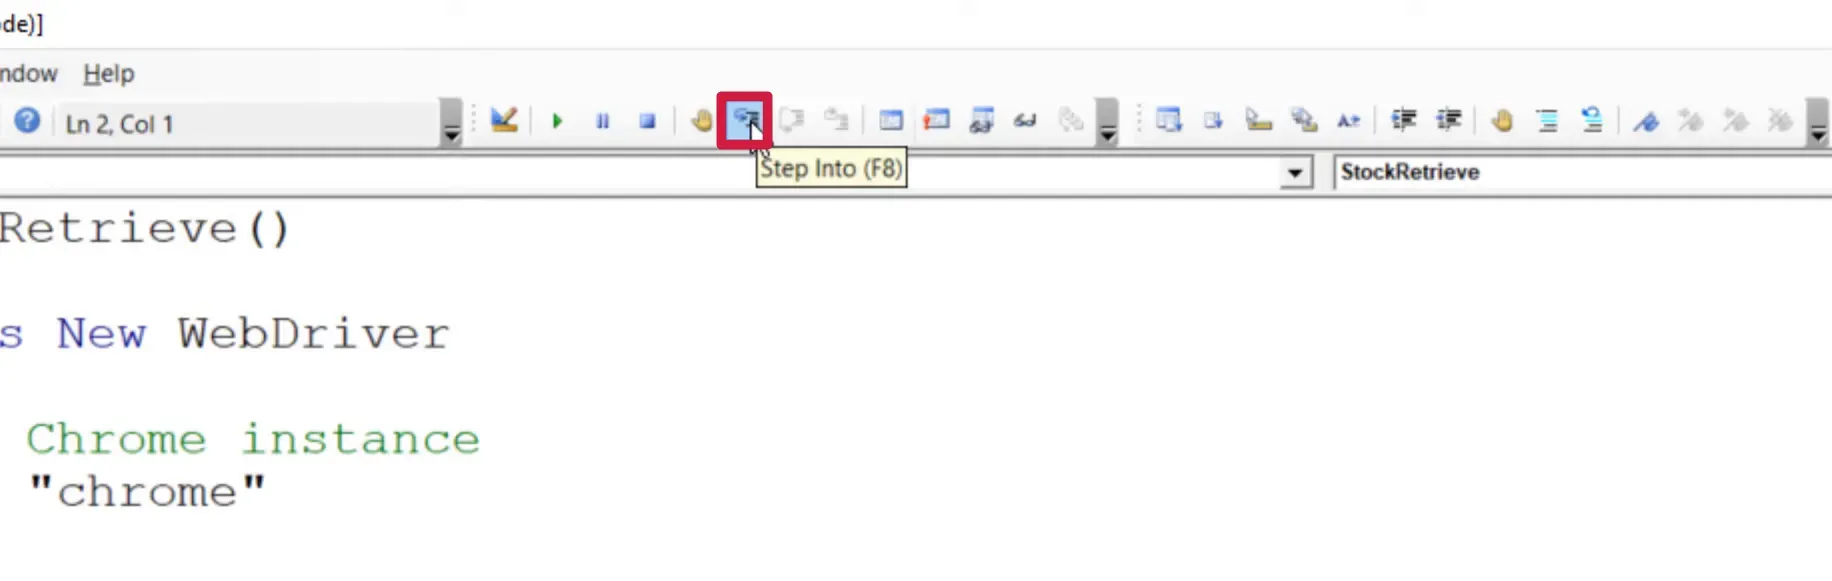
With your environment set up, it’s time to run the code line by line to identify any potential bugs. You can do this by hitting F8 on your keyboard or clicking on Step Into in your Debug Toolbar.
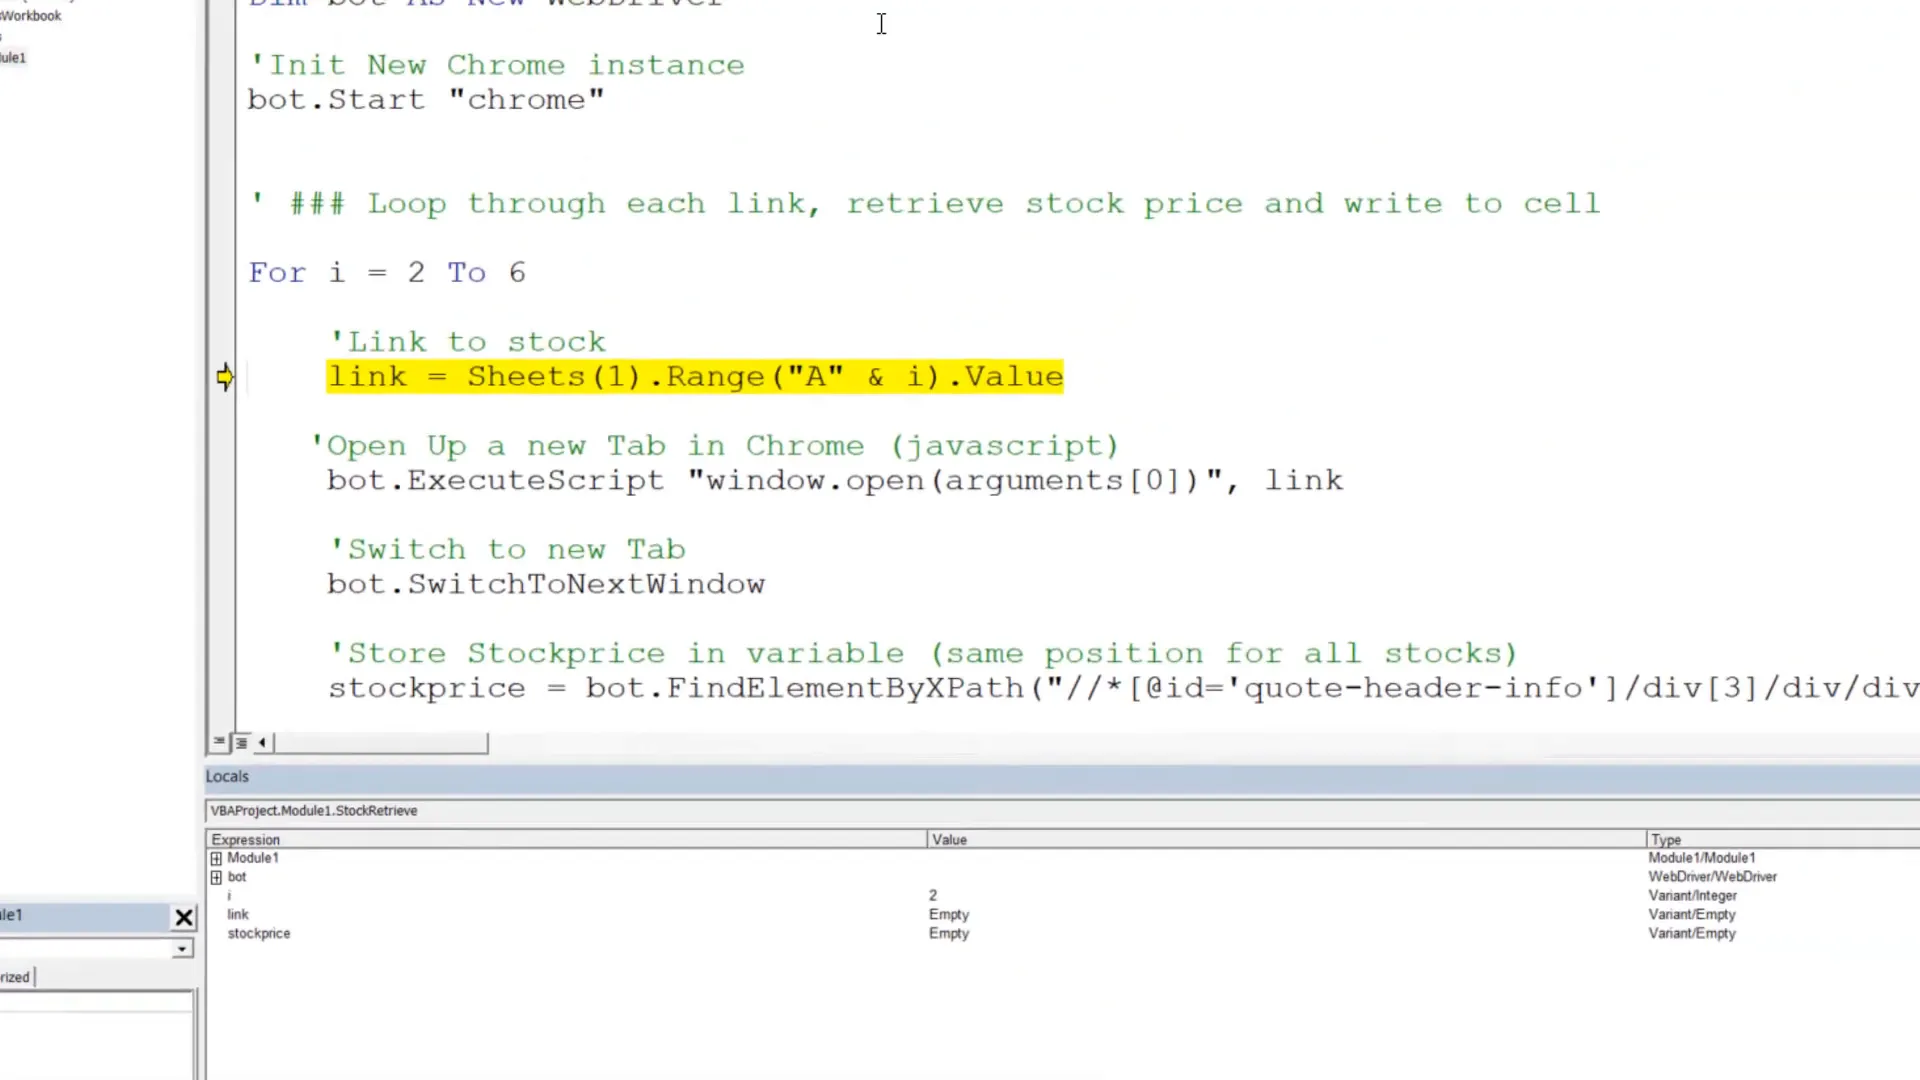
As you step through, take note of the changes in the Local Window. It will display all the variables of your macro along with their current assigned values. Initially, all variables will be empty.

Continue executing the script line by line. This allows you to check if the macro behaves as expected. For instance, in my case, the macro should open a window in Chrome, which appears to be working fine so far.

Inspecting Variables
As you step further into your code, you’ll enter loops or other structures. For example, notice how the value of ‘i’ changes. Currently, it’s assigned the value of 2.
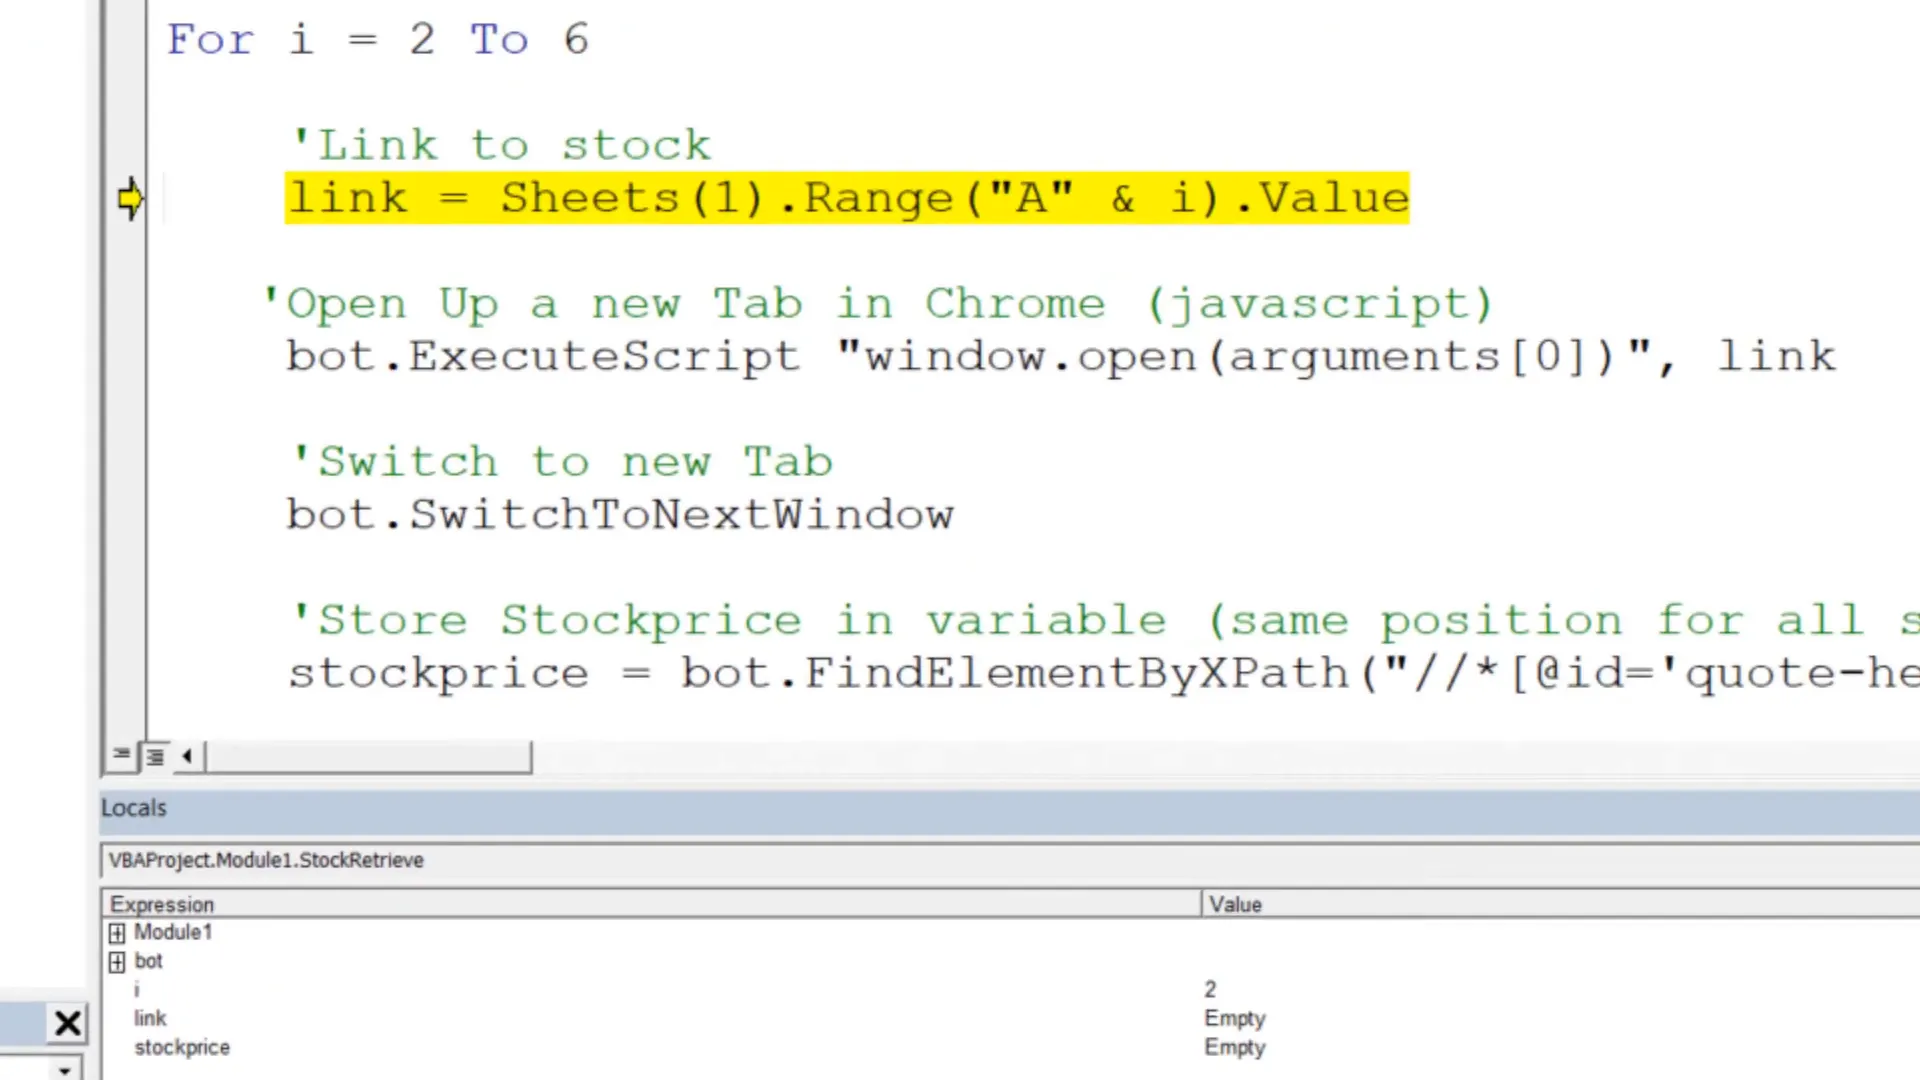
After executing the next line, observe the new value of the link variable. This is crucial—ensure that it matches your expectations. If not, you might have found a bug!
Identifying Errors
Continue running the code line by line. If an error occurs, you’ll know precisely which line is causing it. This method provides clarity on whether the code was functioning as intended up to that point.
By following this approach, debugging becomes a more manageable task. I hope this quick tutorial helps you debug your VBA code effectively!