Turn Your Excel Sheet Into An Interactive Application Using Python (Full Project)
Introduction
In this tutorial, I’m going to show you how to transform an Excel spreadsheet into an interactive application. The project will focus on building a tool to download any given YouTube URL as an MP3 file. After downloading, we will utilize an API to transcribe the audio file into text, which we will then use to create a word cloud. This example serves to demonstrate how you can build your own custom tools by combining Python and Excel, offering a visually appealing alternative to command-line interfaces.
Installation dependencies
First, let’s install the required dependencies for our project. To create an interactive app with Excel, we’ll use xlwings. You can install it by running: pip install xlwings In addition to xlwings, we will need some more libraries:
- requests for API interactions.
- pytube to download videos from YouTube.
- wordcloud to generate the word cloud image.
It’s important to note that the pytube library may sometimes have issues due to frequent updates on the YouTube website. To ensure you have the latest version, run: pip install pytube --upgrade
Create an Excel starter template
Now, let’s create an Excel starter template using xlwings. Open your terminal and run: xlwings quickstart transcriber --standalone This command will create a new folder with an Excel and Python file inside. Open the Excel file and insert a shape which we will use to run the Python script. Right-click on the shape, select ‘Assign Macro’, and choose ‘Sample Call’. If everything works correctly, clicking the button should display “hello xlwings” in cell A1. 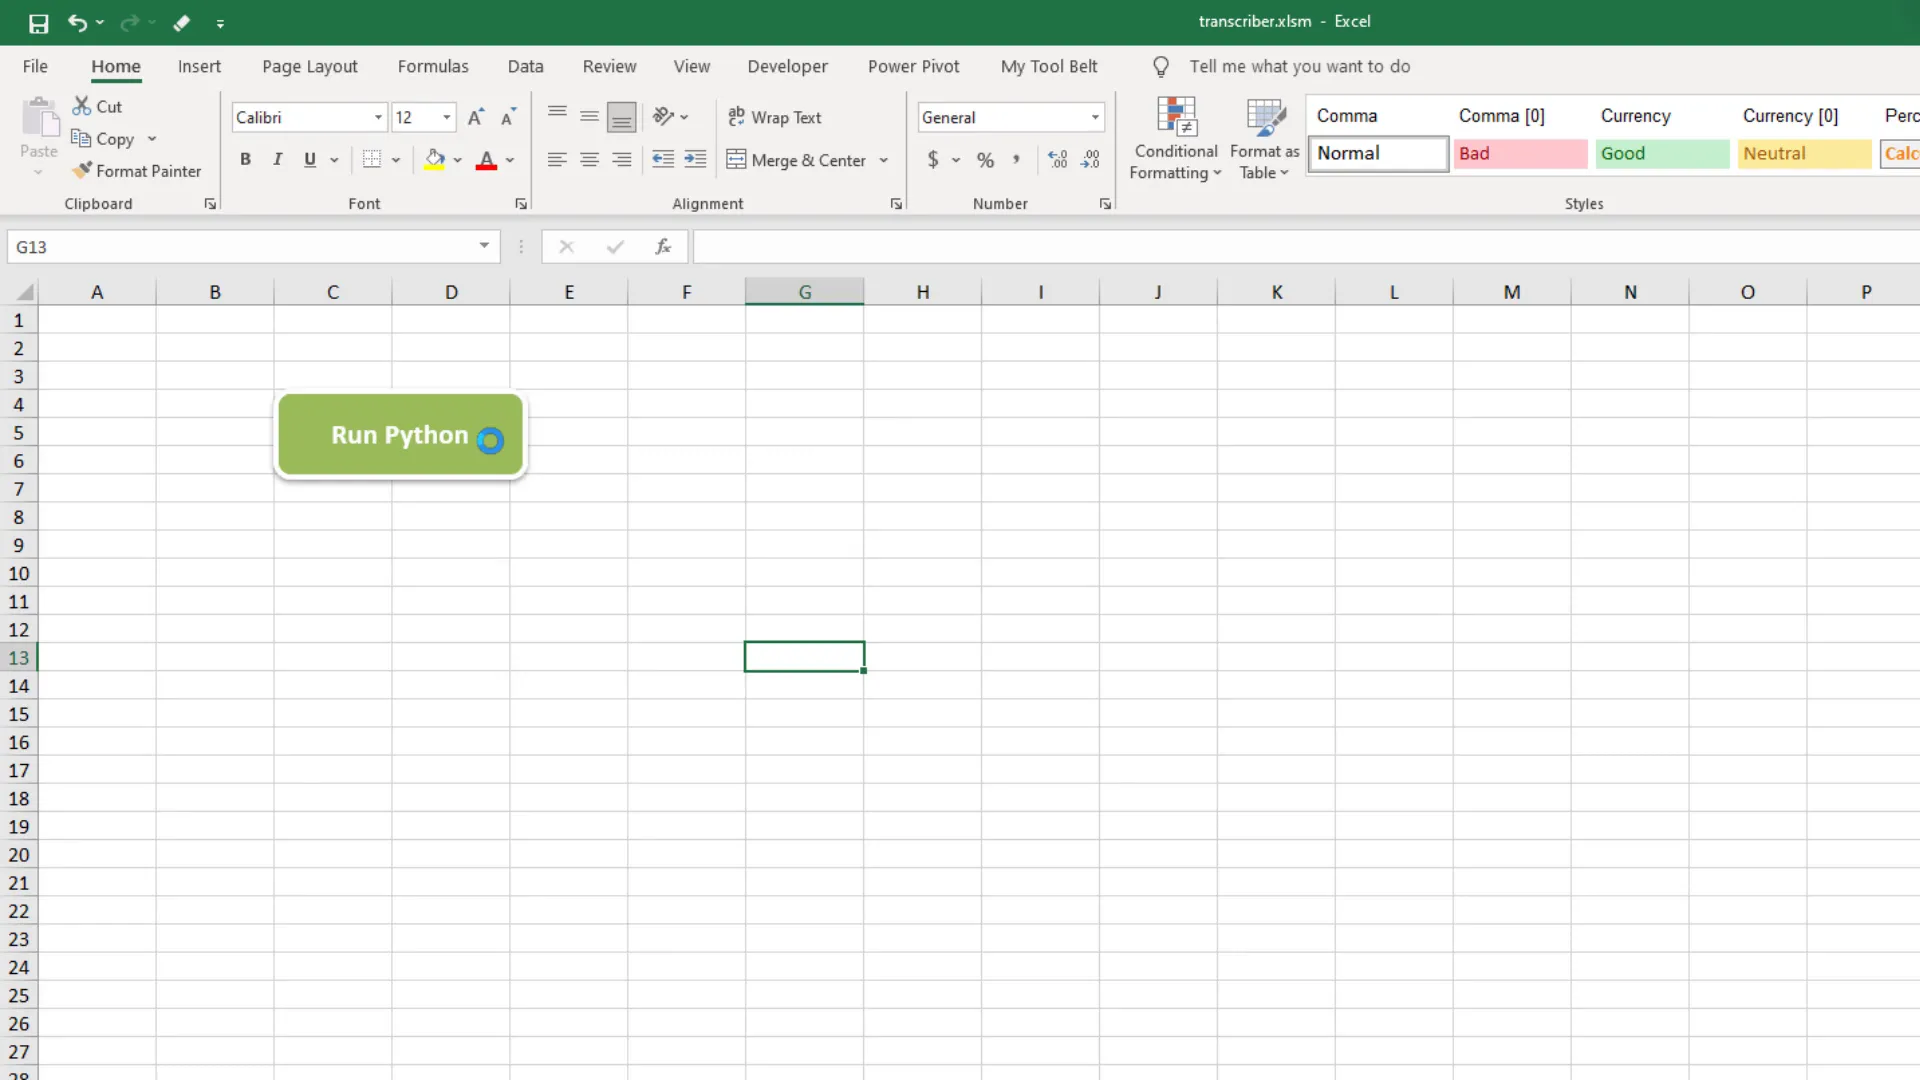
Prepare the worksheet
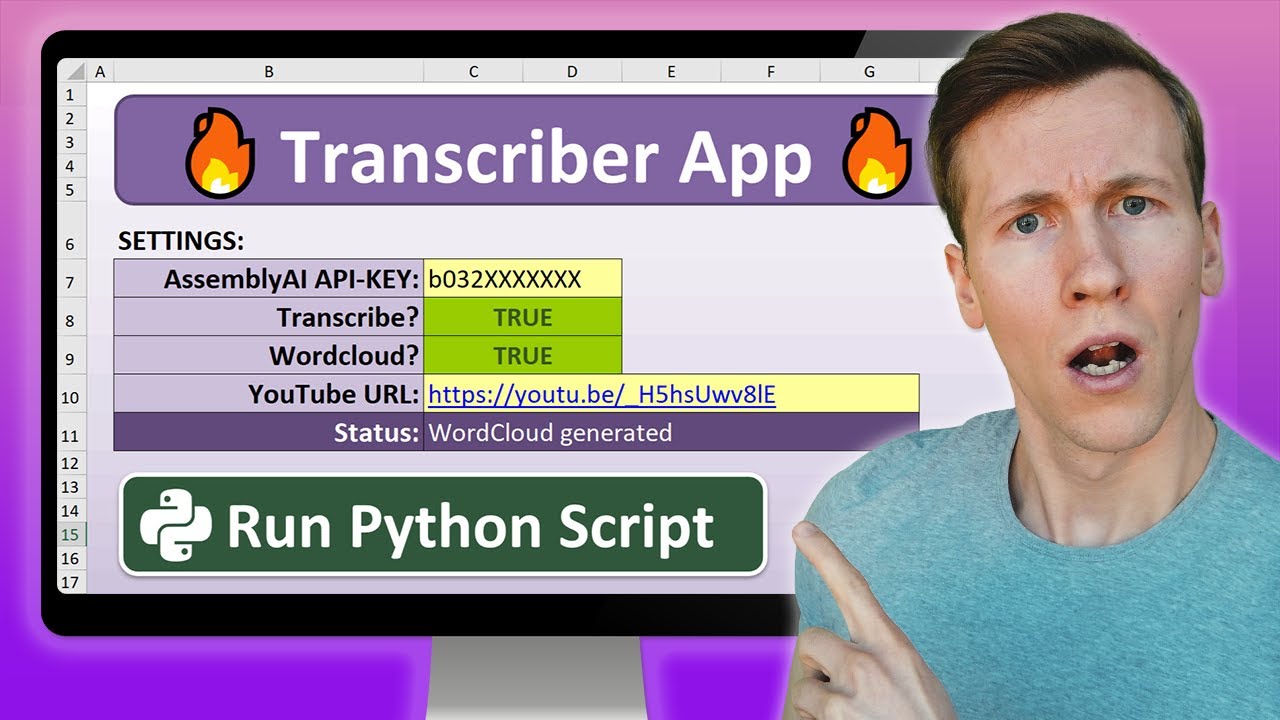
Next, let’s prepare the worksheet. You can design your spreadsheet as you wish. I’ve added some settings fields and a banner. For this example, the user can choose whether they want transcription or a word cloud by inserting a drop-down list. To create the drop-down menus, go to ‘Data’ and click on ‘Data Validation’. Select ‘List’ and type ‘True, False’. This gives us a simple drop-down list. 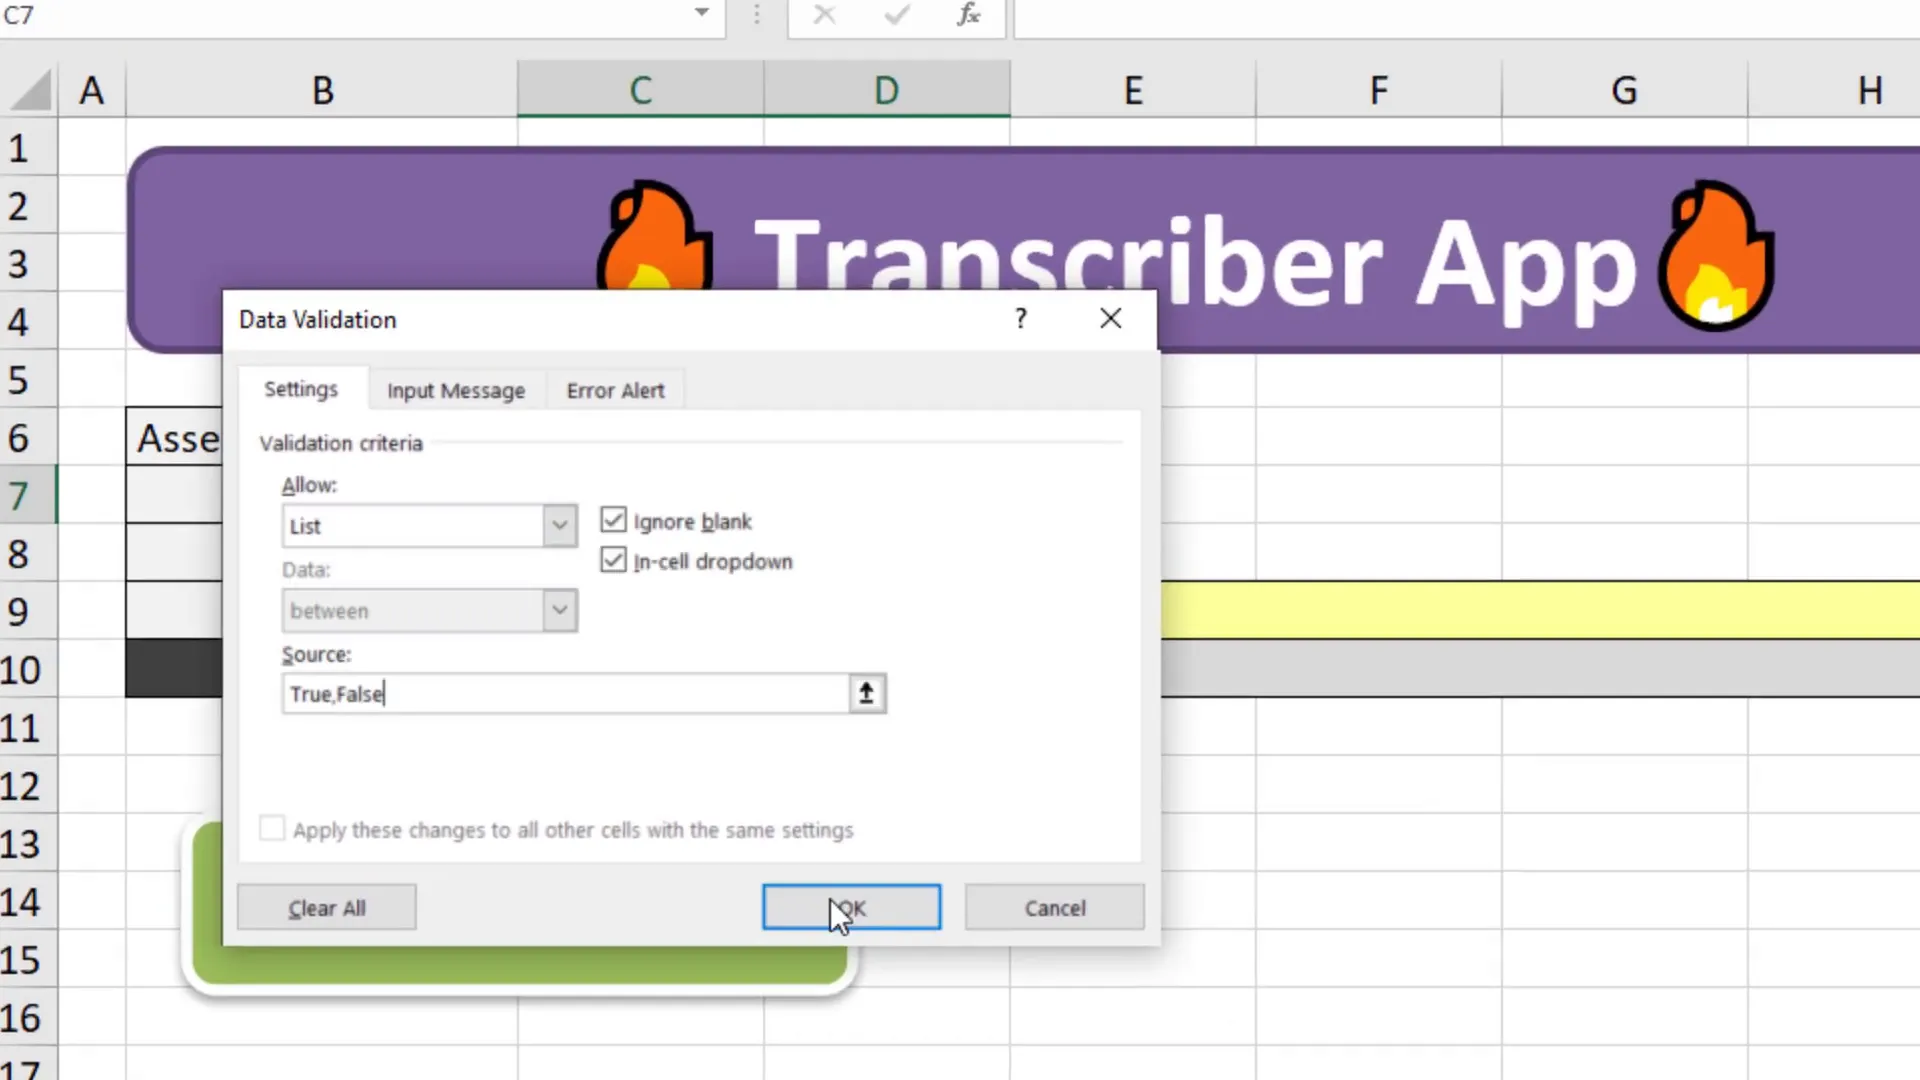 After creating the drop-down, you can also apply conditional formatting to visually indicate the selection. I’ve used my own add-in for this, which you can download from the link in the description box.
Download a YouTube video mp3
Now, let’s move on to downloading the YouTube video as an MP3 file. We need to obtain an API key from AssemblyAI, which we will use to transcribe the audio file. Head over to assemblyai.com to create an account and get your API key. Once you have it, paste it into the designated cell in your worksheet.  Next, choose a YouTube video and paste its URL into the appropriate cell. We will now start coding the solution in Python.
Transcribe the audio file
In the Python file, we will retrieve the cell values, including the YouTube URL and the API key. We will check if the YouTube URL cell is not empty before proceeding to download the audio file. Once downloaded, we can use the AssemblyAI API to transcribe the audio. First, we set up the headers for our API call. Then, we upload the audio file via a POST request. This process might take some time, so we will provide status updates in the Excel sheet. 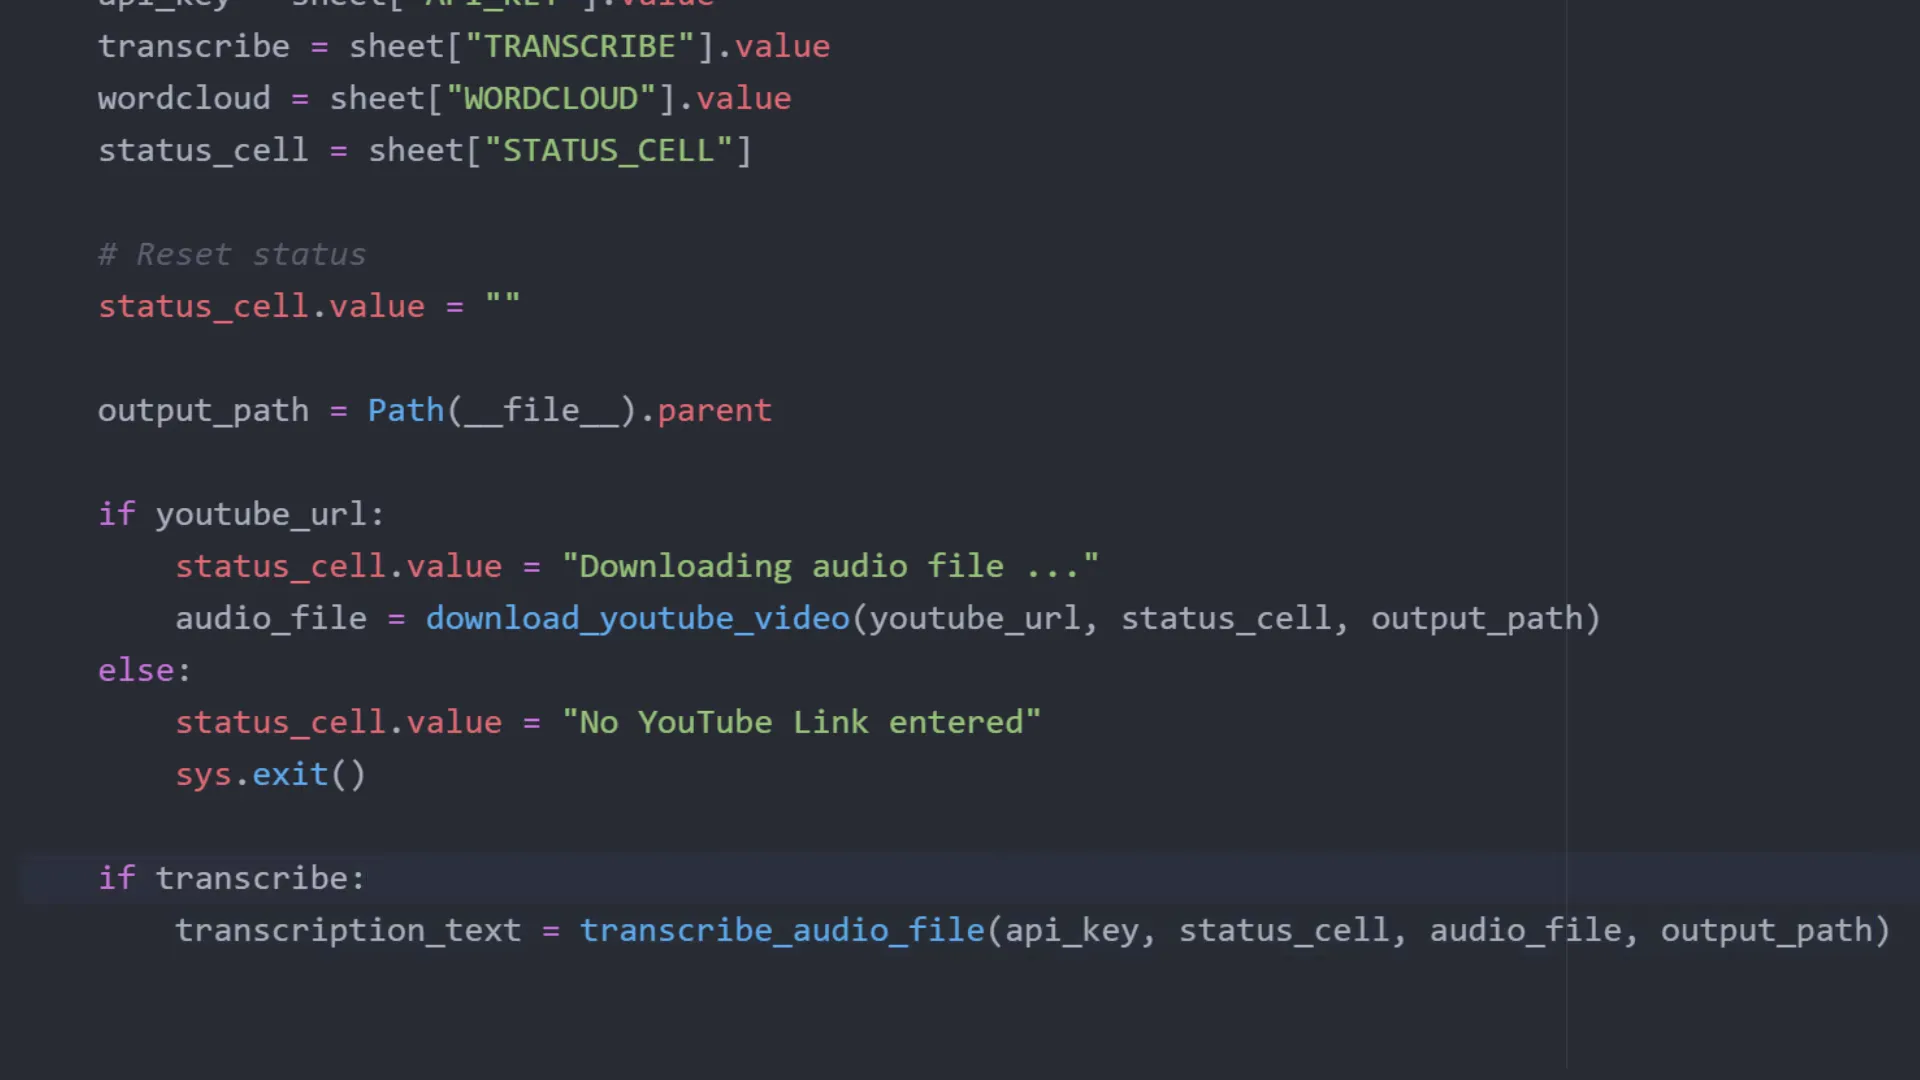 After uploading, we request transcription and periodically check the status. Once completed, we save the transcription to a text file in our output directory.
Create the word cloud
Finally, if the user wants a word cloud, we generate it using the transcription text. We’ll import the wordcloud library and define a function to create the word cloud from the transcription text file. The generated image will be saved to our output path. 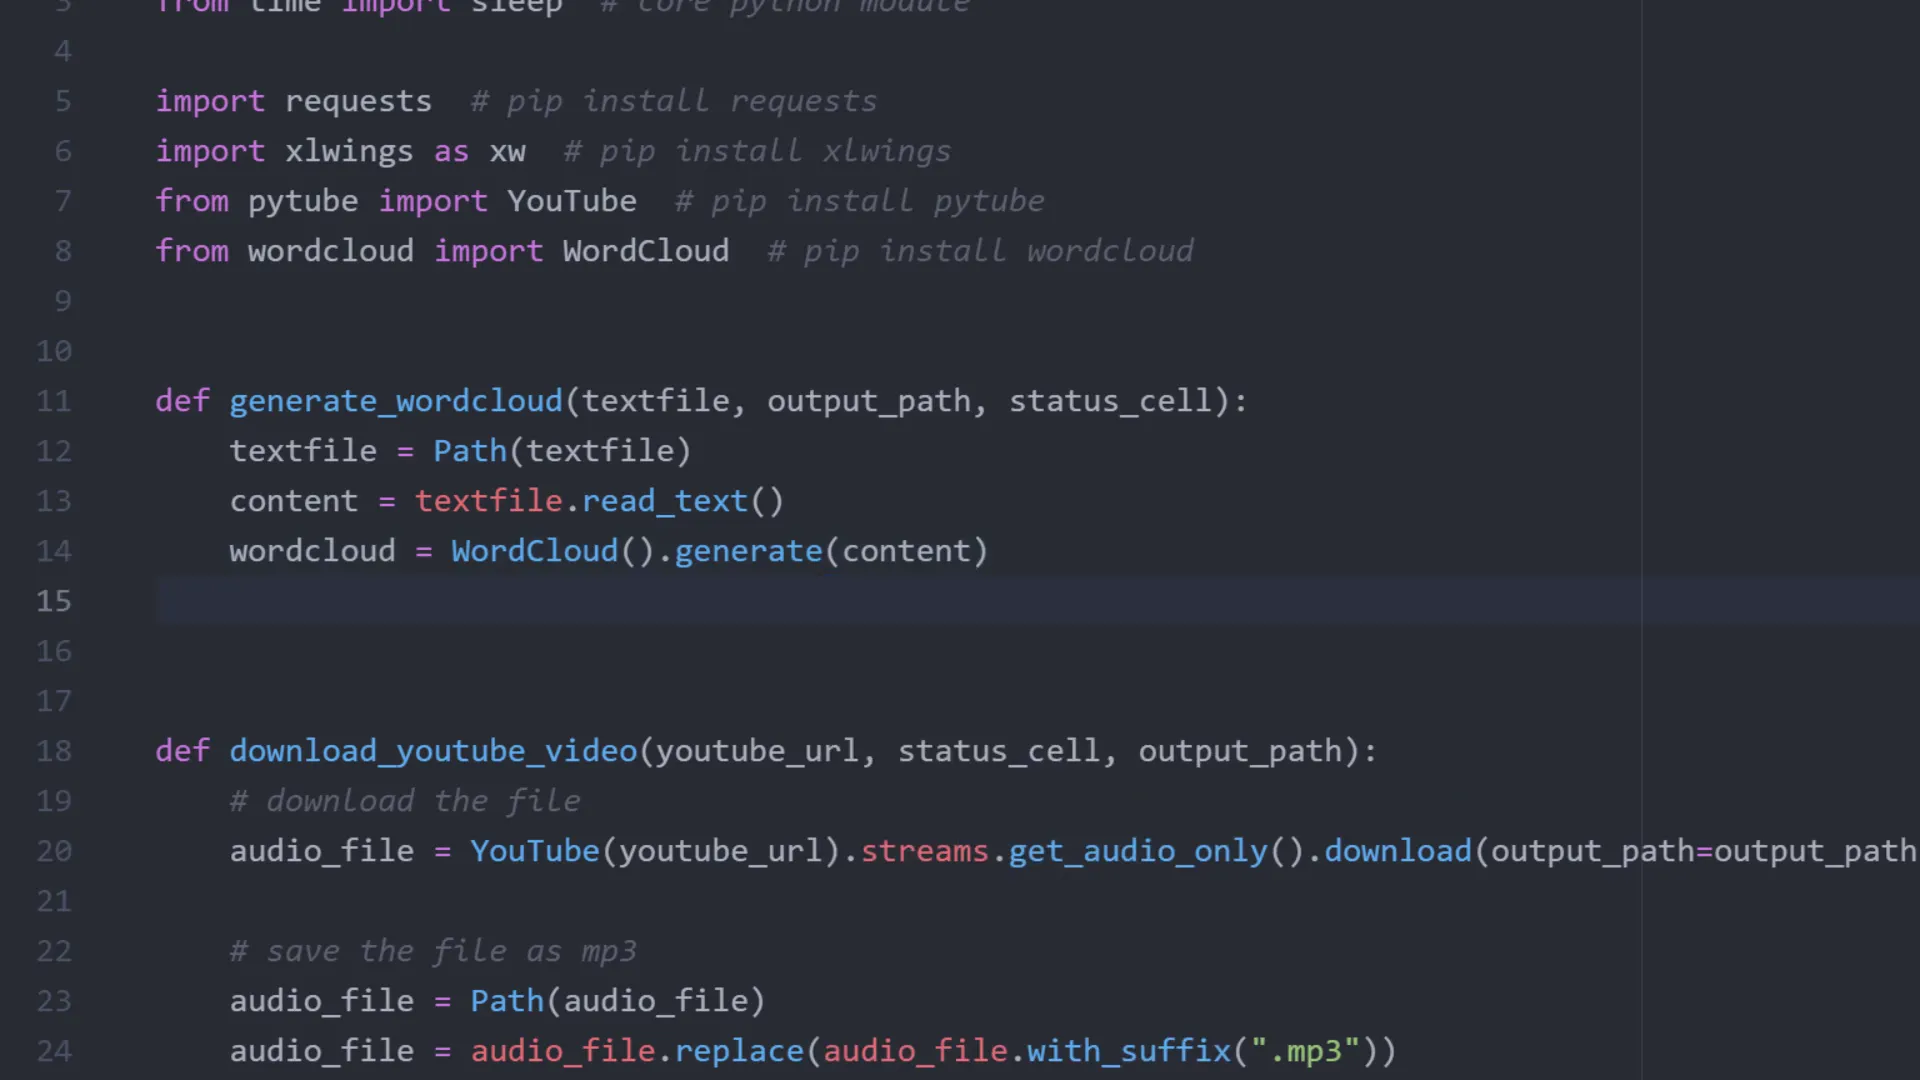 With everything set up, you can run the Python script from Excel. If you select both transcription and word cloud, the application will execute both functions and display the results accordingly.
Conclusion
We’ve covered a lot in this tutorial! I hope this inspires you to develop some cool Python applications using Excel as the front end. If you enjoyed this content, make sure to like the video and subscribe for more tutorials.