Deploy Your Streamlit App To Render (Free Heroku Alternative)
Introduction
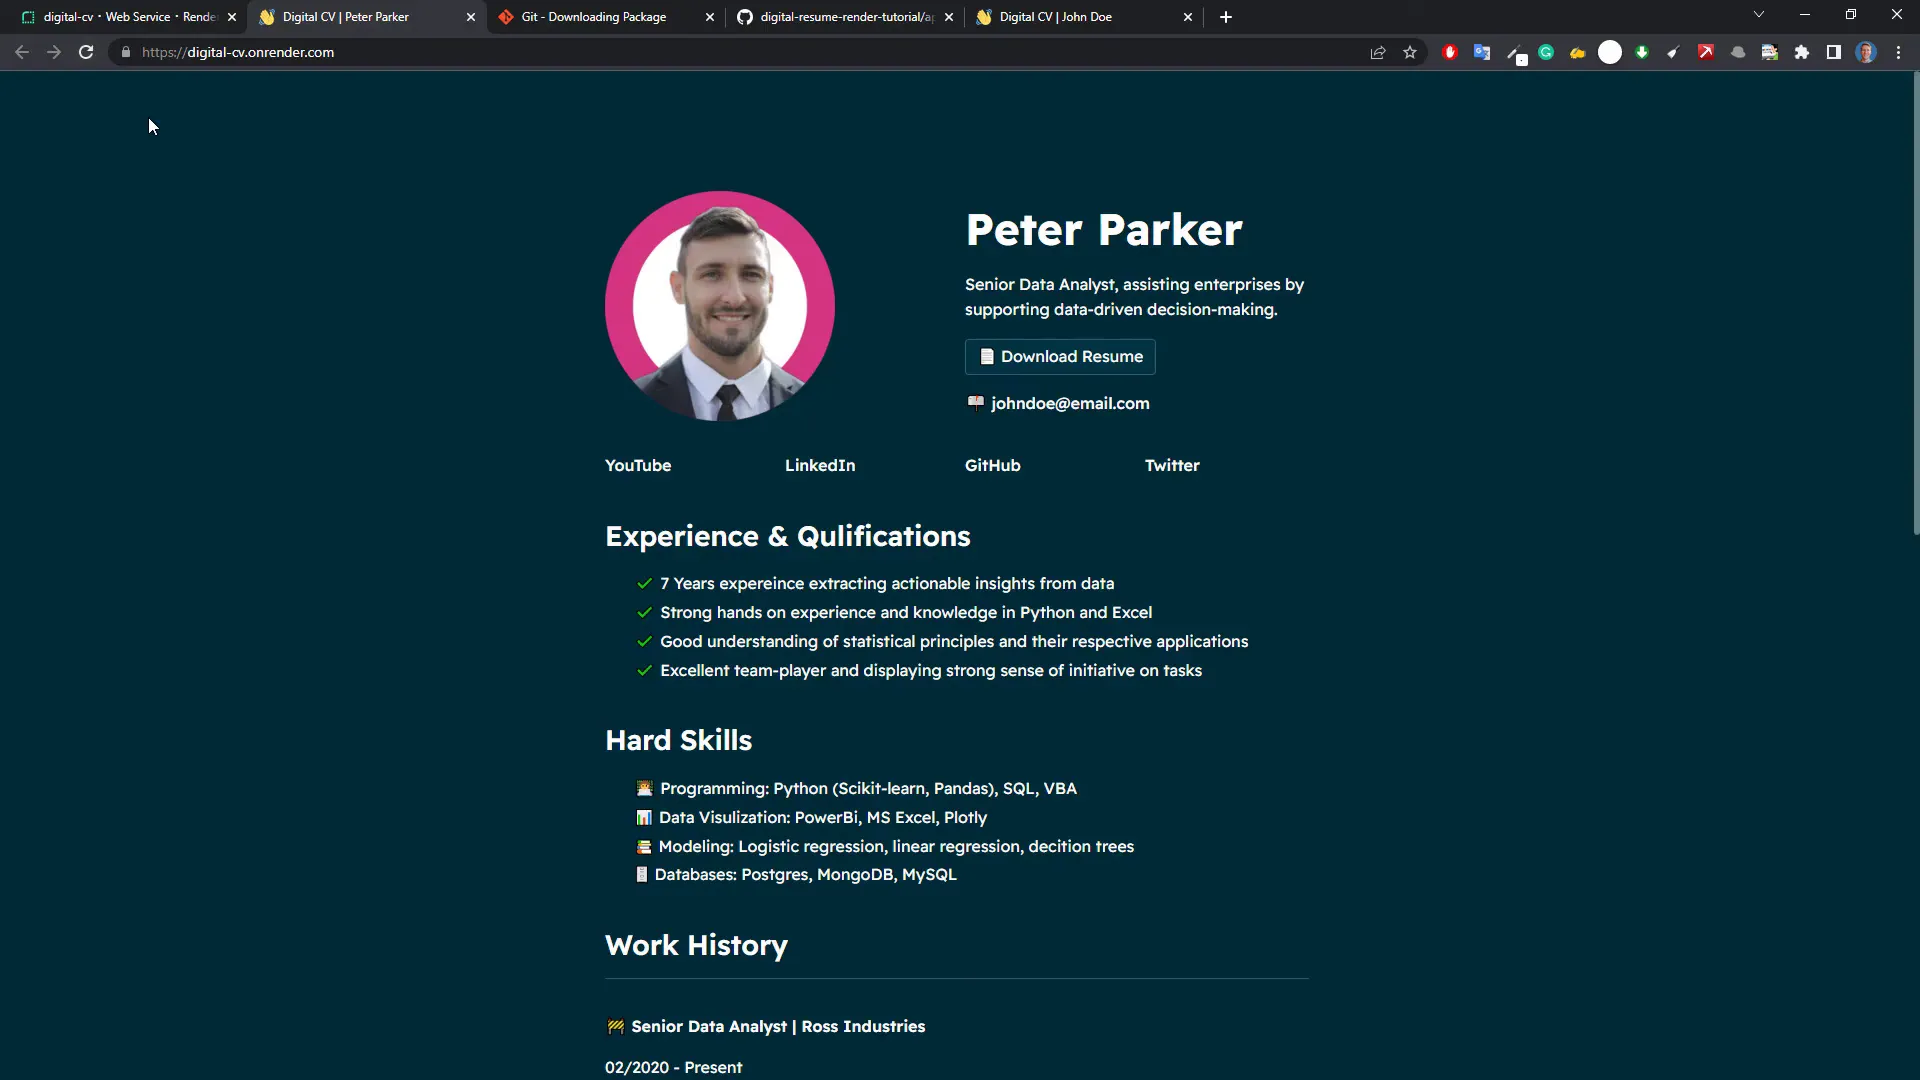
In this tutorial, I will show you how to deploy your Streamlit web application for free on Render. If you follow the steps, your web application will be live on the internet, and you can share it with the world. While Streamlit Community Cloud is an option, deploying to Render allows you to avoid the Streamlit branding and gives you the ability to scale up your server in the future.
Create a requirements file
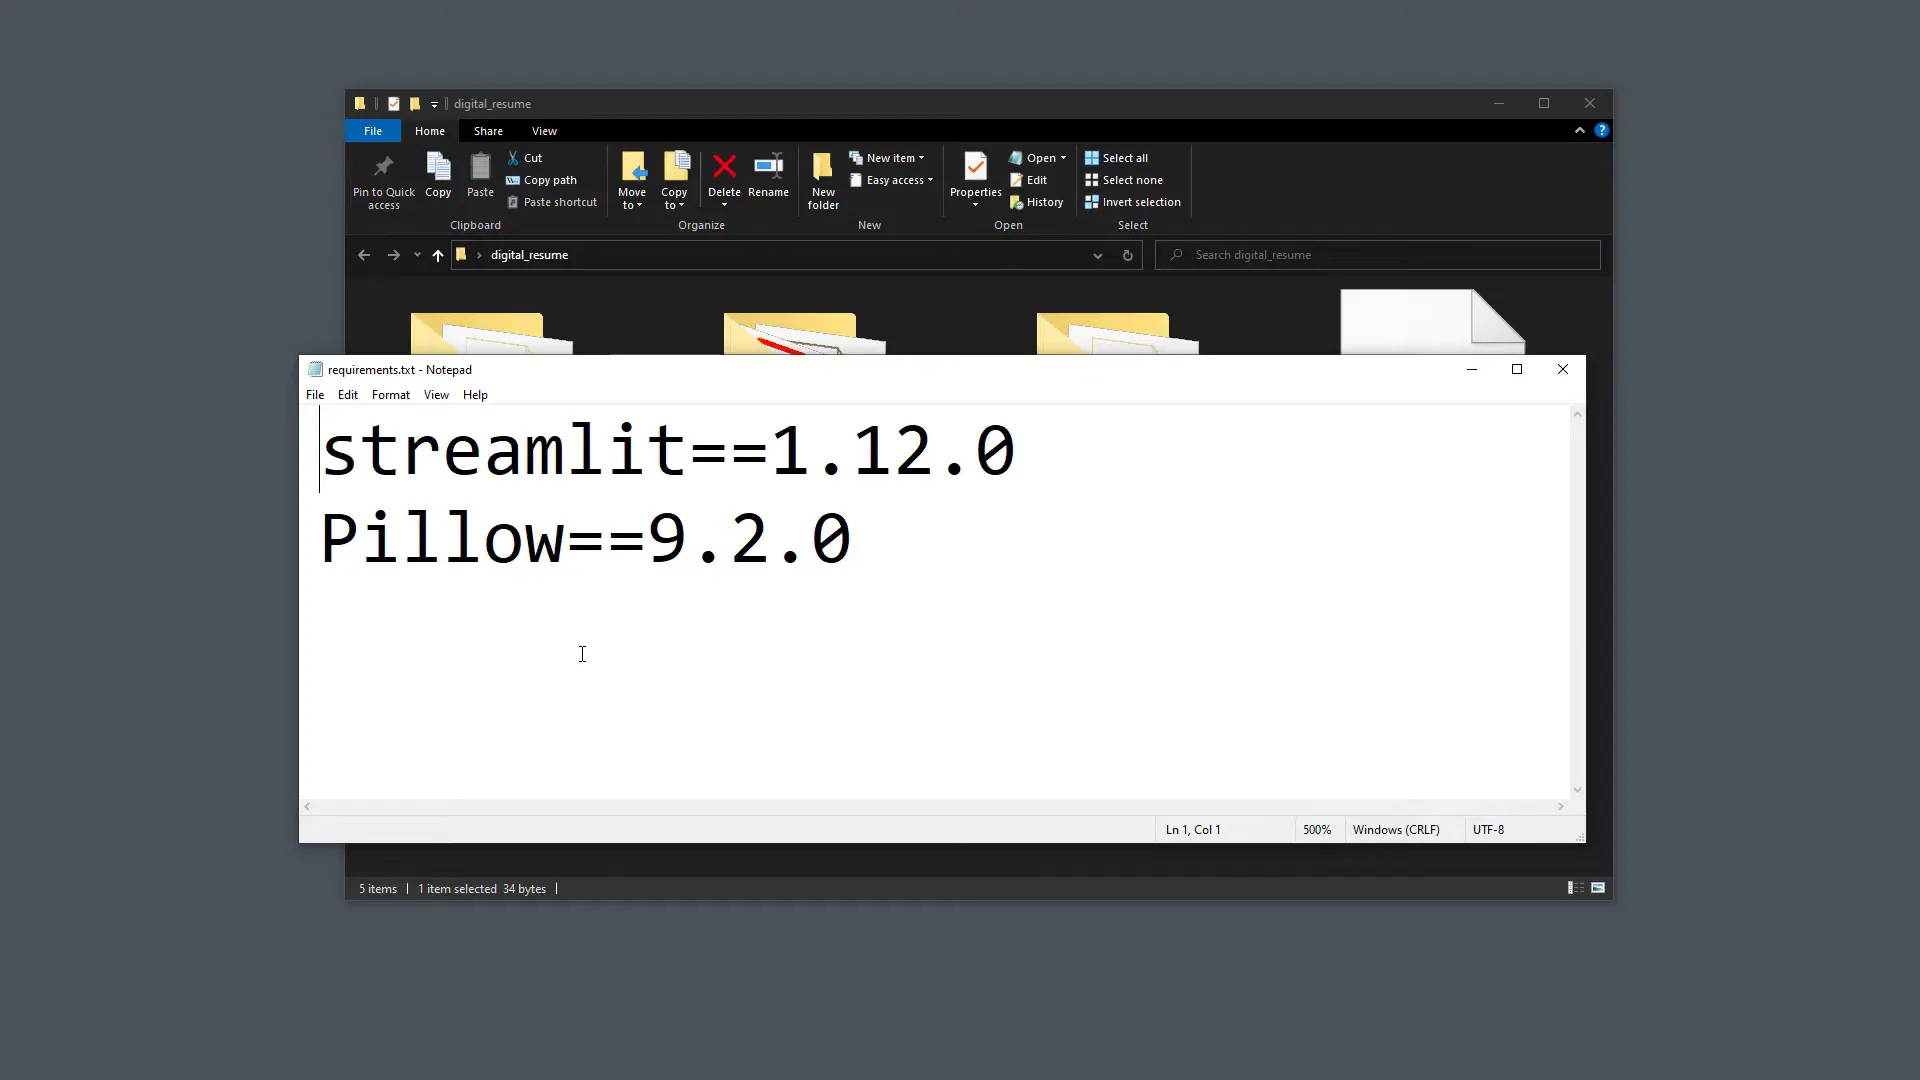
The first step is to create a requirements.txt file, which contains all the libraries the server must install to run your app. You can create this file manually by checking which libraries are used in your Streamlit app, but I prefer to generate it automatically using the pipreqs package.
To install pipreqs, open your terminal and type:
pip install pipreqsOnce installed, navigate to the directory containing your Streamlit app and run:
pipreqs --encoding=utf8This command will generate a requirements.txt file, listing all necessary libraries.
Create a new repository
Next, you need to upload your project to GitHub. If you don’t have a GitHub account, create one—it only takes a few minutes. After logging in, create a new repository by clicking on the icon and entering a name for your repo, like digital resume render tutorial.

Now, to upload your files, you’ll need to use Git. If you haven’t installed Git, download it from the official website for your operating system. Once installed, return to your Streamlit project folder and open the terminal.
Run the following commands:
git init
git add .
git commit -m "initial commit"
Now, connect your local Git folder with GitHub by copying the repository URL from GitHub and pasting it into the terminal:
git remote add origin [your-repo-url]
git push -u origin master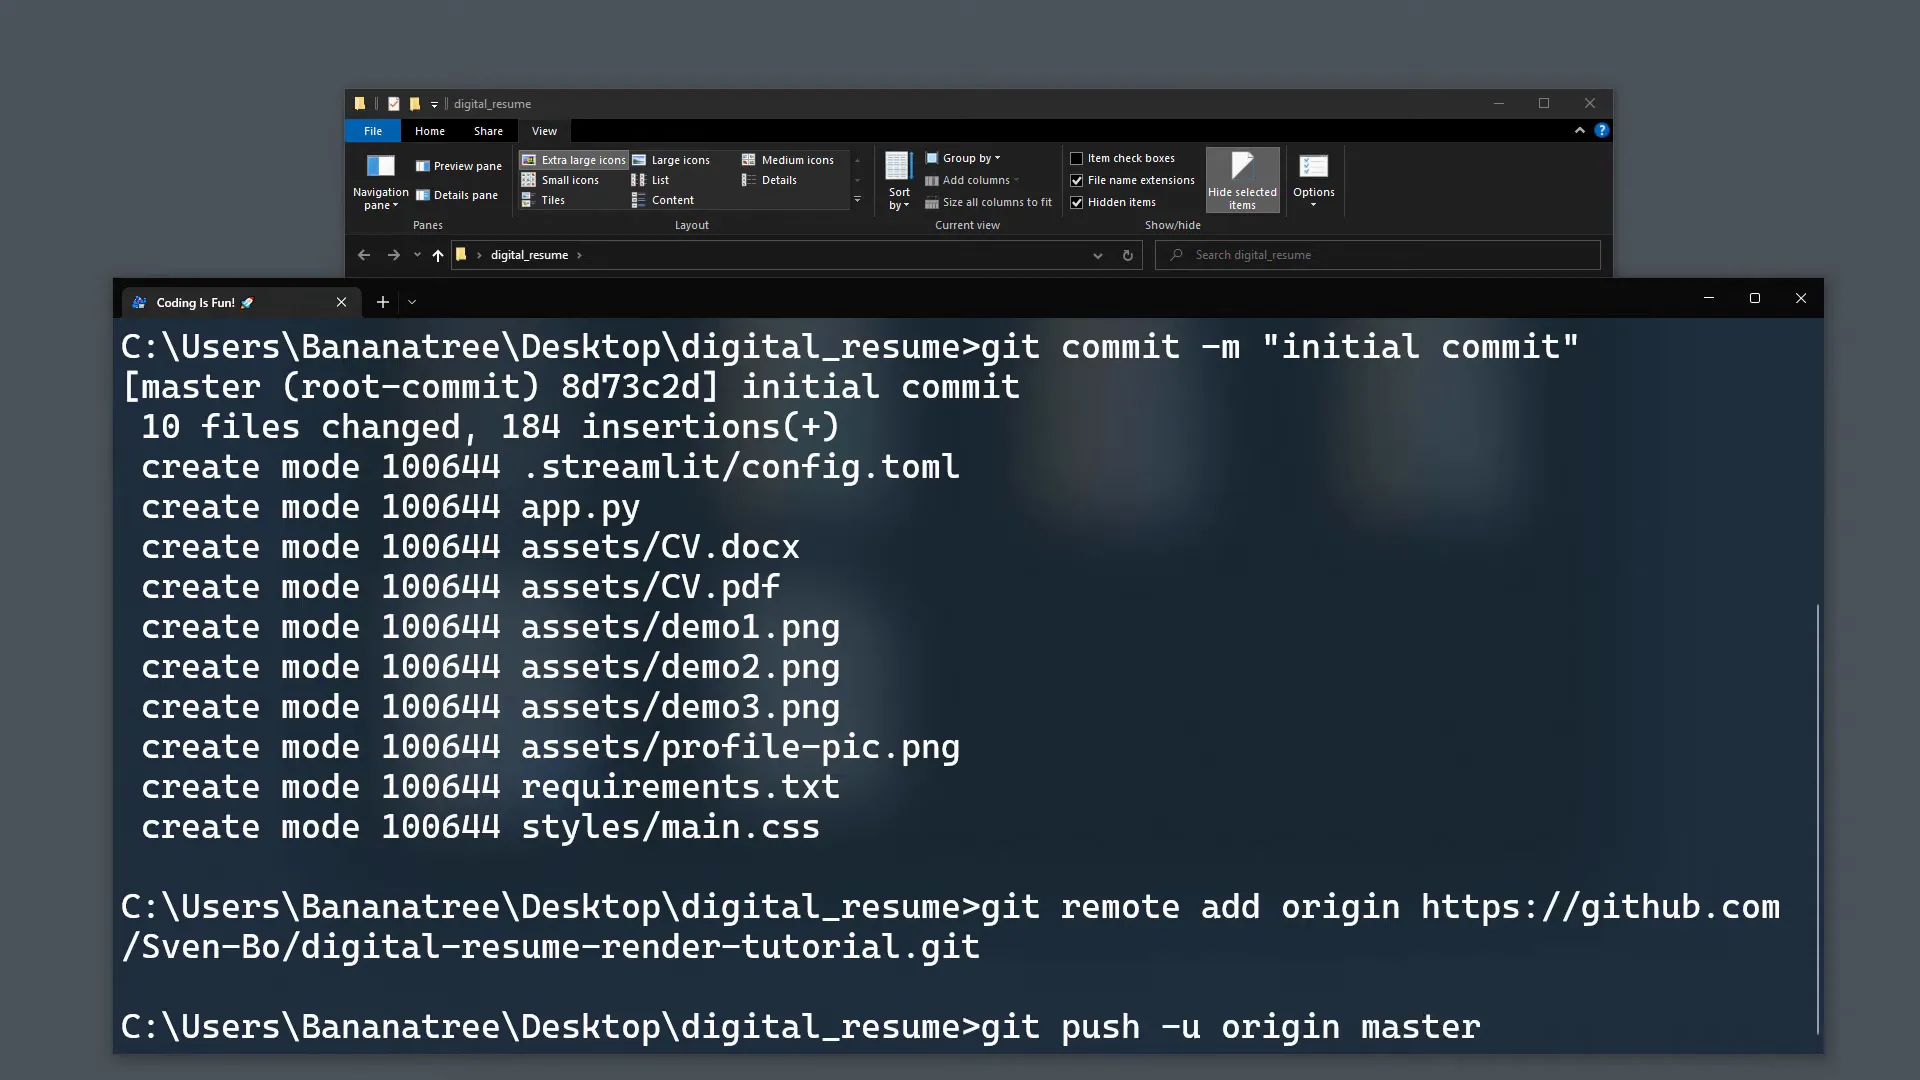
Push data to your repository
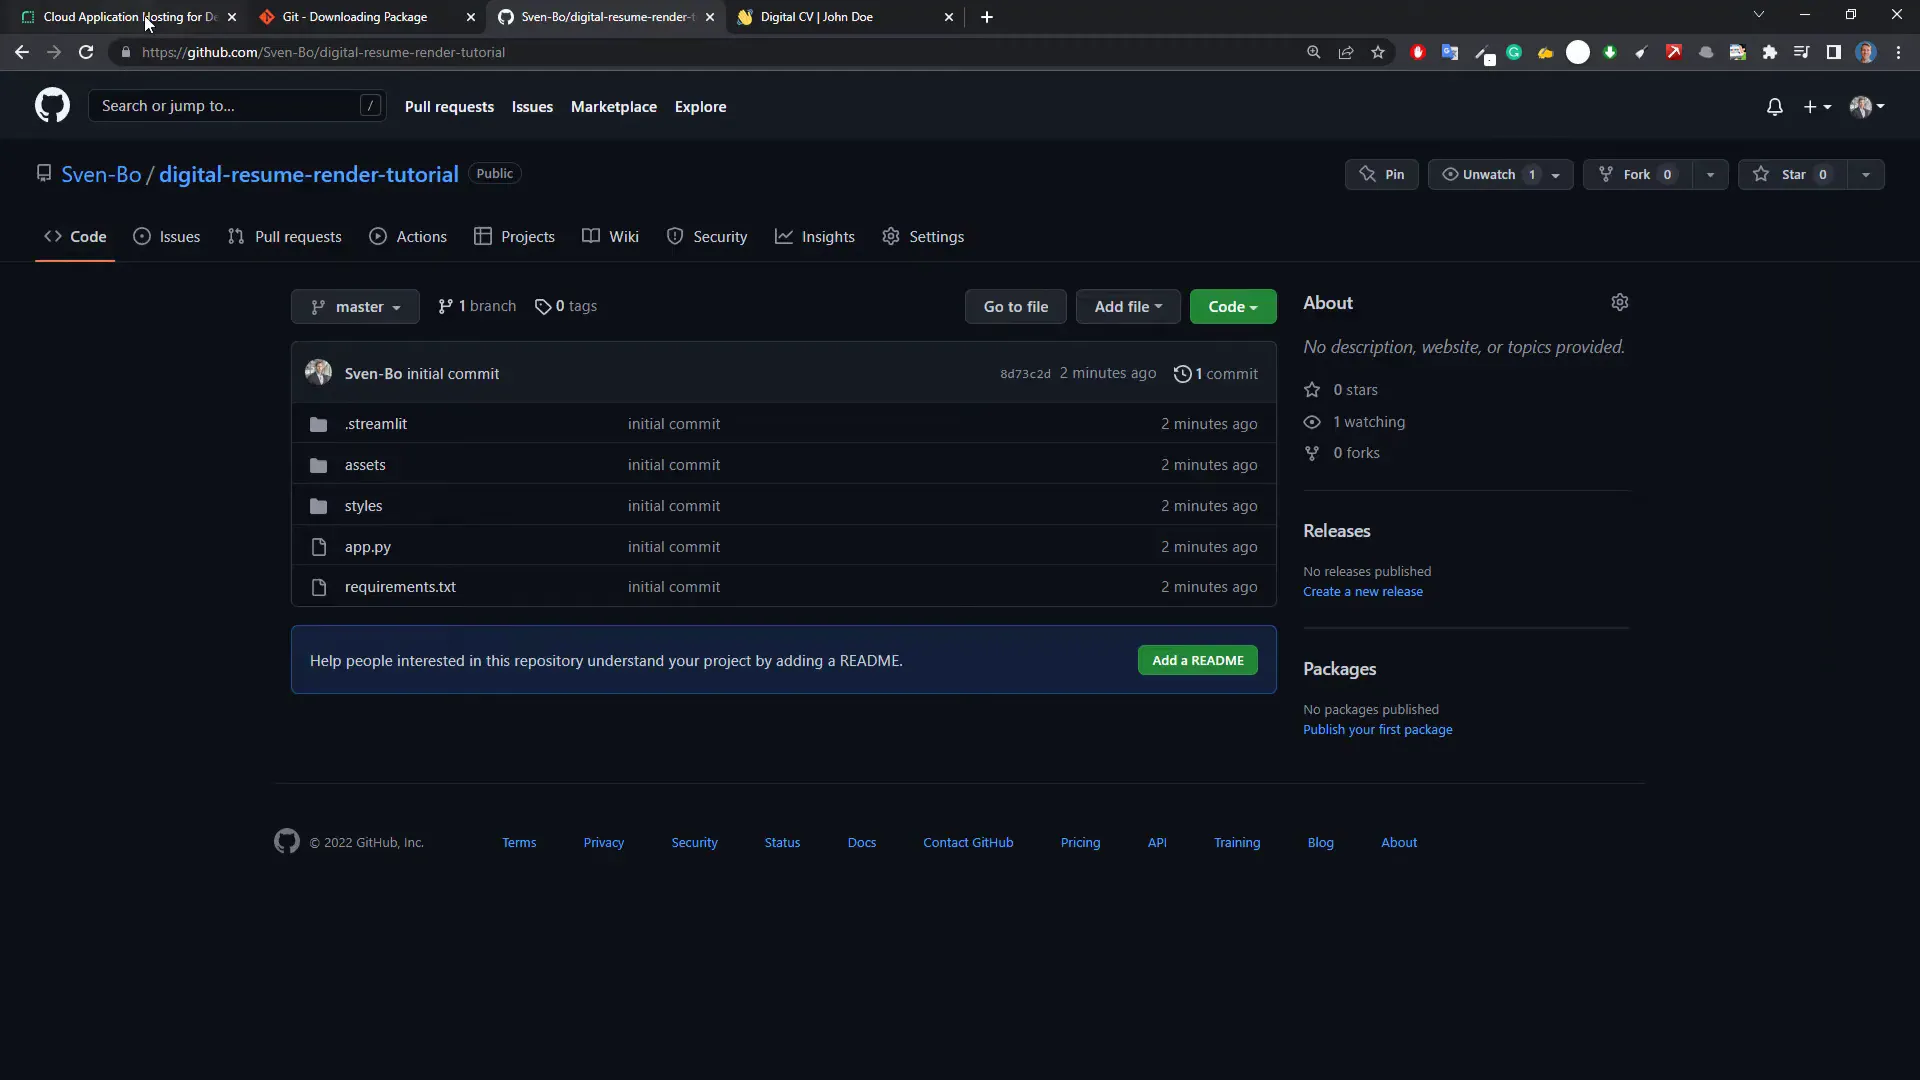
Once the push is successful, refresh your GitHub repository page to see all your files uploaded. Now, it’s time to deploy this repository to Render.
Deploy GitHub repo to render
On Render.com, create a new account—no credit card is required. Once your account is set up, click on Get Started For Free. For your Streamlit app, select New Web Service.
Connect your GitHub account and select the repository you want to deploy. Enter a name for your web service; this will also be part of your URL. For example, you could use digital-cv.
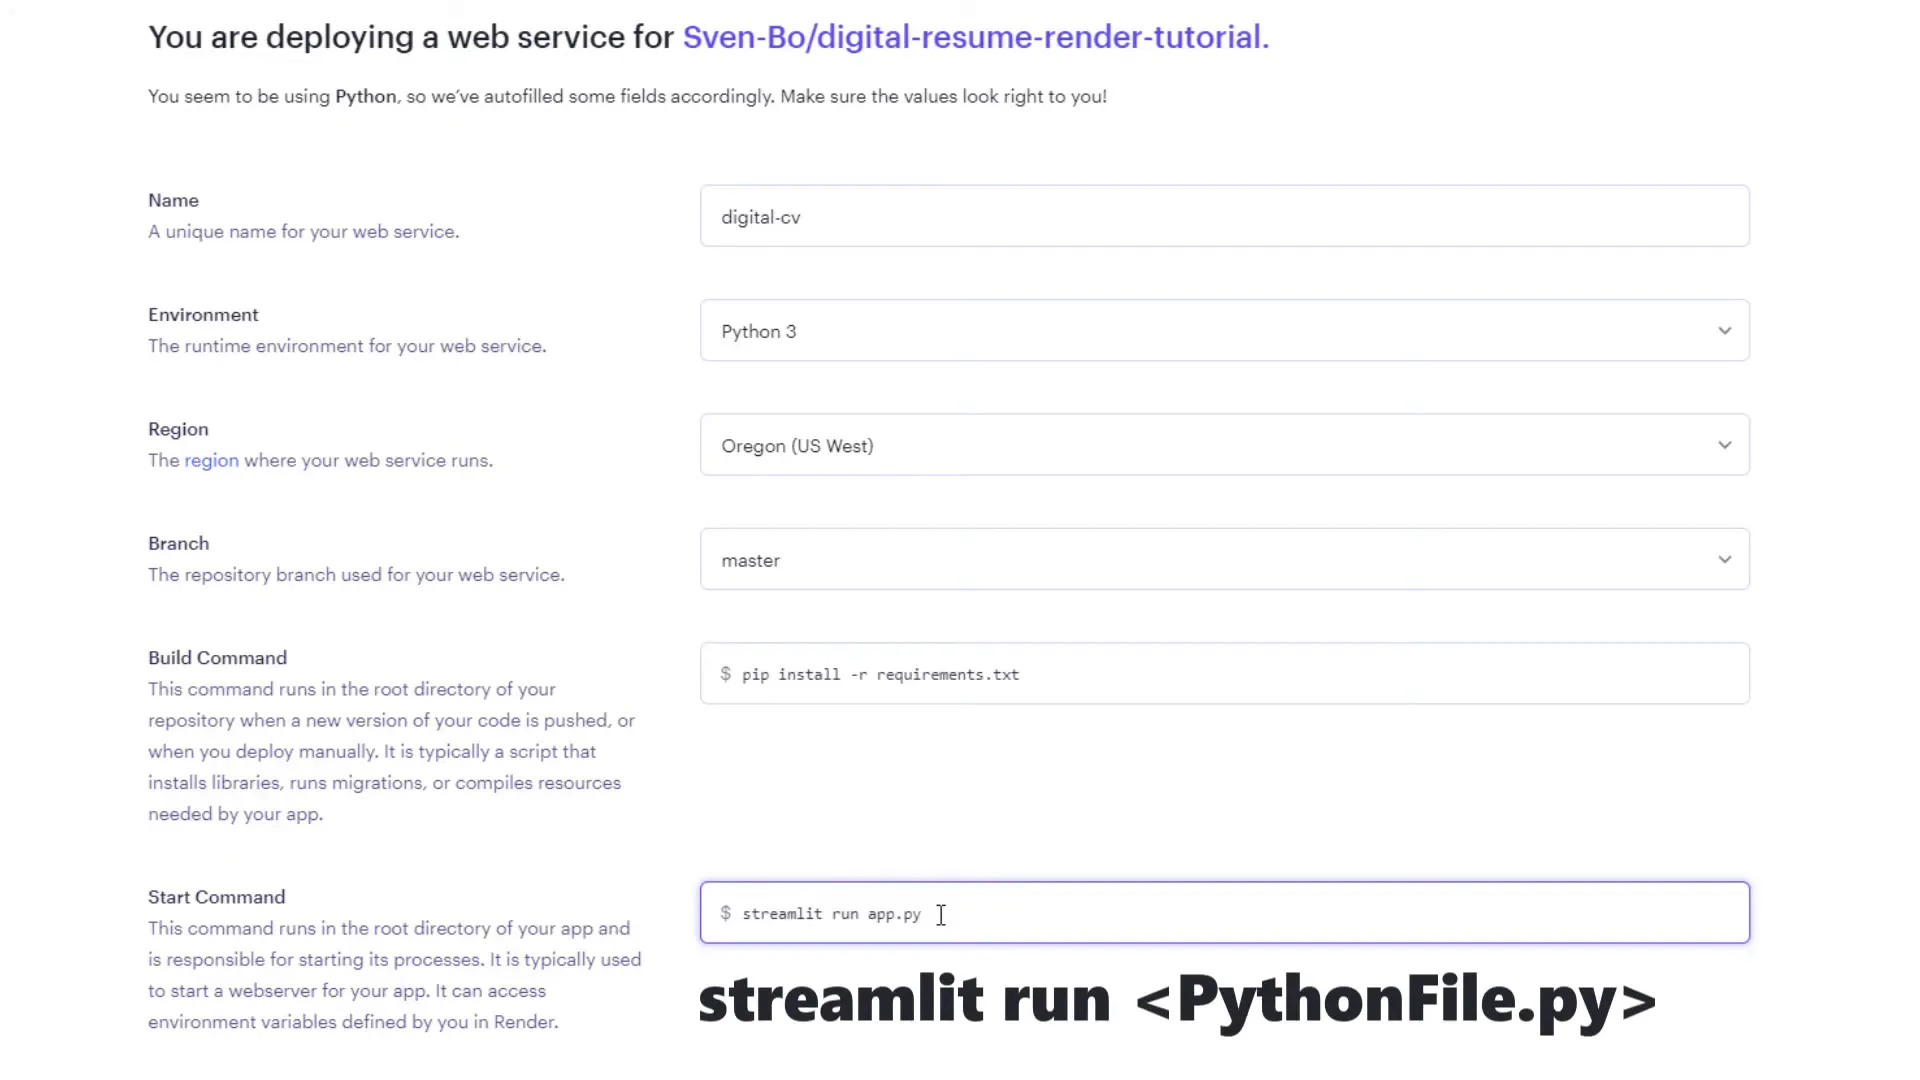
Keep the default settings for the environment, region, and branch. For the start command, type:
streamlit run app.pyClick on Create Web Service to start the deployment process. You will see logs indicating the deployment status.

Remarks regarding the free tier on render
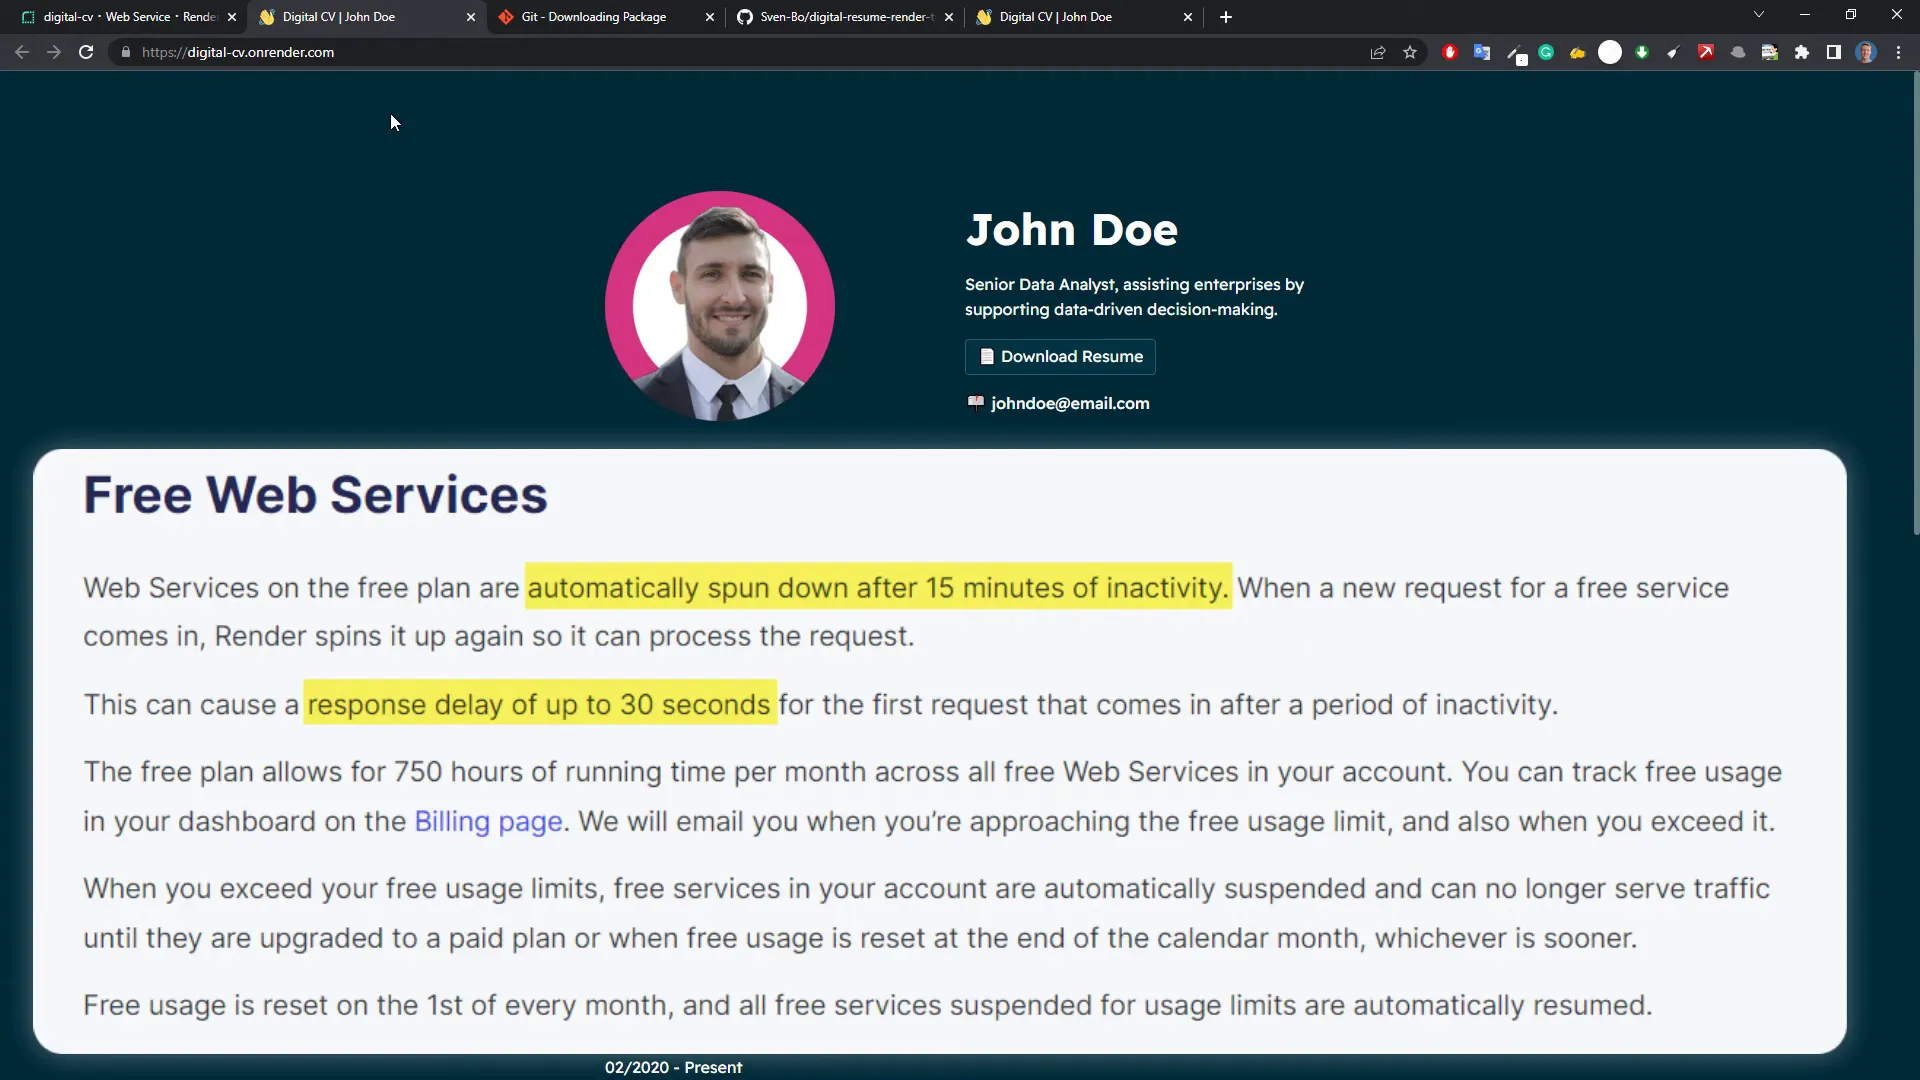
Keep in mind that similar to Heroku, your website on Render will fall asleep after 15 minutes of inactivity. This means it might take up to 30 seconds to load the first time after being inactive.
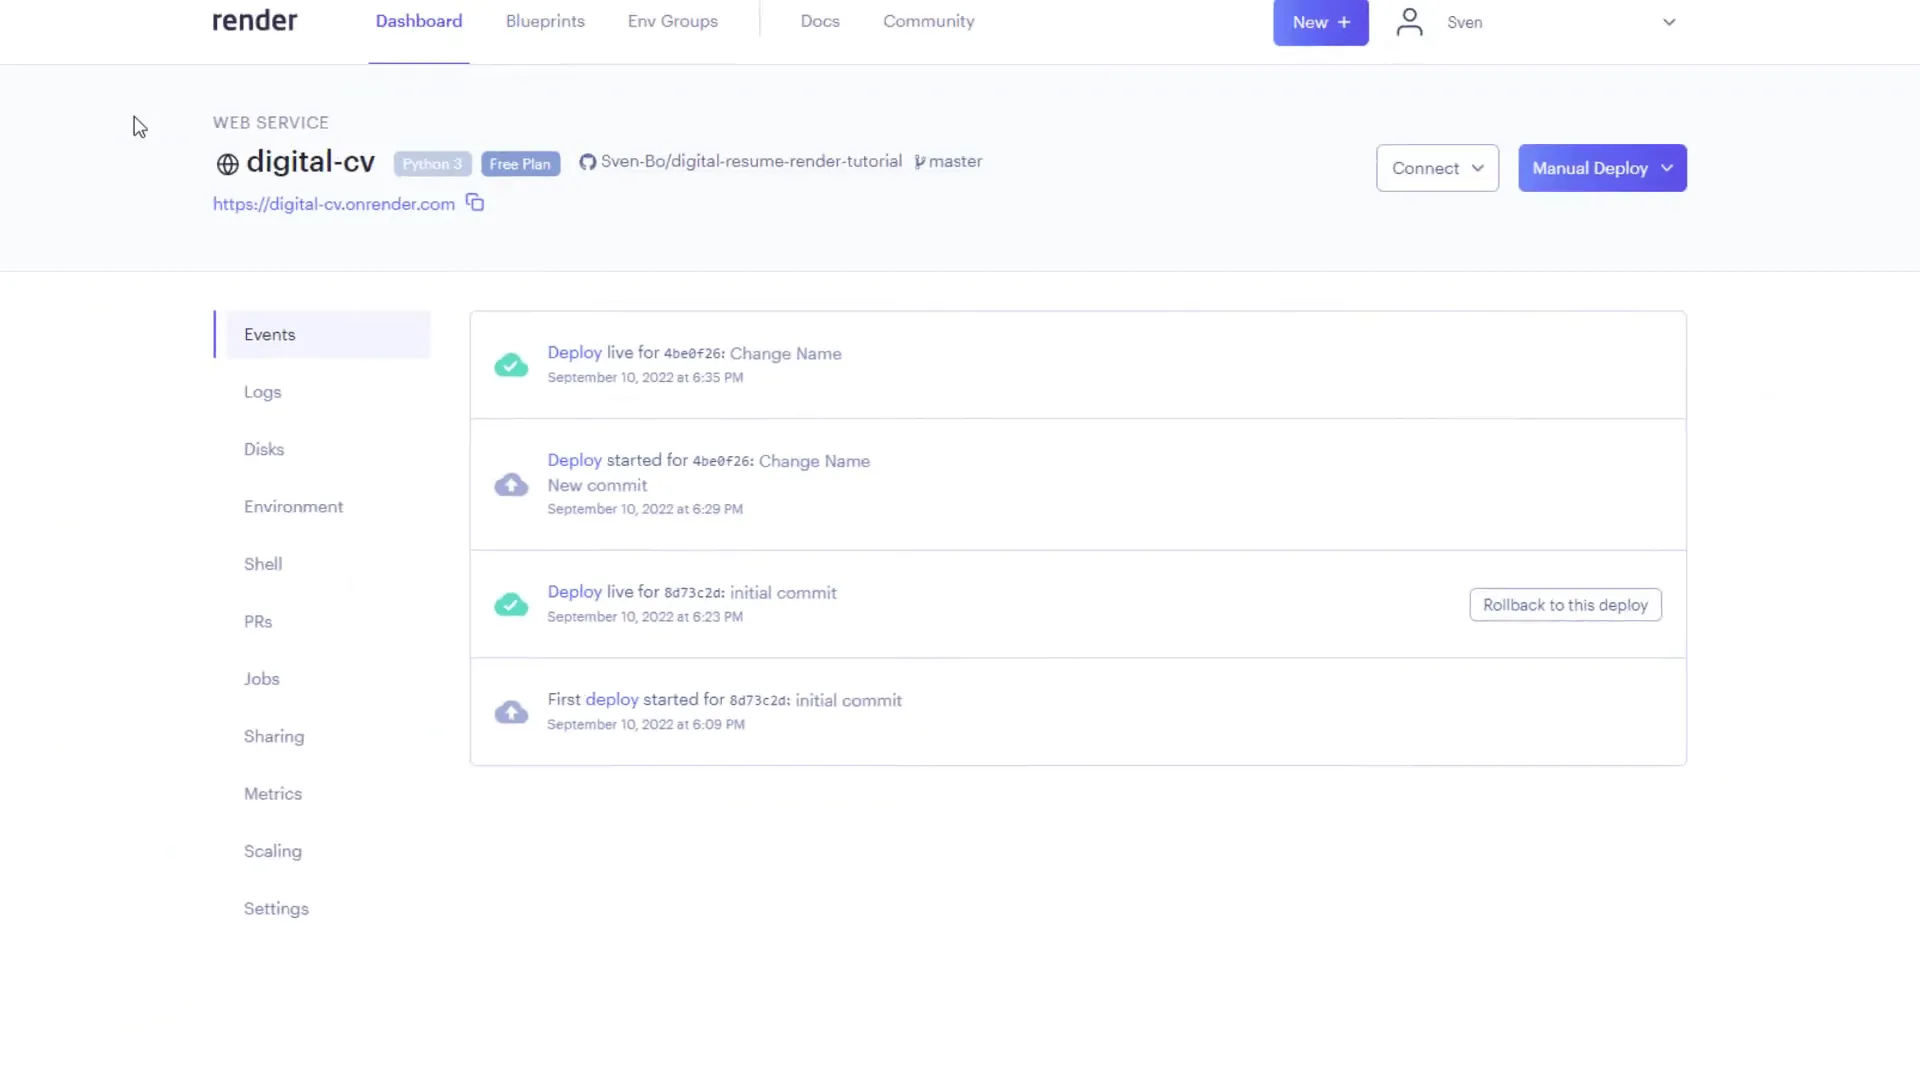
How to update your live website
If you want to make changes to your website, for example, changing the name on your CV, save the script and return to your terminal. Use the following commands to update your repository:
git add .
git commit -m "Change Name"
git push -u origin master
Once pushed, Render will automatically deploy your changes. Note that this process may take a few minutes. After it’s complete, reload your website to see the updates. You might need to clear your browser cache to view the changes.
Outro
That’s all for today! I hope you found this tutorial helpful. If you have any questions, feel free to leave them in the comments. Thanks for watching!