How to Create & Deploy a Python Web Application FAST (fastHTML Tutorial)
Introduction
I’m excited to guide you through building a web application from scratch using a new Python package called FastHTML. This application will function as a digital guestbook where users can leave messages that are stored in a database. The most remarkable aspect? This entire web application is developed in Python—no JavaScript necessary! However, having a basic understanding of HTML will be beneficial. By the end of this tutorial, you’ll have your very own guestbook live on the internet!
Installing FastHTML
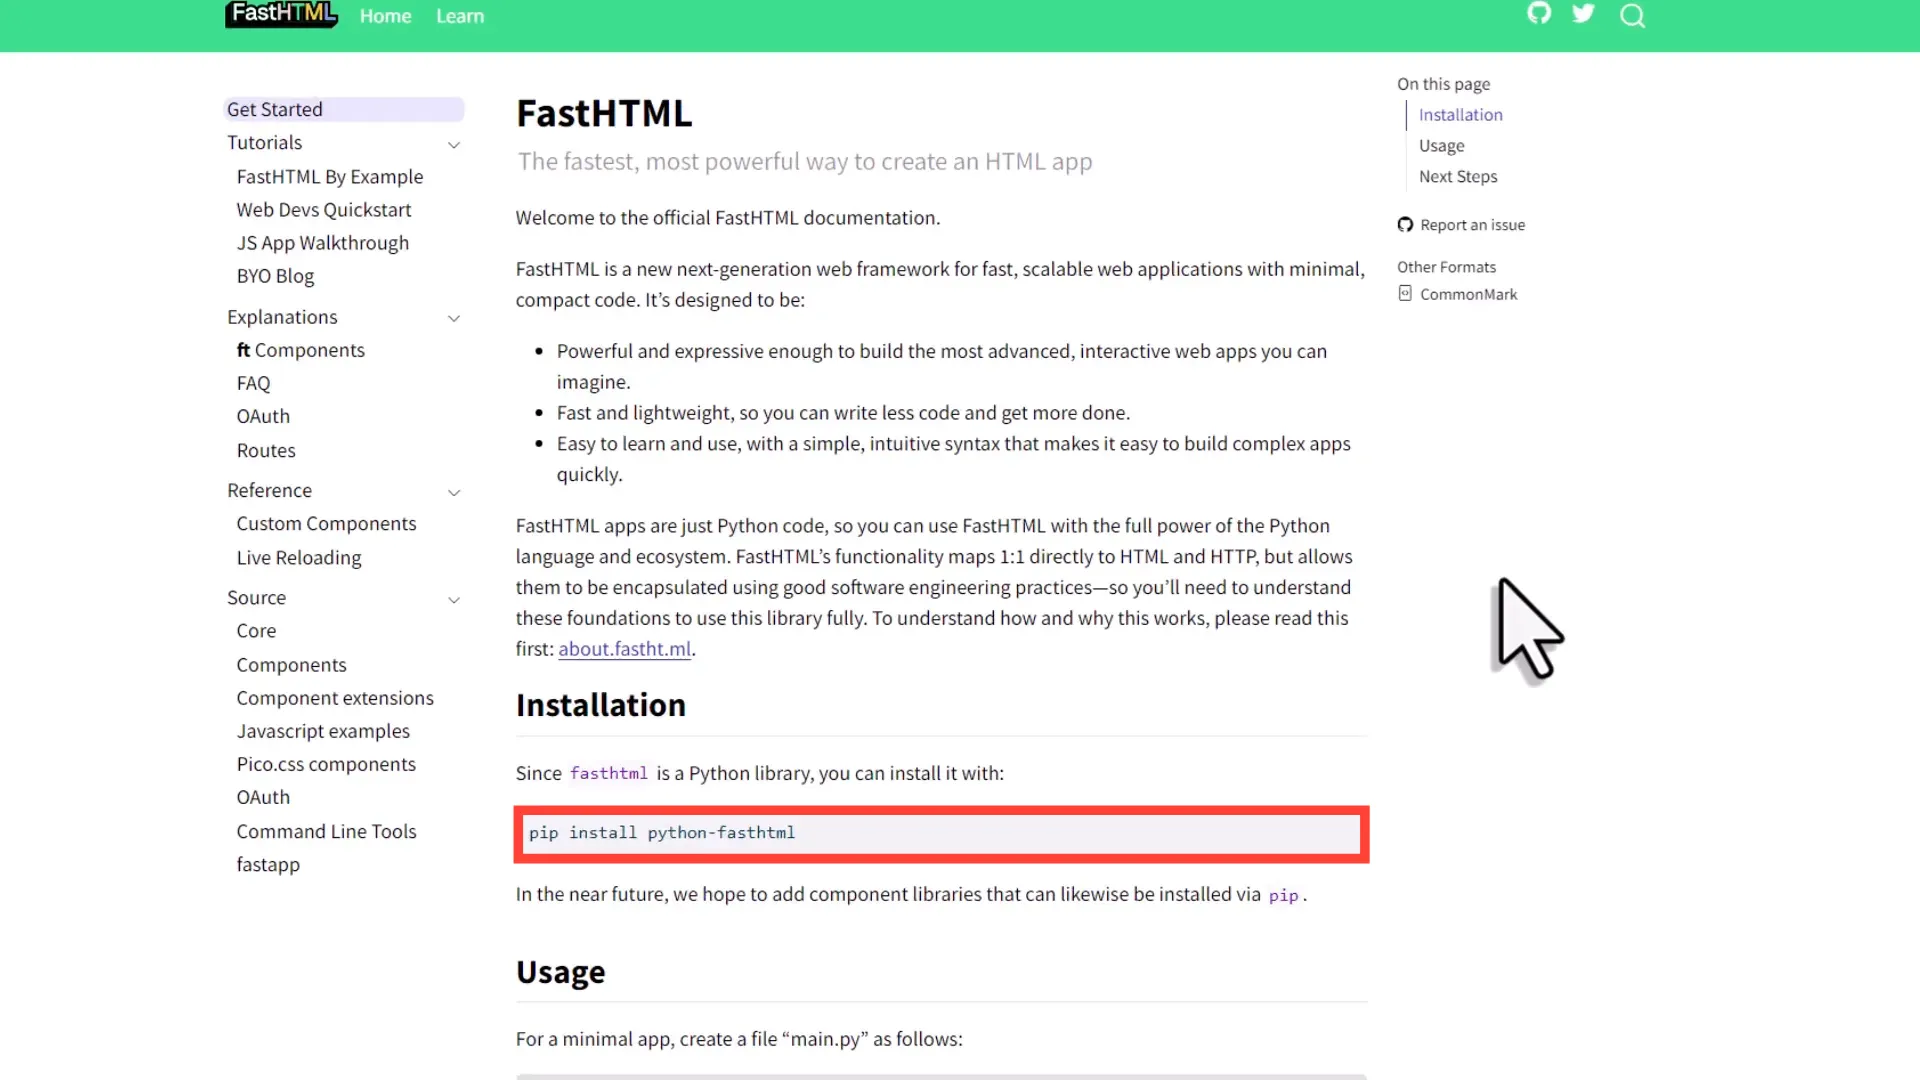
To get started, first, head over to the official FastHTML documentation. The first step is to install the package. You can do this by copying the command provided in the documentation and running it in your terminal or command prompt. If you have already installed it, that’s great!
Running the Example Code Locally
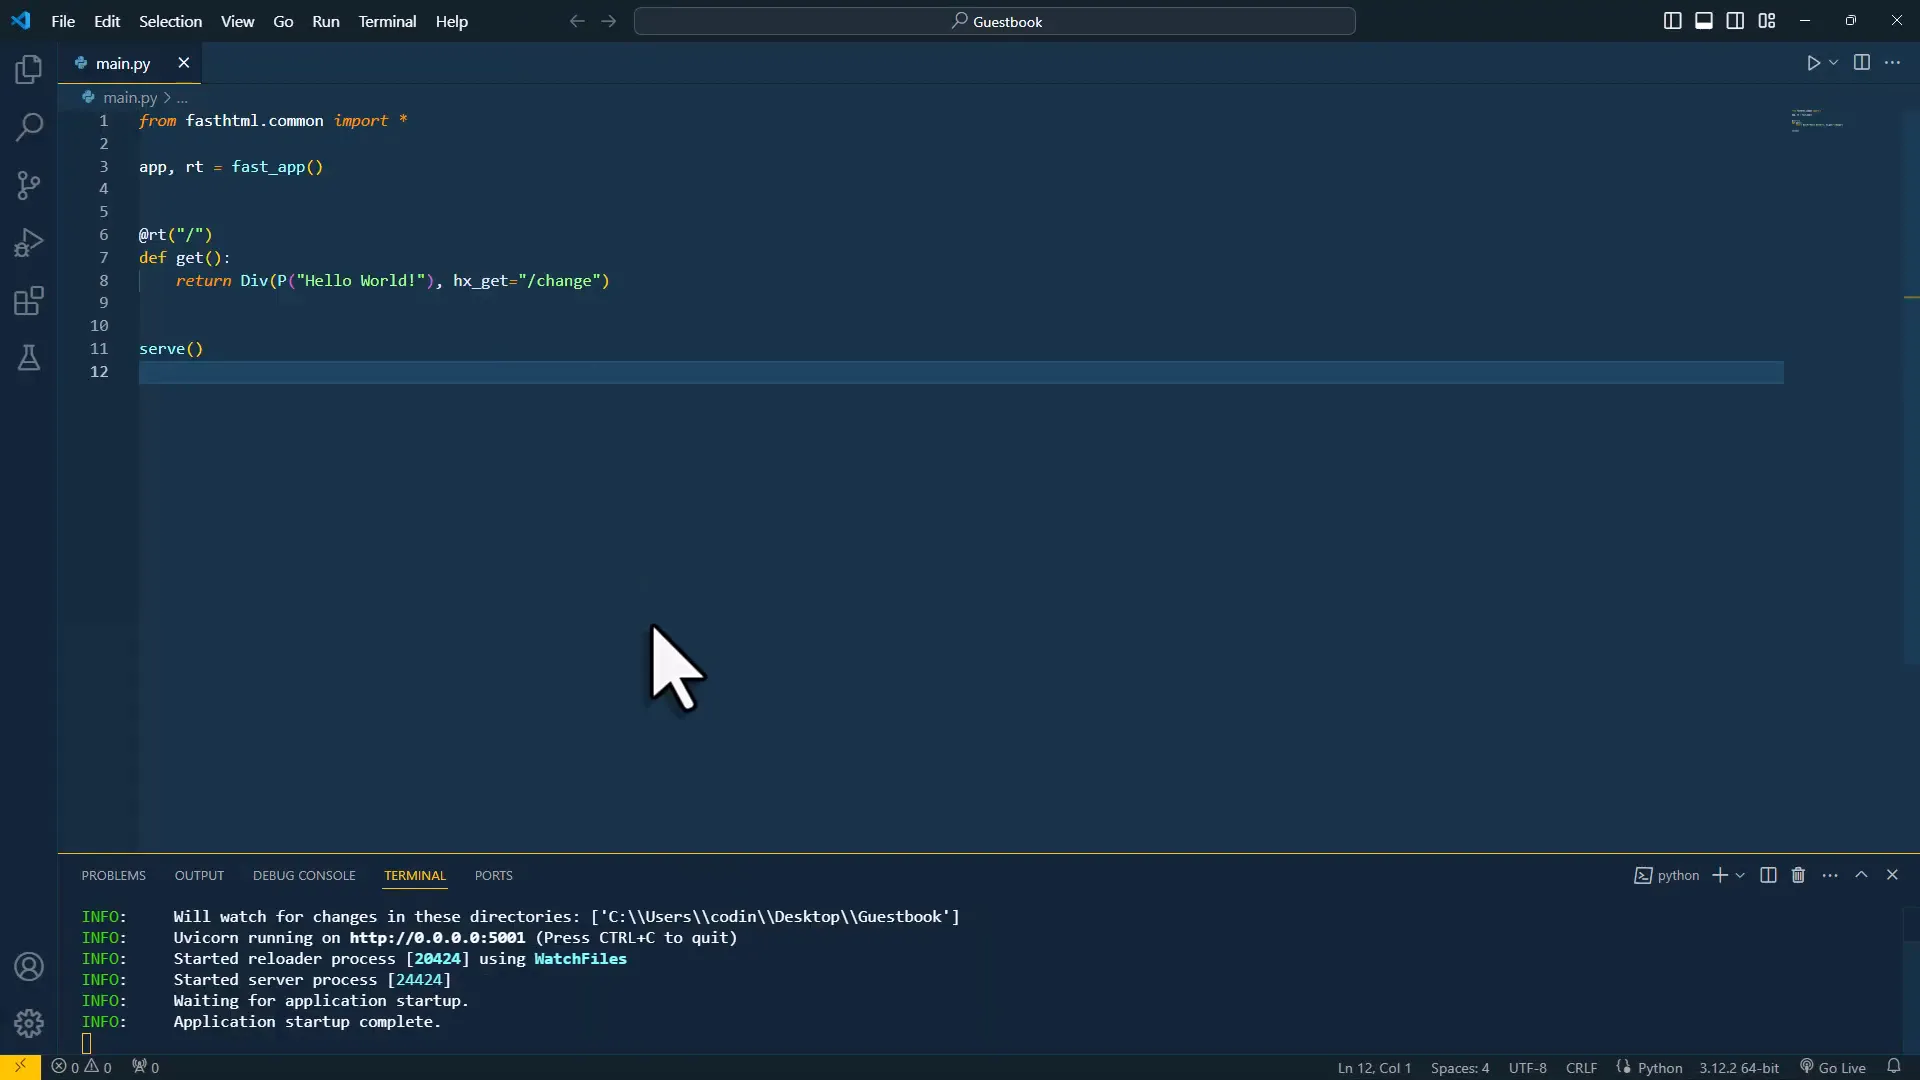
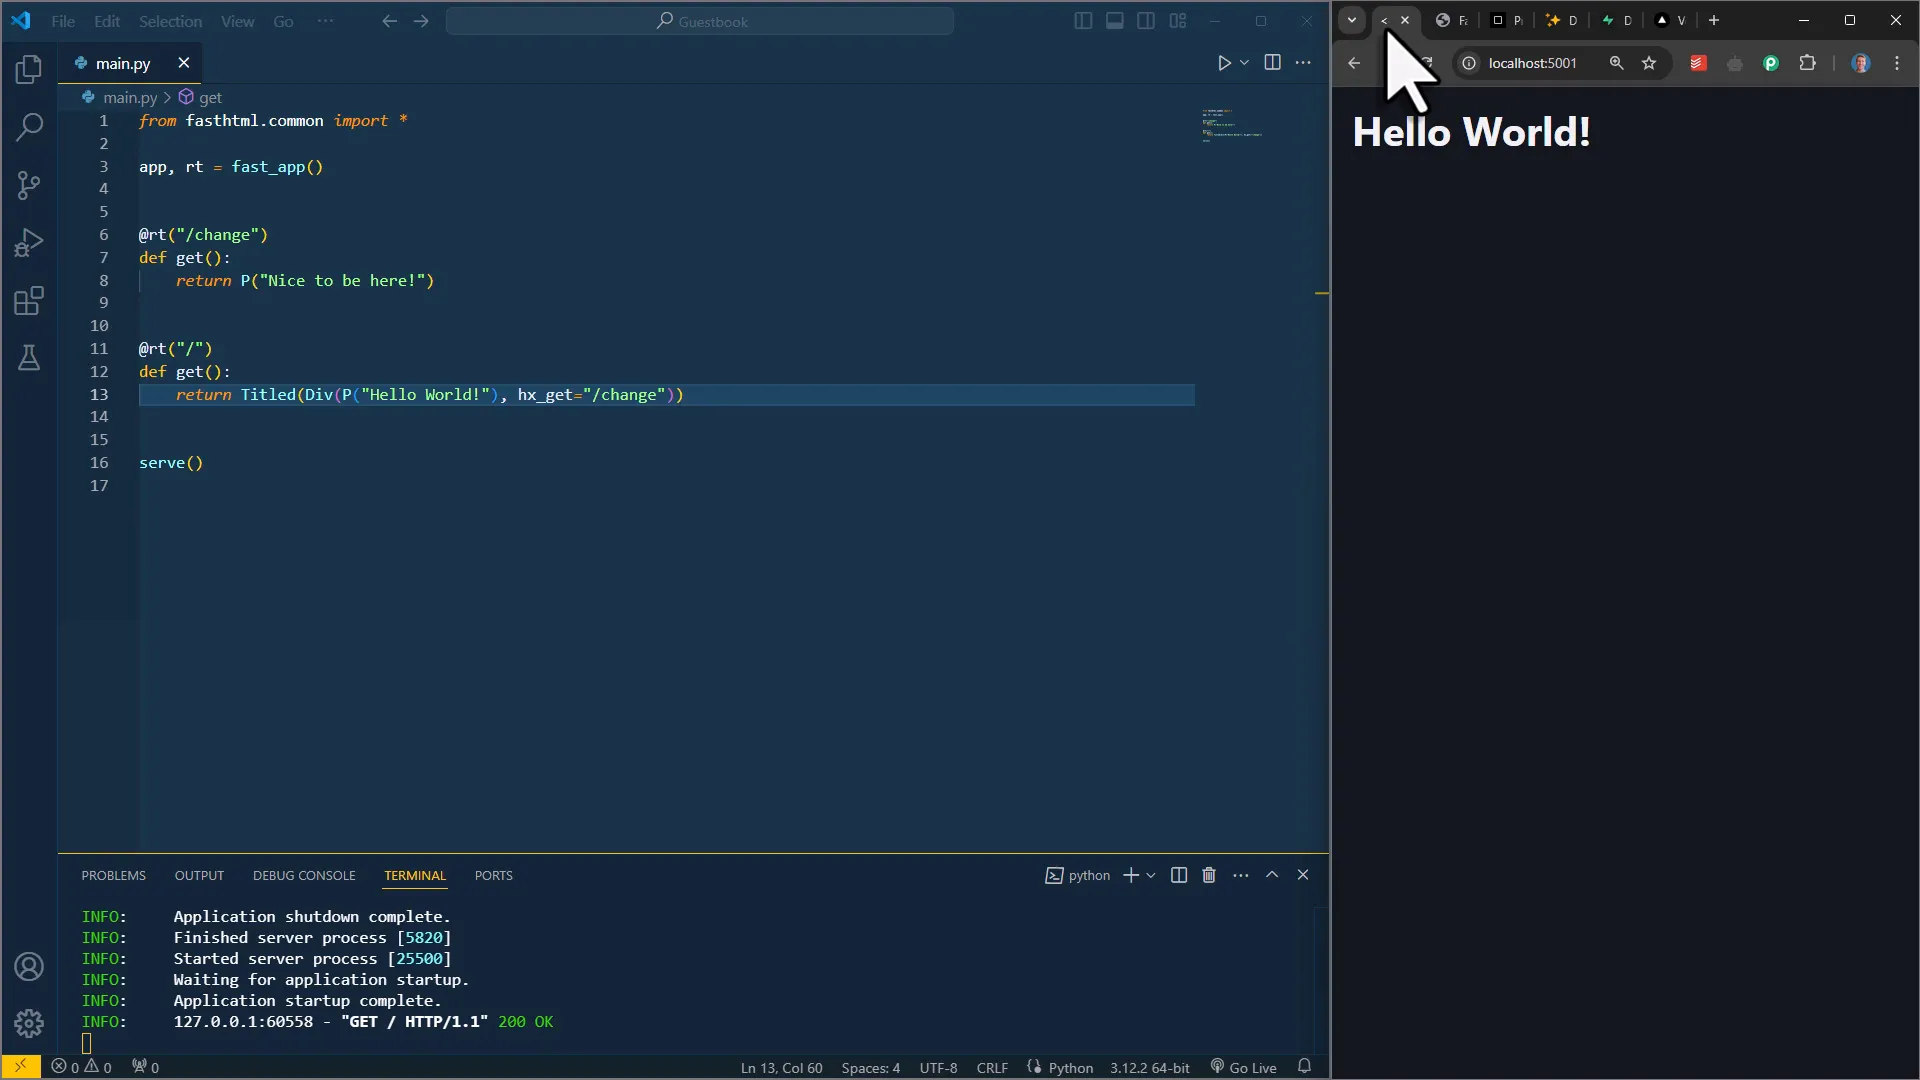
Next, copy the sample code from the documentation and paste it into a Python file. I named my file main.py. To start your web server, type python main.py in the terminal. Once the server is running, you’ll see it operating on your local host at port 5001. If you encounter any errors, just ensure the address is set to localhost.
Explaining FastHTML with Example Code
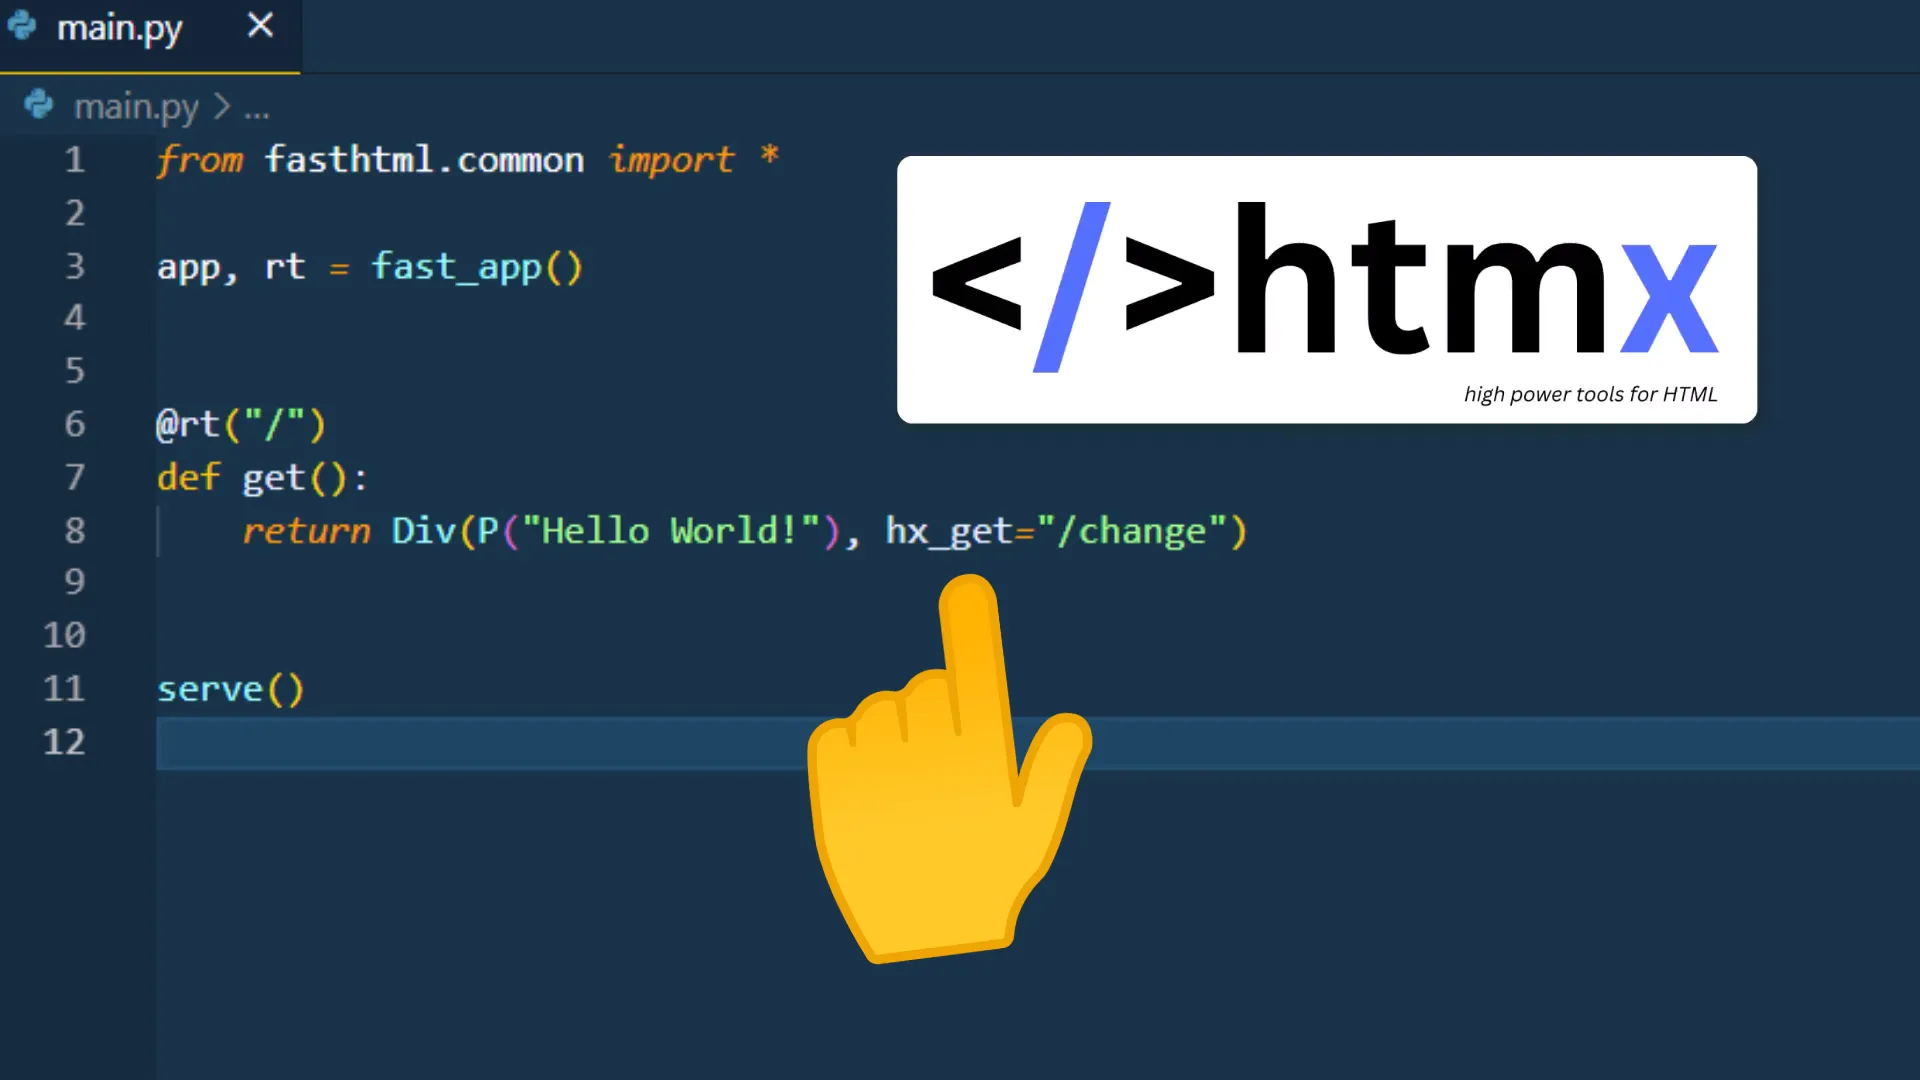
FastHTML is a combination of FastAPI and HTMLX. FastAPI serves as the backbone of our application, while HTMLX enhances HTML functionality without needing any JavaScript. In our example app, we initialize the app and router instances. The routes function like web pages—currently, we have only the root route, which is our homepage. The HTML structure consists of a div element containing a paragraph.
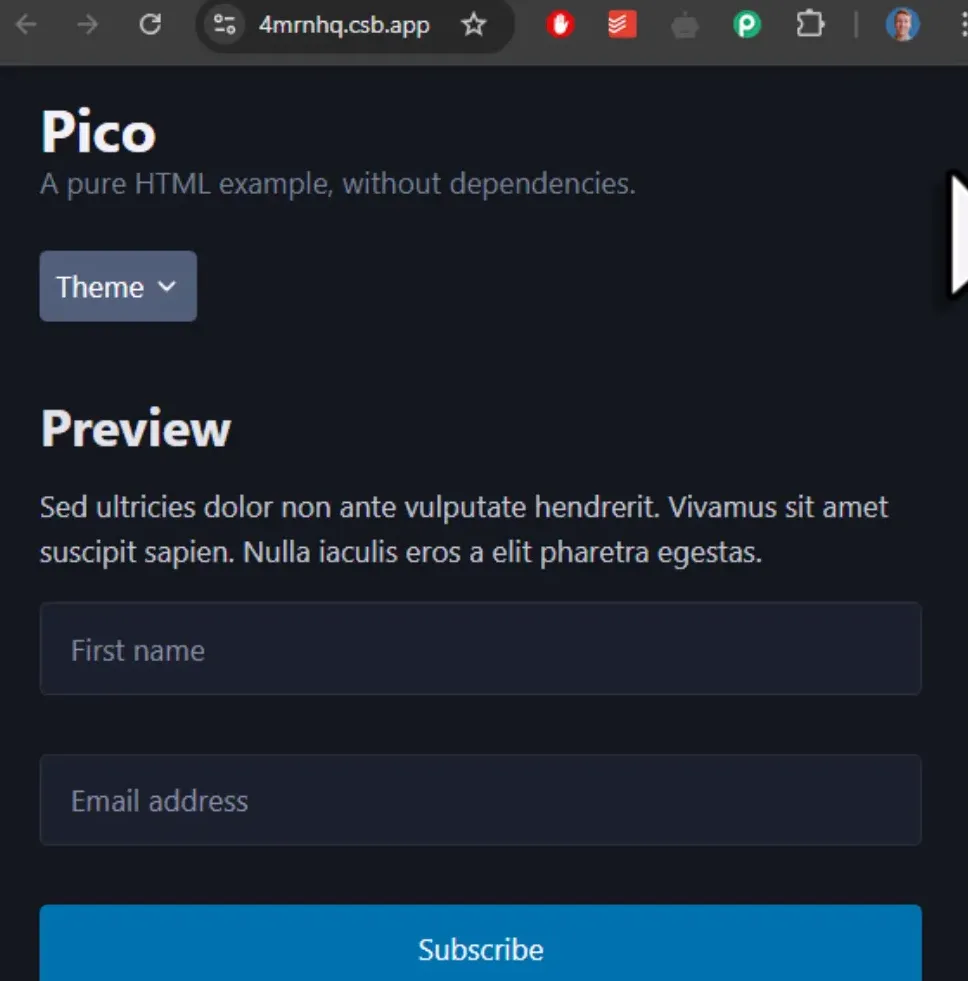
Styling the Application with Pico CSS
FastHTML comes with built-in styling options. For instance, wrapping our content in a titled element applies a CSS library called Pico automatically. If you’ve never used CSS before, it’s simply a way to style HTML elements. You can also opt for other CSS libraries, like Tailwind, but in this tutorial, we’ll stick with Pico.
Creating a Multi-Page Application
To create a multipage application, we can use HTMLX to retrieve content from a second page. By removing the HTMLX attribute and using a regular link instead, we can navigate to a different page, which will update the URL accordingly.
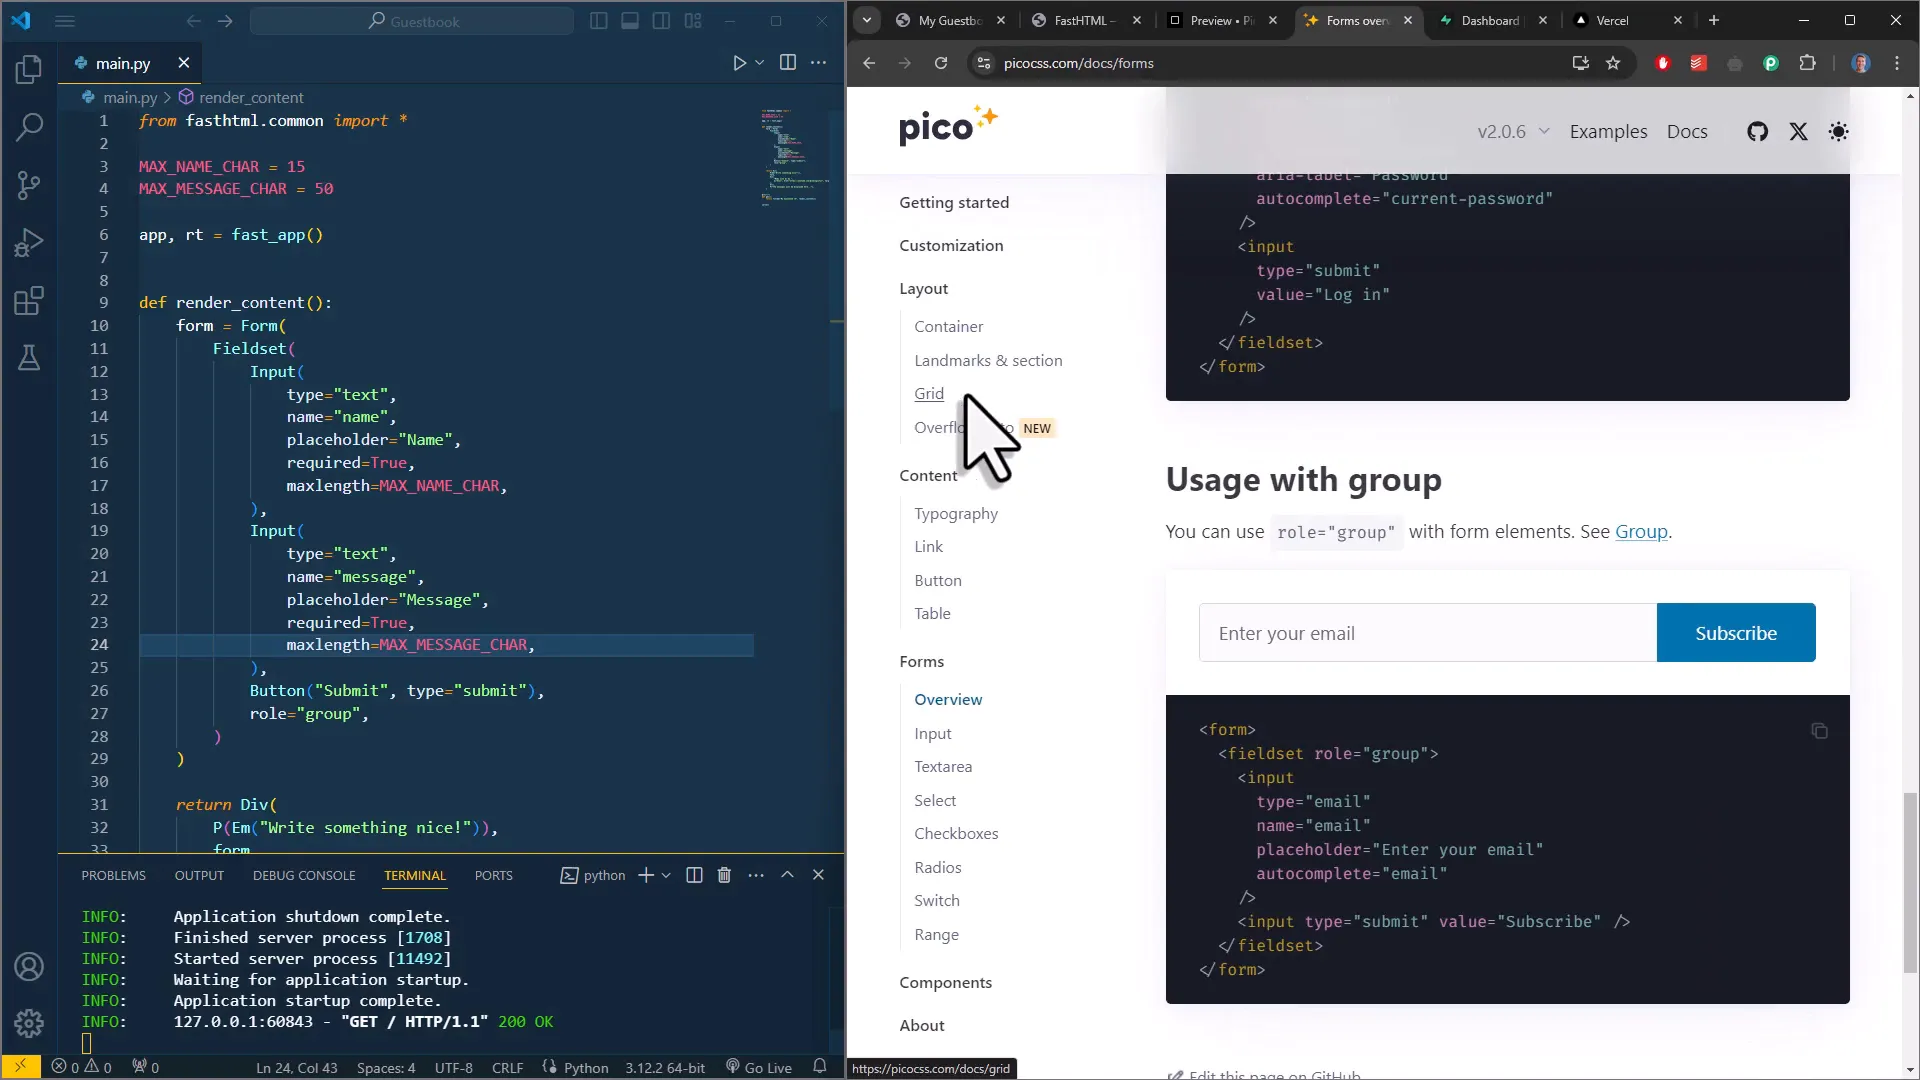
Building the Guestbook Form
For the guestbook, I want to create a form with fields for a name, an email, and a submit button. You can refer to the Pico documentation for examples. I’ll organize the code by calling a function that returns the desired HTML elements instead of writing everything in the return statement.
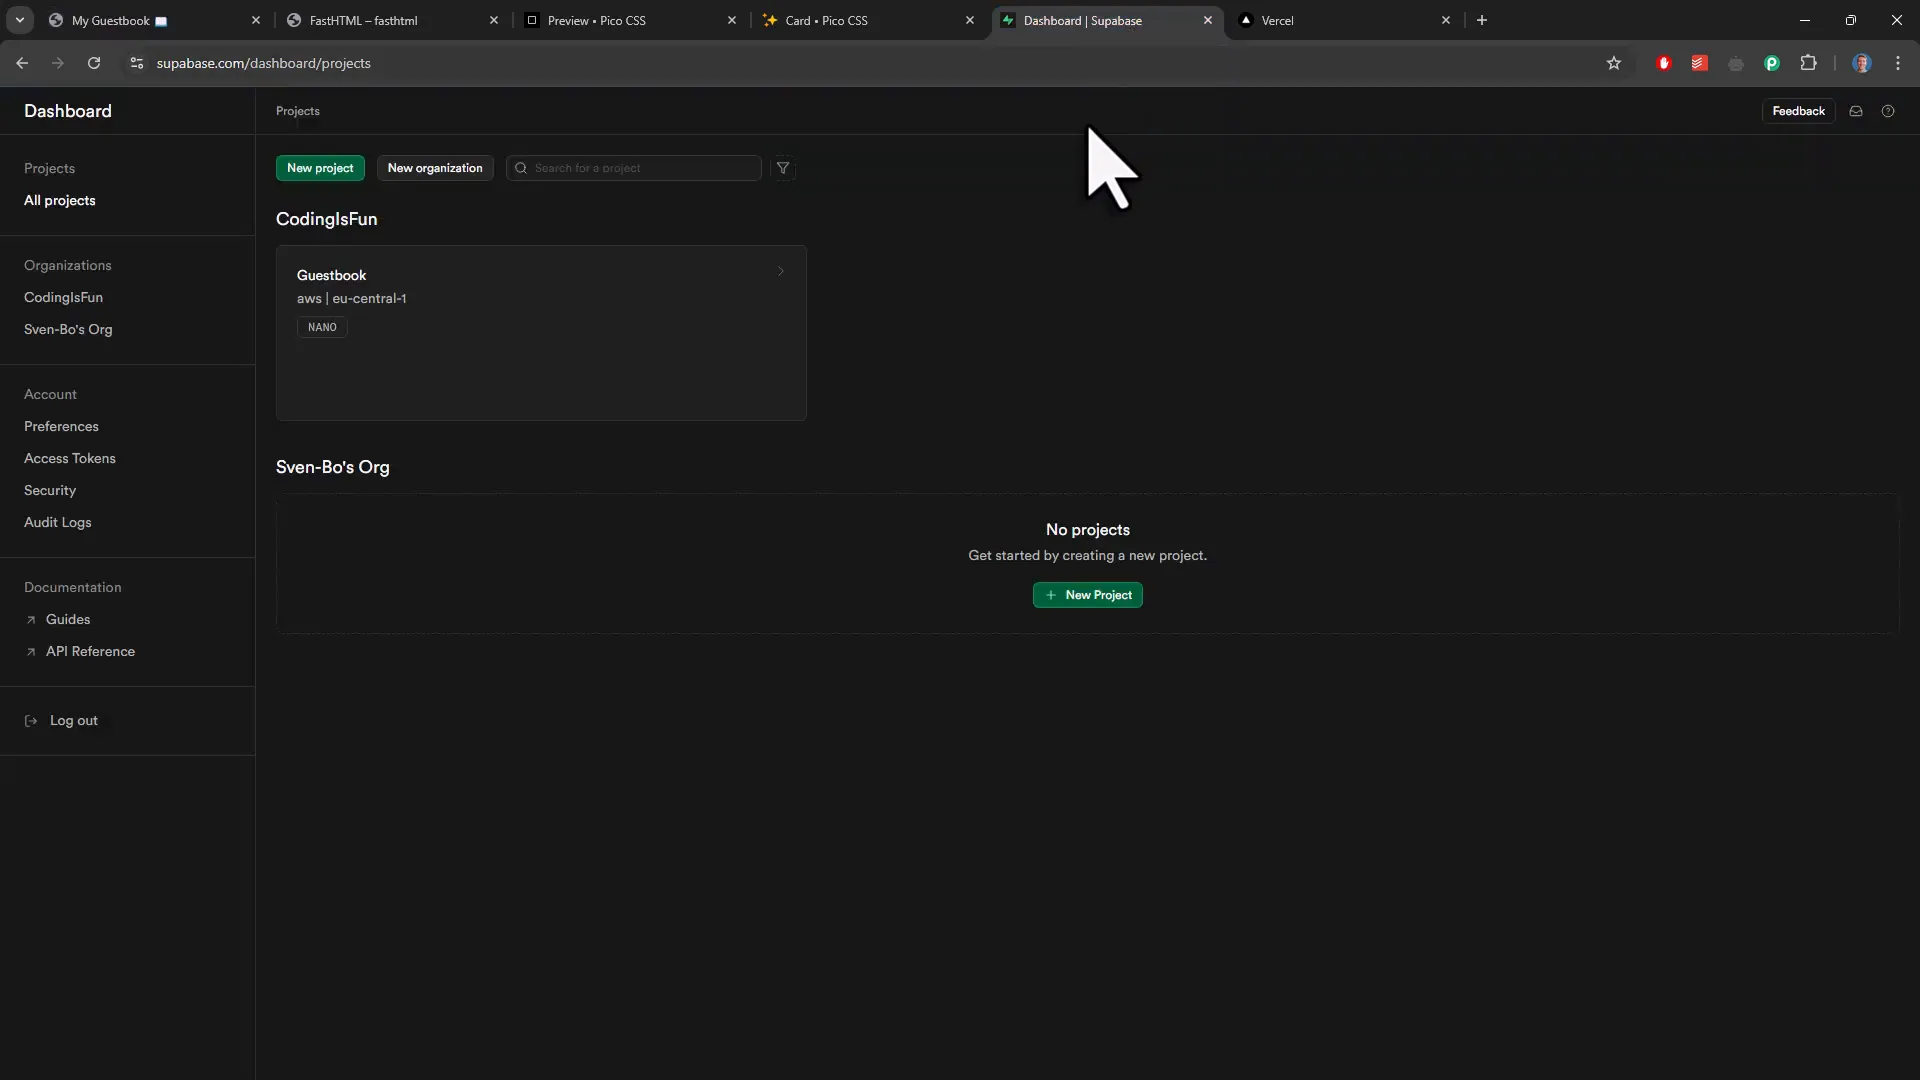
Connecting to a Postgres Database with Supabase
Next, we’ll connect to a PostgreSQL database using Supabase. To begin, create a free Supabase account and set up a new organization and project. After that, you’ll receive API keys, which are essential for accessing your project. Create a .env file in your project directory to store your Supabase key and URL.
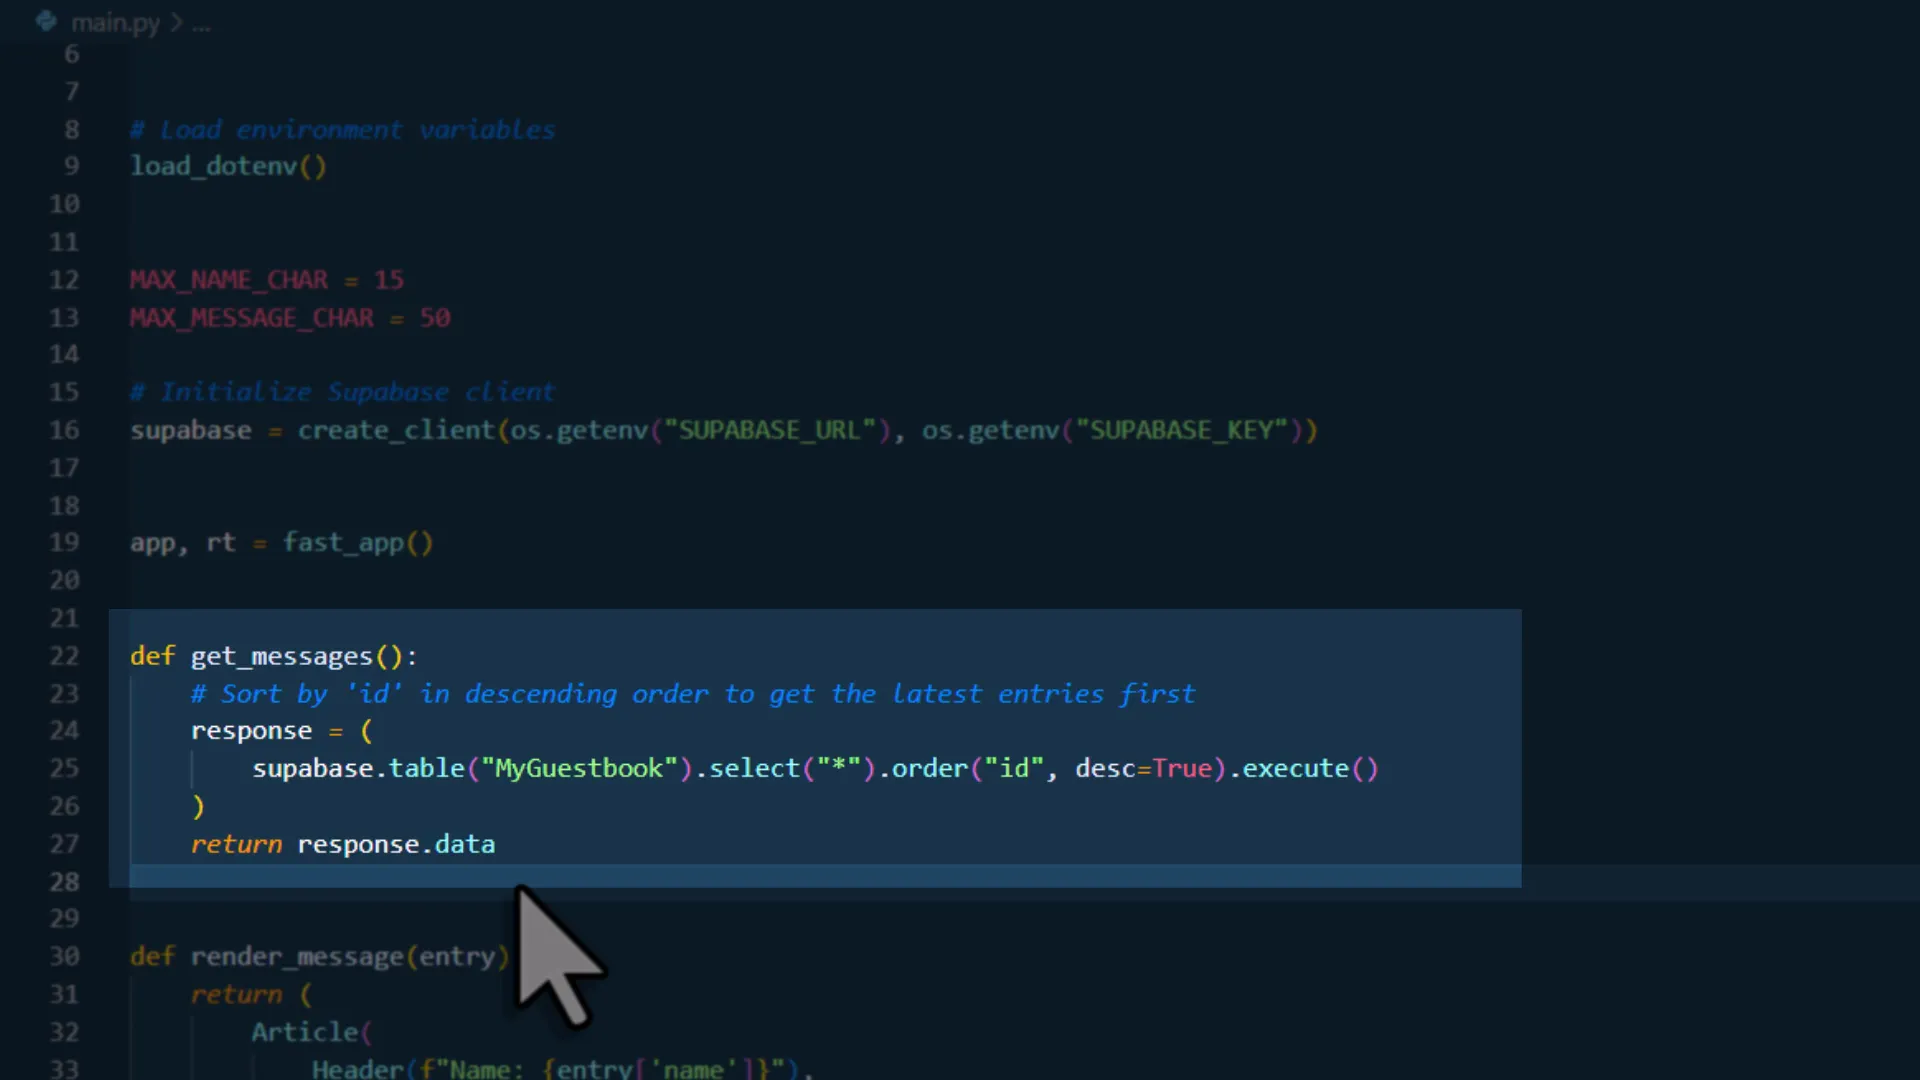
Fetching Data from the Database
With the database set up, it’s time to fetch the data. Supabase offers a Python SDK, which you can install using pip. Ensure to also install the python-dotenv package for environment variable management. Once installed, import the necessary packages and initialize the Supabase client to retrieve all messages from the database.
Inserting New Data into the Database
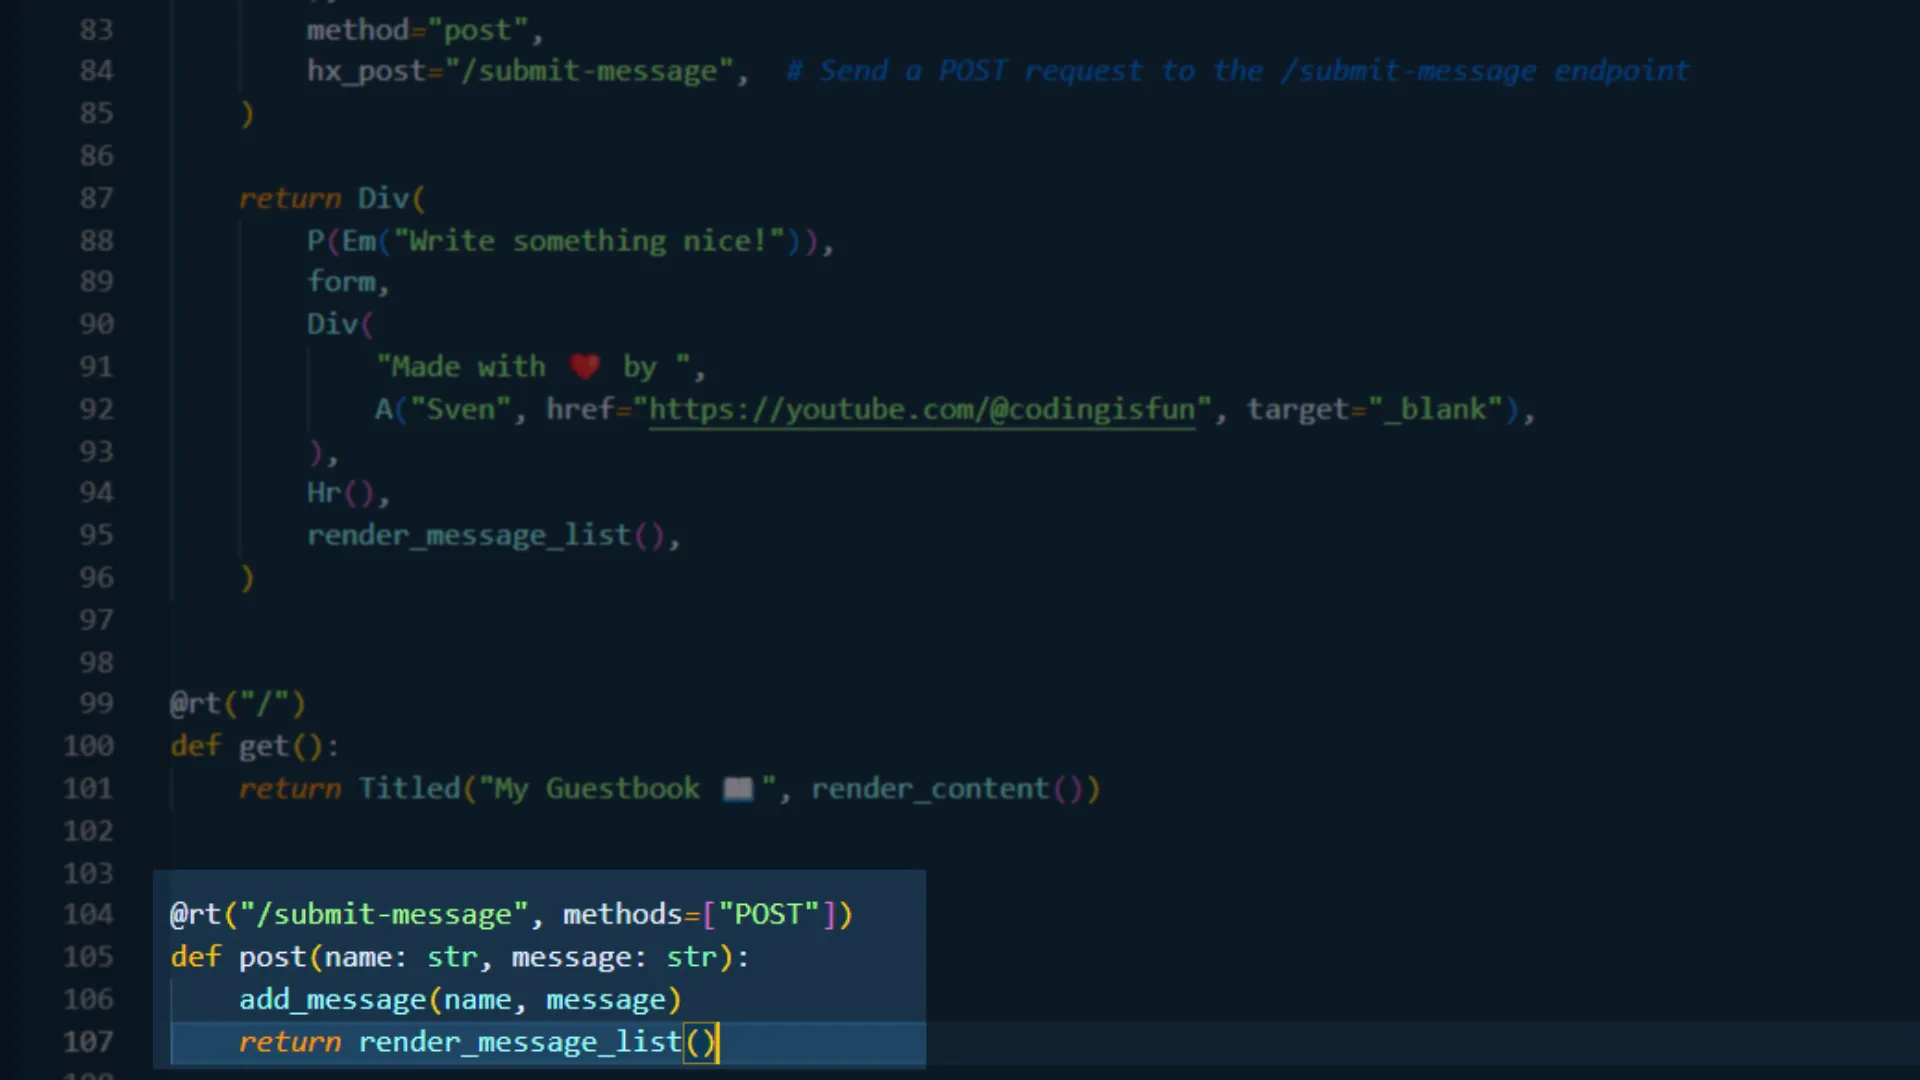
To allow users to insert new messages, I’ll create a function to handle this. The function will take in a name and a message, format the timestamp, and insert the data into the database. I’ll also define a route to handle the form submission, ensuring that it triggers a POST request to store the new message.
Handling Form Submissions with FastHTML
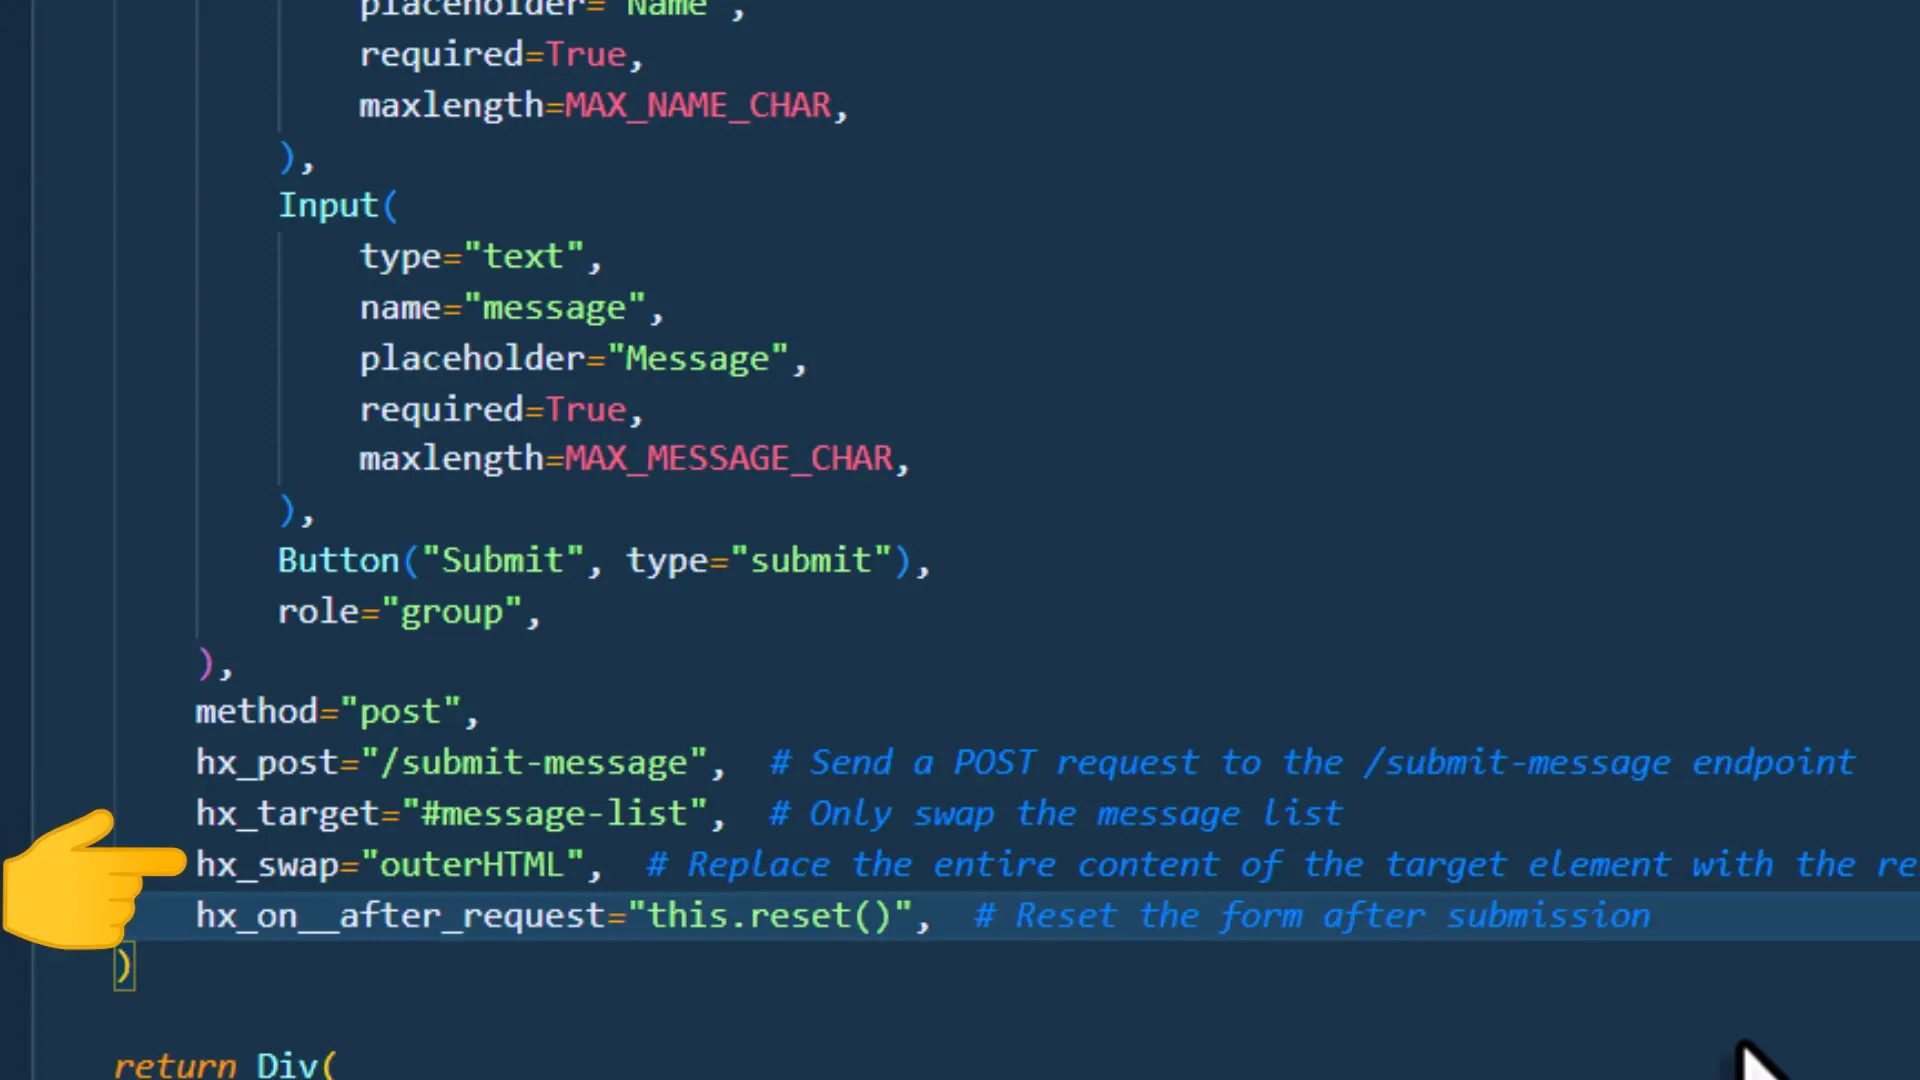
When the user submits the form, the app will replace the list of messages with the newly submitted message. To enhance user experience, we can specify which part of the page to update using HTMLX and reset the form after submission.
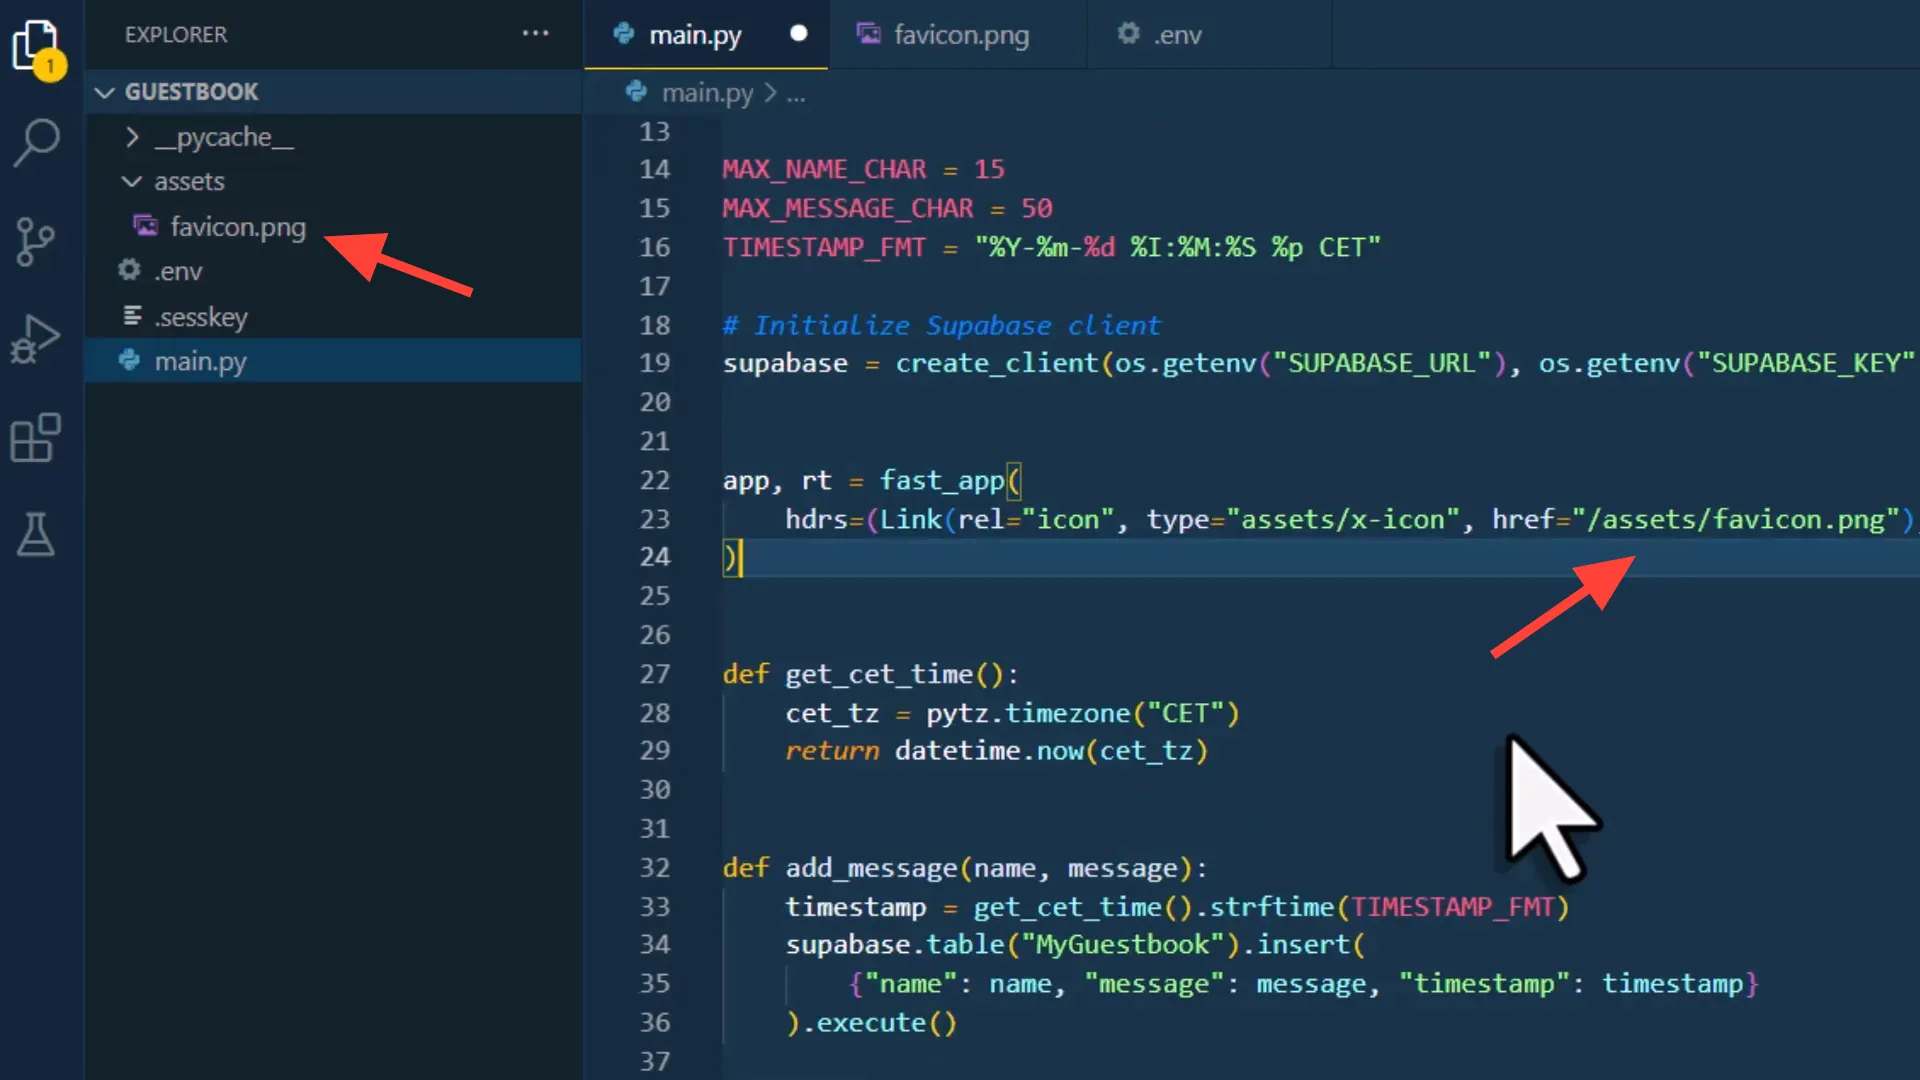
Adding a Favicon
As a finishing touch, I’ll add a favicon to our application. This involves creating an assets folder, placing an image there, and specifying it in the headers. Reloading the page will display the favicon in the browser tab.
Deploying the Web Application to Vercel
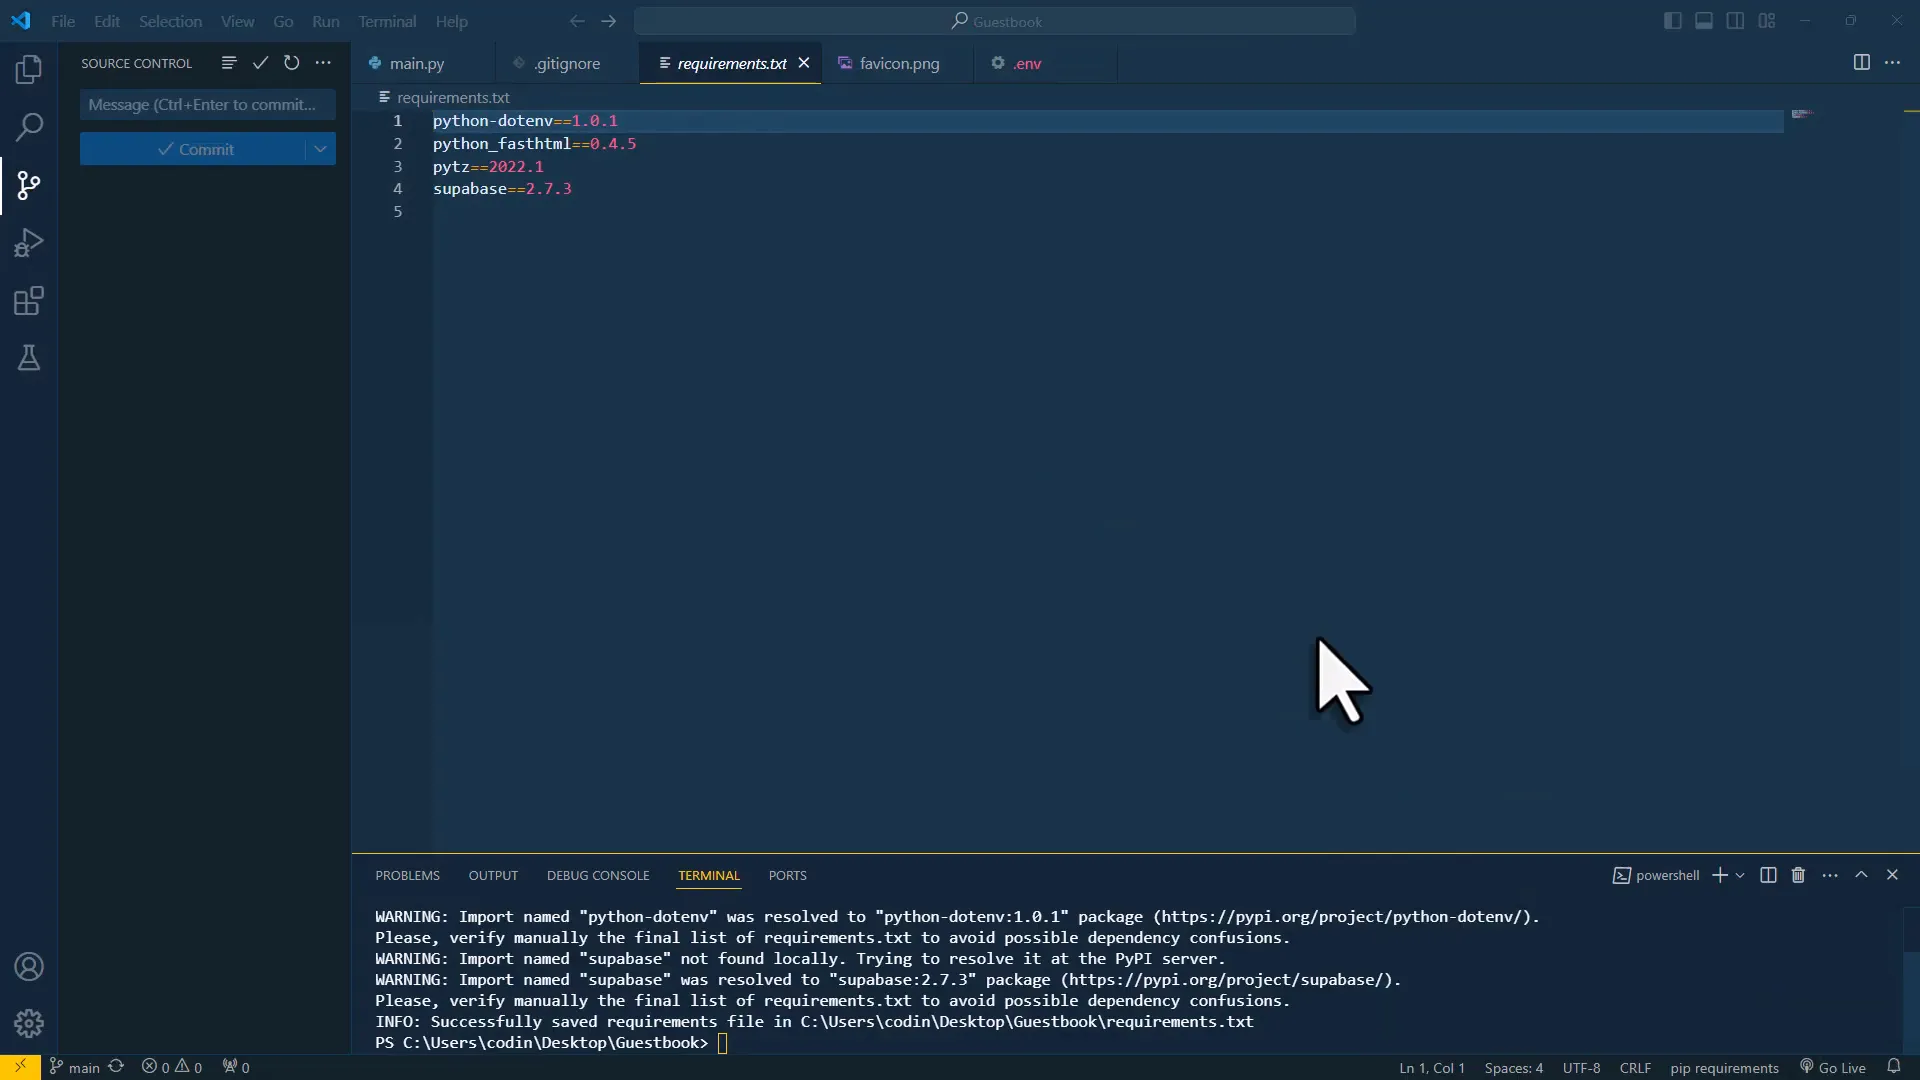
Now, let’s deploy the application. First, I’ll initialize a new git repository and create a .gitignore file to prevent sensitive data from being committed. After creating a requirements.txt file to list the necessary packages, I’ll push the code to GitHub.
Testing the Live Application
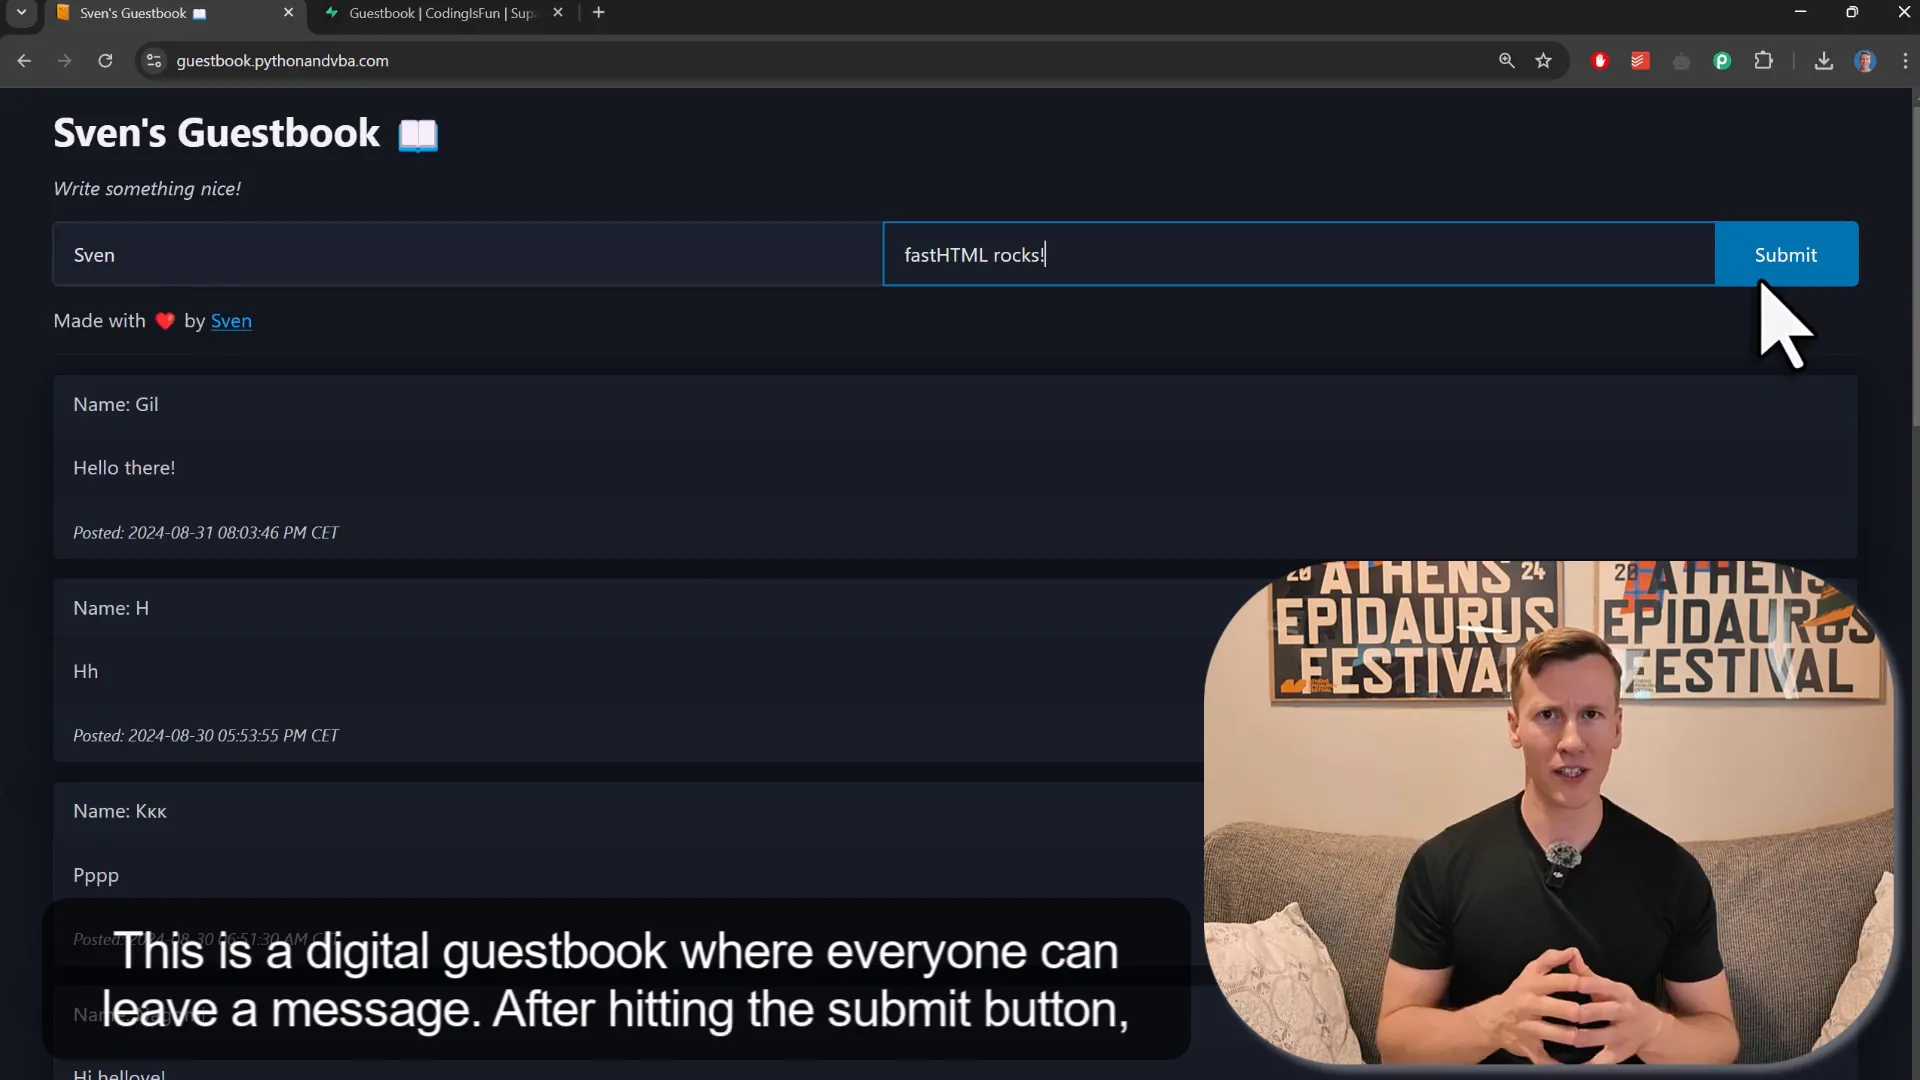
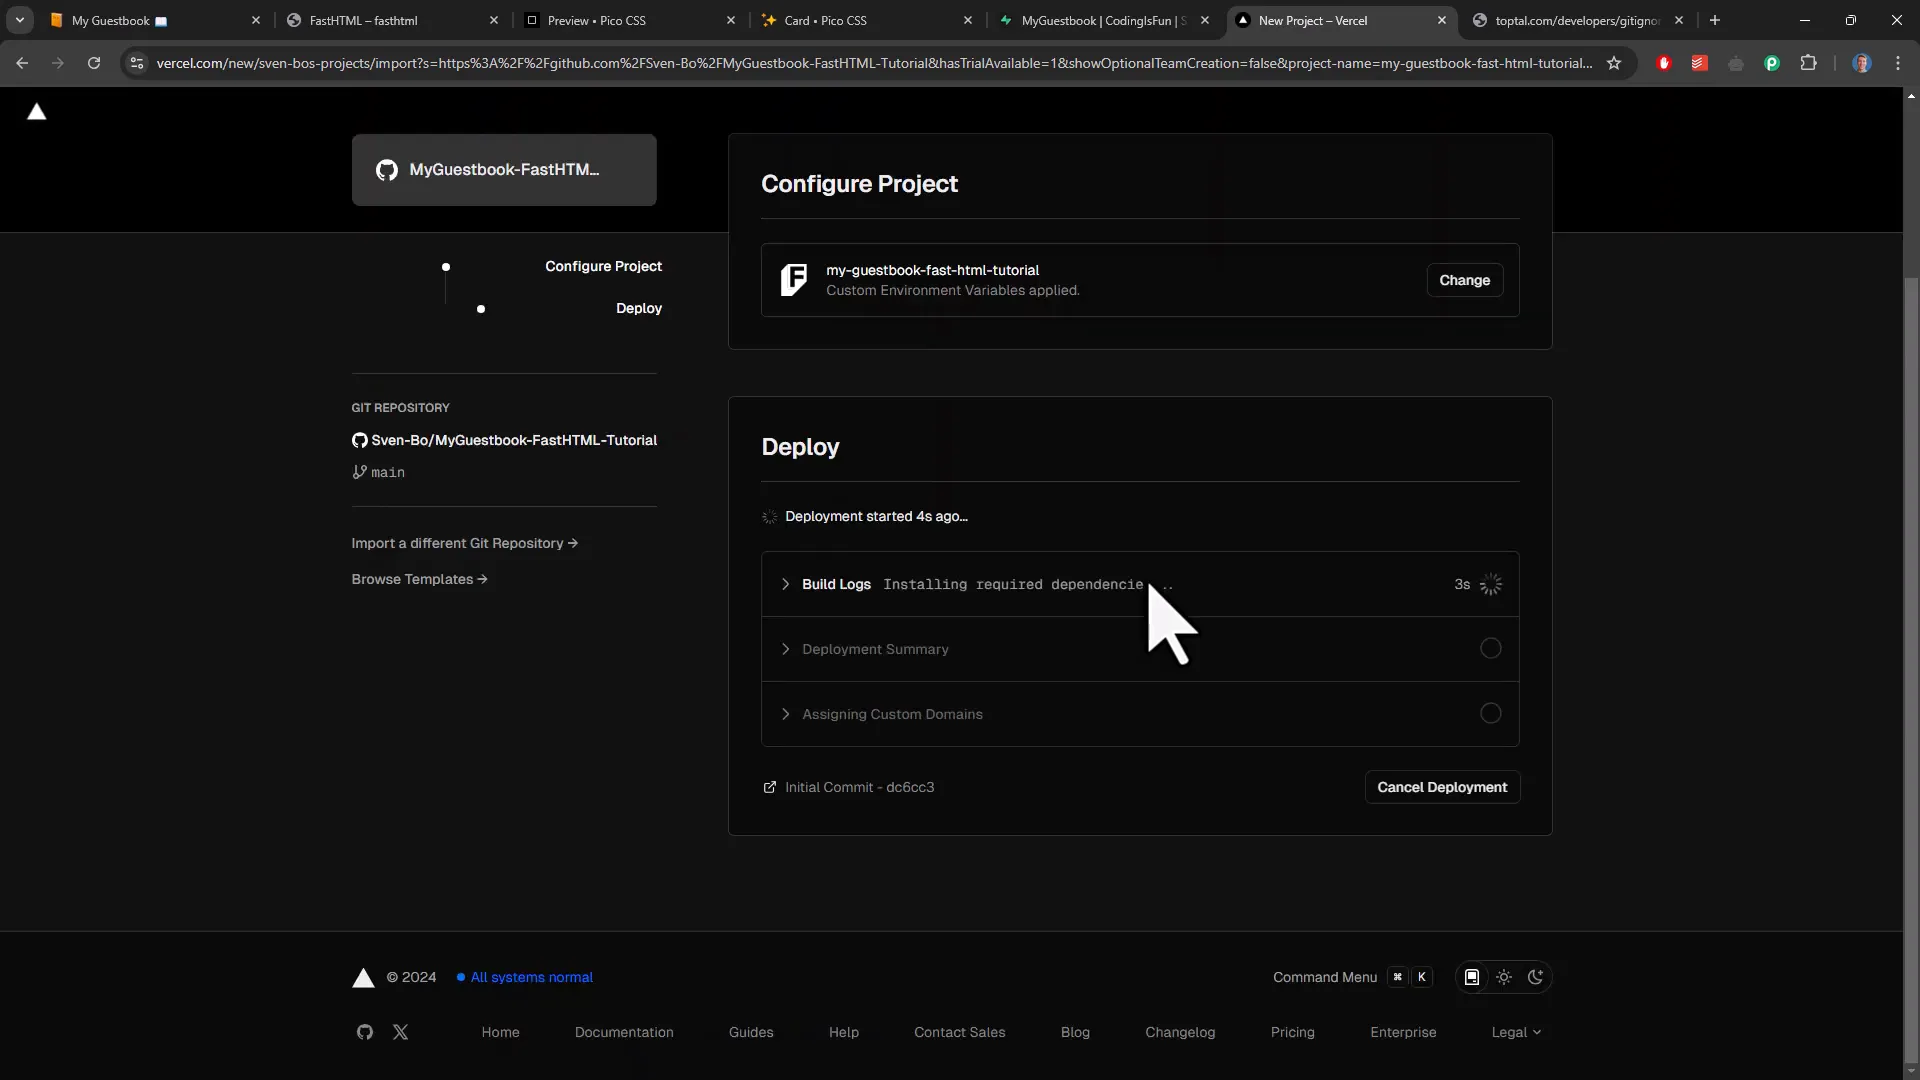
Once the code is on GitHub, I’ll head to Vercel to create a new project, select the repository, and enter the environment variables. After clicking the deploy button, the app will go live! I’ll test it by submitting a message to ensure everything works smoothly.
Conclusion
In this tutorial, I’ve shown you how to create a dynamic web application using FastHTML, from installation through to deployment. You’ve learned how to handle form submissions, connect to a database, and style your app with CSS. This project serves as a solid foundation for exploring more features with FastHTML. Thanks for reading!