
About five minutes from inserting PinPop to your first live map, most of it spent getting a Google Maps key. You do not need your own list to start: the US customers sample gives you 40 made-up businesses to try everything with. There is no account to create with me, and the free version shows up to 50 pins.
1. Add PinPop to Excel #
You need Excel on Windows with Microsoft 365, Excel 2021 or Excel 2024, Excel on Mac, or Excel on the web. PinPop is coming soon to Microsoft Marketplace; the PinPop page shows when the listing is live. Once it is listed, you add it from inside Excel: on the Home tab, click Add-ins, search for PinPop and click Add. The steps are in Installation.
2. Insert a map and add your Google Maps key #
Click the cell where the map should go, then choose PinPop from the Add-ins menu. A map frame appears on the sheet. You can move and resize it like a chart.
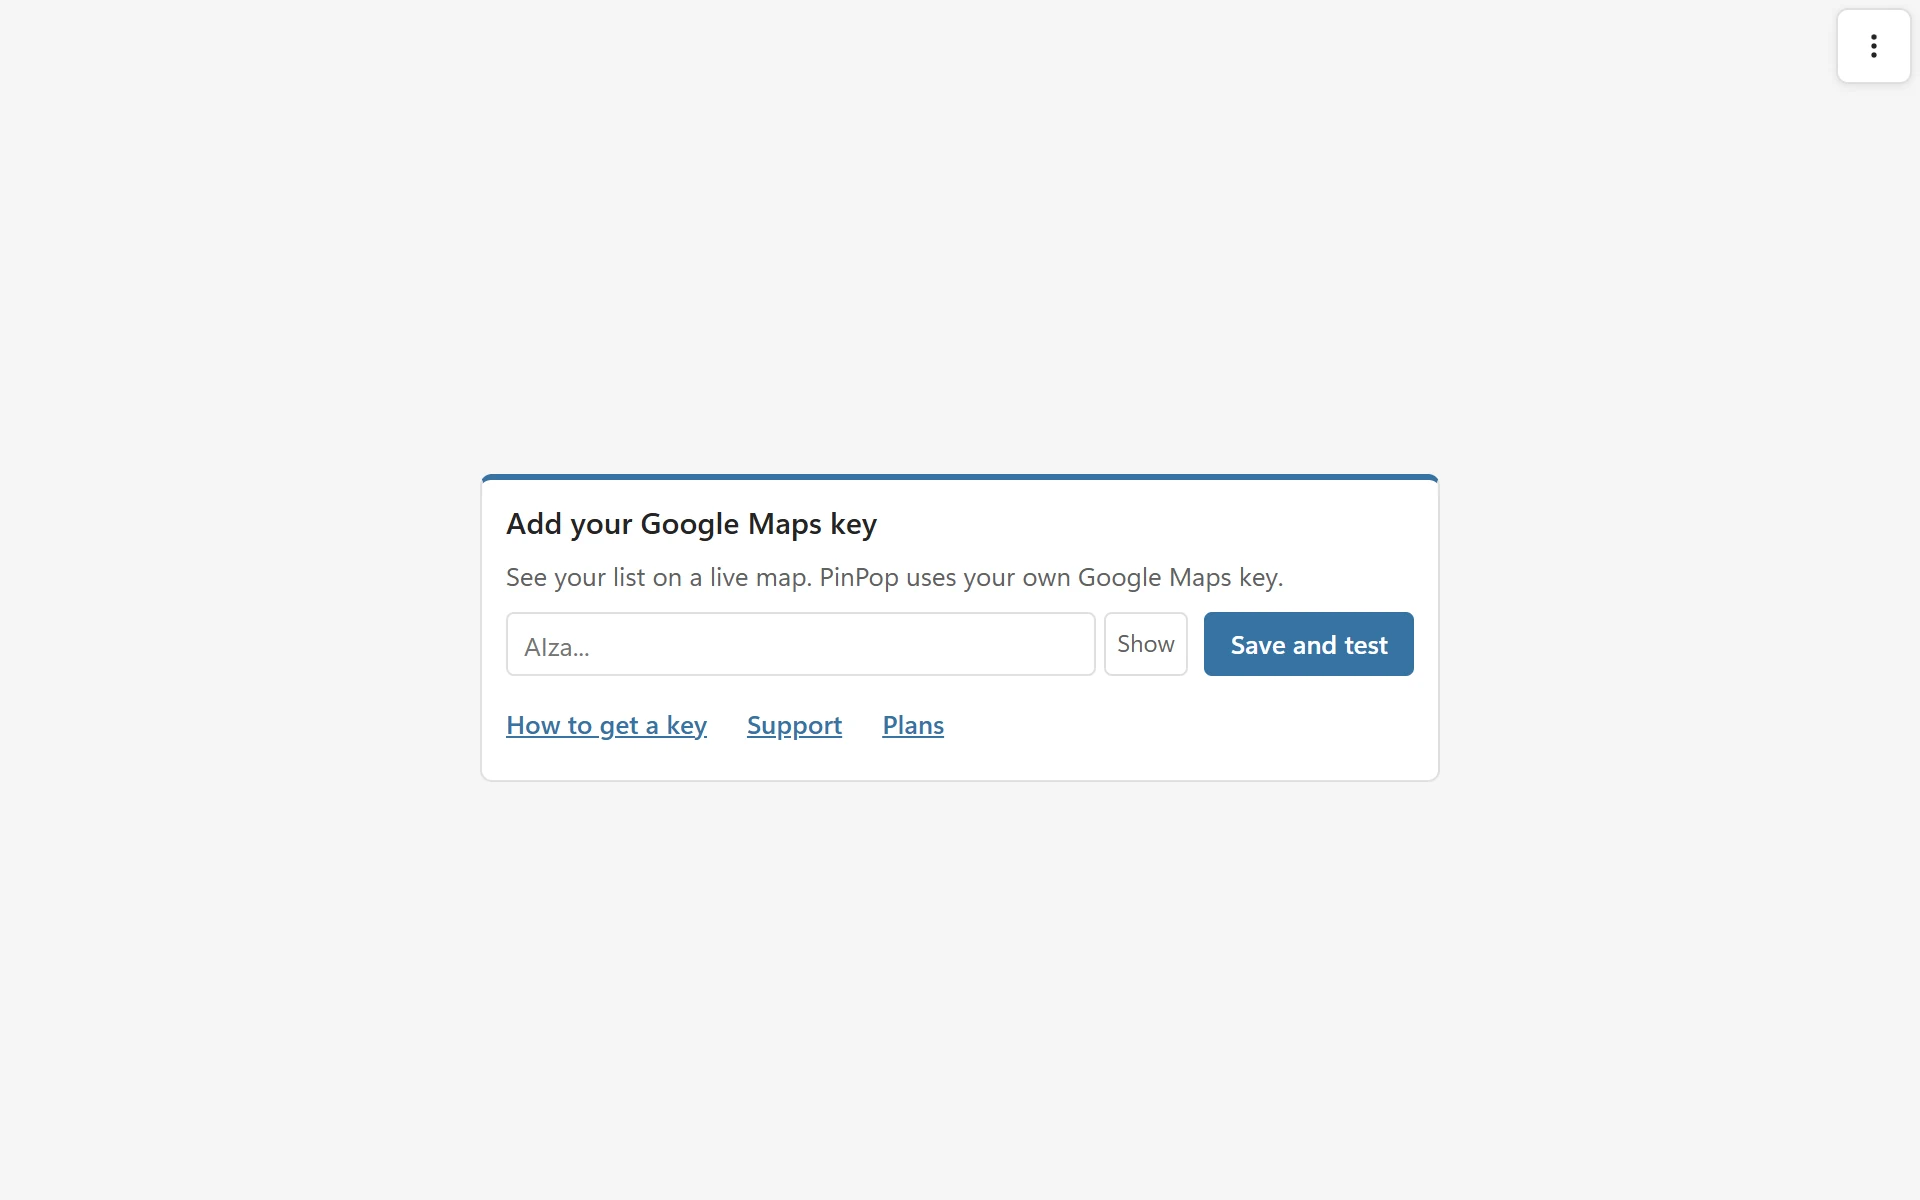
The first time, the frame shows the card Add your Google Maps key with the line See your list on a live map. PinPop uses your own Google Maps key. Paste your key into Google Maps API key and click Save and test. The map restarts and tests the key with the three Google APIs it needs: Maps JavaScript, Geocoding and Maps Static. The links under it open the key guide, support and the plans.
No key yet? Get a Google Maps API key walks you through it. Google asks for a Cloud billing account with a card; most use stays inside Google’s free monthly allowance.
3. Start with the sample #
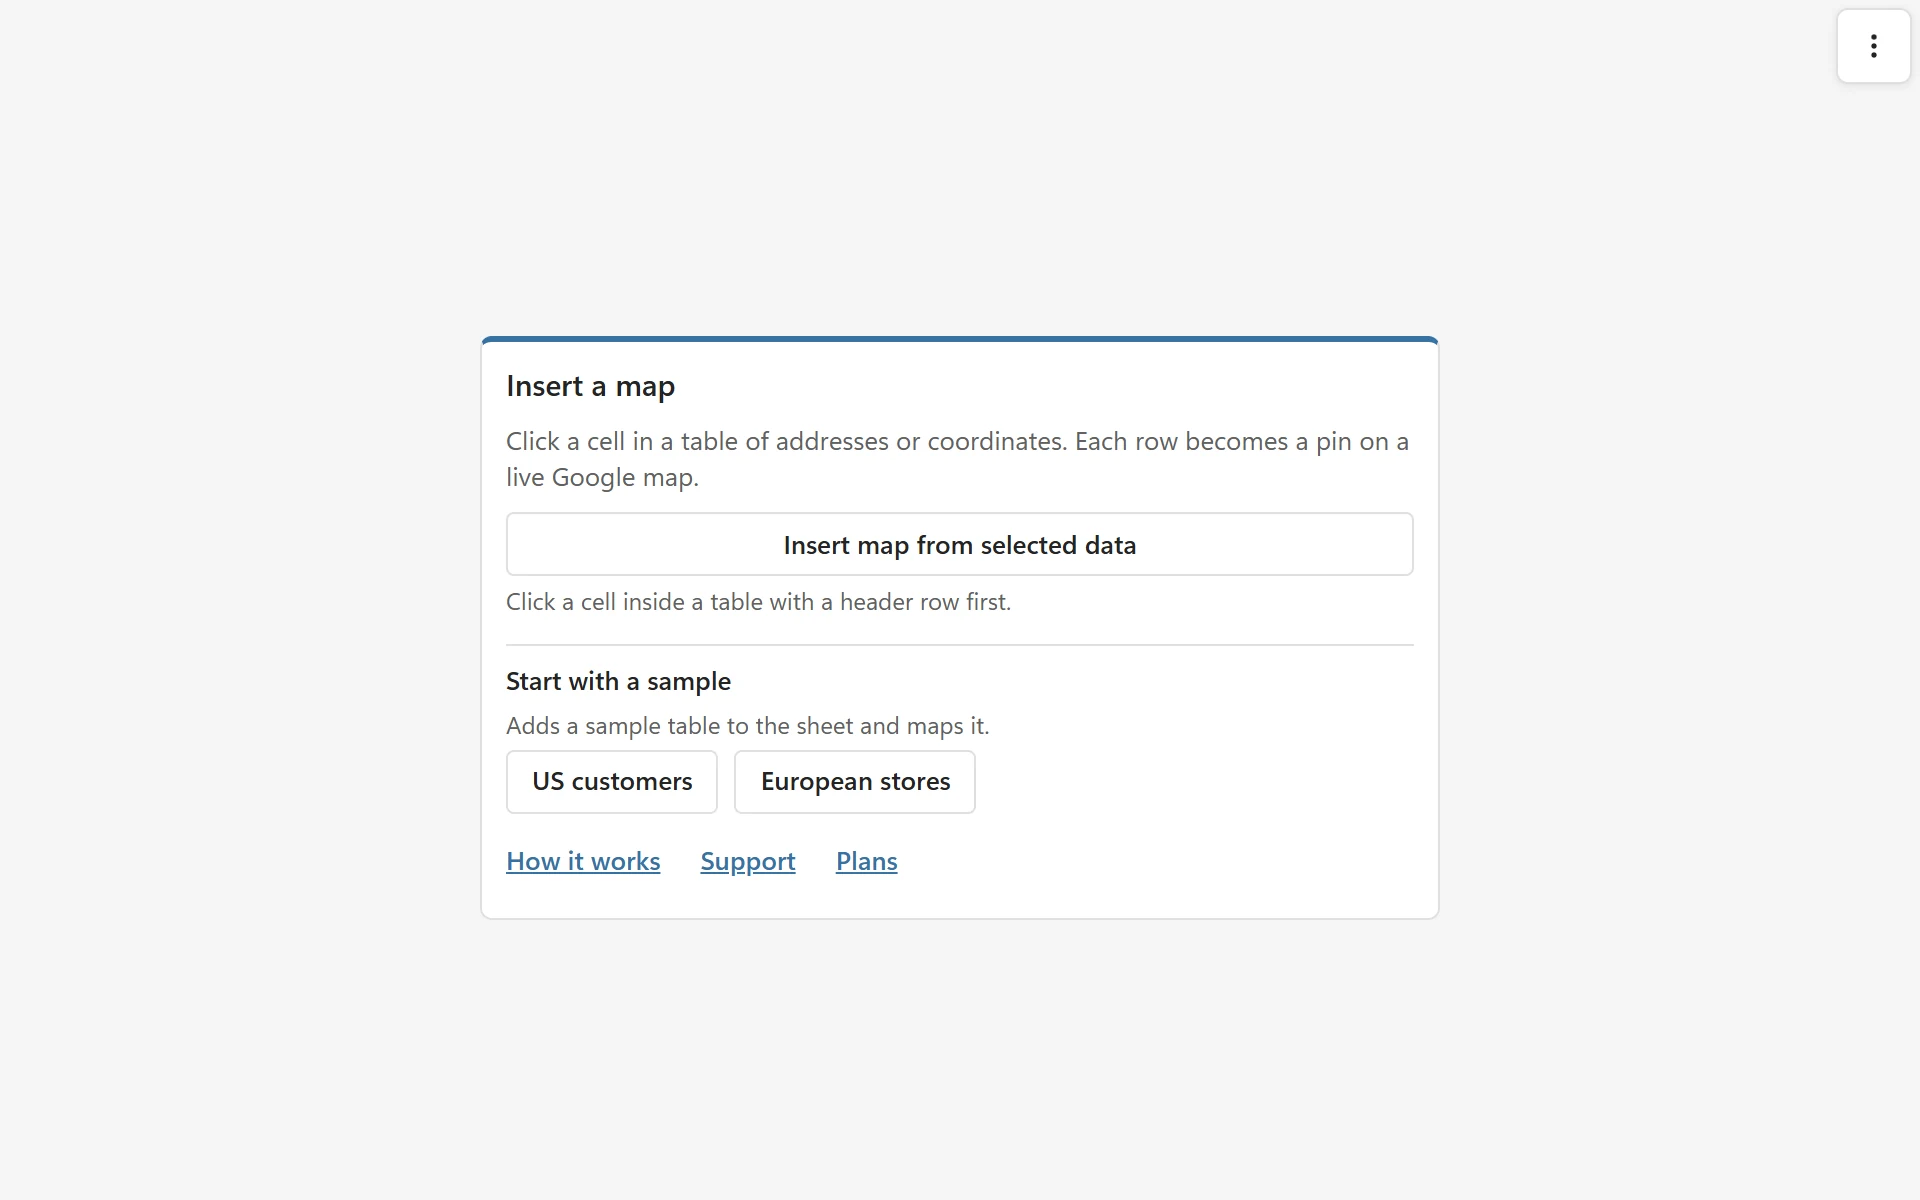
When the key works, the frame shows Insert a map. Under Start with a sample, click US customers. PinPop adds the sample as a formatted Excel table on the sheet (at A1, or next to data already there, never over it) and maps it. PinPop then moves the map next to the table. How it works opens the guide to mapping your own table; Support and Plans are next to it.
The sample has the columns Name, Address, City, State and Region, and coordinates already filled in Latitude, Longitude and Match for 36 of the 40 rows. Because you started with the sample, PinPop looks up the 4 missing rows by itself with your key, writes their coordinates into the table and says PinPop wrote coordinates for 4 rows. The map then shows 40 pins.
4. Click a pin #
Click a pin to open its popup: the name, a few columns of the row, the address and the Match value. Click Select row and PinPop selects the whole row of the table in the sheet. It works the other way round too: select a row in the sheet and its pin gets a halo.
5. Color the pins #
Click Style in the toolbar and set Color by to Region. Each region gets its own color and a legend appears at the top left of the map. See Color pins by a column.
6. Change the sheet #
Type a new address into a row, add a row at the end of the table, or filter the Region column. The map follows: new and changed addresses are looked up (the sample already counted as your yes), and rows hidden by a filter leave the map.
The toolbar #
Point at the map to show its toolbar in the top right corner. The buttons are icons; point at one to see its name.
- Fit to pins zooms the map so every pin is in view.
- Layers: Pins, Group nearby pins, and the Pro layers Heat map and Radius circles.
- Style opens a side panel for Base map (Road, Light, Dark, Satellite or Satellite with labels), Color by, Popup columns and the Pro settings.
- Export: Download PNG, and Place picture in sheet (Pro).
- More options holds Issues, Show list, Look up all addresses again, Edit data link, Google key, License, Help, Diagnostics and Restart add-in. While rows still have an address and no coordinates, it also shows Look up N addresses, for example Look up 12 addresses.

In a frame narrower than 520 pixels, Fit to pins moves into More options. Google’s zoom buttons, + and -, are on the map at the bottom right.
Next steps #
- Map your own list: Map addresses from a table.
- Already have coordinates? See Use latitude and longitude.
- Something not working? Start with The map does not load or Google says the API is not activated.